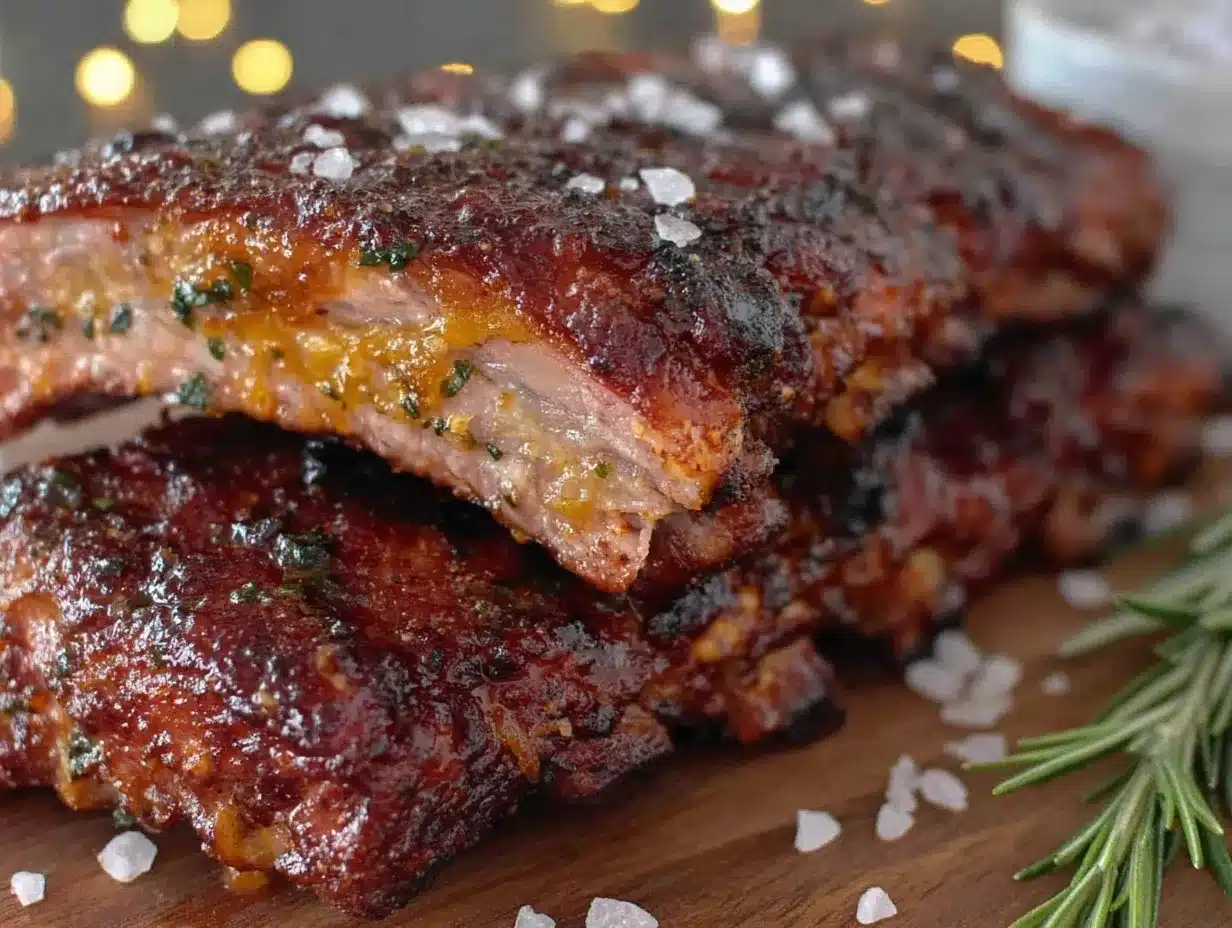
Late autumn evenings, and the only thing I want is the slow, quiet ritual of rubbing spices onto baby back ribs in the soft kitchen light. The air feels crisp, and the faint scent of woodsmoke lingers from the backyard fire pit, where the ribs will eventually meet their fate. There’s a certain calm in these moments, just me and the raw promise of tender, juicy ribs waiting to come alive. The dry rub is the unsung hero here—simple, unpretentious, yet essential. I’ve learned that this recipe only fits this specific time of year, when the nights are longer and the appetite leans toward something comforting but not fussy.
It’s not about impressing anyone. It’s more like a quiet conversation between the spice blend and the meat, coaxing it to a tenderness that lets the ribs fall off the bone without losing their character. Honestly, I never thought a dry rub could hold so much warmth until I found this balance. The pinch of smoked paprika, the slight kick of cayenne, and the mellow sweetness of brown sugar—they all come together in a way that feels like home without shouting for attention.
This dry rub recipe stuck with me because it’s a small, reliable ritual that turns a simple rack of ribs into something worth lingering over. No mess, no sticky sauces—just pure, straightforward flavor that lets the meat shine. It’s a quiet promise that good food doesn’t have to be complicated, and sometimes the simplest things are the best to return to, again and again.
Why You’ll Love This Recipe
After plenty of trial and error (and yes, some ribs that were more “tough chew” than “fall-off-the-bone”), this dry rub recipe became my go-to for baby back ribs. It’s not just a collection of spices thrown together—it’s a carefully crafted blend that brings out the best in the meat. Here’s why this recipe will win you over:
- Quick & Easy: The dry rub takes less than 10 minutes to mix, so you’re not stuck in the kitchen long. Perfect for busy weekends or when you want ribs without fuss.
- Simple Ingredients: No need for any exotic spices. You likely have all these in your pantry already, making it effortless to pull together.
- Perfect for Cozy Dinners: Great for quiet Sunday dinners or low-key gatherings where comfort food is the star.
- Crowd-Pleaser: Kids and adults alike are drawn to the balanced flavor—nothing too spicy, just a warm, smoky kiss.
- Unbelievably Delicious: The combination of smoky, sweet, and savory notes makes this dry rub stand out from typical mixes.
What sets this dry rub apart is the subtle layering of flavors. I don’t just slap on the usual suspects; I added a pinch of mustard powder for a slight tang and a touch of cinnamon for unexpected warmth. This blend isn’t just seasoning — it’s a quiet nod to slow-cooked goodness that lingers long after the last bite.
Honestly, this recipe is the kind you’ll want to make on repeat, the one that makes you close your eyes and savor the moment. It’s comfort food with a little twist, the kind you can trust to impress without stress. If you’ve ever wondered how to get perfect ribs without sticky sauces, this dry rub is that secret you didn’t know you needed.
What Ingredients You Will Need
This recipe uses simple, wholesome ingredients to deliver bold flavor and satisfying texture without the fuss. The dry rub brings a perfect balance of sweet, smoky, and mildly spicy notes that complement the pork ribs without overpowering them. Most of these are pantry staples, but a couple of small tweaks can make a big difference.
- Brown sugar (light or dark) – Provides sweetness and helps caramelize the ribs. I prefer dark brown sugar for a richer molasses flavor.
- Smoked paprika – Adds that subtle smoky depth without needing a smoker.
- Ground black pepper – Freshly cracked if possible, for a sharper bite.
- Sea salt – Essential for seasoning and bringing out flavors. Kosher salt works well here.
- Garlic powder – For that mellow garlic undertone.
- Onion powder – Adds a touch of sweetness and complexity.
- Cayenne pepper – Just a pinch for warmth. Adjust depending on your heat tolerance.
- Dry mustard powder – Gives a subtle tang and depth.
- Ground cinnamon – A small pinch, surprising but it adds warmth that rounds out the rub beautifully.
Optional but recommended:
- Cumin – For an earthy note that plays well with paprika.
- Chili powder – For a bit more complexity if you like.
For substitutions, if you’re avoiding sugar, coconut sugar works well, or you can cut back slightly without losing much flavor. For a gluten-free option, all these spices are naturally gluten-free, so no worries there. I always keep a jar of this dry rub on hand to sprinkle on ribs or even roasted veggies, like the spring vegetable fettuccine Alfredo I made last spring—flavor is everything.
Equipment Needed
- Mixing bowl: To combine your dry ingredients thoroughly. A medium-sized bowl works fine.
- Measuring spoons and cups: For precise spice amounts—accuracy here really matters.
- Plastic wrap or airtight container: To store the rub if you want to make it ahead.
- Baking sheet or roasting pan: To cook the ribs in the oven.
- Aluminum foil: Crucial for tenting the ribs during slow cooking to lock in moisture.
- Brush or your hands: For applying the rub evenly over the ribs. I prefer using my hands—it feels more personal.
If you don’t have a roasting pan, a rimmed baking sheet lined with foil works just as well. I’ve also used a wire rack on a baking sheet to let fat drip away, which helps if you want a slightly crispier finish. For a budget option, disposable foil pans can save cleanup time.
Preparation Method
- Prepare the dry rub: In a medium bowl, combine 1/4 cup (50g) brown sugar, 2 tablespoons (14g) smoked paprika, 1 tablespoon (15g) sea salt, 1 tablespoon (8g) garlic powder, 1 tablespoon (8g) onion powder, 1 teaspoon (2g) black pepper, 1/2 teaspoon (1g) cayenne pepper, 1/2 teaspoon (1.5g) dry mustard powder, and a pinch (1/8 teaspoon) of ground cinnamon. Whisk until evenly mixed. (Time: 5 minutes)
- Prepare the ribs: Remove the silver skin membrane from the back of the ribs if your butcher hasn’t done so. It’s a thin, papery layer that can prevent the rub from penetrating. Use a paper towel to grip and pull it off gently. (Time: 5 minutes)
- Apply the rub: Pat the ribs dry with paper towels. Generously coat both sides of the ribs with the dry rub, pressing it in with your fingers to adhere well. Don’t be shy—this is where the magic begins. (Time: 5-10 minutes)
- Let it rest: Wrap the ribs tightly in plastic wrap or place them in a covered dish. Let them rest in the fridge for at least 1 hour, preferably overnight. This resting time lets the flavors soak deep into the meat. (Time: 1 hour to overnight)
- Preheat oven: Set your oven to 275°F (135°C). Low and slow is the name of the game for tender ribs.
- Cook the ribs: Place the ribs on a foil-lined baking sheet or roasting pan, meat side up. Cover tightly with foil to trap moisture. Bake for about 2.5 to 3 hours until the ribs are tender and the meat starts pulling away from the bone. (Time: 2.5 to 3 hours)
- Optional finishing: For a touch of char or caramelization, uncover the ribs and broil on high for 3-5 minutes. Watch carefully to avoid burning. This step is optional but adds a nice crust.
- Rest and serve: Remove ribs from the oven and let them rest for 10 minutes before slicing. This helps juices redistribute and keeps the ribs juicy.
If you notice the ribs aren’t tender enough after 3 hours, give them a little more time wrapped in foil. Every oven varies, and sometimes ribs just need a bit more patience. The smell at this stage will be incredible—smoky, sweet, and spicy all at once. That’s when you know you’re close.
Cooking Tips & Techniques
Getting perfectly tender baby back ribs with a dry rub isn’t rocket science, but a few lessons from my kitchen mishaps will save you some frustration. First, don’t rush the low and slow cooking. The magic happens below 300°F (150°C), where collagen breaks down gently without drying out the meat.
Always remove the silver skin membrane before applying the rub. I learned this the hard way—ribs with that membrane still on end up chewy and less flavorful. Use a paper towel to get a good grip and pull it off in one piece.
Don’t skimp on the resting time after rubbing the ribs. I’ve tried cooking ribs immediately after applying the rub, but the flavor is much less intense. Even a quick hour makes a difference, but overnight is best if you can wait.
When cooking, tent the ribs tightly with foil to lock in moisture. Without this, the ribs dry out quickly. If you like a little crisp on the edges, finish under the broiler for a few minutes—but keep a close eye.
Multitasking tip: While the ribs bake, you can prepare some creamy sides like lemon ricotta pasta with fresh peas and mint. It’s a bright contrast to the smoky richness of the ribs.
Finally, patience is key. I’ve pulled ribs out too early before and regretted it. The best ribs come when the meat is tender enough to pull apart with your fingers but not so cooked that it falls apart completely. That balance is the sweet spot.
Variations & Adaptations
This dry rub is a solid base, but there are plenty of ways to tweak it depending on your mood, dietary needs, or what’s in the pantry.
- Spicy Kick: Increase the cayenne pepper to 1 teaspoon or add a pinch of chipotle powder for smoky heat.
- Herbaceous Twist: Add 1 teaspoon of dried thyme or rosemary for a woodsy note that pairs well with pork.
- Sweet and Tangy: Mix the dry rub with a tablespoon of brown mustard powder and a splash of apple cider vinegar before applying for a tangy twist.
- Gluten-Free: All spices are naturally gluten-free, but double-check your paprika and chili powders if you have sensitivities.
- Alternative Cooking Methods: This rub works great on ribs cooked on a smoker or grill. Just apply rub and cook low and slow for several hours.
I once tried this rub with a light mop sauce of apple juice and butter during the last hour of cooking. It added a slight glaze and kept the ribs moist without turning them saucy. It’s an easy way to switch it up without losing the dry rub’s character.
Serving & Storage Suggestions
Serve these ribs warm, right off the tray, with sides that balance their smoky sweetness. I like pairing them with a crisp slaw or simple roasted vegetables to cut through the richness. A cold beer or a lightly sweetened iced tea helps refresh the palate.
Leftover ribs? No worries. Wrap them tightly in foil and refrigerate for up to 3 days. Reheat gently in the oven at 300°F (150°C) wrapped in foil to keep them moist. Avoid microwaving if you can—the texture suffers.
If you want to freeze leftovers, separate ribs into portions, wrap well, and freeze for up to 3 months. Thaw overnight in the fridge before reheating gently.
Flavors deepen after sitting a day, so ribs can be even better the next day. I often make the dry rub ahead and prep the ribs the night before a weekend meal, letting the flavors mature overnight.
Nutritional Information & Benefits
These baby back ribs with dry rub deliver a satisfying source of protein and essential vitamins like B12 and zinc. While ribs are a richer cut, the dry rub keeps things leaner by skipping sugary sauces.
Here’s an estimated nutrition breakdown per serving (about 4 ribs):
| Calories | 350 kcal |
|---|---|
| Protein | 30g |
| Fat | 22g |
| Carbohydrates | 8g (mostly from brown sugar) |
| Sodium | 700mg |
This recipe fits well into gluten-free diets and can be adapted for lower sugar by adjusting the brown sugar amount. The spices have antioxidant properties, and the moderate fat content provides energy and satiety.
Personally, I find this dish comforting without feeling heavy, especially when paired with fresh sides like the fresh Greek yogurt veggie dip with herbs for a bright contrast.
Conclusion
If you’ve been searching for a dry rub recipe for baby back ribs that’s straightforward, flavorful, and reliably tender, this one is worth trying. It’s a small ritual that brings comfort and warmth to the table without fuss or sticky mess.
Feel free to tweak the spices to your liking—maybe a little more heat or a touch more sweetness. That’s the beauty of dry rubs: they’re easy to personalize. I love this recipe because it reminds me that great food doesn’t need to be complicated, just thoughtful.
So go ahead, try it out, and maybe share your own spin. I’d love to hear how your ribs turn out or what sides you pair them with. There’s something special about a meal that brings people together, quietly and deliciously.
FAQs About Tender Fall-Off-The-Bone Baby Back Ribs Dry Rub Recipe
Q: Can I make this dry rub ahead of time?
A: Absolutely. Store the dry rub in an airtight container for up to 3 months. Give it a quick stir before using.
Q: How long should I cook the ribs for maximum tenderness?
A: Bake at 275°F (135°C) for 2.5 to 3 hours, covered tightly with foil to keep them moist.
Q: What’s the best way to remove the silver skin membrane?
A: Use a paper towel to grip the membrane on one end and gently pull it off in one piece. This helps the rub penetrate better.
Q: Can I cook these ribs on a grill instead of the oven?
A: Yes! Apply the rub and cook low and slow over indirect heat for 2.5 to 3 hours, adding wood chips for smoke if desired.
Q: How do I store leftover ribs?
A: Wrap tightly in foil and refrigerate for up to 3 days or freeze for up to 3 months. Reheat gently in the oven to retain moisture.
Pin This Recipe!
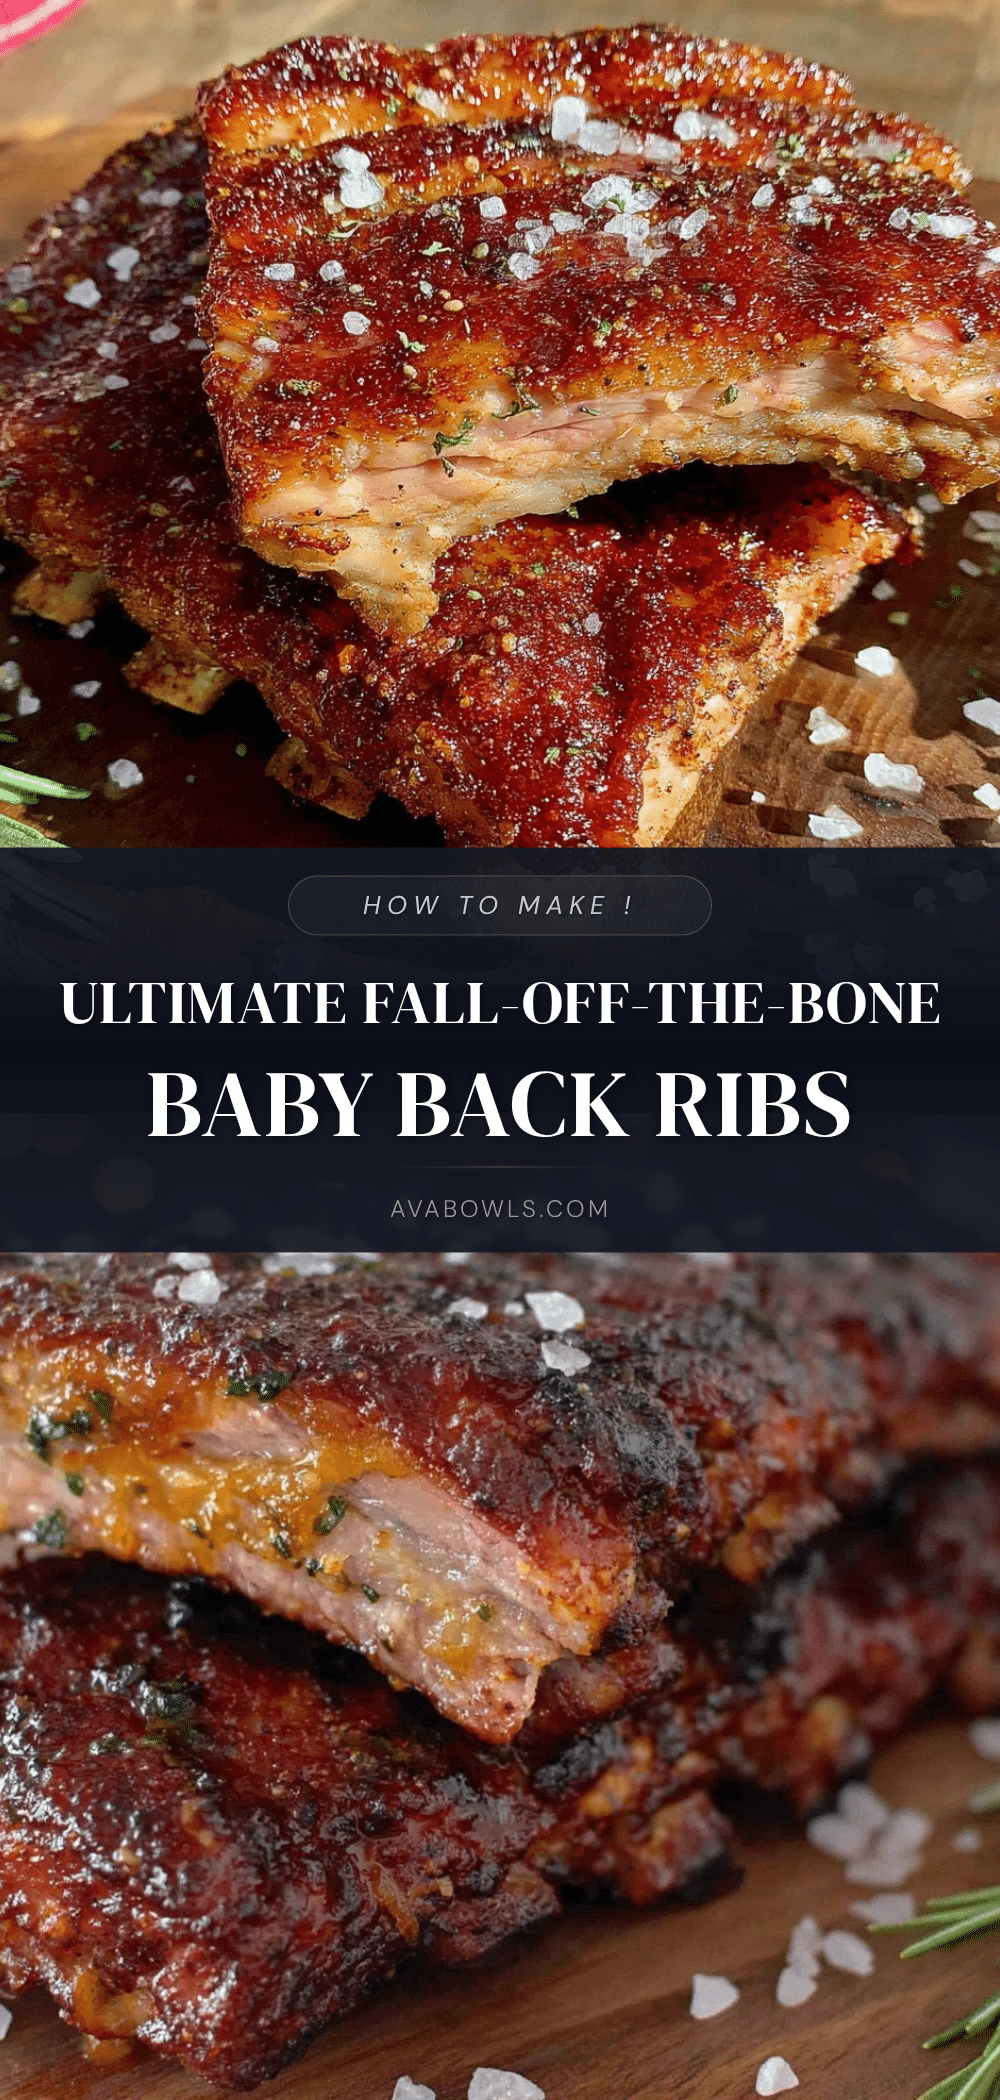
Tender Fall-Off-The-Bone Baby Back Ribs Dry Rub Recipe
A simple, flavorful dry rub recipe for baby back ribs that delivers tender, juicy ribs with a perfect balance of smoky, sweet, and mildly spicy notes. Ideal for cozy dinners and easy to prepare.
- Prep Time: 15 minutes
- Cook Time: 3 hours
- Total Time: 3 hours 15 minutes to overnight (including resting time)
- Yield: 4 servings 1x
- Category: Main Course
- Cuisine: American
Ingredients
- 1/4 cup (50g) brown sugar (light or dark)
- 2 tablespoons (14g) smoked paprika
- 1 tablespoon (15g) sea salt (kosher salt works well)
- 1 tablespoon (8g) garlic powder
- 1 tablespoon (8g) onion powder
- 1 teaspoon (2g) ground black pepper (freshly cracked if possible)
- 1/2 teaspoon (1g) cayenne pepper
- 1/2 teaspoon (1.5g) dry mustard powder
- Pinch (1/8 teaspoon) ground cinnamon
- Optional: 1 teaspoon cumin
- Optional: 1 teaspoon chili powder
Instructions
- In a medium bowl, combine brown sugar, smoked paprika, sea salt, garlic powder, onion powder, black pepper, cayenne pepper, dry mustard powder, and ground cinnamon. Whisk until evenly mixed.
- Remove the silver skin membrane from the back of the ribs using a paper towel to grip and pull it off gently.
- Pat the ribs dry with paper towels. Generously coat both sides of the ribs with the dry rub, pressing it in with your fingers to adhere well.
- Wrap the ribs tightly in plastic wrap or place them in a covered dish. Let them rest in the fridge for at least 1 hour, preferably overnight.
- Preheat oven to 275°F (135°C).
- Place the ribs on a foil-lined baking sheet or roasting pan, meat side up. Cover tightly with foil to trap moisture.
- Bake for about 2.5 to 3 hours until the ribs are tender and the meat starts pulling away from the bone.
- Optional: Uncover the ribs and broil on high for 3-5 minutes to add a touch of char or caramelization. Watch carefully to avoid burning.
- Remove ribs from the oven and let them rest for 10 minutes before slicing.
Notes
Remove the silver skin membrane for better flavor penetration. Let the ribs rest with the rub for at least 1 hour, preferably overnight, for best flavor. Cook low and slow at 275°F to ensure tenderness. Tent ribs tightly with foil to lock in moisture. Optional broiling adds a nice crust but watch carefully to avoid burning. Leftovers can be refrigerated for up to 3 days or frozen for up to 3 months. Reheat gently in the oven wrapped in foil to retain moisture.
Nutrition
- Serving Size: About 4 ribs per ser
- Calories: 350
- Sodium: 700
- Fat: 22
- Carbohydrates: 8
- Protein: 30
Keywords: baby back ribs, dry rub, fall-off-the-bone ribs, smoked paprika, easy ribs recipe, homemade dry rub, tender ribs, oven baked ribs, gluten-free ribs