For a while, I just accepted that pumpkin cheesecake bars weren’t going to have that perfect, clean slice. The kind where the creamy filling stays put and the crust doesn’t crumble into a sad pile of crumbs on the plate. I’d tried a dozen recipes, and every single one left me with either a soggy bottom or a filling that cracked right down the middle. It was frustrating, honestly, because the flavor was always there—that warm, spiced pumpkin goodness against tangy cream cheese—but the texture and structure were a gamble. I wanted a bar that could hold its own in a lunchbox, look pretty on a dessert table, and still taste like something you’d actually crave, not just a holiday obligation.
Then I started tinkering with the ratios. Less pumpkin puree, more cream cheese. A longer, slower bake at a lower temperature. And the crust—the crust was the real breakthrough. Gingersnaps. Not graham crackers, not a pre-made pie shell, but crushed, buttery gingersnaps that bring their own spicy kick. The first time I pressed that dark, sandy mixture into the pan, I knew something was different. The smell alone—warm ginger, molasses, a hint of clove—told me this was it. And when I pulled the pan out of the oven after letting it cool completely? That first slice came out clean. No cracks. No crumbles. Just a beautiful, creamy bar sitting on a sturdy, spicy crust.
That was the moment this recipe stuck. It wasn’t about impressing anyone or reinventing the wheel. It was about finally having a pumpkin dessert that worked every single time, without the fuss. These bars are the kind of thing you make for a potluck and watch disappear in minutes, or stash in the fridge for a quiet Tuesday night treat. They’re not trying to be fancy—they’re just really, really good. And that’s enough.
Why You’ll Love This Recipe
These aren’t just another pumpkin dessert. They’re the result of trial and error, a few burnt fingers, and a lot of taste testing. Here’s why they’ll become your go-to:
- No Cracks, No Fuss : The slow, low-temperature baking method means your cheesecake layer stays smooth and flawless. No water bath needed.
- Gingersnap Crust Game-Changer : The spicy, molasses-rich crust adds a depth of flavor that plain graham crackers just can’t match. It’s sturdy enough to hold the creamy filling without getting soggy.
- Perfect for Any Occasion : These bars are fancy enough for Thanksgiving dessert or a holiday brunch, but easy enough for a weekend baking project with the kids.
- Make-Ahead Magic : They actually taste better after a night in the fridge. The flavors meld, the texture sets perfectly, and you get to check “dessert” off your list a day early.
- Simple Pantry Ingredients : You probably have most of these on hand already. No weird specialty items or expensive extracts.
What makes these different from the rest is the balance. The tangy cream cheese cuts through the sweet, spiced pumpkin, while the gingersnap crust adds a texture that just works. I’ve brought these to everything from casual Philly cheesesteak slider parties to quiet Valentine’s Day cottage cheese bowls—they fit right in anywhere. It’s the kind of dessert that makes you close your eyes after the first bite, not because it’s fancy, but because it’s just that good.
What Ingredients You Will Need
This recipe uses simple, wholesome ingredients to deliver that creamy, spicy, tangy flavor without any fuss. Most of these are pantry staples, which makes this an easy last-minute dessert.
- Gingersnap cookies (about 2 cups crushed, or 8 oz / 225g): I prefer Nabisco or a store-brand with a strong ginger kick. The molasses in them is key for flavor and structure.
- Unsalted butter (5 tbsp / 70g, melted): This binds the crust. If you only have salted, just skip adding any extra salt to the crust.
- Granulated sugar (¼ cup / 50g for the crust, plus ¾ cup / 150g for the filling): Regular white sugar works best here. It dissolves easily and doesn’t compete with the spices.
- Cream cheese (16 oz / 450g, full-fat, softened): Don’t use low-fat here. The fat content is what gives you that silky, crack-free texture. Let it sit out for at least an hour.
- Pumpkin puree (1 cup / 245g, not pumpkin pie filling): Libby’s is my go-to. It’s consistent and not too watery. If you use fresh pumpkin, make sure you drain it well.
- Large eggs (2, at room temperature): Cold eggs can seize the cream cheese mixture. Leave them on the counter with the cream cheese.
- Sour cream (¼ cup / 60g): This adds a little tang and extra creaminess. Greek yogurt works as a substitute, but sour cream gives a better texture.
- Vanilla extract (1 tsp / 5ml): Pure vanilla is best, but imitation works in a pinch.
- Pumpkin pie spice (1½ tsp / 3g): You can make your own with cinnamon, ginger, nutmeg, and allspice if you don’t have a blend.
- Ground cinnamon (½ tsp / 1g): Extra warmth for the filling.
- Salt (¼ tsp / 1g): Just a pinch to balance the sweetness.
For the crust, I’ve tried using gluten-free gingersnaps, and they work fine—just check that they’re sturdy enough to hold together. If you want a nutty twist, you can swap ½ cup of the gingersnap crumbs with finely ground pecans. It adds a lovely richness that pairs well with the pumpkin.
Equipment Needed
You don’t need a fancy kitchen for these bars, but a few tools make the process smoother:
- 9×9-inch baking pan (or 8×8 for thicker bars): A metal pan gives a crisper crust. Glass works too, but you might need to add 5 minutes to the bake time.
- Parchment paper: Cut two strips to create a sling for easy removal. It’s a lifesaver.
- Food processor or zip-top bag with rolling pin: For crushing the gingersnaps. I prefer the food processor for even crumbs, but a bag and rolling pin work great if you need to release some frustration.
- Electric hand mixer or stand mixer: A hand mixer works perfectly. A stand mixer is fine, but don’t overmix or you’ll incorporate too much air.
- Mixing bowls: One medium for the crust, one large for the filling.
- Spatula: For scraping down the bowl and smoothing the top.
- Measuring cups and spoons: Accurate measurements matter in baking.
If you don’t have a food processor, just put the cookies in a sturdy bag and go to town with a rolling pin. It’s oddly satisfying. And if you’re using a glass pan, just keep an eye on the crust—it can brown faster than metal.
Preparation Method
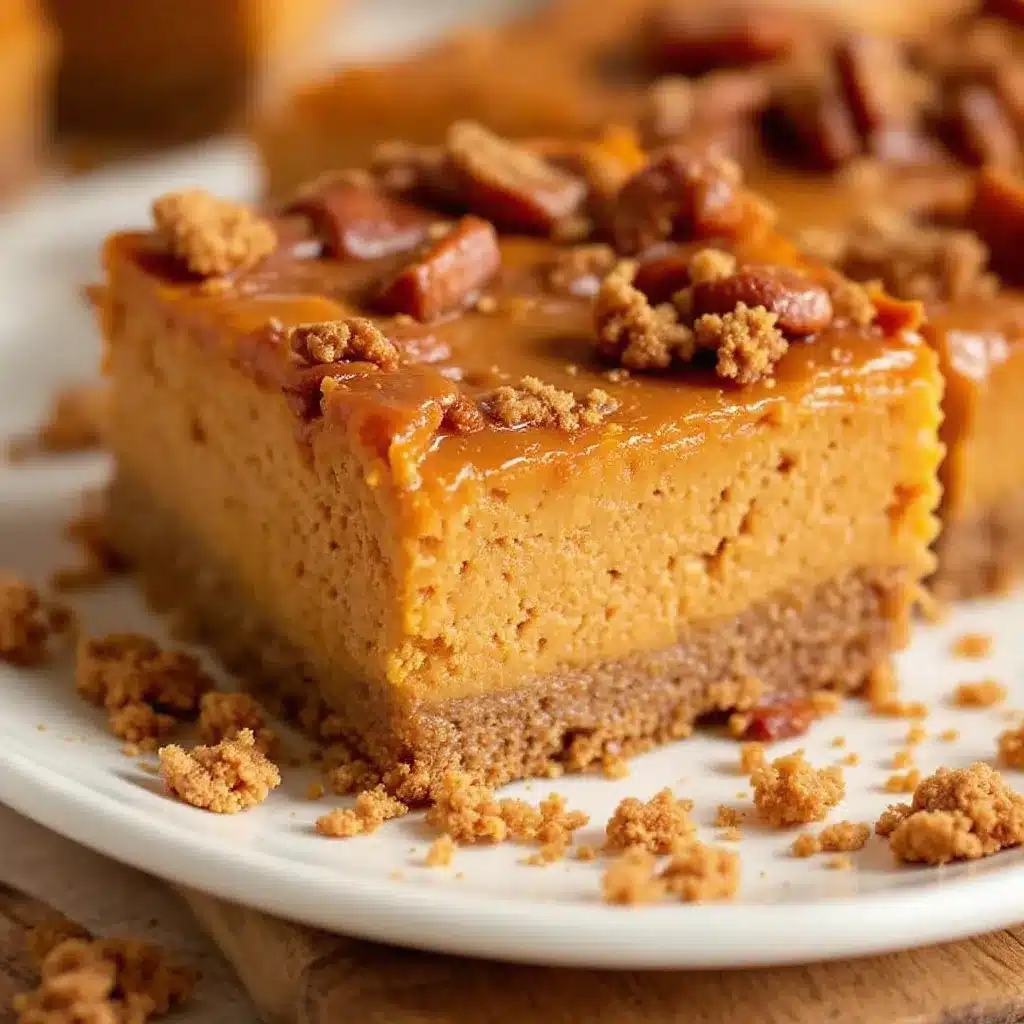
Let’s get into the steps. Trust me, if you follow these, you’ll get perfect bars every time.
- Preheat and prep the pan : Preheat your oven to 350°F (175°C). Line your 9×9-inch pan with parchment paper, leaving an overhang on two opposite sides. This creates handles for lifting the bars out later. Lightly grease the parchment with a bit of butter or non-stick spray.
- Make the crust : In a food processor, pulse the gingersnap cookies until they turn into fine crumbs. You should have about 2 cups. Pour the crumbs into a medium bowl, add the ¼ cup (50g) of sugar, and stir. Pour in the 5 tablespoons (70g) of melted butter and mix with a fork until every crumb is moistened. It should look like wet sand.
- Press and bake the crust : Dump the crumb mixture into your prepared pan. Use the bottom of a measuring cup or a flat glass to press it down firmly and evenly. Make sure you get into the corners. Bake for 10 minutes, then set it aside to cool while you make the filling. Don’t turn off the oven—just lower the temperature to 325°F (160°C).
- Start the filling : In a large mixing bowl, beat the softened cream cheese with an electric mixer on medium speed until it’s smooth and creamy, about 2 minutes. Scrape down the sides and bottom of the bowl with a spatula. Add the ¾ cup (150g) of sugar and beat for another minute until combined.
- Add the wet ingredients : Beat in the sour cream and vanilla extract until smooth. Then add the eggs, one at a time, beating on low speed after each addition just until the yolk disappears. Overmixing at this stage adds air, which causes cracks. Trust me, I learned that the hard way.
- Add the pumpkin and spices : In a separate small bowl, whisk together the pumpkin puree, pumpkin pie spice, cinnamon, and salt. Gently fold this mixture into the cream cheese mixture using a spatula. Fold until just combined—you don’t want streaks of pumpkin, but you also don’t want to overwork it.
- Assemble and bake : Pour the filling over the cooled crust. Spread it evenly with a spatula. Gently tap the pan on the counter a few times to release any air bubbles. Bake at 325°F (160°C) for 35-40 minutes. The edges should be set and slightly puffed, but the center should still have a slight jiggle when you gently shake the pan. It will set completely as it cools.
- Cool completely : Place the pan on a wire rack and let it cool to room temperature, about 1 hour. Then, cover it loosely with plastic wrap and refrigerate for at least 4 hours, but overnight is best. This step is non-negotiable for clean slices.
- Slice and serve : Once fully chilled, use the parchment sling to lift the entire block out of the pan. Place it on a cutting board. Use a sharp, clean knife to slice into 16 squares. Wipe the knife clean between cuts for the neatest edges. You can drizzle with caramel sauce or dust with powdered sugar before serving.
Cooking Tips & Techniques
I’ve made these bars more times than I can count, and I’ve messed up plenty along the way. Here’s what I’ve learned so you don’t have to repeat my mistakes.
The room temperature rule is real. Cold cream cheese creates lumps that no amount of mixing will fix. Cold eggs can make the filling seize up. Set everything out on the counter an hour before you start. It makes a world of difference.
Don’t overbake. This is probably the most common mistake. The center should still wobble a little when you take it out. If you wait until it’s completely firm in the oven, it will crack as it cools. Trust the jiggle.
Crush the crust evenly. If you have big chunks of cookie, they won’t bind well, and your crust will fall apart. Pulse until the crumbs are uniform. And press that crust down firmly—I use the bottom of a glass and really lean into it.
Use a hot knife for clean slices. Run your knife under hot water, dry it off, then slice. Wipe and reheat between cuts. It sounds fussy, but it gives you those beautiful, bakery-style edges.
Plan ahead for best flavor. These bars are actually better the next day. The spices mellow out, the cream cheese flavor deepens, and the crust softens just a touch. Make them a day ahead if you can.
Variations & Adaptations
This recipe is surprisingly flexible. Here are a few ways I’ve changed it up depending on the season or my mood:
- Gluten-Free Version : Use gluten-free gingersnap cookies (most brands are naturally gluten-free, but double-check the label). The rest of the recipe is naturally gluten-free.
- Dairy-Free Adaptation : Substitute the cream cheese with a high-quality dairy-free cream cheese (like Kite Hill or Violife) and use a vegan butter stick for the crust. The texture will be slightly softer, but the flavor is still fantastic.
- Chocolate Swirl : Melt ¼ cup (60g) of semi-sweet chocolate chips and drizzle it over the filling before baking. Use a knife to swirl it gently into the top. It adds a rich, decadent layer.
- Maple Pecan Topping : After the bars are chilled and sliced, top each one with a drizzle of maple syrup and a sprinkle of toasted pecans. It’s perfect for fall gatherings.
- Spice It Up : Add a pinch of cayenne pepper or black pepper to the filling for a subtle heat that plays beautifully with the pumpkin and ginger.
I once made a batch with a swirl of creamy matcha latte paste folded into half the filling. It looked wild—green and orange swirls—but tasted surprisingly good. Don’t be afraid to experiment.
Serving & Storage Suggestions
These bars are best served cold, straight from the fridge. The texture is firm but creamy, and the crust stays perfectly crisp. If you prefer a softer texture, let them sit at room temperature for 10-15 minutes before serving.
For presentation, I like to arrange them on a white platter and dust them lightly with powdered sugar. A drizzle of caramel sauce or a dollop of whipped cream takes them over the top. They pair beautifully with a hot cup of coffee or a creamy iced lavender oat milk latte for a cozy afternoon treat.
Storage: Keep the bars in an airtight container in the refrigerator for up to 5 days. They actually get better after the first day as the flavors meld together. To freeze, wrap individual bars tightly in plastic wrap, then place them in a freezer-safe bag. They’ll keep for up to 3 months. Thaw overnight in the fridge before serving.
Reheating: I don’t recommend reheating these—they’re meant to be enjoyed cold. But if you want a warm dessert, you can microwave an individual bar for 10-15 seconds. The crust will soften, and the filling will get a little gooey. It’s a different experience, but still delicious.
Nutritional Information & Benefits
Here’s an estimated breakdown per bar (based on 16 servings):
- Calories: 285
- Fat: 18g
- Carbohydrates: 28g
- Protein: 5g
- Fiber: 1g
- Sugar: 20g
These bars are a treat, but they do offer some nutritional perks. Pumpkin is packed with vitamin A and fiber, which supports eye health and digestion. The cream cheese provides calcium and protein, while the ginger in the crust has anti-inflammatory properties. Plus, the portion-controlled bar format makes it easier to enjoy a sweet bite without overdoing it.
If you’re looking for a lower-sugar option, you can reduce the sugar in the filling to ½ cup (100g) and use a sugar substitute in the crust. The texture will be slightly less tender, but it still works. And for a protein boost, you can add a scoop of unflavored collagen powder to the filling—just whisk it in with the dry spices.
Conclusion
These creamy pumpkin cheesecake bars with gingersnap crust are the kind of recipe that earns a permanent spot in your fall rotation. They’re not fussy, they don’t require special skills, and they deliver every single time. The spicy, buttery crust is the perfect counterpoint to the smooth, tangy pumpkin filling, and the fact that they slice cleanly without cracking is just the cherry on top.
I love that I can make them a day ahead, pull them out of the fridge, and still get compliments like they took hours of work. They’re my secret weapon for Thanksgiving, Halloween parties, and those random Tuesday nights when I just need a little pumpkin in my life.
Now I’d love to hear from you. Have you tried these bars? Did you add your own twist? Drop a comment below and let me know how they turned out. And if you loved them, share this recipe with a friend who needs a little fall baking inspiration. Happy baking!
Frequently Asked Questions
Can I use fresh pumpkin instead of canned?
Yes, you can. Just make sure you cook and puree the pumpkin, then drain it well through a cheesecloth or fine-mesh sieve. Fresh pumpkin has more water than canned, so you need to remove that excess moisture to avoid a soggy filling.
Why did my cheesecake bars crack?
Cracks usually happen from overbaking or overmixing. Make sure you take the bars out when the center still has a slight jiggle. Also, avoid beating the filling on high speed after adding the eggs—too much air creates cracks as the bars cool.
Can I make these bars gluten-free?
Absolutely. Just use gluten-free gingersnap cookies for the crust. The rest of the ingredients are naturally gluten-free. Check the label on your pumpkin puree and spices to be safe, but most are fine.
How do I get clean, neat slices?
Chill the bars for at least 4 hours (overnight is best). Use a sharp knife and run it under hot water before each cut. Wipe the blade clean between slices. This gives you those beautiful, bakery-style edges.
Can I freeze these pumpkin cheesecake bars?
Yes! Wrap individual bars tightly in plastic wrap, then place them in a freezer-safe bag or container. They’ll keep for up to 3 months. Thaw overnight in the fridge before serving. The texture stays creamy and delicious.
Pin This Recipe!
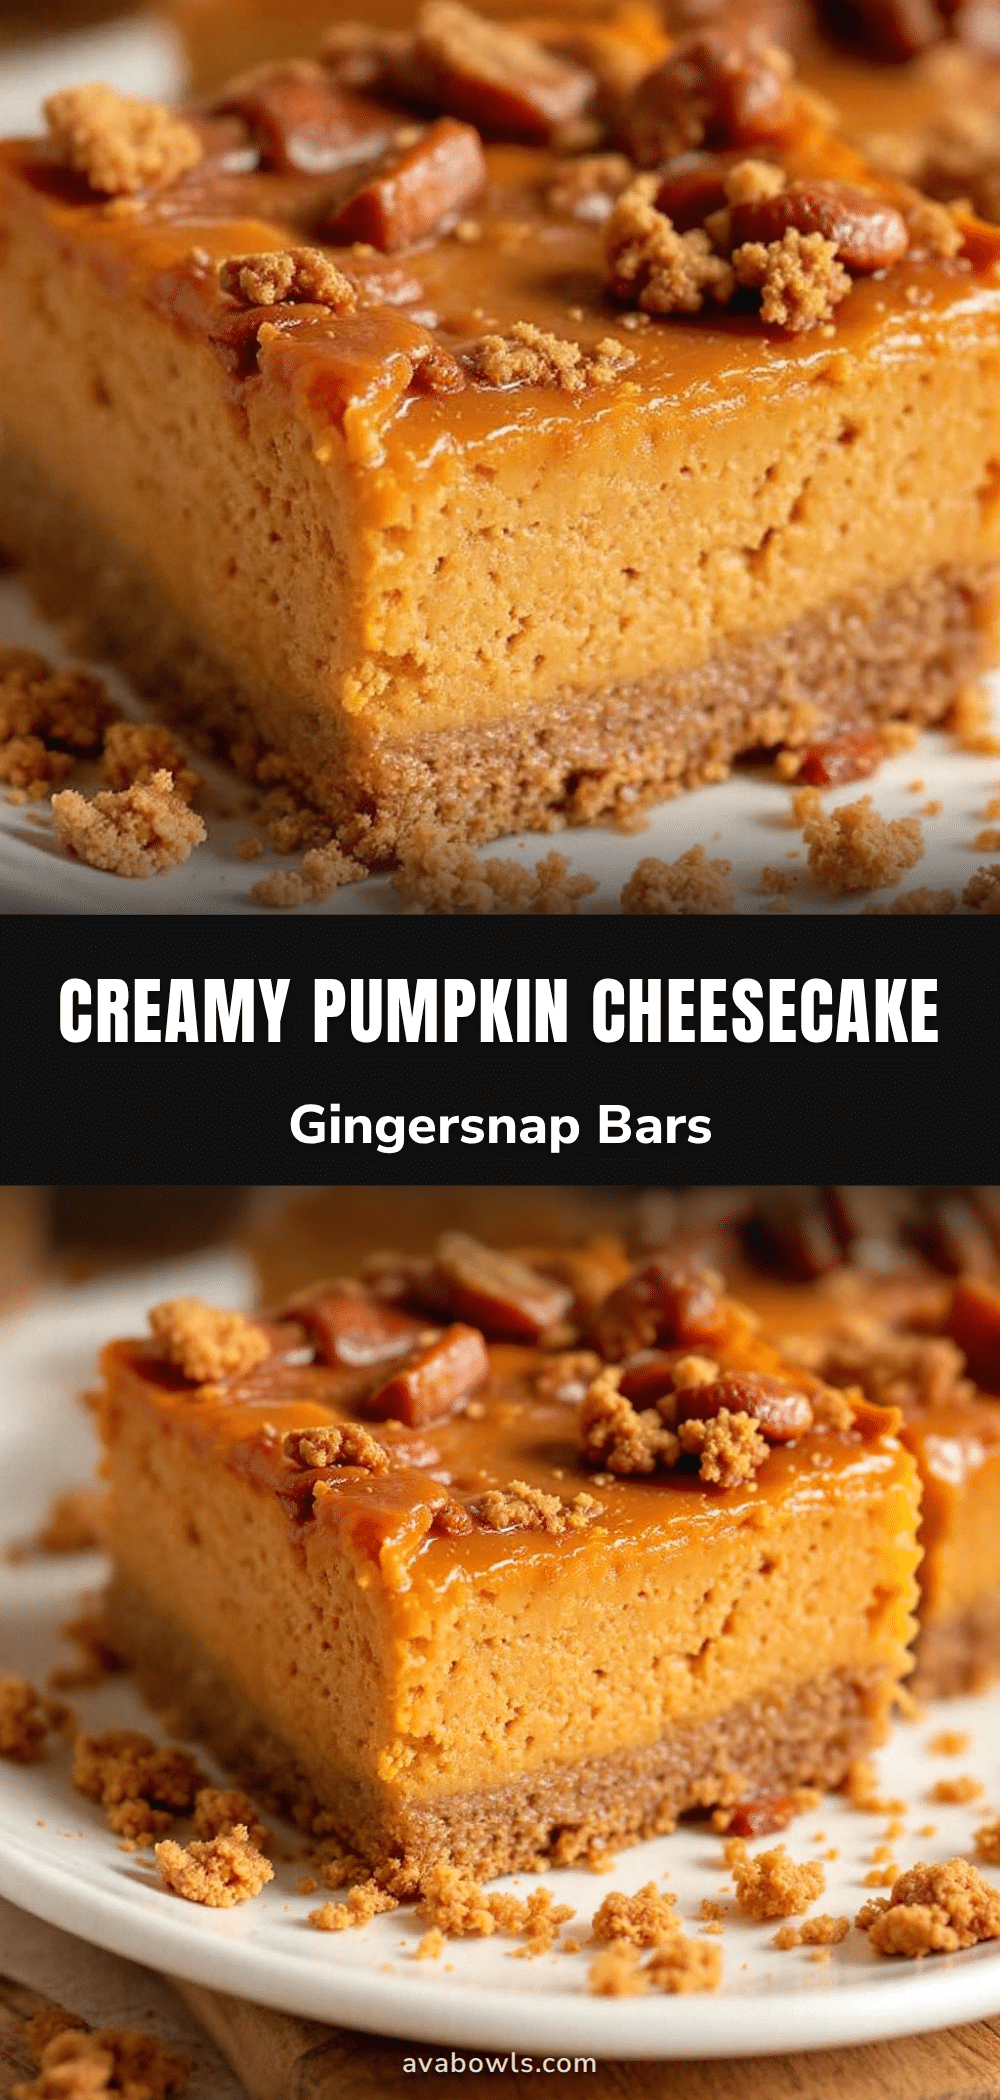
Best Easy Creamy Pumpkin Cheesecake Bars with Gingersnap Crust
These creamy pumpkin cheesecake bars feature a spicy gingersnap crust and a smooth, crack-free filling. They’re perfect for any occasion, from holiday gatherings to a simple weeknight treat.
- Prep Time: 20 minutes
- Cook Time: 40 minutes
- Total Time: 5 hours (including chilling)
- Yield: 16 servings
- Category: Dessert
- Cuisine: American
Ingredients
- Gingersnap cookies (about 2 cups crushed, or 8 oz / 225g)
- Unsalted butter (5 tbsp / 70g, melted)
- Granulated sugar (¼ cup / 50g for the crust, plus ¾ cup / 150g for the filling)
- Cream cheese (16 oz / 450g, full-fat, softened)
- Pumpkin puree (1 cup / 245g, not pumpkin pie filling)
- Large eggs (2, at room temperature)
- Sour cream (¼ cup / 60g)
- Vanilla extract (1 tsp / 5ml)
- Pumpkin pie spice (1½ tsp / 3g)
- Ground cinnamon (½ tsp / 1g)
- Salt (¼ tsp / 1g)
Instructions
- Preheat your oven to 350°F (175°C). Line a 9×9-inch pan with parchment paper, leaving an overhang on two opposite sides. Lightly grease the parchment.
- In a food processor, pulse the gingersnap cookies into fine crumbs. Pour into a medium bowl, add ¼ cup (50g) sugar, and stir. Pour in 5 tablespoons (70g) melted butter and mix until moistened.
- Press the crumb mixture firmly into the prepared pan. Bake for 10 minutes, then set aside to cool. Lower the oven temperature to 325°F (160°C).
- In a large bowl, beat the softened cream cheese on medium speed until smooth, about 2 minutes. Add ¾ cup (150g) sugar and beat for another minute.
- Beat in the sour cream and vanilla extract until smooth. Add the eggs one at a time, beating on low speed after each addition just until combined.
- In a small bowl, whisk together the pumpkin puree, pumpkin pie spice, cinnamon, and salt. Gently fold this mixture into the cream cheese mixture until just combined.
- Pour the filling over the cooled crust. Spread evenly. Tap the pan on the counter a few times to release air bubbles. Bake at 325°F (160°C) for 35-40 minutes, until edges are set but center still jiggles slightly.
- Cool the pan on a wire rack to room temperature, about 1 hour. Cover loosely with plastic wrap and refrigerate for at least 4 hours, preferably overnight.
- Use the parchment sling to lift the bars out of the pan. Slice into 16 squares with a sharp knife, wiping clean between cuts.
Notes
For best results, ensure all ingredients are at room temperature. Do not overbake; the center should still jiggle. Chill overnight for clean slices. Use a hot knife for neat edges.
Nutrition
- Serving Size: 1 bar
- Calories: 285
- Sugar: 20
- Sodium: 220
- Fat: 18
- Saturated Fat: 10
- Carbohydrates: 28
- Fiber: 1
- Protein: 5
Keywords: pumpkin cheesecake bars, gingersnap crust, fall dessert, Thanksgiving dessert, easy cheesecake bars


