“You’ve got to try this cheesecake,” my friend Leo texted me one evening, sounding way too excited for a dessert. Honestly, I was skeptical—no-bake cheesecakes can sometimes be a bit meh, you know? But when I finally made time to whip up this creamy Biscoff Lotus Cookie Butter no-bake cheesecake, something unexpected happened. It wasn’t just good—it was the kind of dessert that makes you pause and savor, the spoon hovering mid-air, thinking, “Wait, is this really that easy?”
The scent of the Lotus cookie butter melting into the cream cheese mixture filled my kitchen with a warm, spiced sweetness that felt like fall in a bowl. What really surprised me was how effortlessly it came together, no oven preheating, no stress about crusts crumbling apart. Just smooth, dreamy layers that set perfectly in the fridge.
Honestly, I made it three times in one week—once for a last-minute get-together and twice just because I couldn’t resist. There’s something quietly comforting about a dessert that feels indulgent but doesn’t demand hours of your day. It’s become a little secret weapon when unexpected guests drop by or when I want to treat myself without the fuss.
The creamy Biscoff no-bake cheesecake isn’t just a recipe—it’s a little moment of calm, a sweet pause wrapped in the cozy flavor of cookie butter. After all, it’s the kind of dessert that invites you to slow down, take a bite, and trust that simple can be sensational.
Why You’ll Love This Recipe
This creamy Biscoff Lotus Cookie Butter no-bake cheesecake isn’t just another sweet treat; it’s a tested winner that’s been perfected through a few kitchen experiments and a lot of taste tests. I’ve found it’s the kind of recipe that fits right into busy lives without compromising on flavor or texture.
- Quick & Easy: Ready in about 20 minutes, with just a few hours chilling time, making it perfect for last-minute dessert plans or relaxed weekend baking.
- Simple Ingredients: You don’t need fancy or hard-to-find items. Lotus cookie butter is the star, and you can usually find it at your local grocery or specialty stores.
- Perfect for Any Occasion: Whether it’s a casual family dinner or a festive gathering, this cheesecake fits right in with its smooth creaminess and subtle spice.
- Crowd-Pleaser: Kids, adults, cookie butter fanatics, skeptics—all agree this dessert hits the spot every time.
- Unbelievably Delicious: The velvety texture combined with the sweet, caramelized notes of Lotus cookie butter takes comfort food to a new level.
What sets this recipe apart? The magic happens with how the cookie butter blends seamlessly into the cream cheese base, creating a luscious, silky filling without any baking. Plus, the buttery, crunchy crust made from crushed Lotus cookies adds that perfect contrast in every bite. Honestly, it’s a recipe I’ve come to trust when I want to impress without stress. It’s a little indulgence that feels just right.
What Ingredients You Will Need
This no-bake cheesecake uses straightforward ingredients that come together to make something really special. Most are pantry staples or easy to find, and if you’re feeling adventurous, there are a few swaps you can try.
- For the Crust:
- Lotus Biscoff cookies (about 1 ½ cups crushed) – I usually grab the original crunchy kind for extra texture
- Unsalted butter, melted – around 6 tablespoons (85 grams) to bind the crust
- For the Filling:
- Cream cheese, softened (16 oz / 450 grams) – full-fat for the creamiest texture
- Lotus Biscoff cookie butter (1 cup / 250 grams) – the star ingredient, creamy and rich
- Powdered sugar (¾ cup / 90 grams) – to sweeten gently
- Heavy cream or whipping cream (1 cup / 240 ml) – for that fluffy, airy touch
- Vanilla extract (1 teaspoon) – just a hint to brighten flavors
- Pinch of salt – balances the sweetness
For the best results, I recommend using a smooth, spreadable cookie butter like Lotus Biscoff brand—it’s consistent and easy to work with. If you want a dairy-free version, swap cream cheese with a vegan alternative and use coconut cream instead of heavy cream. For gluten-free crust, crushed gluten-free speculoos cookies work wonders.
Equipment Needed
Here’s what you’ll need to pull off this creamy Biscoff no-bake cheesecake with ease:
- Springform pan (8 or 9-inch) – makes releasing the cheesecake a breeze without messing up the sides
- Mixing bowls – one large for the filling and one medium for the crust
- Electric hand mixer or stand mixer – while you can do it by hand, the mixer helps get that fluffy cream texture faster
- Food processor or plastic bag and rolling pin – to crush the cookies finely for the crust
- Rubber spatula – for scraping down the sides and folding ingredients smoothly
- Measuring cups and spoons – accuracy helps here, especially with sugar and butter
If you don’t have a springform pan, use a regular cake pan lined with parchment paper for easier removal. I once tried this in a glass pie dish, but the edges stuck a bit more, so springform remains my favorite. A sturdy food processor makes crushing the cookies quick and mess-free, but you can definitely get by with a zip-top bag and a rolling pin if needed.
Preparation Method
- Prepare the crust: Crush about 1 ½ cups (150 grams) of Lotus Biscoff cookies until fine but still slightly textured. You can pulse them in a food processor or place them in a sealed bag and roll with a rolling pin. Melt 6 tablespoons (85 grams) unsalted butter and stir it into the crushed cookies until evenly coated.
- Press the crust: Transfer the cookie mixture into your 8 or 9-inch springform pan. Use the back of a spoon or a flat-bottomed glass to press the crust firmly and evenly along the bottom. Pop it in the fridge to set while you make the filling (about 10-15 minutes).
- Make the filling: In a large bowl, beat 16 oz (450 grams) softened cream cheese with 1 cup (250 grams) of Lotus cookie butter until smooth and creamy. Add ¾ cup (90 grams) powdered sugar, 1 teaspoon vanilla extract, and a pinch of salt, mixing to combine fully.
- Whip the cream: In a separate bowl, whip 1 cup (240 ml) heavy cream until soft peaks form. This usually takes about 3-4 minutes with a mixer on medium speed.
- Fold the whipped cream: Gently fold the whipped cream into the cream cheese mixture using a spatula, being careful to keep the mixture light and airy. This step gives the cheesecake its signature creamy texture.
- Assemble the cheesecake: Pour the filling over the chilled crust and smooth the top with your spatula. Cover the pan with plastic wrap or a lid and refrigerate for at least 4 hours, preferably overnight. This chilling time helps the cheesecake set and flavors to meld.
- Serve: When ready, carefully remove the sides of the springform pan. For a nice finishing touch, sprinkle crushed Lotus cookies or drizzle a bit of cookie butter on top.
If the filling feels too soft after chilling, it might need a little longer to set—sometimes an extra hour does the trick. When folding the whipped cream, don’t rush or overmix; the air you incorporate is what keeps it light. If you don’t have powdered sugar, a fine granulated sugar blended into a powder can work in a pinch.
Cooking Tips & Techniques
Getting this creamy Biscoff no-bake cheesecake just right is about a few small tricks and knowing what to watch for during prep.
- Softening the cream cheese: I learned the hard way that cold cream cheese leads to lumps. Let it sit at room temp for about 30 minutes or microwave briefly (10 seconds) to soften, but don’t melt it!
- Cookie butter texture: If your cookie butter is thick, warming it slightly in the microwave (10-15 seconds) makes it easier to mix smoothly.
- Whipping cream peaks: For best results, chill your mixing bowl and beaters beforehand. Stop whipping once soft peaks form—if you go too far, it turns grainy and butter-like.
- Folding technique: Use a gentle motion, scraping around the bowl and folding down through the middle. This keeps the air trapped in the whipped cream, giving you that fluffy texture.
- Crust pressing: Press the crust firmly but not too hard—if packed too tight, it can become too dense and hard to cut.
One time, I skipped chilling the crust and the filling didn’t set as well—lesson learned! Also, multitasking by prepping the crust while the cream cheese softens saves time. This cheesecake is a great way to practice folding and whipping skills without too much pressure.
Variations & Adaptations
This recipe is surprisingly versatile, ready to be customized depending on what you have or prefer.
- Dairy-Free Version: Swap cream cheese for a vegan alternative like cashew cream cheese and use coconut cream instead of heavy cream. The flavor changes slightly but stays indulgent.
- Nutty Twist: Add finely chopped toasted pecans or walnuts to the crust for extra crunch and flavor complexity.
- Chocolate Swirl: Melt some dark chocolate and gently swirl it into the filling before chilling for a marbled effect that pairs beautifully with the cookie butter.
- Seasonal Spin: In warmer months, top with fresh berries or a dollop of lightly whipped cream for a fresh contrast. During fall, sprinkle cinnamon or nutmeg on top.
I once made a batch replacing the cookie butter with peanut butter for a different vibe, and it was surprisingly good—more savory and rich. If allergies are a concern, the gluten-free cookie crust option works wonders without losing any of that signature taste.
Serving & Storage Suggestions
For serving, this cheesecake is best chilled but not ice-cold. Let it sit out for 10-15 minutes before slicing to soften slightly—this makes cutting cleaner and the texture more inviting. Serve it on its own or with a drizzle of extra cookie butter or caramel sauce.
This dessert pairs well with a strong cup of coffee or a lightly brewed chai tea, complementing the warm spice notes in the cookie butter. I’ve found it’s also a lovely finish to a casual dinner, balancing richness with subtle sweetness.
Store leftovers covered in the fridge for up to 4 days. If you want to keep it longer, wrap tightly and freeze for up to 2 months. When reheating frozen slices, thaw overnight in the fridge and let sit at room temperature before serving to regain that creamy feel.
Over time, the flavors meld even deeper, so making it a day ahead can turn a good cheesecake into a great one. Just trust me on the timing—it’s worth the wait.
Nutritional Information & Benefits
This creamy Biscoff no-bake cheesecake is a treat that’s rich in flavor but also offers some nutritional perks thanks to its thoughtfully chosen ingredients. The cream cheese provides a good source of protein and calcium, while the cookie butter adds a comforting dose of energy.
Per serving (based on 12 slices), you can expect roughly 320 calories, 22 grams of fat, 28 grams of carbohydrates, and 5 grams of protein. It’s not a low-calorie dessert, but it’s satisfying enough that a small slice goes a long way.
For those mindful of gluten, swapping the crust for gluten-free cookies makes it accessible. Also, using natural cookie butter without added hydrogenated oils or preservatives can make it a bit cleaner. It’s a dessert that fits well into a balanced lifestyle when enjoyed occasionally and with intention.
Conclusion
This creamy Biscoff Lotus Cookie Butter no-bake cheesecake has become one of those recipes I reach for when I want dessert that feels like a hug in dessert form. It’s easy, reliable, and, honestly, pretty fun to make. You can tweak it to your liking, whether that’s adding a chocolate swirl or going dairy-free, and it still delivers that silky, sweet magic.
Cooking and baking should feel good—and this cheesecake does just that. I hope you enjoy making it as much as I have. It pairs nicely with other creamy favorites like my creamy lemon ricotta pasta for a cozy dinner, or even as a sweet finish after a snack like the creamy beer cheese pretzel dip.
Feel free to experiment, share your tweaks, or just savor it as is. Either way, it’s a dessert that invites you to slow down and enjoy the sweet moments.
Frequently Asked Questions
Can I make this cheesecake ahead of time?
Absolutely! It actually tastes better after chilling overnight. Just keep it covered and refrigerated until ready to serve.
What if I don’t have Lotus cookie butter?
You can substitute with any speculoos cookie butter or even peanut butter for a different twist. The flavor will change but still be delicious.
Is this recipe gluten-free?
Not as written, since the crust uses Lotus cookies which contain gluten. For gluten-free, use gluten-free speculoos cookies or another gluten-free cookie for the crust.
How long does it take for the cheesecake to set?
Plan for at least 4 hours in the fridge, though overnight chilling gives the best texture and flavor.
Can I freeze the cheesecake?
Yes, wrap it tightly and freeze for up to 2 months. Thaw in the fridge overnight before serving.
Pin This Recipe!
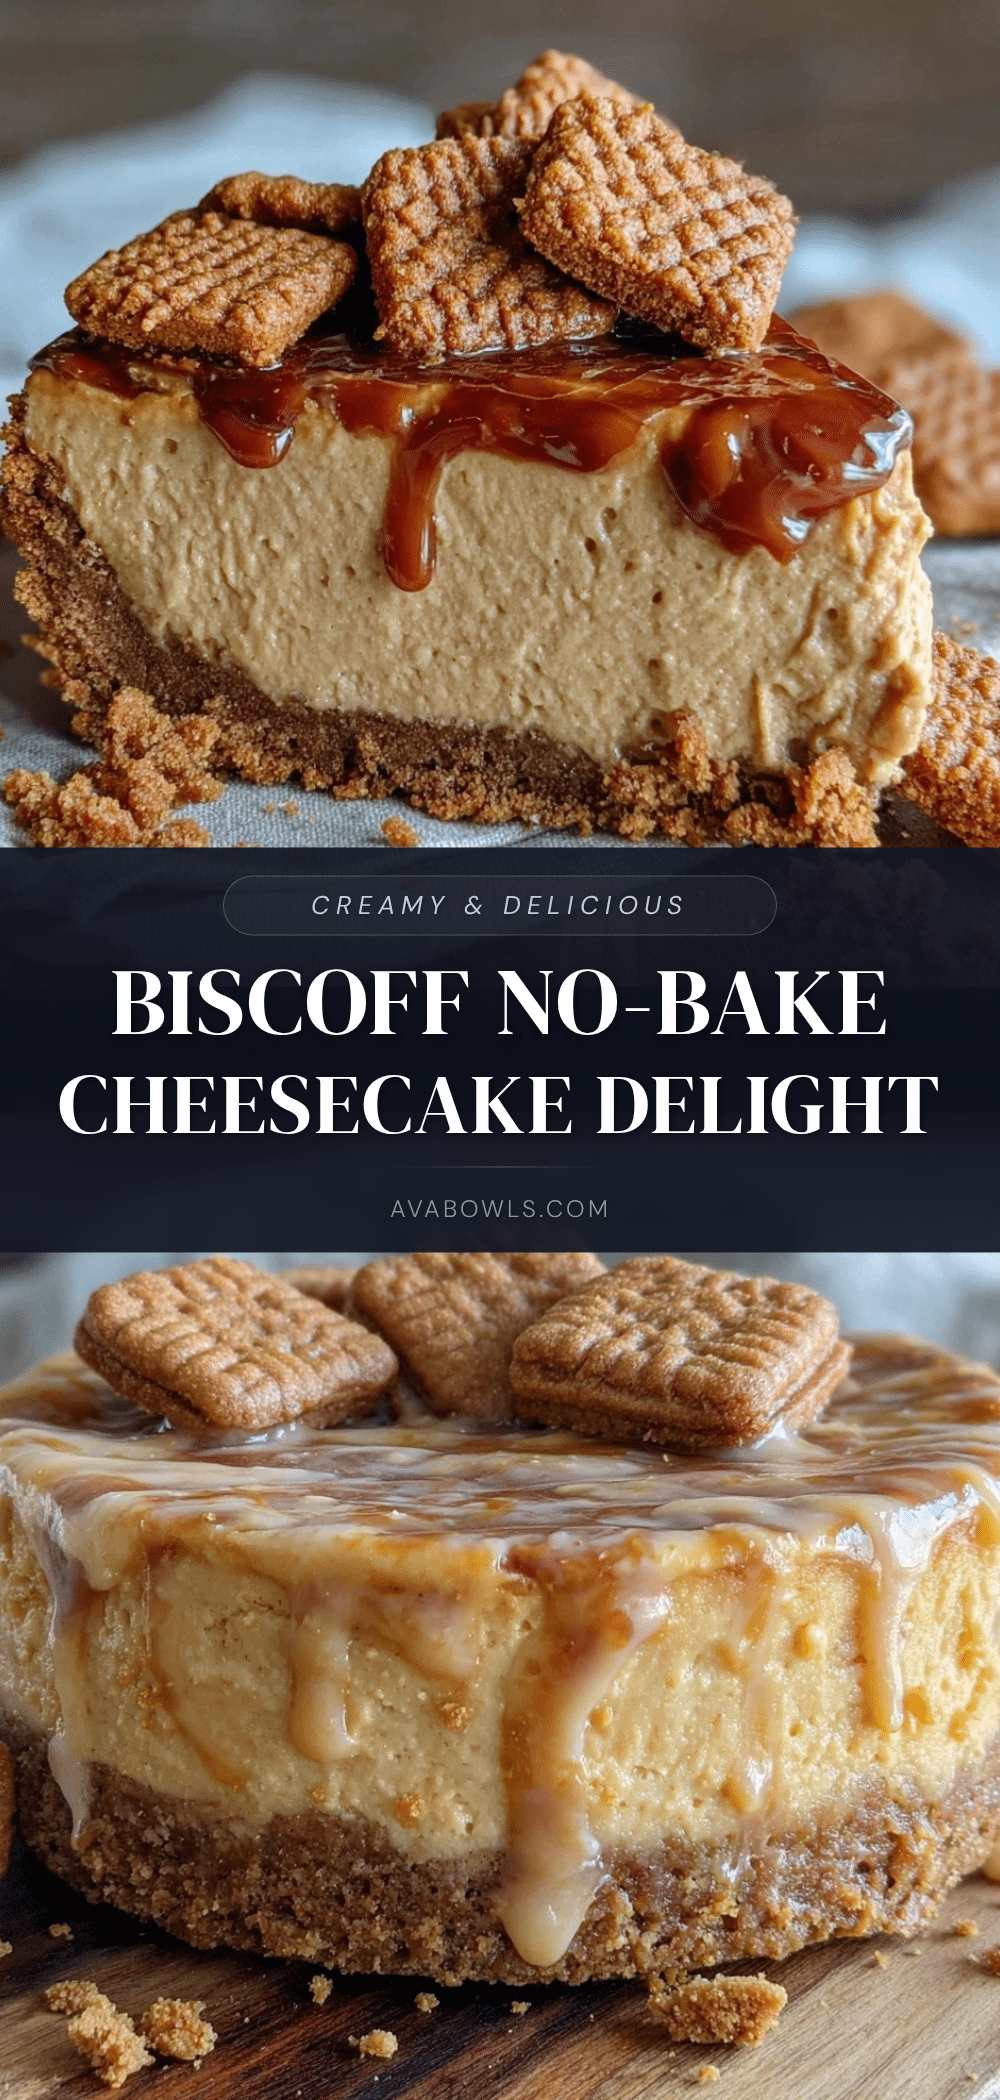
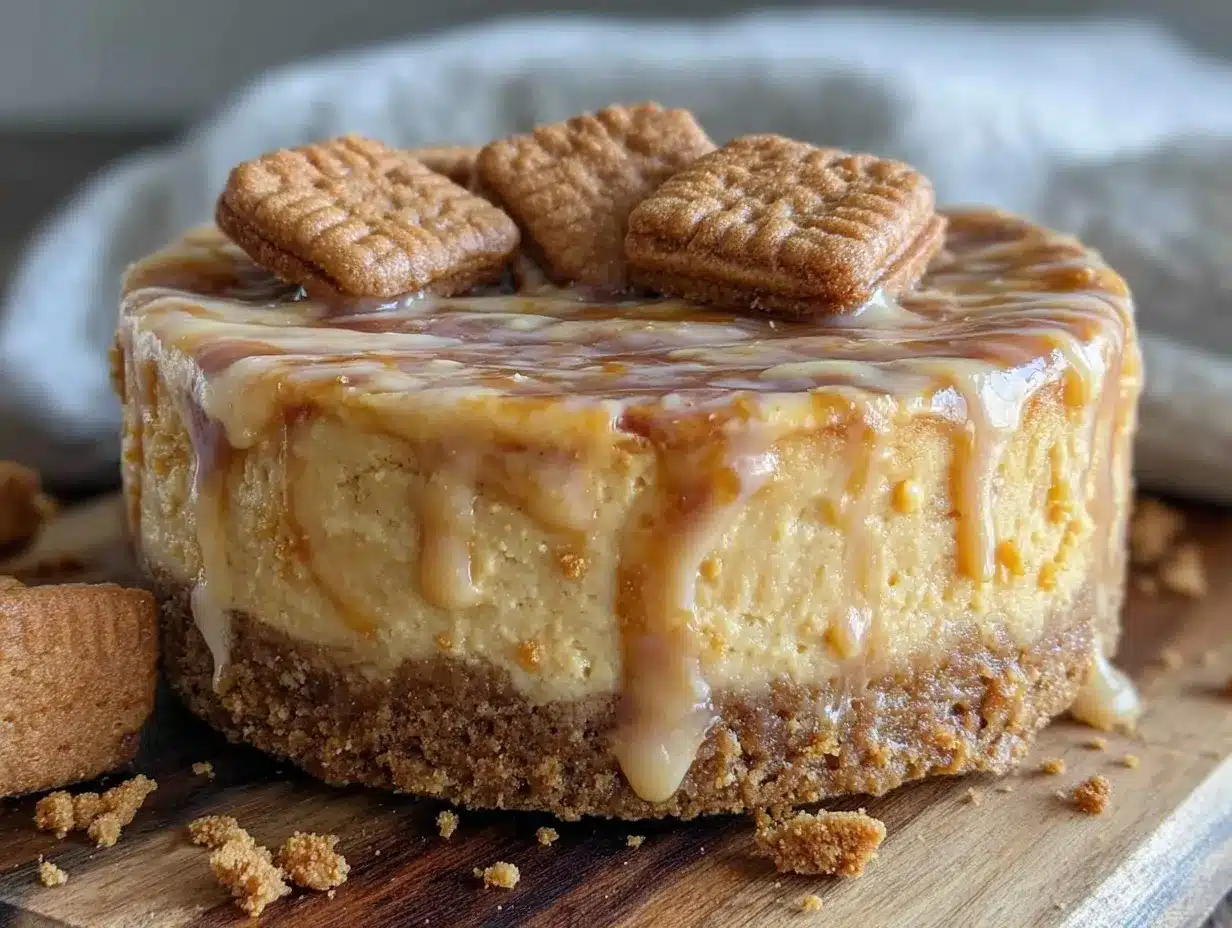
Creamy Biscoff No-Bake Cheesecake
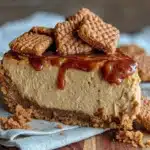
A smooth, dreamy no-bake cheesecake featuring Lotus Biscoff cookie butter and a crunchy cookie crust, perfect for quick and indulgent desserts.
- Prep Time: 20 minutes
- Cook Time: 0 minutes
- Total Time: 4 hours 20 minutes
- Yield: 12 servings 1x
- Category: Dessert
- Cuisine: American
Ingredients
- 1 ½ cups Lotus Biscoff cookies, crushed
- 6 tablespoons unsalted butter, melted
- 16 oz cream cheese, softened (full-fat)
- 1 cup Lotus Biscoff cookie butter
- ¾ cup powdered sugar
- 1 cup heavy cream
- 1 teaspoon vanilla extract
- Pinch of salt
Instructions
- Crush about 1 ½ cups (150 grams) of Lotus Biscoff cookies until fine but still slightly textured using a food processor or rolling pin in a sealed bag.
- Melt 6 tablespoons (85 grams) unsalted butter and stir into the crushed cookies until evenly coated.
- Press the cookie mixture firmly and evenly into the bottom of an 8 or 9-inch springform pan. Refrigerate for 10-15 minutes to set.
- In a large bowl, beat 16 oz (450 grams) softened cream cheese with 1 cup (250 grams) Lotus cookie butter until smooth and creamy.
- Add ¾ cup (90 grams) powdered sugar, 1 teaspoon vanilla extract, and a pinch of salt to the cream cheese mixture and mix until combined.
- In a separate bowl, whip 1 cup (240 ml) heavy cream until soft peaks form (about 3-4 minutes).
- Gently fold the whipped cream into the cream cheese mixture using a spatula to keep it light and airy.
- Pour the filling over the chilled crust and smooth the top. Cover and refrigerate for at least 4 hours or overnight to set.
- Remove the sides of the springform pan carefully before serving. Optionally, garnish with crushed Lotus cookies or a drizzle of cookie butter.
Notes
Soften cream cheese at room temperature for 30 minutes or microwave briefly to avoid lumps. Warm cookie butter slightly if thick. Whip cream to soft peaks only. Press crust firmly but not too hard. Chill cheesecake at least 4 hours or overnight for best texture. Can substitute vegan cream cheese and coconut cream for dairy-free version. Use gluten-free cookies for gluten-free crust.
Nutrition
- Serving Size: 1 slice (1/12th of c
- Calories: 320
- Fat: 22
- Carbohydrates: 28
- Protein: 5
Keywords: Biscoff cheesecake, no-bake cheesecake, Lotus cookie butter, easy dessert, no oven dessert, creamy cheesecake