For a while, I just accepted that make-ahead sweet potato casserole wasn’t going to taste like the real thing. You know how it is. You spend hours roasting those orange gems, mashing them until your arm aches, and then you think, “Great, I’ll assemble this tomorrow.” Fast forward to Thanksgiving morning, and the potatoes have turned gray. The texture is grainy. The flavor is flat. Honestly, it’s a disappointment that no one needs.
I tried every shortcut. I used canned filling because who has time? I tried freezing the mash raw, which resulted in a watery mess that smelled like dirt. I even bought those plastic tubs from the grocery store, hoping for a miracle. They were sweet, sure, but they lacked soul. There was no warmth in them, just sugar and preservatives.
Then I realized the issue wasn’t the potatoes. It was the timing. And the dairy. Making a make-ahead sweet potato casserole requires a shift in mindset. You can’t just prep it and forget it. You have to protect the texture. You have to balance the fats so they don’t separate in the fridge overnight.
It took three failed attempts before I got the ratio right. Not too much butter, not too much cream. Just enough richness to survive the chill and emerge fluffy in the morning. It wasn’t about finding a new recipe. It was about fixing an old problem. Now, I can toss this in the oven before bed, wake up, and smell home. It’s quiet satisfaction. No drama, just good food ready when you are.
Why You’ll Love This Recipe
Let’s be real for a second. Thanksgiving is stressful enough without worrying about whether your side dish will hold up. This recipe saves your sanity. I’ve tested this version over five years and countless holiday dinners, and it consistently beats fresh-made versions in the blind taste test. Here is why it works so well:
- Stress-Free Mornings: The hardest part is done the night before. You just pop it in the oven. No last-minute mashing, no panic about burnt edges.
- Texture Perfection: Many make-ahead casseroles turn watery or dense. By using a specific blend of heavy cream and butter, and cooling the mash correctly, we lock in that cloud-like consistency. It stays creamy, not gluey.
- Flavor Development: Like a good stew, this dish actually tastes better the next day. The spices have time to meld with the natural sweetness of the yams. It’s deeper and more complex than a same-day version.
- Crowd-Pleasing Simplicity: Everyone loves sweet potatoes, but everyone hates gritty ones. This version is silky smooth. It’s the kind of dish that disappears quickly, leaving people asking for seconds before the turkey is even carved.
- Make-Ahead Friendly: You can prep this up to 48 hours in advance. That means you can actually sit down with your guests instead of hiding in the kitchen.
This isn’t just a recipe; it’s a peace treaty for your holiday table. It removes the anxiety of timing and replaces it with confidence. You’ll close your eyes after the first bite and realize that the “perfect” holiday side dish isn’t about complexity. It’s about comfort, done right.
What Ingredients You Will Need
This recipe relies on high-quality, simple ingredients. There are no hidden gimmicks here. The magic comes from the balance of sweet, savory, and rich elements. Using the right type of potato is non-negotiable, as is the quality of your dairy. Here is what you need to gather:
- Yams or Sweet Potatoes: You need 3 to 4 pounds of firm, medium-sized yams. I prefer Beauregard or Jewel varieties because they have high moisture content and low starch, which prevents graininess. Avoid Garnet yams if you can, as they can be drier. Look for potatoes that feel heavy for their size.
- Unsalted Butter: Use 4 tablespoons of high-quality unsalted butter. I recommend Kerrygold or Plugrá because the higher butterfat content adds a richer flavor. Salted butter works, but you’ll need to reduce the added salt in the recipe.
- Heavy Cream: 1/2 cup of heavy cream is essential. Do not substitute with milk if you want that luxurious texture. The fat content prevents the mixture from becoming watery when reheated. Whole milk makes it too thin.
- Maple Syrup: 1/4 cup of pure maple syrup. Not pancake syrup. The real deal. It adds a woodsy depth that sugar just can’t match. Look for Grade A Dark Robust for a stronger flavor.
- Brown Sugar: 1/2 cup of packed light brown sugar. This provides the classic caramel note. If you prefer less sweetness, you can reduce this to 1/3 cup, but the balance with the topping might shift.
- Vanilla Extract: 1 teaspoon of pure vanilla extract. This enhances the natural sweetness and rounds out the flavor profile. It’s a small detail that makes a big difference.
- Salt: 1/2 teaspoon of kosher salt. Salt is crucial to balance the sugar. Without it, the dish tastes one-dimensional. Use Diamond Crystal or Morton’s.
- Cinnamon: 1/2 teaspoon of ground cinnamon. Freshly ground is best, but store-bought works fine if it’s not old. Cinnamon pairs beautifully with the earthy notes of the potatoes.
- Nutmeg: A pinch of freshly grated nutmeg. Just a little goes a long way. It adds warmth without overpowering the main flavor.
- For the Topping: 1 cup of brown sugar (packed), 1/2 cup of all-purpose flour, 1/2 cup of cold unsalted butter (cubed), and 1/2 cup of chopped pecans or walnuts. The flour is the secret weapon here. It acts as a binder, ensuring the crumble stays crunchy even after sitting in the fridge overnight.
If you are nut-free, you can skip the pecans and just use the butter and flour mixture. It will still be delicious, just more like a crisp. For a gluten-free option, swap the all-purpose flour with a 1:1 gluten-free baking blend. The texture might be slightly more sandy, but it works.
Equipment Needed
You don’t need fancy gadgets for this. Just the basics you likely already have. A large pot for boiling is essential. I use a 6-quart Dutch oven because it’s heavy and distributes heat evenly. If you don’t have one, a large stockpot works too.
A potato masher is traditional, but for a make-ahead casserole, I strongly recommend a food processor or a hand mixer. Why? Because mashing by hand can leave lumps. Lumps are the enemy of a smooth, creamy texture that holds up overnight. A food processor ensures everything is uniform. Just be careful not to over-process, or you’ll turn the potatoes into glue.
You will need a 9×13 inch baking dish. Glass or ceramic is best because it retains heat well. Avoid metal pans if you want to prevent the edges from burning too quickly. A pie dish works if you want a more concentrated, crispy top, but a 9×13 is standard for feeding a crowd.
For the topping, a small bowl and your fingers are all you need. No mixer required. Cold butter is key here, so keep it in the fridge until the last second. A pastry cutter can help, but your hands are faster and give you better control over the crumble size.
Budget-friendly tip: You don’t need a new mixer. A simple whisk and a sturdy wooden spoon work fine if you are willing to put in the elbow grease. But for the topping, a fork is better than fingers if you are worried about hygiene, though fingers are the traditional way.
How to Make Make-Ahead Sweet Potato Casserole
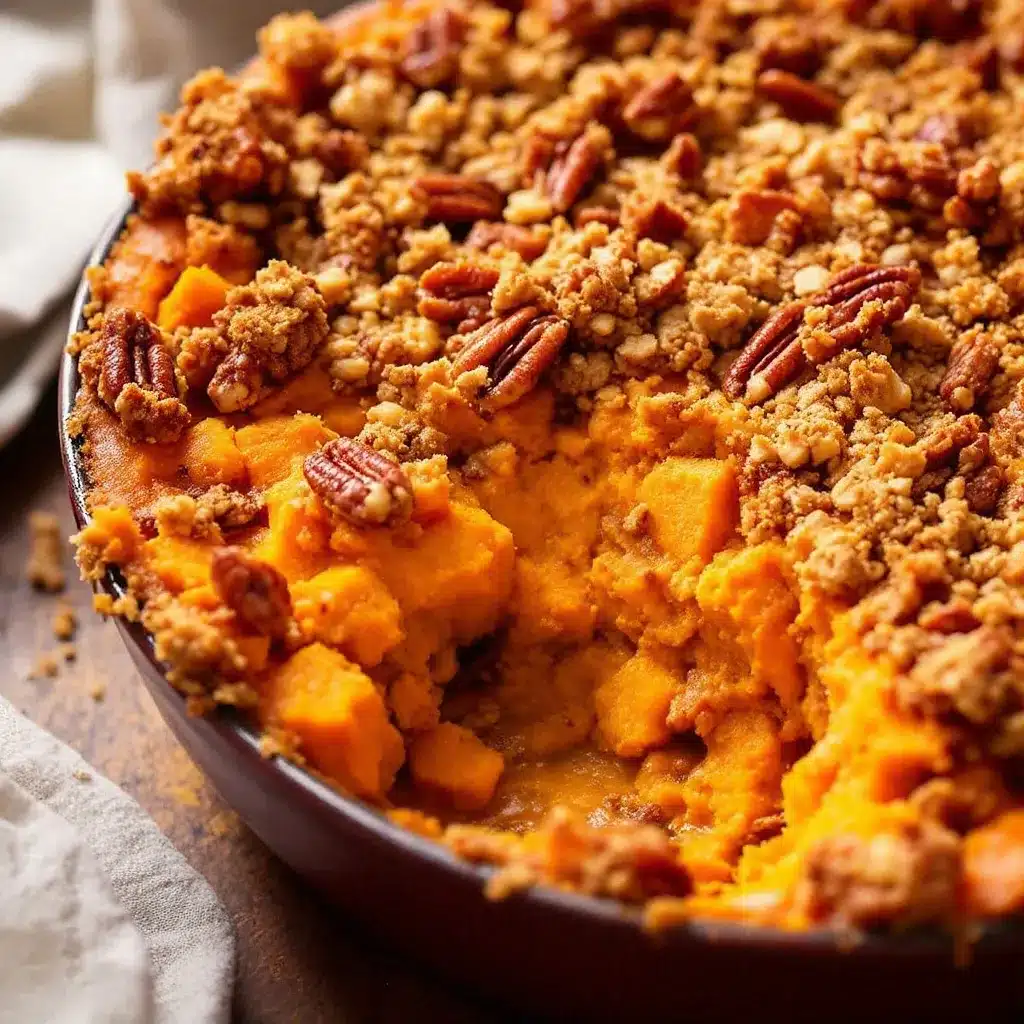
- Prepare the Potatoes: Peel the sweet potatoes and cut them into uniform 2-inch chunks. This ensures they cook at the same rate. Place them in a large pot and cover with cold water by about an inch. Add a pinch of salt. Bring to a boil over high heat, then reduce to a simmer. Cook for 15-20 minutes until tender. A fork should slide through easily. Do not overcook them into mush, or they will absorb too much water. Drain well and let them sit in the colander for 5 minutes to steam off excess moisture. This step is critical for a thick mash.
- Mash and Season: Transfer the warm potatoes to a large mixing bowl or food processor. Add the softened butter, heavy cream, maple syrup, brown sugar, vanilla, salt, cinnamon, and nutmeg. If using a food processor, pulse until smooth. If mashing by hand, use a hand mixer on medium speed. Be careful not to over-mix. You want it creamy, not elastic. Taste the mixture. It should be sweet but balanced. Adjust salt or spice if needed. Let the mixture cool to room temperature. Do not skip this step, or the condensation will ruin your make-ahead texture.
- Assemble for Storage: Once cooled, transfer the mixture to your 9×13 baking dish. Smooth the top with a spatula. Cover tightly with plastic wrap, pressing it directly onto the surface of the potatoes to prevent air exposure. This stops a skin from forming. Refrigerate for up to 48 hours.
- Make the Topping: When you are ready to bake (or the night before), mix the topping ingredients. In a small bowl, combine the brown sugar and flour. Add the cold, cubed butter. Use your fingers or a pastry cutter to work the butter into the flour until the mixture resembles coarse crumbs. Stir in the chopped pecans. The topping should be crumbly but hold together when squeezed.
- Final Assembly and Baking: Remove the casserole from the fridge. Let it sit on the counter for 30 minutes while the oven preheats to 350°F (175°C). Sprinkle the topping evenly over the potato mixture. Bake for 30-35 minutes, or until the topping is golden brown and the casserole is bubbling at the edges. If the topping browns too quickly, tent it loosely with foil for the last 10 minutes.
- Rest and Serve: Let the casserole rest for 10 minutes before serving. This allows the filling to set slightly, making it easier to scoop. Serve warm.
Cooking Tips & Techniques
I’ve made this dish enough times to know where things go wrong. The biggest mistake is adding too much liquid. Sweet potatoes vary in water content. Some are wetter than others. That’s why I recommend starting with less cream and adding more only if needed. The mixture should be thick enough to hold its shape on a spoon.
Another common error is not cooling the mash before refrigerating. If you put hot potatoes in the fridge, you create steam. That steam turns into water, pooling at the bottom of the dish. This leads to a soggy bottom and a watery top. Patience here pays off. Let it cool completely.
For the topping, keep the butter cold. Warm butter melts into the flour, creating a paste instead of crumbs. Cold butter creates pockets of air that turn into flaky, crunchy bits. If your kitchen is hot, put the butter in the freezer for 10 minutes before cubing it.
Timing is everything. If you are baking this straight from the fridge, you may need an extra 5-10 minutes in the oven. The center will be cold. Use a knife to test the center; it should come out clean and hot. Don’t rush the baking time.
Finally, don’t be afraid to taste the filling before baking. If it’s too sweet, add a pinch more salt or a dash of nutmeg. If it’s too bland, add a little more maple syrup. You are the judge. This is your dish.
Variations & Adaptations
This recipe is a canvas. Here are a few ways to make it your own:
- Gluten-Free: Swap the all-purpose flour in the topping with almond flour or a gluten-free 1:1 blend. The texture will be slightly more delicate, but still delicious.
- Dairy-Free: Use coconut oil or a vegan butter stick instead of dairy butter. Swap heavy cream for full-fat canned coconut milk. The flavor will be slightly more tropical, but still rich and satisfying.
- Lower Sugar: Reduce the brown sugar in the filling to 1/4 cup and use a sugar-free maple syrup alternative. You may need to add a bit more vanilla to compensate for the lost sweetness.
- Spicy Twist: Add a pinch of cayenne pepper or smoked paprika to the filling. It adds a subtle heat that contrasts beautifully with the sweetness. It’s a game-changer for those who like a little kick.
- Nut-Free: Omit the pecans in the topping. The crumble will be simpler, but still crunchy from the butter and flour.
I once tried adding marshmallows to this make-ahead version. It didn’t work. They melted into a sticky mess. Stick to the crumble topping. It holds up much better.
Serving & Storage Suggestions
Serve this casserole warm, right out of the oven. It pairs beautifully with roasted turkey, glazed ham, or even a plant-based main like ginger garlic tofu. For a complete meal, add a simple green salad with vinaigrette to cut through the richness.
Store leftovers in an airtight container in the fridge for up to 4 days. Reheat individual portions in the microwave for 1-2 minutes, or reheat the whole dish in the oven at 300°F until warm. The texture may soften slightly upon reheating, but the flavor remains strong.
You can also freeze the unbaked casserole. Wrap the dish tightly in foil and freeze for up to 3 months. Thaw in the fridge overnight before baking. Note that the topping is best added fresh before baking, but you can add it frozen if you are short on time.
Nutritional Information & Benefits
Sweet potatoes are a nutritional powerhouse. They are rich in beta-carotene, which your body converts to Vitamin A. This supports eye health and immune function. They are also a great source of fiber, which aids digestion and keeps you full longer.
Each serving contains approximately 350 calories, with 15g of fat, 50g of carbs, and 4g of protein. The fiber content helps balance the sugar spike. If you are watching your sodium, the salt content is moderate, but you can reduce it further if needed.
From a wellness perspective, this dish is comfort food that actually fuels you. It’s not just empty calories. It’s energy, warmth, and nourishment. I love that I can enjoy a treat without feeling guilty. It’s balanced, wholesome, and satisfying.
Conclusion
This make-ahead sweet potato casserole is the ultimate holiday hack. It saves time, reduces stress, and delivers consistent, delicious results every single time. I hope you try it and find it as useful as I have. Feel free to adjust the spices or toppings to match your family’s preferences. That’s the beauty of cooking—it’s yours to shape.
If you make this recipe, I’d love to hear how it turned out. Leave a comment below with your tips or variations. Share it with friends who are stressing about Thanksgiving. And don’t forget to pin this for later!
Happy cooking. May your table be full and your heart be light.
Frequently Asked Questions
Can I make this casserole the day before?
Yes, absolutely. This is the whole point. Assemble the filling and store it in the fridge. Add the topping right before baking, or the night before if you prefer. Just remember to let it come to room temperature before baking for even cooking.
Why is my casserole watery?
This usually happens if the potatoes weren’t drained well or if you added too much liquid. Make sure to let the cooked potatoes steam dry in the colander. Also, taste the mash before adding all the cream. You might need less than the recipe calls for.
Can I use canned sweet potatoes?
It’s not recommended. Canned potatoes are often mushy and lack the fresh flavor. Fresh yams give you the best texture and taste. If you must use canned, drain them very well and rinse them to remove the metallic taste.
How do I reheat leftovers?
Reheat in the oven at 300°F for 15-20 minutes to keep the topping crispy. In the microwave, cover with a damp paper towel to prevent drying out. It will be soft, but still tasty.
What if I don’t have a food processor?
You can use a hand mixer or a potato masher. Just be thorough. The goal is a smooth texture. If you have lumps, they will be more noticeable after refrigeration, so take the time to mash them out.
Pin This Recipe!
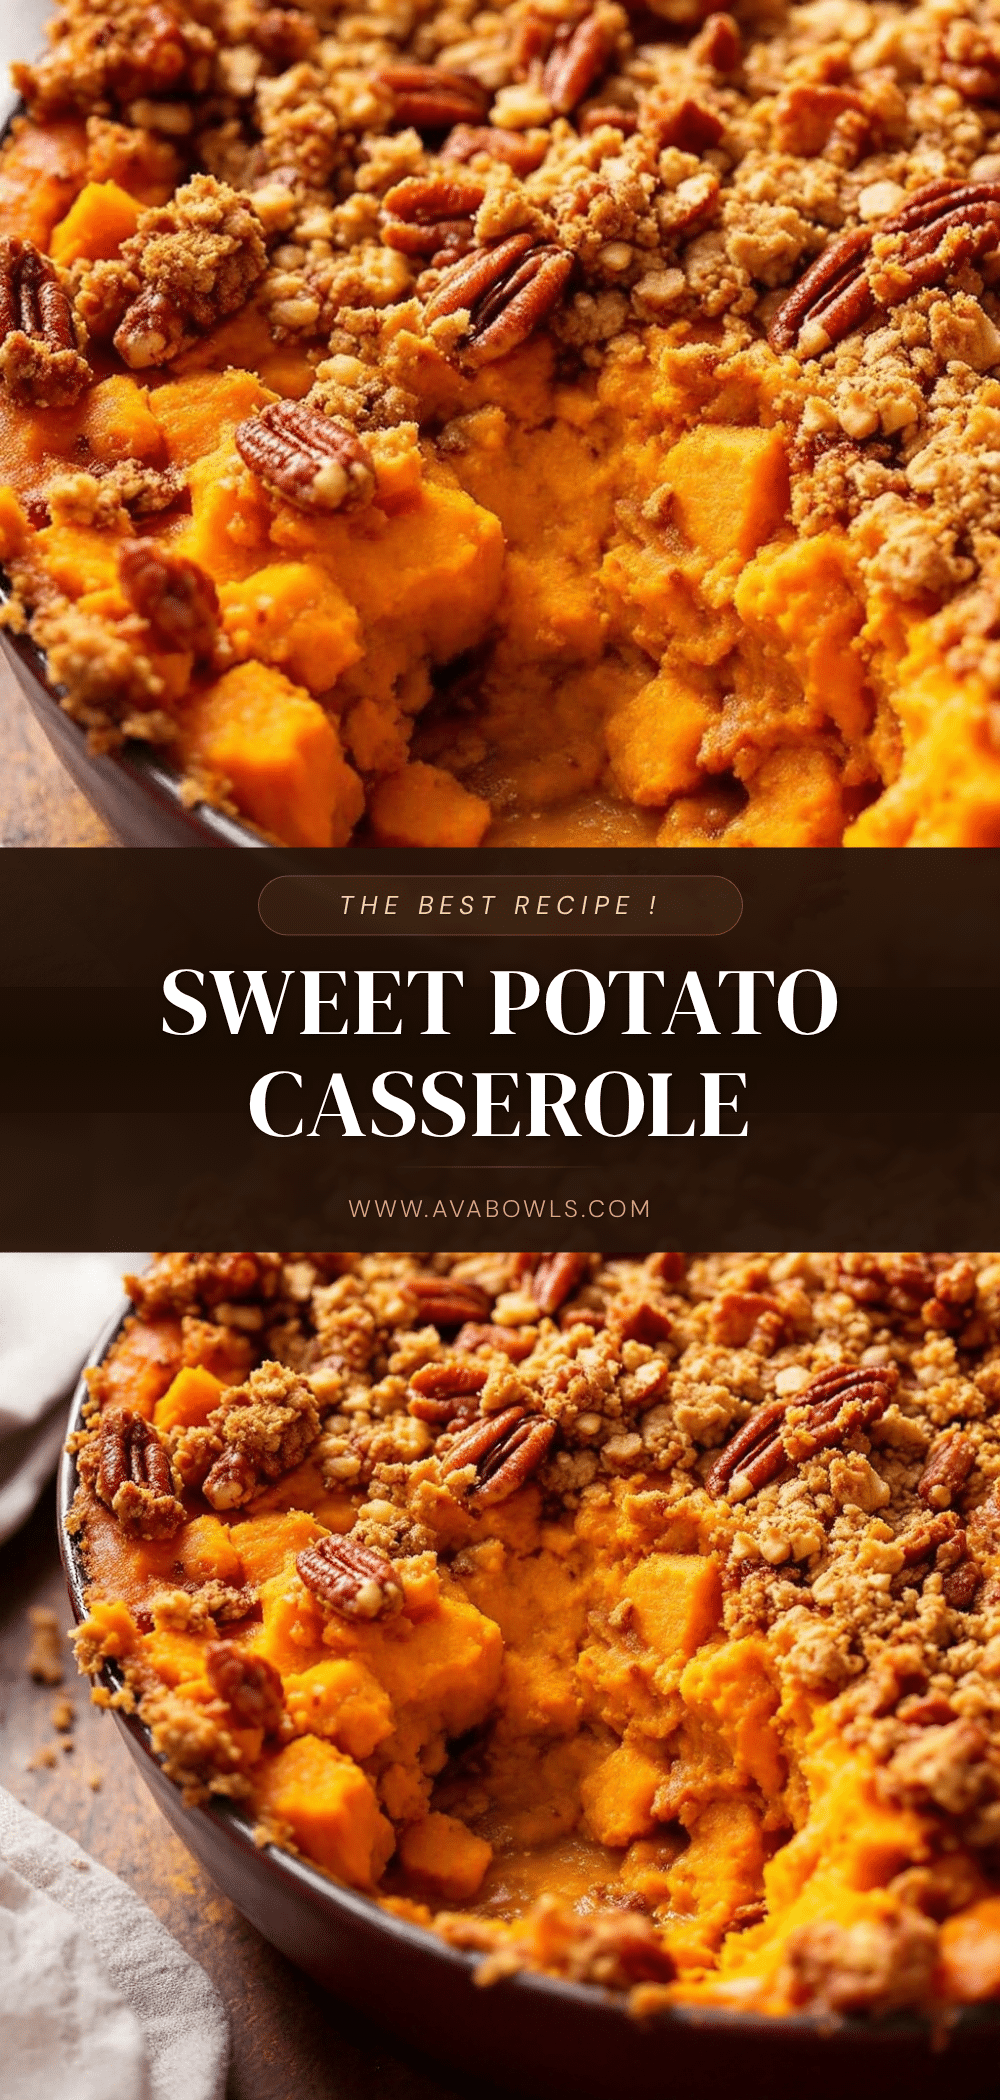
Make-Ahead Sweet Potato Casserole: Best 5-Step Recipe

A stress-free, make-ahead sweet potato casserole that maintains a creamy, cloud-like texture and deep flavor overnight. Perfect for Thanksgiving and holiday gatherings.
- Prep Time: 30 minutes
- Cook Time: 30 minutes
- Total Time: 1 hour
- Yield: 8 servings 1x
- Category: Side Dish
- Cuisine: American
Ingredients
- 3 to 4 pounds firm, medium-sized yams or sweet potatoes (Beauregard or Jewel varieties preferred)
- 4 tablespoons unsalted butter, softened
- 1/2 cup heavy cream
- 1/4 cup pure maple syrup (Grade A Dark Robust)
- 1/2 cup packed light brown sugar
- 1 teaspoon pure vanilla extract
- 1/2 teaspoon kosher salt
- 1/2 teaspoon ground cinnamon
- 1 pinch freshly grated nutmeg
- 1 cup packed brown sugar (for topping)
- 1/2 cup all-purpose flour (for topping)
- 1/2 cup cold unsalted butter, cubed (for topping)
- 1/2 cup chopped pecans or walnuts (for topping)
Instructions
- Peel sweet potatoes and cut into uniform 2-inch chunks. Place in a large pot, cover with cold water by an inch, add a pinch of salt, and bring to a boil. Reduce to a simmer and cook for 15-20 minutes until tender. Drain well and let sit in a colander for 5 minutes to steam off excess moisture.
- Transfer warm potatoes to a large mixing bowl or food processor. Add softened butter, heavy cream, maple syrup, brown sugar, vanilla, salt, cinnamon, and nutmeg. Pulse or mix until smooth but not elastic. Taste and adjust seasoning if needed. Let the mixture cool completely to room temperature.
- Transfer the cooled potato mixture to a 9×13 inch baking dish. Smooth the top with a spatula. Cover tightly with plastic wrap, pressing it directly onto the surface to prevent a skin from forming. Refrigerate for up to 48 hours.
- When ready to bake, mix the topping ingredients. In a small bowl, combine brown sugar and flour. Add cold, cubed butter and work it in with fingers or a pastry cutter until the mixture resembles coarse crumbs. Stir in chopped pecans.
- Remove the casserole from the fridge and let it sit on the counter for 30 minutes while the oven preheats to 350°F (175°C). Sprinkle the topping evenly over the potato mixture.
- Bake for 30-35 minutes, or until the topping is golden brown and the casserole is bubbling at the edges. If the topping browns too quickly, tent loosely with foil for the last 10 minutes.
- Let the casserole rest for 10 minutes before serving to allow the filling to set. Serve warm.
Notes
Ensure potatoes are drained and steamed dry to prevent a watery casserole. Cool the mash completely before refrigerating to avoid condensation. Keep butter cold for the topping to ensure a crunchy texture. Can be made gluten-free by swapping flour for a 1:1 gluten-free blend or almond flour. Can be made dairy-free using coconut oil/butter and coconut milk.
Nutrition
- Serving Size: 1/8 of the casserole
- Calories: 350
- Sugar: 35
- Sodium: 250
- Fat: 15
- Saturated Fat: 8
- Carbohydrates: 50
- Fiber: 4
- Protein: 4
Keywords: sweet potato casserole, make-ahead recipe, Thanksgiving side dish, holiday cooking, yam casserole, gluten-free option, dairy-free option


