The pan was scraped clean. Not a single drop of that glossy, amber-hued sauce remained on the bottom. My husband didn’t even use a fork to get the last bit of chicken; he just dipped a piece of crusty bread into the skillet and sighed like he’d just found a hidden treasure. That’s the moment you know you’ve struck gold with your Easy One-Pan Honey Garlic Chicken Thighs.
I didn’t plan for it to be this popular. Honestly, I just wanted a quick dinner that wouldn’t involve me scrubbing a dozen dishes afterward. It was a Tuesday, the kind where you’re mentally checking off tasks while the clock ticks toward 6 PM. I threw bone-in thighs into the oven, tossed them with honey, garlic, and soy sauce, and walked away.
When I pulled the tray out, the kitchen smelled like a high-end Asian fusion restaurant, not a tired home cook’s kitchen. The skin was crispy, the meat fell off the bone, and the sauce was thick enough to coat a spoon but thin enough to drizzle over rice. My kids, who usually pick at their food, cleaned their plates without a single complaint.
Now, it’s the go-to request. “Can we have the honey garlic chicken again?” they ask. I don’t even have to look at the recipe card anymore. It’s become a staple in our weekly rotation, right up there with crispy Nashville hot chicken tenders for those nights when we want some heat, but this one is all about that sweet and savory balance.
It’s funny how a simple combination of pantry staples can create such a big reaction. You don’t need fancy ingredients or hours of prep. Just chicken, honey, garlic, and a little patience. The result is always the same: an empty pan and happy faces. That quiet pride of knowing you fed your family something delicious without the stress is worth every minute.
Why You’ll Love This Recipe
Let’s be real for a second. Weeknight dinners are a struggle. You’re tired, you’re hungry, and the last thing you want to do is spend an hour chopping vegetables or washing a mountain of pots. This recipe solves all of that. It’s designed for real life, not for Instagram photos that take three hours to set up.
Here is why this dish has earned its spot in your regular meal plan:
- Quick & Easy: From start to finish, this takes about 45 minutes. That’s it. You spend five minutes prepping and forty minutes letting the oven do the work. It’s perfect for those busy weeknights when you need dinner on the table fast.
- Simple Ingredients: You likely already have everything you need in your kitchen. Honey, garlic, soy sauce, olive oil, and chicken thighs. No obscure spices from a specialty store. It’s accessible cooking at its finest.
- Perfect for Meal Prep: These thighs reheat beautifully. If you make a double batch, you’ll have lunches sorted for the next few days. The flavors actually get better after sitting in the fridge overnight.
- Crowd-Pleaser: Kids love the sweetness. Adults love the savory depth. It’s one of those rare dishes that satisfies every palate at the table without needing a separate meal for picky eaters.
- Unbelievably Delicious: The combination of crispy skin and tender, juicy meat coated in a sticky, garlicky glaze is next-level comfort food. It’s rich without being heavy, and sweet without being cloying.
What makes this recipe different from the rest? It’s the balance. Too much honey and it’s just chicken wings. Too much garlic and it’s overpowering. This ratio hits that sweet spot (pun intended) where every bite is perfectly seasoned.
I’ve tried dozens of honey garlic chicken recipes over the years. Some are too runny, some are too salty, and some leave the chicken dry. This method uses bone-in, skin-on thighs because the fat keeps the meat moist while the skin crisps up in the oven. It’s a technique that ensures juicy meat every single time.
This isn’t just dinner; it’s a stress-free solution. It’s the kind of meal that makes you feel like a pro chef without the pressure. You close your eyes after the first bite and just enjoy the comfort. It’s reliable, it’s tasty, and it’s easy to make again and again.
What Ingredients You Will Need
This recipe relies on a handful of high-quality, simple ingredients to deliver bold flavor. You don’t need anything exotic. The magic is in how these basic components work together.
- Bone-in, Skin-on Chicken Thighs: This is non-negotiable for the best texture. Boneless thighs can dry out quickly in the oven, and skinless thighs lack that crispy, flavorful exterior. Look for thighs that are roughly the same size so they cook evenly. I prefer organic, pasture-raised when possible, but any good quality chicken works.
- Unsalted Butter: Adds richness and helps the sauce brown beautifully. Use real butter, not margarine, for that authentic savory depth. About two tablespoons is perfect.
- Extra Virgin Olive Oil: Helps prevent the butter from burning at high temperatures. It also adds a subtle fruity note that balances the sweetness.
- Garlic: Fresh is the only way to go here. Pre-minced garlic in a jar just doesn’t have the same punch. You’ll need about six to eight cloves, minced finely. If you’re a garlic lover, don’t be shy.
- Honey: The star of the show. Use a good quality, raw honey if you can find it. It adds a complex floral sweetness that refined sugar can’t match. Local honey is a nice touch if you have it.
- Soy Sauce: Provides the salty, umami backbone. Low-sodium soy sauce is recommended so you can control the salt level. Tamari is a great gluten-free alternative if needed.
- Rice Vinegar: A splash of acidity cuts through the sweetness and richness. It brightens up the whole dish. If you don’t have rice vinegar, white wine vinegar works in a pinch.
- Ginger: Fresh grated ginger adds a warm, spicy kick. It pairs perfectly with garlic and honey. About one teaspoon of fresh ginger is sufficient.
- Red Pepper Flakes: Optional, but recommended. A pinch adds a subtle heat that keeps the flavor profile interesting. Adjust to your spice tolerance.
- Green Onions: For garnish. They add a fresh, crunchy contrast to the soft chicken and rich sauce.
Having the right ingredients makes all the difference. I always keep a jar of honey and a bottle of soy sauce on hand because they’re versatile. If you’re watching your sodium, you can reduce the soy sauce and add a pinch of salt later. For a richer sauce, you can add a tablespoon of cornstarch mixed with water at the end to thicken it up.
Equipment Needed
You don’t need a fancy kitchen to make this. A few basic tools are all you need.
- Large Sheet Pan: A standard 18×13 inch baking sheet is perfect. Make sure it has a rim to catch any drips. If you don’t have a large enough pan, use two smaller ones to avoid overcrowding.
- Parchment Paper or Foil: Lining your pan makes cleanup a breeze. Just peel it off and toss it. No scrubbing required.
- Mixing Bowls: You’ll need a small bowl to whisk the sauce and a larger one if you want to toss the chicken in oil and spices first.
- Whisk: Essential for emulsifying the honey, soy sauce, and oil into a smooth glaze.
- Chef’s Knife and Cutting Board: For mincing garlic and chopping green onions. A sharp knife makes this step much faster and safer.
- Silicone Spatula: Great for scraping the sauce into the pan and stirring it around the chicken.
If you don’t have a large sheet pan, you can use a cast-iron skillet, but the cooking time might vary slightly. A cast-iron skillet is great for stovetop-to-oven recipes, but for this one, a sheet pan is easier for even browning. Budget-friendly options work just as well; you don’t need expensive copper pans for this. Just keep it simple and functional.
Preparation Method
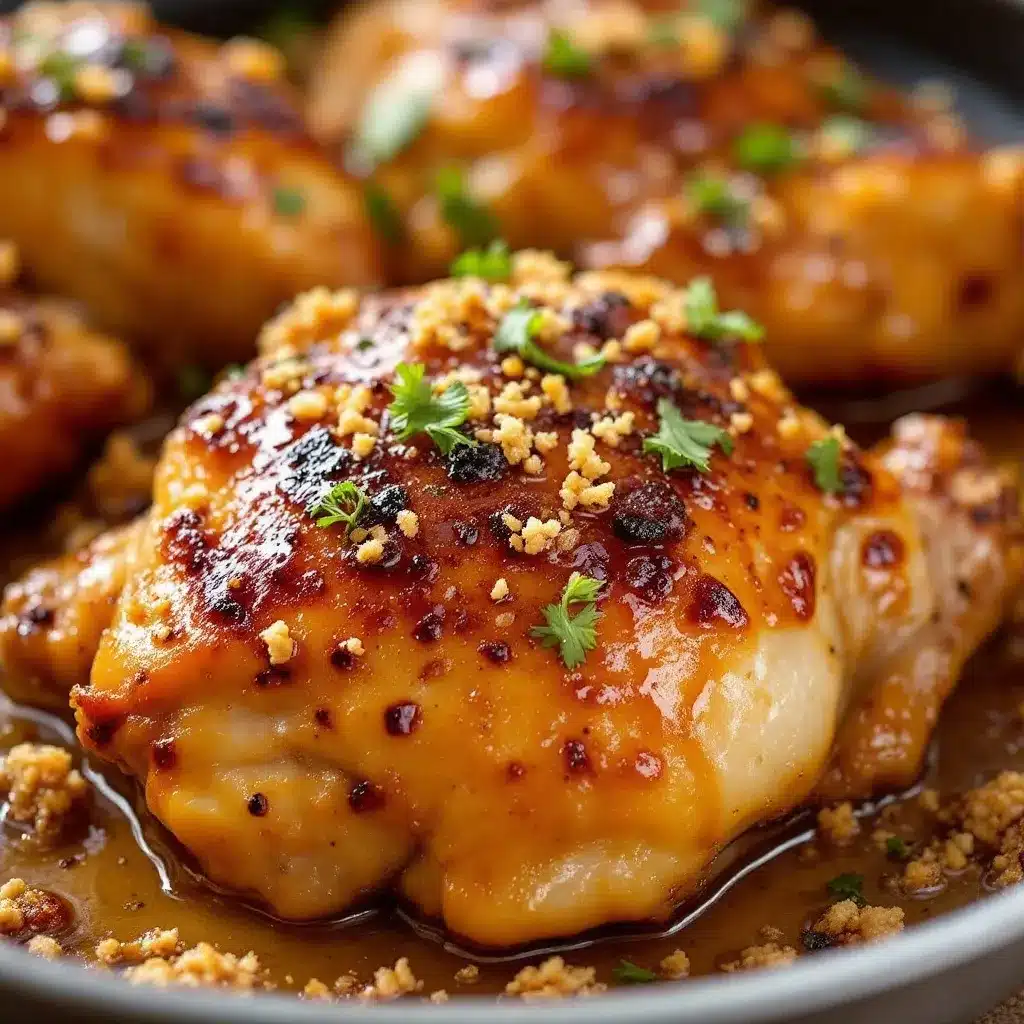
Getting this dish ready is straightforward. Here is how to do it step by step.
- Preheat the Oven: Start by preheating your oven to 400°F (200°C). This high heat is crucial for crisping the skin. Allow it to fully heat up for about 10-15 minutes while you prep the chicken.
- Prepare the Chicken: Pat the chicken thighs dry with paper towels. This is important for getting crispy skin. Moisture is the enemy of crispiness. Place them on the prepared sheet pan, skin-side up. Leave some space between each piece so they roast instead of steam.
- Make the Sauce: In a small bowl, whisk together the honey, soy sauce, minced garlic, grated ginger, rice vinegar, and red pepper flakes. Add the melted butter and olive oil. Whisk until the mixture is smooth and well combined. It should look glossy and emulsified.
- Season the Chicken: Drizzle a little olive oil over the chicken and season generously with salt and black pepper. Rub it in gently. This helps the skin brown and adds flavor to the meat itself.
- Apply the Sauce: Pour about half of the sauce mixture over the chicken thighs. Use a brush or spoon to coat the tops evenly. Save the rest for basting later. You want the chicken to be sticky and coated, but not swimming in sauce.
- First Bake: Place the pan in the preheated oven. Bake for 20 minutes. At this point, the skin should start to crisp up and turn golden brown.
- Baste and Finish: Remove the pan from the oven. Carefully spoon the remaining sauce over the chicken. This basting step adds extra flavor and keeps the meat moist. Return the pan to the oven and bake for another 15-20 minutes, or until the internal temperature reaches 165°F (74°C).
- Rest and Garnish: Remove the chicken from the oven and let it rest for 5 minutes. This allows the juices to redistribute. Sprinkle with chopped green onions and a few sesame seeds if you have them. Serve immediately with the pan juices poured over the top.
Pay attention to the color of the chicken. If it’s browning too quickly, you can tent it loosely with foil. If it’s not browning enough, you can broil it for the last two minutes, but watch it closely so it doesn’t burn. The sauce will bubble and thicken as it cooks. That’s a good sign.
Cooking Tips & Techniques
I’ve made this recipe enough times to know a few tricks that make a big difference.
- Don’t Skip the Drying Step: I know it’s annoying, but patting the chicken dry is the secret to crispy skin. Wet skin steams. Dry skin crisps.
- Use a Thermometer: Chicken thighs are forgiving, but they can still dry out if overcooked. A meat thermometer ensures you pull them out at the perfect temperature. Thighs can go up to 175°F for extra tenderness, but 165°F is safe.
- Watch the Honey: Honey burns easily. If your oven runs hot, keep an eye on the chicken during the last few minutes. If the sauce is getting too dark, lower the rack to the middle position.
- Make Enough Sauce: I always recommend making a little extra sauce. It’s great for drizzling over rice or quinoa. You never want to run out of that good stuff.
- Multitask Wisely: While the chicken is baking, you can prep your sides. Rice, steamed broccoli, or a simple salad all pair well. This keeps you from standing around waiting.
One mistake I used to make was overcrowding the pan. If the chicken pieces are touching, they steam instead of roast. Give them space. If you have a small oven, cook in batches. It’s worth it for the texture.
Variations & Adaptations
This recipe is a canvas. You can tweak it to fit your tastes or dietary needs.
- Spicy Version: Add more red pepper flakes or a dash of sriracha to the sauce. If you like heat, serve it with a side of chili crisp.
- Gluten-Free: Simply swap the soy sauce for tamari or coconut aminos. Everything else is naturally gluten-free.
- Vegetable Add-ins: Toss broccoli florets or bell pepper strips onto the pan with the chicken. They’ll roast in the sauce and add a healthy crunch. Just add them in the last 15 minutes of cooking so they don’t get mushy.
- Low-Sugar Option: Use a sugar-free honey alternative or monk fruit sweetener. It won’t caramelize quite the same way, but the flavor will still be great.
- Asian-Style Glaze: Add a tablespoon of mirin or a splash of sesame oil to the sauce for a more authentic Asian flavor profile.
I’ve tried adding pineapple chunks to the pan for a tropical twist. It sounds weird, but the acidity and sweetness work surprisingly well with the garlic. It’s a fun variation to try on a weekend.
Serving & Storage Suggestions
This dish is best served hot and fresh. The skin is crispy right out of the oven and loses its crunch if it sits too long.
- Serving Ideas: Serve over steamed jasmine rice, quinoa, or cauliflower rice. It’s also delicious with noodles or even on its own with a side salad. A drizzle of the pan juices is a must.
- Beverage Pairing: A crisp white wine, like a Sauvignon Blanc or Pinot Grigio, cuts through the richness. Iced green tea or lemonade are also great non-alcoholic options.
- Storage: Store leftovers in an airtight container in the refrigerator for up to 3 days. The chicken stays moist, and the sauce thickens in the fridge.
- Reheating: Reheat in the oven at 350°F for 10-15 minutes to crisp up the skin. Microwaving can make the skin soggy, so avoid it if possible.
- Freezing: You can freeze the cooked chicken for up to 3 months. Thaw in the fridge overnight before reheating.
The flavors develop over time, so day-old chicken is still tasty. It’s a great option for lunchboxes or quick dinners.
Nutritional Information & Benefits
Chicken thighs are a great source of protein and healthy fats. They are also rich in B vitamins, which help with energy levels. Honey has antioxidant properties, and garlic is known for its immune-boosting benefits.
While this dish is delicious, it is moderately high in sugar due to the honey. If you’re watching your sugar intake, use less honey or opt for a sugar-free alternative. The sodium content can be managed by using low-sodium soy sauce.
For a lighter option, serve it with a large green salad or roasted vegetables. This adds fiber and vitamins to the meal. It’s a balanced, satisfying dish that fuels your body well.
Conclusion
This Easy One-Pan Honey Garlic Chicken Thighs recipe is a game-changer for busy weeknights. It’s flavorful, easy to make, and always a hit with the family. I love that it comes together so quickly, leaving me more time to relax after dinner.
I encourage you to try it and make it your own. Add your favorite veggies, tweak the spice level, or serve it with your favorite side. Cooking is about experimentation and enjoying the process.
If you make this recipe, I’d love to hear how it turns out. Leave a comment below with your thoughts or share a photo on social media. Tag me so I can see your creations. Happy cooking!
FAQs
Can I use chicken breasts instead of thighs?
Yes, but chicken breasts cook faster and can dry out. If you use breasts, reduce the cooking time by about 10 minutes and check the temperature frequently. Thighs are juicier and more forgiving.
How do I make the sauce thicker?
Mix one teaspoon of cornstarch with one tablespoon of cold water. Stir this into the sauce during the last 5 minutes of cooking. It will thicken quickly.
Can I make this in an air fryer?
Yes, cook at 375°F for 15-20 minutes, flipping halfway through. The sauce might drip, so line the basket with parchment paper.
Is this recipe gluten-free?
It can be. Just use tamari or coconut aminos instead of regular soy sauce. All other ingredients are naturally gluten-free.
What sides go well with this dish?
Steamed rice, quinoa, roasted broccoli, or a simple green salad are all great options. The sauce is perfect for soaking up with rice.
Pin This Recipe!
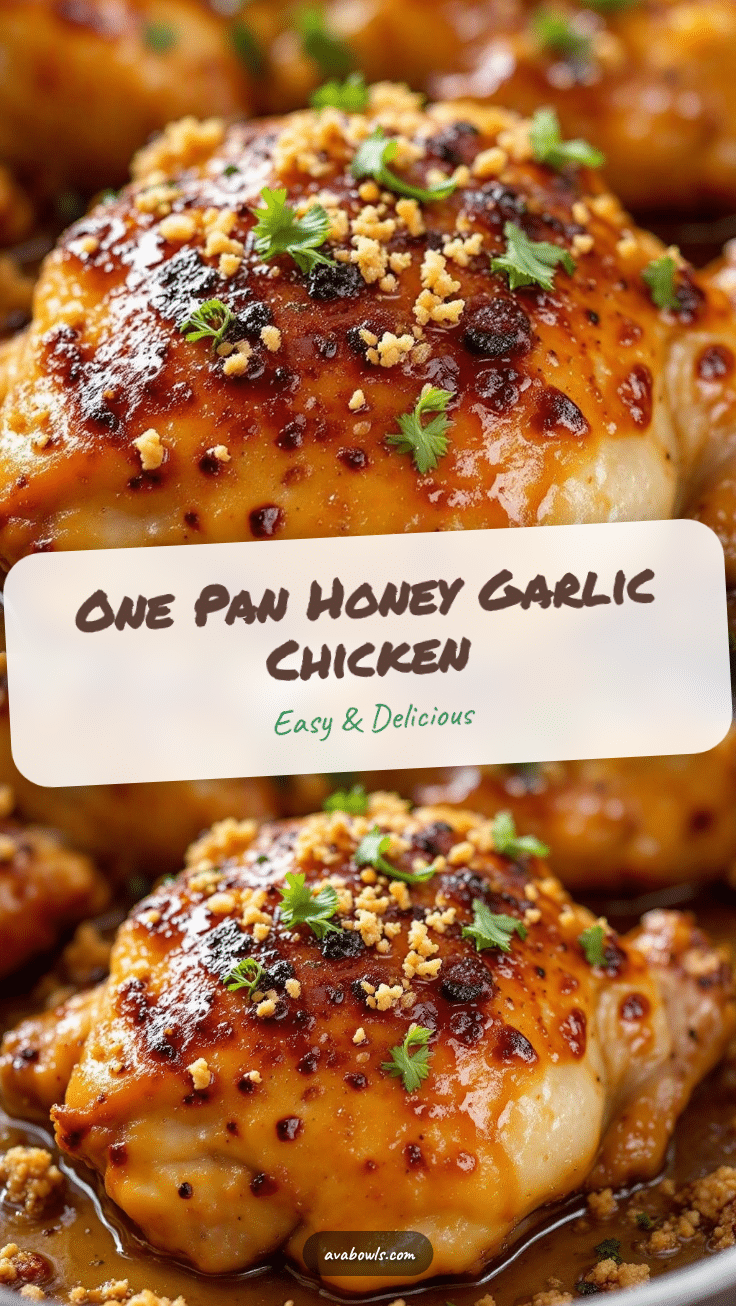
Easy One-Pan Honey Garlic Chicken Thighs

A stress-free, weeknight-friendly dinner featuring crispy-skinned, bone-in chicken thighs roasted with a sticky, sweet, and savory honey garlic glaze. This one-pan meal is ready in 45 minutes and is perfect for busy families.
- Prep Time: 5 minutes
- Cook Time: 40 minutes
- Total Time: 45 minutes
- Yield: 4 servings 1x
- Category: Main Course
- Cuisine: Asian Fusion
Ingredients
- Bone-in, skin-on chicken thighs (roughly same size)
- 2 tablespoons unsalted butter, melted
- Extra virgin olive oil
- 6–8 cloves garlic, minced
- Honey (raw or good quality)
- Soy sauce (low-sodium recommended)
- Rice vinegar
- 1 teaspoon fresh ginger, grated
- Red pepper flakes (optional)
- Salt and black pepper
- Green onions, chopped (for garnish)
- Sesame seeds (optional, for garnish)
Instructions
- Preheat oven to 400°F (200°C).
- Pat chicken thighs dry with paper towels to ensure crispy skin.
- Place chicken thighs on a large rimmed sheet pan, skin-side up, leaving space between pieces.
- In a small bowl, whisk together honey, soy sauce, minced garlic, grated ginger, rice vinegar, red pepper flakes, melted butter, and olive oil until smooth.
- Drizzle olive oil over chicken and season generously with salt and black pepper.
- Pour about half of the sauce mixture over the chicken, coating the tops evenly. Reserve the rest for basting.
- Bake for 20 minutes until skin starts to crisp and turn golden.
- Remove from oven and baste chicken with the remaining sauce.
- Return to oven and bake for another 15-20 minutes, or until internal temperature reaches 165°F (74°C).
- Let chicken rest for 5 minutes before serving.
- Garnish with chopped green onions and sesame seeds. Serve with pan juices.
Notes
Patting the chicken dry is crucial for crispy skin. Do not overcrowd the pan to prevent steaming. If the sauce browns too quickly, tent with foil. For a thicker sauce, mix 1 tsp cornstarch with 1 tbsp cold water and stir in during the last 5 minutes of cooking. Can be made gluten-free by using tamari or coconut aminos.
Nutrition
- Serving Size: 2 chicken thighs per
- Calories: 450
- Sugar: 20
- Sodium: 600
- Fat: 28
- Saturated Fat: 8
- Carbohydrates: 22
- Protein: 30
Keywords: honey garlic chicken, one-pan dinner, weeknight meals, chicken thighs, easy recipe, crispy chicken, family dinner, gluten-free option


