Let’s be real for a second. We all have a love-hate relationship with banana bread. You want it to be moist, but you don’t want it to be gummy. You want it to be sweet, but not cloying. And you definitely don’t want to spend an hour prepping ingredients when you could be napping. This recipe hits that sweet spot. It’s the kind of bake that feels like a hug in food form.
Here is why this version keeps me coming back to the kitchen, even when I’m tired:
- Quick & Easy: This comes together in under 15 minutes of active prep time. You literally just mash, mix, and pour. It’s perfect for busy weeknights or when you need a last-minute treat for unexpected guests. No standing over a stove, no complex techniques.
- Simple Ingredients: No fancy grocery trips needed. You likely already have everything in your kitchen right now. Flour, sugar, eggs, oil, and bananas. That’s it. It’s pantry-friendly cooking at its finest.
- Perfect for Breakfast or Snack: Great for pairing with your morning coffee or as an afternoon pick-me-up. It slices up easily and travels well in a lunchbox or office drawer.
- Crowd-Pleaser: Always gets rave reviews from kids and adults alike. Even the pickiest eaters who claim they “don’t like bananas” usually change their tune after one slice of this warm loaf.
- Unbelievably Delicious: The texture is next-level comfort food. It’s tender, crumbly in the best way, and moist without being heavy. The flavor is pure banana, not artificial.
What makes this recipe different from the rest? It’s the ratio. I’ve tested dozens of versions, and most use too much flour, which dries out the loaf. This one uses a bit more fat (oil instead of butter) and relies on the natural moisture of the overripe bananas. It’s not just another version—it’s my best version. It’s the result of failing a few times so you don’t have to.
This recipe isn’t just good—it is the kind that makes you close your eyes after the first bite. It’s comfort food reimagined—healthier, faster, but with the same soul-soothing satisfaction. It’s perfect for impressing guests without stress, or turning a simple meal into something memorable. Plus, since it’s made in one bowl, cleanup is a breeze. You can be done before the coffee even finishes brewing.
What Ingredients You Will Need
This recipe uses simple, wholesome ingredients to deliver bold flavor and satisfying texture without the fuss. The magic here is in the ripeness of your fruit and the quality of your basics. You don’t need fancy flours or exotic spices. Just good, honest ingredients.
- Ripe Bananas (3 medium): These are the star. Look for bananas with lots of brown spots on the peel. The darker, the better. They provide natural sweetness and moisture. If they are still yellow, the bread will be bland and dry. Mash them well for a smoother texture.
- All-Purpose Flour (1 ½ cups): The structure of the bread. Don’t try to substitute with almond flour unless you adjust the liquid, as it absorbs moisture differently. I recommend King Arthur for best texture, as it has a slightly higher protein content which helps with the crumb.
- Granulated Sugar (¾ cup): Adds sweetness and helps create that slightly crispy top. You can reduce this to ½ cup if you prefer less sweet, but the bananas should be very ripe to compensate.
- Baking Soda (1 teaspoon): The leavening agent. It reacts with the acidic bananas to help the bread rise. Make sure it’s fresh; old baking soda won’t give you that nice lift.
- Salt (½ teaspoon): Crucial for flavor balance. It cuts through the sweetness and makes the banana taste more like banana. Don’t skip this.
- Eggs (2 large): Room temperature eggs incorporate better into the batter. They provide structure and richness. One egg can be substituted with a flax egg for a vegan option, but the texture will be denser.
- Vegetable Oil (⅓ cup): Oil keeps the bread moister than butter does over time. It stays soft in the fridge. Melted butter works too, but the bread might firm up faster.
- Vanilla Extract (1 teaspoon): Adds depth and warmth. Pure vanilla is best here. I use Mother’s Vanilla because it’s affordable and tastes strong.
Optional additions can change the game. A cup of chocolate chips makes it a dessert. A handful of walnuts adds crunch. But honestly? The plain version is often the most satisfying. It lets the banana shine.
Equipment Needed
You really don’t need much for this. That’s the beauty of it. But having the right tools makes a difference.
- Large Mixing Bowl: Just one is needed. Make sure it’s big enough to hold all the ingredients without spilling when you mix. A glass or ceramic bowl works well.
- Fork or Potato Masher: For mashing the bananas. A fork is fine if you only have three bananas. A masher is faster if you have a big batch.
- Loaf Pan (9×5 inches): Standard size. Metal pans are best because they conduct heat evenly. Glass pans take longer to bake and might result in a softer crust.
- Parchment Paper: Highly recommended. It makes cleanup almost non-existent. You can also grease the pan, but parchment ensures it doesn’t stick.
- Cooling Rack: Essential for letting the bread cool properly. If you leave it in the hot pan, the bottom will get soggy.
If you don’t have a loaf pan, you can use a muffin tin. Just reduce the baking time to about 20-25 minutes. They make great individual portions. I keep a spare loaf pan in my cabinet specifically for these emergencies. It’s cheap, durable, and always comes in handy.
Preparation Method
Let’s get into the nitty-gritty. This part is straightforward, but there are a few tricks to get it right.
- Preheat and Prep (5 minutes): Turn your oven to 350°F (175°C). Grease your 9×5 loaf pan or line it with parchment paper. If you use parchment, leave a little overhang on the sides so you can lift the bread out later. This is a lifesaver.
- Mash the Bananas (2 minutes): Peel your ripe bananas and put them in the large mixing bowl. Mash them with a fork until they are mostly smooth. You want small lumps, not big chunks. The more mashed, the more banana flavor in every bite.
- Mix Wet Ingredients (1 minute): Add the sugar, eggs, oil, and vanilla extract to the mashed bananas. Whisk them together vigorously. You want the sugar to start dissolving a bit. The mixture should look glossy and combined.
- Add Dry Ingredients (1 minute): Sprinkle the flour, baking soda, and salt over the wet mixture. Do not overmix here. Use a spatula or wooden spoon to fold the ingredients together. Stop as soon as you no longer see streaks of white flour. Overmixing develops gluten, which makes the bread tough. We want tender, not chewy.
- Pour into Pan (1 minute): Scrape the batter into your prepared loaf pan. Smooth the top with your spatula. If you’re adding nuts or chips, press them gently into the top now.
- Bake (55-65 minutes): Place the pan in the center of the oven. Bake for about 55 minutes. Check it at 50 minutes. If the top is browning too fast, cover it loosely with aluminum foil. The bread is done when a toothpick inserted into the center comes out clean or with just a few moist crumbs. It should not be wet batter.
- Cool (30 minutes): Let the bread cool in the pan for 10 minutes. Then, lift it out using the parchment paper and let it cool completely on a rack. This step is crucial. If you cut it while it’s hot, it will crumble. Be patient.
The smell while it bakes is incredible. It fills the house. You’ll probably find yourself staring at the oven, waiting for the timer.
Cooking Tips & Techniques
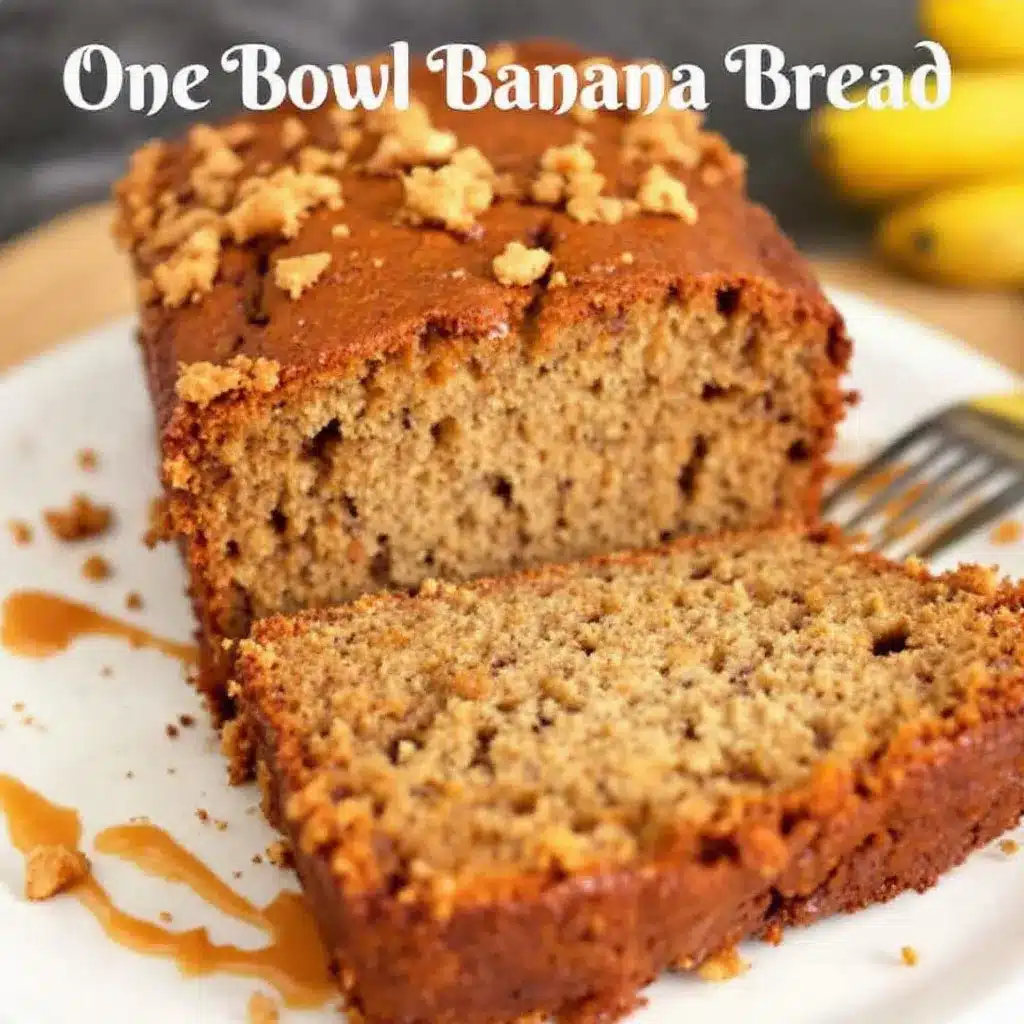
I’ve made my share of failures. Some were too dense, some were dry. Here is what I learned along the way.
- Banana Ripeness is Key: If your bananas are green or just yellow, add them to a paper bag with an apple for a few days. Or, bake them on a tray at 300°F until the skins are black. This brings out the sugars.
- Don’t Overmix: I cannot stress this enough. Once you add the flour, mix gently. Lumps are okay. A few small lumps mean the bread will be softer. Smooth batter means tough bread.
- Check Early: Ovens vary. My oven runs hot. Yours might run cool. Start checking at 50 minutes. If the toothpick comes out clean at 55, don’t wait for the full hour. It will dry out.
- Use Room Temp Eggs: Cold eggs can seize the batter slightly. Take them out of the fridge 30 minutes before you start. It helps the emulsion stay smooth.
- Resting Time: I know it’s hard to wait. But cutting hot banana bread is a mistake. The structure needs to set. Let it cool completely for the best slices.
Another trick? Add a teaspoon of lemon juice to the batter. It brightens the flavor and enhances the banana taste without making it taste like citrus. It’s a chef’s secret that works wonders.
Variations & Adaptations
This base recipe is flexible. You can tweak it to fit your diet or cravings.
- Chocolate Chip Banana Bread: Add 1 cup of semi-sweet chocolate chips to the batter. Fold them in gently at the end. The melty chocolate pockets are amazing.
- Walnut Banana Bread: Add ½ cup of chopped walnuts. Toast them in a dry pan for 2 minutes before adding for extra flavor. The crunch contrasts nicely with the soft crumb.
- Vegan Version: Swap the eggs for two flax eggs (2 tbsp ground flaxseed + 5 tbsp water). Use maple syrup instead of sugar if you want, but the texture will be denser. Add a splash of applesauce for moisture.
- Gluten-Free: Use a 1:1 gluten-free flour blend. Add a teaspoon of xanthan gum if your blend doesn’t include it. The bread might be slightly more fragile, so handle with care.
- Spiced Banana Bread: Add 1 teaspoon of cinnamon and a pinch of nutmeg. It adds warmth and complexity. Perfect for fall.
I once tried using coconut oil instead of vegetable oil. It worked, but it added a slight coconut flavor. It was good, but not what I wanted. Stick to neutral oils for this one. If you want flavor, use the spices.
Serving & Storage Suggestions
How you serve it matters. Slice it thick. About half an inch. Serve it warm with a pat of butter melting on top. Or just plain, with a cup of black coffee. It’s versatile.
- Storage: Keep it at room temperature in an airtight container for up to 3 days. If it’s humid, keep it in the fridge.
- Refrigerator: It will last up to a week in the fridge. Wrap it tightly in plastic wrap to prevent it from drying out.
- Freezer: You can freeze whole loaves or individual slices. Wrap tightly in plastic, then in foil. It lasts up to 3 months. Thaw at room temperature.
- Reheating: Microwave a slice for 20 seconds to warm it up. It restores that fresh-baked softness. Or toast a slice for a crunchy exterior.
The flavors actually develop over time. Day 2 is often better than Day 1. The moisture redistributes, and the banana flavor becomes more intense. It’s worth waiting.
Nutritional Information & Benefits
This bread is indulgent, but it’s not all bad. Bananas provide potassium and fiber. Using oil instead of butter keeps it lighter in saturated fat, though it is higher in total fat.
- Calories: Approximately 250 calories per slice.
- Fat: 10g (mostly from oil).
- Carbs: 35g (including natural sugars from bananas).
- Protein: 4g.
It’s not a health food, but it’s better than store-bought cake. The bananas add vitamins B6 and C. If you use whole wheat flour, you get more fiber. I try to balance it with a piece of fruit on the side. It’s about moderation. Eating this warm on a rainy day is good for the soul. That’s a health benefit too.
Conclusion
This easy one-bowl moist banana bread is worth trying. It’s simple, delicious, and forgiving. You don’t need to be a baker to make it. You just need ripe bananas and a bowl.
I love this recipe because it’s reliable. It never fails me. It’s my go-to when I need to comfort someone or myself. It’s warm, sweet, and smells like home.
Try it out. Add your favorite mix-ins. Share it with friends. Let me know how it turns out in the comments. Did you add chocolate? Did you use walnuts? I want to hear your variations.
And if you make it, tag me on social media. I love seeing your bakes. It makes my day. Happy baking!
FAQs
Can I use frozen bananas?
Yes! Frozen bananas work great. Just thaw them completely and drain any excess liquid before mashing. They are actually sweeter and softer, which is perfect for bread.
Why is my banana bread dense?
You likely overmixed the batter. Once you add the flour, mix until just combined. Also, check your baking soda. If it’s old, it won’t leaven properly, leading to a dense loaf.
How do I know when it’s done?
Insert a toothpick into the center. If it comes out clean or with a few moist crumbs, it’s done. If there is wet batter, bake for 5 more minutes.
Can I make mini loaves?
Yes. Use two mini loaf pans and reduce the baking time to 30-35 minutes. Check them early, as small loaves bake faster.
Why is the top cracking?
A cracked top is normal for banana bread. It usually means the oven was a bit hot or the batter was too full. It doesn’t affect the taste. If you want a flat top, lower the oven temperature by 25°F.
Pin This Recipe!
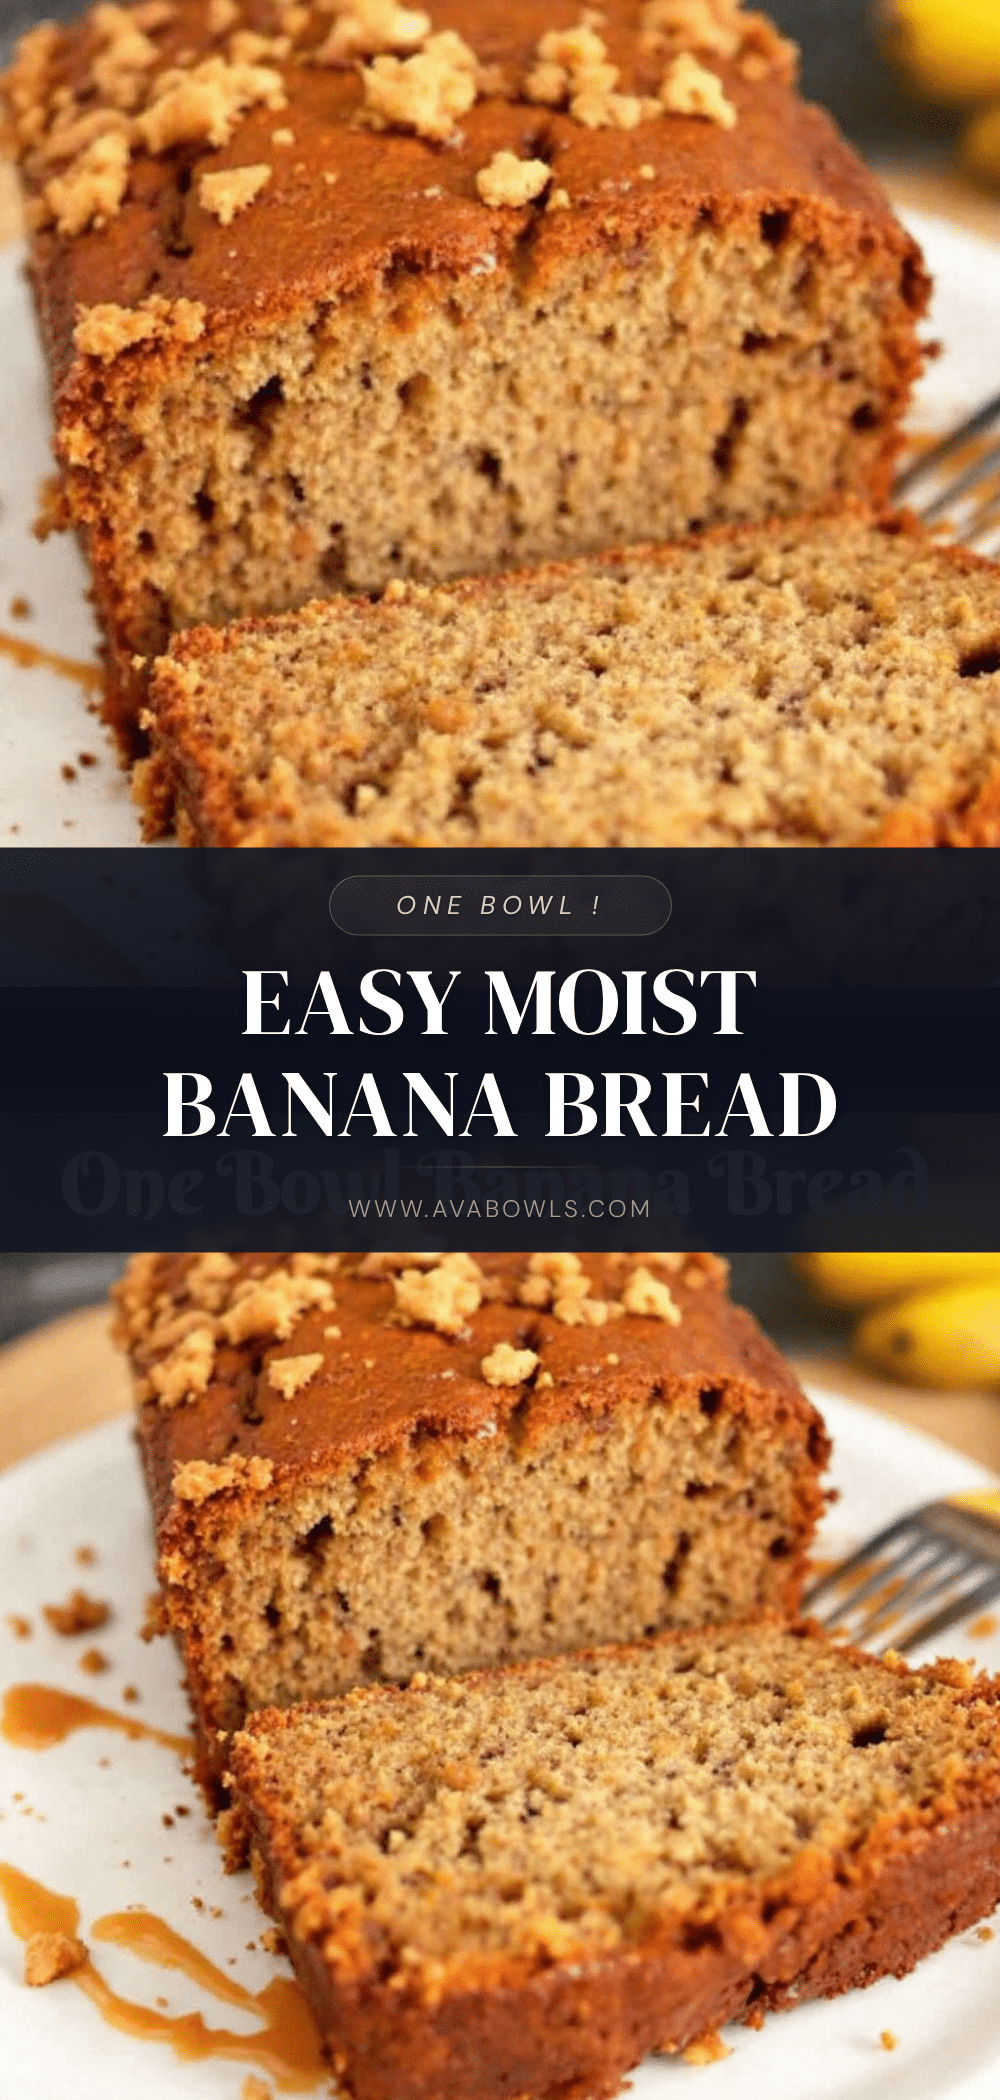
Easy One-Bowl Moist Banana Bread: Best 5-Ingredient Recipe
A simple, moist banana bread made in just one bowl with pantry-friendly ingredients. This recipe takes under 15 minutes to prep and delivers a tender, flavorful loaf perfect for breakfast or snacks.
- Prep Time: 15 minutes
- Cook Time: 55-65 minutes
- Total Time: 1 hour 15 minutes
- Yield: 8 servings 1x
- Category: Dessert
- Cuisine: American
Ingredients
- 3 medium ripe bananas
- 1 ½ cups all-purpose flour
- ¾ cup granulated sugar
- 1 teaspoon baking soda
- ½ teaspoon salt
- 2 large eggs (room temperature)
- ⅓ cup vegetable oil
- 1 teaspoon vanilla extract
Instructions
- Preheat oven to 350°F (175°C). Grease a 9×5 inch loaf pan or line it with parchment paper, leaving an overhang on the sides.
- Peel ripe bananas and mash them in a large mixing bowl until mostly smooth with small lumps.
- Add sugar, eggs, vegetable oil, and vanilla extract to the mashed bananas. Whisk vigorously until the mixture is glossy and combined.
- Sprinkle flour, baking soda, and salt over the wet mixture. Fold gently with a spatula or wooden spoon until just combined; do not overmix.
- Pour batter into the prepared loaf pan and smooth the top. Press in any optional mix-ins like nuts or chocolate chips.
- Bake for 55-65 minutes. Check at 50 minutes; if the top is browning too fast, cover loosely with aluminum foil. The bread is done when a toothpick inserted into the center comes out clean or with moist crumbs.
- Let the bread cool in the pan for 10 minutes, then lift it out using the parchment paper and cool completely on a wire rack before slicing.
Notes
Ensure bananas are very ripe with brown spots for maximum sweetness and moisture. Do not overmix the batter once flour is added to avoid a tough texture. Room temperature eggs help the emulsion stay smooth. For a vegan version, substitute eggs with flax eggs. For gluten-free, use a 1:1 gluten-free flour blend.
Nutrition
- Serving Size: 1 slice
- Calories: 250
- Sugar: 22
- Sodium: 250
- Fat: 10
- Saturated Fat: 1
- Carbohydrates: 35
- Fiber: 2
- Protein: 4
Keywords: banana bread, easy recipe, one bowl, moist banana bread, quick breakfast, vegan option, gluten-free option


