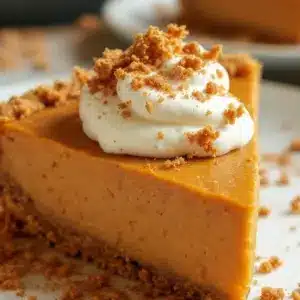
Late October. The kitchen light is the only one on in the house, and the air smells like cinnamon and something faintly nutty. I’m standing at the counter, not really thinking, just pressing crumbs into a pie dish with the heel of my hand. The graham crackers are crushed, the butter is melted, and there’s a can of pumpkin puree waiting on the counter. No oven preheating. No timer set. Just the quiet rhythm of making something that feels like the season without any of the fuss. That’s how this easy no-bake pumpkin pie with graham cracker crust came to be a staple in my kitchen.
I used to think pumpkin pie was a Thanksgiving-only thing, something you had to commit to with blind-baked crusts and precise egg ratios. But honestly? Most nights, I don’t have the energy for that. I wanted the flavor—the warm spice, the creamy filling, that familiar cracker crust—without turning my kitchen into a production. So I started playing around with a no-bake version, and somewhere between the first taste test and the third slice, I realized I wasn’t going back.
This isn’t a shortcut or a compromise. It’s a different kind of pie—one that sets up in the fridge while you do other things, one that doesn’t require a pastry blender or a rolling pin. It’s the kind of dessert that feels like a warm hug, even though it’s served cold. And if you’re anything like me, you’ll find yourself making it long after the leaves have fallen.
Why You’ll Love This Recipe
Let’s be real for a second. There are a lot of pumpkin pie recipes out there. But this one? It’s different. It’s the one I actually make when I’m not trying to impress anyone—just trying to satisfy that craving without turning on the oven. Here’s why I think you’ll love it too:
- No oven required. Seriously. Zero baking. If you can stir and press, you can make this pie. It’s perfect for warm days, small kitchens, or anyone who just doesn’t feel like dealing with a hot oven.
- Simple ingredients. You probably have most of these in your pantry right now. Graham crackers, butter, cream cheese, pumpkin puree, and a few spices. No weird extracts or hard-to-find items.
- Make-ahead friendly. This pie needs to chill for at least 4 hours, which means you can make it the night before and forget about it. Actually, it tastes even better the next day—the flavors have time to settle and get cozy.
- Crowd-pleaser. I’ve brought this to Friendsgiving dinners and casual potlucks, and it disappears every single time. People ask for the recipe before they even finish their slice.
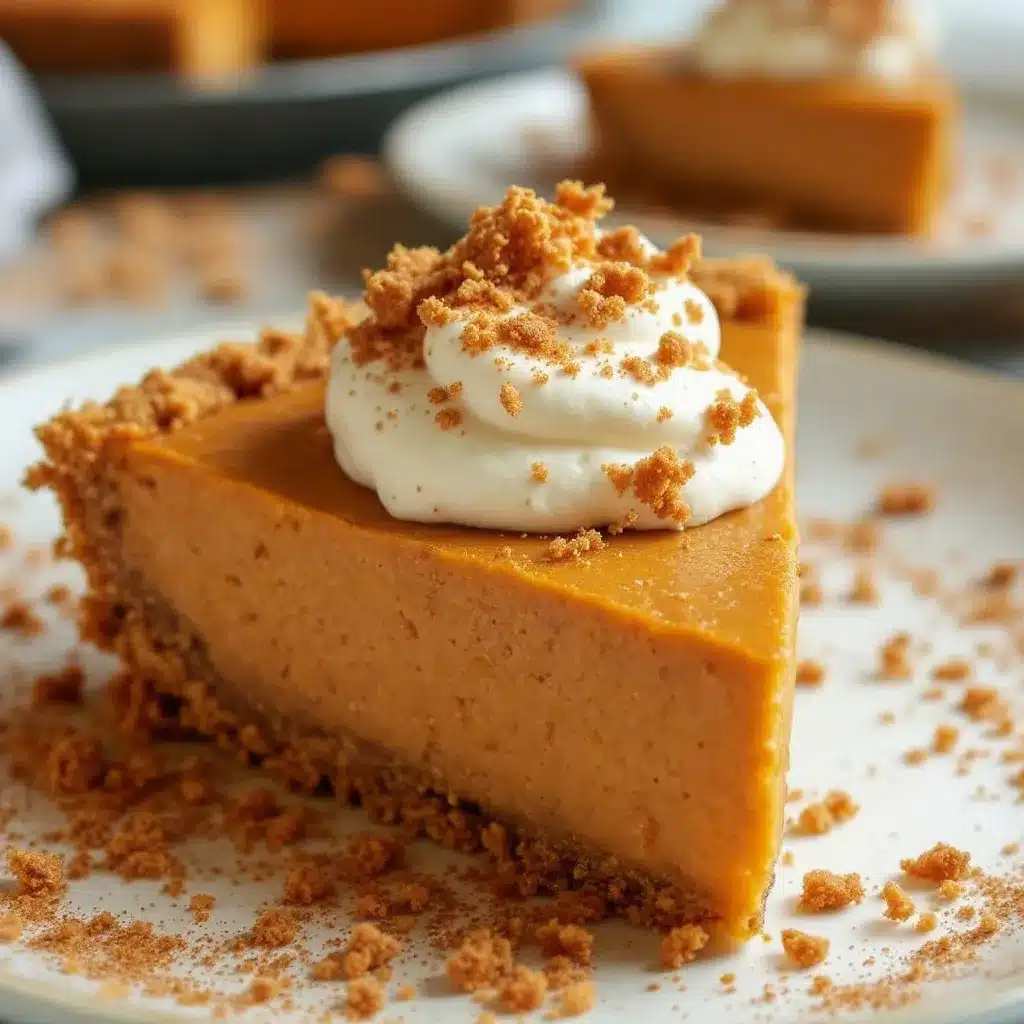
- That texture. The filling is silky and smooth, not too dense, not too light. It holds its shape when you slice it but melts on your tongue. And the crust? Buttery, slightly sweet, with that perfect sandy crunch.
I’ve tested this recipe more times than I can count. I’ve tried different ratios of cream cheese to pumpkin, different sweeteners, different crust techniques. This version is the one that finally felt right—balanced, reliable, and genuinely easy. No fuss, no stress, just a really good slice of pie.
What Ingredients You Will Need
This recipe uses simple, pantry-friendly ingredients to deliver that classic pumpkin pie flavor without any complicated steps. Each ingredient plays a specific role, and I’ve included a few notes to help you pick the best options.
For the Graham Cracker Crust
- Graham cracker crumbs (2 cups / about 240g) – You can buy pre-crushed crumbs or crush your own. I prefer crushing my own because the texture is more consistent, but either works. If you’re using whole crackers, you’ll need about 14-16 sheets.
- Granulated sugar (¼ cup / 50g) – Just a little sweetness for the crust. You could use brown sugar if you want a deeper flavor, but I like the clean sweetness of white sugar here.
- Unsalted butter (½ cup / 113g), melted – This binds the crumbs together and gives the crust that rich, buttery flavor. I recommend using a good-quality butter like Kerrygold if you can—it really makes a difference.
- Pinch of salt – Balances the sweetness and enhances the graham flavor. Don’t skip it.
For the No-Bake Pumpkin Filling
- Full-fat cream cheese (8 oz / 226g), softened – This is the backbone of the filling. It gives the pie structure and a slight tang that cuts through the sweetness. Make sure it’s at room temperature so it blends smoothly—cold cream cheese will leave lumps.
- Pumpkin puree (1 can / 15 oz or 425g) – Not pumpkin pie filling. Make sure you grab plain pumpkin puree. I usually go with Libby’s because it’s consistent and not too watery.
- Powdered sugar (⅔ cup / 80g) – Dissolves easily into the filling without any grittiness. You could use granulated sugar, but you’d need to beat it longer to make sure it dissolves completely.
- Vanilla extract (1 teaspoon) – Adds warmth and rounds out the flavors. Use real vanilla if you have it, but imitation works fine too.
- Pumpkin pie spice (2 teaspoons) – A blend of cinnamon, nutmeg, ginger, and cloves. You can buy it pre-mixed or make your own. I actually prefer making my own—it lets me adjust the ratios. (More on that in the tips section.)
- Ground cinnamon (½ teaspoon, optional) – I like a little extra cinnamon because I’m that person. Feel free to skip if you’re using a good pumpkin pie spice blend.
- Heavy whipping cream (1 cup / 240ml) – This gets whipped and folded into the filling, which gives the pie its light, mousse-like texture. Don’t substitute with milk or half-and-half—you need the fat content for structure.
For the Topping (Optional but Recommended)
- Heavy whipping cream (1 cup / 240ml)
- Powdered sugar (2 tablespoons)
- Vanilla extract (½ teaspoon)
- Ground cinnamon, for dusting
I’ve tried this recipe with reduced-fat cream cheese, and honestly, it’s just not the same. The filling doesn’t set as firmly, and the texture gets a little… weird. Trust me on the full-fat version. If you’re looking for a lighter option, you could try a fresh Greek yogurt bowl with pomegranate for a similar fall vibe without the indulgence.
Equipment Needed
You don’t need a lot of fancy tools for this recipe. That’s part of the beauty of it. Here’s what you’ll actually use:
- 9-inch pie dish – A standard glass or ceramic pie dish works perfectly. I use a deep-dish version because I like a generous crust-to-filling ratio, but regular depth is fine.
- Medium mixing bowls (2-3) – One for the crust, one for the filling, one for the whipped cream. You can reuse bowls if you’re washing as you go, but I find it easier to have them ready.
- Electric hand mixer or stand mixer – You can technically whisk everything by hand, but your arm will thank you for using a mixer. The cream cheese needs to be really smooth, and the whipped cream needs to hold stiff peaks.
- Measuring cups and spoons – Standard set. Nothing fancy.
- Rubber spatula – For scraping the bowls clean and folding the whipped cream into the filling.
- Plastic wrap or aluminum foil – For covering the pie while it chills.
If you don’t have a pie dish, you could use a 9-inch springform pan instead. The slices will look a little more rustic, but the pie will taste the same. I’ve also made this in a glass baking dish before—just press the crust into the bottom and up the sides as best you can.
Preparation Method
Alright, let’s get into it. This recipe has three main parts: the crust, the filling, and the topping. I’ll walk you through each step.
Step 1: Make the Graham Cracker Crust
- If you’re starting with whole graham crackers, place them in a zip-top bag and crush them with a rolling pin until you have fine crumbs. Alternatively, pulse them in a food processor. You want a consistent texture—no big chunks.
- In a medium bowl, combine the graham cracker crumbs, sugar, and a pinch of salt. Stir to distribute evenly.
- Pour the melted butter over the crumb mixture and stir with a fork until all the crumbs are moistened. It should look like wet sand.
- Transfer the mixture to your pie dish. Press it firmly into the bottom and up the sides. I use the bottom of a measuring cup to get an even, compact layer. Make sure the edges are thick enough to hold the filling—about ¼ inch is good.
- Place the crust in the refrigerator to set while you prepare the filling. This step is important—it helps the crust hold together when you add the filling.
Step 2: Prepare the Pumpkin Filling
- In a large mixing bowl, beat the softened cream cheese with an electric mixer on medium speed until it’s smooth and creamy. Scrape down the sides of the bowl with a spatula.
- Add the pumpkin puree, powdered sugar, vanilla extract, pumpkin pie spice, and extra cinnamon (if using). Beat on medium speed until everything is well combined and smooth. Stop to scrape the bowl at least once.
- In a separate bowl, whip the heavy cream with an electric mixer on high speed until stiff peaks form. This usually takes about 2-3 minutes. Be careful not to over-whip, or you’ll end up with butter. You’ll know it’s ready when the cream holds its shape when you lift the beaters.
- Gently fold the whipped cream into the pumpkin mixture using a rubber spatula. Start with about a third of the whipped cream to lighten the mixture, then fold in the rest. Use a gentle, sweeping motion—don’t stir. You want to keep as much air in the filling as possible.
- Pour the filling into the chilled crust. Spread it evenly with the spatula, smoothing the top.
Step 3: Chill the Pie
- Cover the pie loosely with plastic wrap or foil. Refrigerate for at least 4 hours, but overnight is better. The filling needs time to set properly—if you rush this step, the slices won’t hold their shape.
- During the first hour, don’t move the pie around too much. The filling is still soft, and jostling it can cause cracks on the surface.
Step 4: Make the Whipped Cream Topping
- Just before serving, whip the heavy cream with powdered sugar and vanilla extract until soft peaks form. You want it billowy, not stiff.
- Spread or pipe the whipped cream over the chilled pie. Dust with a little cinnamon for looks.
One thing I learned the hard way: don’t add the whipped cream topping too early. If you do, it starts to deflate and separate after a few hours in the fridge. It’s better to add it right before serving, or serve the whipped cream on the side so everyone can add their own.
Cooking Tips & Techniques
I’ve made this pie enough times to know where things can go wrong. Here are a few tips that will save you from my early mistakes:
Let the cream cheese come to room temperature. I know it’s tempting to use it straight from the fridge, but cold cream cheese doesn’t blend smoothly. You’ll end up with little white lumps in your filling. Leave it on the counter for about 30 minutes before you start. If you’re in a hurry, you can microwave it for 10-15 seconds, but be careful—you don’t want it to melt.
Don’t over-mix the filling. Once you add the whipped cream, fold gently. If you beat it too aggressively, you’ll deflate all the air, and the filling will be dense instead of light and mousse-like. I learned this the hard way on my second attempt—the pie was good, but it felt heavy.
Make your own pumpkin pie spice. It’s easy and tastes so much fresher. Mix together 1 teaspoon cinnamon, ½ teaspoon ginger, ¼ teaspoon nutmeg, and ¼ teaspoon cloves. That’s enough for this recipe, and you can adjust the ratios to your taste. I like a little extra ginger in mine.
Press the crust firmly. A loose crust will crumble when you try to slice the pie. Use the bottom of a measuring cup to really pack the crumbs down. Pay extra attention to the edges—they need to be compact enough to hold the filling without falling apart.
Chill overnight if you can. Four hours is the minimum, but overnight gives the filling time to fully set and the flavors to meld. The difference is noticeable—the overnight pie tastes more balanced and slices more cleanly.
Variations & Adaptations
One of the things I love about this recipe is how flexible it is. Here are a few ways to switch it up:
Gluten-free version. Use gluten-free graham crackers or crushed gluten-free cookies for the crust. I’ve used gluten-free digestive biscuits before, and they work beautifully. The filling is naturally gluten-free as long as you check your spice blend.
Dairy-free version. Substitute the cream cheese with a dairy-free alternative (I like Miyoko’s or Kite Hill) and use coconut cream instead of heavy cream. Whip the coconut cream just like you would regular cream—just make sure it’s chilled first. The texture will be slightly different, but it’s still delicious.
Extra-spicy version. Add a pinch of cayenne pepper or an extra teaspoon of ginger to the filling. The heat pairs surprisingly well with the sweetness of the pumpkin. I made this version for a friend who loves spicy desserts, and she ate half the pie in one sitting.
Chocolate twist. Swap the graham cracker crust for a chocolate cookie crust (Oreo crumbs work great). The chocolate-pumpkin combination is underrated, if you ask me. You could also drizzle melted dark chocolate over the finished pie for extra flair.
Pumpkin cheesecake style. Increase the cream cheese to 12 ounces for a denser, more cheesecake-like texture. Reduce the heavy cream to ½ cup. The result is richer and more decadent—perfect for when you want something truly indulgent.
If you’re in the mood for something savory to balance out all this sweetness, try a hearty Tuscan white bean soup with kale for a cozy fall meal that pairs beautifully with a slice of this pie.
Serving & Storage Suggestions
This pie is best served cold, straight from the refrigerator. I like to let it sit at room temperature for about 5-10 minutes before slicing—it makes the crust a little easier to cut through without cracking.
For presentation, I dust the top with a light sprinkle of cinnamon and add a few small cinnamon sticks or star anise for a seasonal touch. It’s simple but looks impressive.
Storage: Cover the pie tightly with plastic wrap or foil and keep it in the refrigerator. It will stay fresh for up to 4 days. The crust might soften slightly over time, but the flavor actually improves. I think day two is the sweet spot.
Freezing: You can freeze this pie for up to 2 months. Wrap it well in plastic wrap, then a layer of foil. Thaw it in the refrigerator overnight before serving. Don’t add the whipped cream topping until after it’s thawed.
Reheating: This is a no-bake pie, so there’s no need to reheat it. But if you like warm pumpkin desserts, you can microwave a slice for about 10 seconds. It won’t be the same texture, but it’s still tasty.
If you’re planning a fall gathering, this pie pairs beautifully with a warm drink like a creamy matcha latte or a cozy bowl of creamy roasted tomato basil soup for a complete seasonal menu.
Nutritional Information & Benefits
Here’s an approximate nutritional breakdown for one slice (based on 8 servings):
| Nutrient | Amount per Serving |
|---|---|
| Calories | 385 |
| Total Fat | 26g |
| Saturated Fat | 15g |
| Cholesterol | 75mg |
| Sodium | 290mg |
| Total Carbohydrates | 35g |
| Dietary Fiber | 2g |
| Sugars | 22g |
| Protein | 5g |
| Vitamin A | 180% DV |
| Calcium | 6% DV |
| Iron | 8% DV |
Pumpkin is packed with vitamin A, which is great for eye health and immune function. It’s also a good source of fiber and antioxidants. The cream cheese and heavy cream add calcium and protein, though this is definitely a treat—not a health food. But honestly? Life is short. Eat the pie.
If you’re watching your sugar intake, you could reduce the powdered sugar in the filling to ⅓ cup and skip the sweetened whipped cream. The pie will be less sweet but still plenty flavorful.
Conclusion
This easy no-bake pumpkin pie with graham cracker crust has become my go-to fall dessert for a reason. It’s simple enough for a random Tuesday night but special enough to bring to a holiday dinner. No oven required. No complicated techniques. Just good, honest pumpkin flavor in a buttery crust with a cloud of whipped cream on top.
I love that I can make it ahead of time and not stress about timing. I love that it doesn’t heat up the kitchen. And I really love that first bite—the way the creamy filling melts into the crunchy crust, the warm spices hitting your tongue. It’s comfort in a slice.
If you try this recipe, I’d love to hear how it turns out. Leave a comment below and let me know if you made any variations—I’m always looking for new ideas. And if you share it on social media, tag me so I can see your beautiful creation. Happy baking (or, you know, not baking)!
Frequently Asked Questions
Can I use pumpkin pie filling instead of pumpkin puree?
I wouldn’t recommend it. Pumpkin pie filling is already sweetened and spiced, so it would throw off the balance of the recipe. Stick with plain pumpkin puree for the best results.
Why is my no-bake pumpkin pie runny?
This usually happens if the cream cheese wasn’t softened properly, or if the pie didn’t chill long enough. Make sure your cream cheese is at room temperature, and give the pie at least 4 hours (preferably overnight) to set.
Can I use a store-bought graham cracker crust?
You can, but honestly, homemade is so much better. The store-bought crusts are often too thin and not as buttery. If you’re short on time, go ahead and use one—just know the texture won’t be quite the same.
How do I get clean slices?
Use a sharp knife and wipe it clean between cuts. For the cleanest slices, chill the pie overnight and dip your knife in hot water before each cut. Dry the knife quickly and slice.
Can I make this pie ahead of time for Thanksgiving?
Absolutely! This pie is perfect for making ahead. Prepare it up to 2 days in advance, keep it covered in the fridge, and add the whipped cream topping just before serving. It actually tastes better after a day or two.
Pin This Recipe!
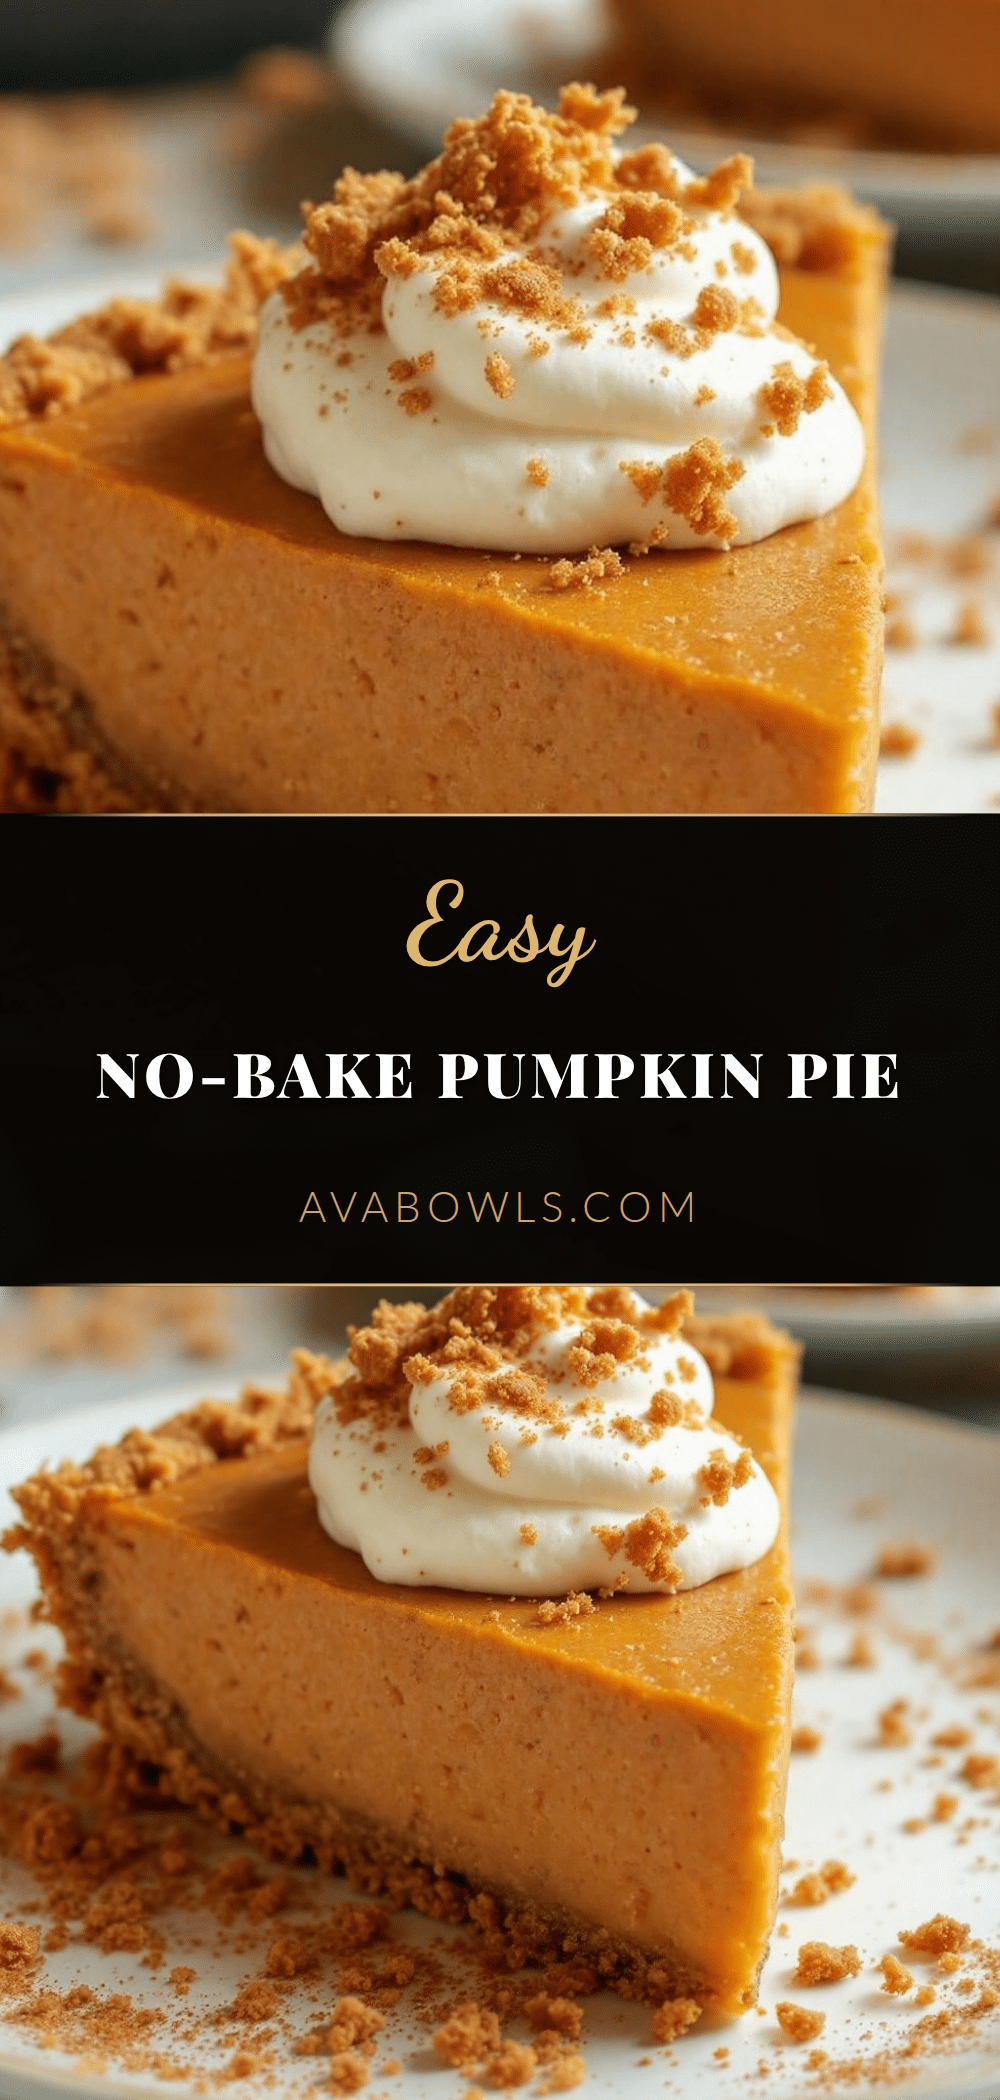
Easy No-Bake Pumpkin Pie with Perfect Graham Cracker Crust
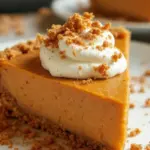
A creamy, no-bake pumpkin pie with a buttery graham cracker crust that sets in the fridge. Perfect for fall gatherings without turning on the oven.
- Prep Time: 20 minutes
- Cook Time: 0 minutes
- Total Time: 4 hours 20 minutes (includes chilling)
- Yield: 8 servings 1x
- Category: Dessert
- Cuisine: American
Ingredients
- 2 cups (240g) graham cracker crumbs
- 1/4 cup (50g) granulated sugar
- 1/2 cup (113g) unsalted butter, melted
- Pinch of salt
- 8 oz (226g) full-fat cream cheese, softened
- 1 can (15 oz or 425g) pumpkin puree
- 2/3 cup (80g) powdered sugar
- 1 teaspoon vanilla extract
- 2 teaspoons pumpkin pie spice
- 1/2 teaspoon ground cinnamon (optional)
- 1 cup (240ml) heavy whipping cream
- For the topping: 1 cup (240ml) heavy whipping cream
- For the topping: 2 tablespoons powdered sugar
- For the topping: 1/2 teaspoon vanilla extract
- For the topping: Ground cinnamon for dusting
Instructions
- Make the crust: Combine graham cracker crumbs, sugar, and salt. Stir in melted butter until moistened. Press firmly into a 9-inch pie dish. Refrigerate while preparing filling.
- Prepare the filling: Beat softened cream cheese until smooth. Add pumpkin puree, powdered sugar, vanilla, pumpkin pie spice, and cinnamon (if using). Mix until well combined.
- In a separate bowl, whip heavy cream until stiff peaks form. Gently fold whipped cream into pumpkin mixture until no streaks remain.
- Pour filling into chilled crust and spread evenly. Cover and refrigerate for at least 4 hours, preferably overnight.
- Before serving, make the topping: Whip heavy cream with powdered sugar and vanilla until soft peaks form. Spread or pipe over pie. Dust with cinnamon.
Notes
Let cream cheese come to room temperature for smooth filling. Chill overnight for best texture and flavor. Add whipped cream topping just before serving to prevent deflation.
Nutrition
- Serving Size: 1 slice
- Calories: 385
- Sugar: 22
- Sodium: 290
- Fat: 26
- Saturated Fat: 15
- Carbohydrates: 35
- Fiber: 2
- Protein: 5
Keywords: no-bake pumpkin pie, easy pumpkin pie, graham cracker crust, fall dessert, Thanksgiving dessert