By the second time I made these crispy ghost meringue cookies with chocolate chip eyes this week, I had developed a strange, intimate relationship with the sound of a whisk hitting glass. It wasn’t that I planned them. I mean, Halloween is coming, sure, but I didn’t sit down with a calendar and think, “Yes, let us make sugar clouds.” No. It started with three leftover egg whites staring at me from the fridge like little judgmental eyes. I didn’t want to waste them. So I whipped up a batch. Then I looked at them on the counter, stark white and slightly sad, and thought they looked like… well, ghosts.
So I grabbed a bag of chocolate chips I’d bought for a batch of healthy energy balls that never happened. I dropped two little pieces on each mound. And just like that, the recipe was born out of sheer laziness and a desire to make my kitchen look festive without actually cooking a real meal. The first batch was perfect. Crisp. Melt-in-your-mouth. Then I made more because my neighbor knocked on the door asking if I had any of those “spooky treats.” I gave them some. They loved them. So I made another batch.
Now, I’m standing here with a piping bag in one hand and a bowl of meringue in the other, wondering if I have a problem or just really good taste. These cookies are terrifyingly simple. You whip whites, you add sugar, you bake them low and slow until they’re hard as rocks, and you add the eyes. That’s it. There’s no yeast to proof, no dough to rest, no complicated butter creaming process. It’s just air and sugar, transformed into something that looks like it’s floating in your oven. Honestly, it’s the most efficient way to get kids excited about baking. They don’t care about the science of protein denaturation; they just care that their snack has eyes. And let’s face it, if it’s cute, they’ll eat it. If it’s scary, they’ll definitely eat it. These crispy ghost meringue cookies with chocolate chip eyes strike that perfect balance between adorable and slightly unsettling. I’ve been making them every Friday night this month. I don’t know why. I just do. And I think you will too.
Why You’ll Love This Recipe
Let’s be real for a second. Baking can be a lot of work. You spend hours prepping, you deal with sticky counters, and then you wait for the oven timer. But these meringue ghosts? They are the ultimate cheat code for holiday entertaining. I’ve tested this method at least five times now, tweaking the sugar ratios and oven temperatures, and I’m confident this is the only way to get that shatteringly crisp exterior without the dreaded soft, chewy center. It’s not just about convenience; it’s about that specific texture that makes your jaw work a little harder, which somehow makes them taste better. Plus, they are naturally gluten-free, which is a huge win for hosting guests with dietary restrictions without having to make two separate batches of desserts.
- Quick & Easy: You can have these ready to eat in under an hour if you count the baking time. Prep is literally just whipping eggs. It’s perfect for last-minute Halloween parties or when you need to impress in-laws with zero effort.
- Simple Ingredients: You don’t need a specialty store. Egg whites, sugar, vanilla, and chocolate chips. If you have a kitchen, you have the ingredients. No fancy flours or obscure spices.
- Perfect for Parties: These are finger food gold. They are small, manageable, and don’t make your hands sticky like regular cookies. Great for potlucks, classroom treats, or Halloween decorating contests.
- Crowd-Pleaser: Kids love the ghost shape. Adults love the fact that it’s not overly sweet. It’s a win-win situation that rarely fails.
- Unbelievably Delicious: The texture is unlike any other cookie. It’s airy, crisp, and dissolves on your tongue, leaving just the hint of vanilla and the crunch of chocolate. It’s comfort food for people who hate heavy desserts.
What makes this recipe different from the rest? A lot of meringue recipes call for cream of tartar to stabilize the whites. I’ve tried it both ways, and honestly, the stability from just whipping them properly and adding the sugar slowly is enough. It keeps the ingredient list cleaner. Also, using mini chocolate chips is non-negotiable. Regular chips are too big and fall off. Mini chips stick like glue. It’s a small detail, but it makes the difference between a cute ghost and a sad, eyeless lump. This isn’t just another meringue recipe; it’s the easiest, cutest, most stress-free treat you’ll make all season.
What Ingredients You Will Need
This recipe relies on the purity of just three main components to deliver that signature cloud-like texture. Because there is no fat involved (like butter or oil), the quality of your egg whites and the type of sugar you use will directly impact the final structure. You want ingredients that are fresh and at room temperature to ensure maximum volume when whipping. It’s a minimalist approach, which means every single element needs to shine.
- Egg Whites: You will need large egg whites. About 3 to 4 large eggs should give you enough for a standard batch. Room temperature egg whites whip up faster and create a more stable foam than cold ones. If you are using pasteurized egg whites from a carton, that works too, though fresh ones tend to have a slightly richer flavor. Just make sure there is absolutely no yolk in there. Even a tiny drop of yellow can prevent the whites from stiffening.
- Granulated White Sugar: This is your structure. Standard granulated sugar is best because the fine crystals dissolve easily into the egg whites. If you use coarse sugar, you might end up with a gritty texture. I prefer using organic cane sugar for a slightly cleaner taste, but regular white sugar works perfectly fine. You’ll need about ¾ cup to 1 cup, depending on how sweet you like your ghosts.
- Vanilla Extract: A pure vanilla extract adds that classic meringue flavor. Avoid imitation vanilla if you can help it, as it can taste a bit chemical. Just a teaspoon is enough to give the ghosts a warm, comforting aroma that contrasts nicely with the stark white color. You could also use almond extract for a different, more sophisticated flavor profile.
- Mini Chocolate Chips: These are crucial for the eyes. Mini chips are small enough to fit two on a single ghost mound without overlapping. They also have a higher surface-area-to-volume ratio, which helps them adhere better to the sticky meringue before baking. Dark chocolate chips add a nice bitterness that cuts the sweetness, while milk chocolate keeps it kid-friendly. I usually keep a mix in my pantry for versatility.
- Cream of Tartar (Optional): While not strictly necessary if you whip your eggs correctly, a pinch of cream of tartar can help stabilize the foam, especially if you are in a humid environment. It acts as an acid that strengthens the protein network. If you don’t have it, a squeeze of lemon juice can work in a pinch.
One tip from my failed attempts: do not substitute the granulated sugar with powdered sugar. Powdered sugar contains cornstarch, which can make the meringues cloudy and prevent them from crisp-ing up properly. Stick to the basics. The simpler the ingredient list, the better the result.
Equipment Needed
You don’t need a fancy kitchen to make these ghosts. The beauty of meringue is that it requires very little gear. However, having the right tools makes the difference between a wobbly mess and stiff, glossy peaks.
- Mixing Bowl: A large glass or metal bowl is ideal. Plastic bowls can sometimes retain traces of oil, which ruins the egg whites. If you must use plastic, make sure it is scrupulously clean. I use a copper bowl if I have it, as the copper ions help stabilize the foam, but stainless steel or glass works just as well.
- Electric Mixer: A hand mixer or stand mixer is highly recommended. Whipping egg whites by hand takes a lot of arm strength and time. An electric mixer gets them to stiff peaks in minutes. If you only have a whisk, be prepared for a serious workout.
- Piping Bag or Ziploc Bag: To get those cute ghost shapes, you need to pipe the meringue. A piping bag with a round tip works best, but you can also just cut the corner off a heavy-duty Ziploc bag. It’s a budget-friendly option that works perfectly.
- Baking Sheets: Standard half-sheet pans. Line them with parchment paper or silicone baking mats. Do not use unlined pans; the meringues will stick, and you will lose your ghosts.
- Oven Thermometer: Ovens are often inaccurate. An inexpensive thermometer clipped to the rack ensures you are baking at the correct low temperature. Meringues need a slow, gentle bake to dry out without browning.
I’ve found that a silicone mat is easier to clean than parchment paper, but parchment gives you that nice non-stick guarantee. If you’re on a budget, just grease your pan lightly and dust it with a tiny bit of sugar, but that’s riskier. Stick to parchment for peace of mind.
Preparation Method
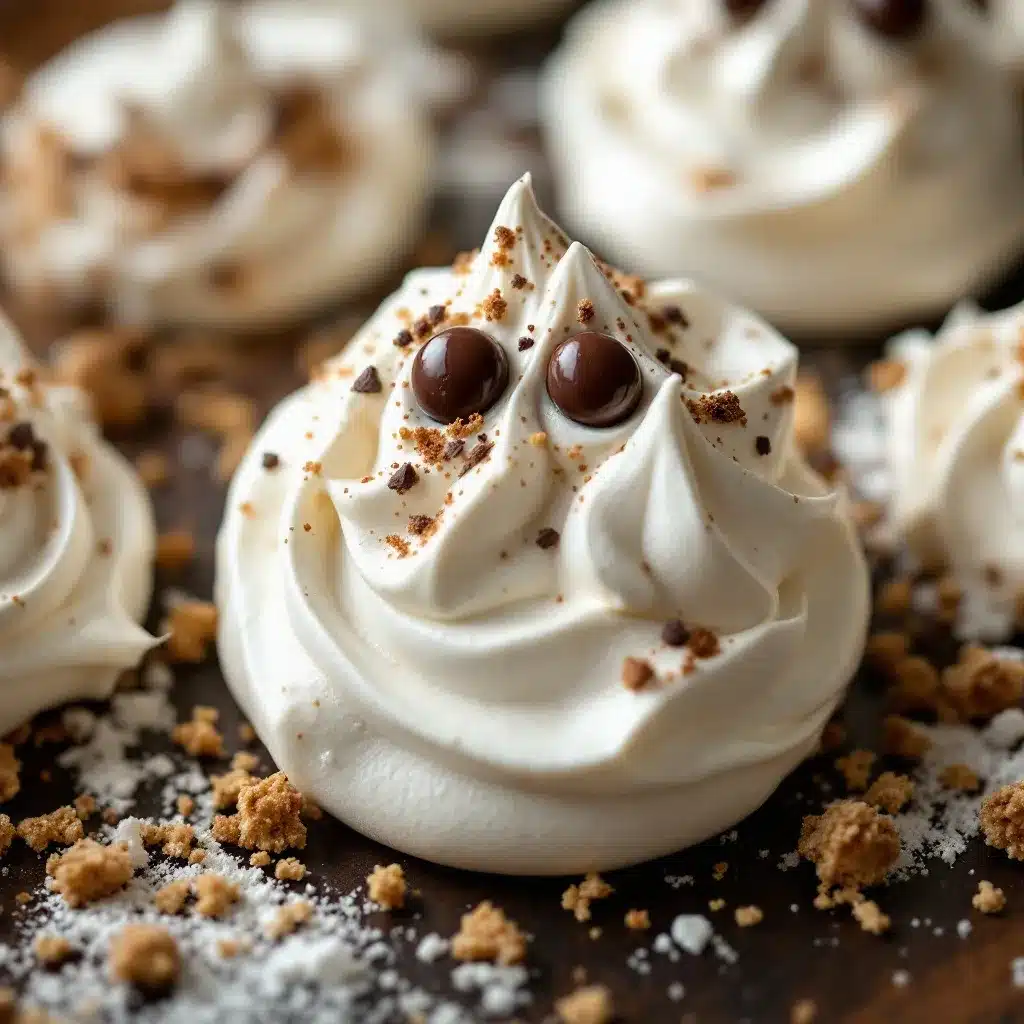
Let’s get into the nitty-gritty. Making these crispy ghost meringue cookies with chocolate chip eyes is straightforward, but precision matters. Here is how you do it without losing your mind.
- Prep the Oven and Pans: First, preheat your oven to 200°F (95°C). This low temperature is key. You want to dry out the meringues, not brown them. Line two baking sheets with parchment paper. Set them aside. This step takes about 5 minutes.
- Separate the Eggs: Carefully separate the egg whites from the yolks. Make sure no yolk gets into the whites. Place the whites in your clean mixing bowl. If you miss a spot, fish it out with your finger. It takes 2 minutes.
- Whip the Egg Whites: Using your electric mixer on medium speed, beat the egg whites until they are foamy and bubbly. This takes about 1-2 minutes. You’ll see them change from clear liquid to white foam. If using cream of tartar, add it now.
- Add the Sugar: With the mixer running on low, slowly pour in the granulated sugar. Do this over the course of 2-3 minutes. If you dump it all in at once, you’ll break the foam. Once all the sugar is added, increase the speed to high and beat for another 3-5 minutes until stiff, glossy peaks form. When you lift the beaters, the peaks should stand straight up without drooping. This is the most important step. It takes about 5-7 minutes total mixing time.
- Add Flavor: Turn off the mixer and stir in the vanilla extract by hand with a spatula. Be gentle so you don’t deflate the air you just whipped in. This takes 30 seconds.
- Pipe the Ghosts: Spoon the meringue into a piping bag fitted with a round tip (or a Ziploc bag with the corner cut off). Pipe small mounds onto the baking sheets. To make them look like ghosts, pipe a round base and then a smaller mound on top, or just pipe a teardrop shape and drag a knife down the side to create a wavy bottom. Space them about 2 inches apart. This takes 5-10 minutes.
- Add the Eyes: Press two mini chocolate chips onto the top of each meringue mound to create eyes. Do this quickly before the meringue sets. If the meringue is too stiff, the chips won’t stick. If it’s too soft, they’ll sink. You want a happy medium. This takes 2 minutes.
- Bake: Place the baking sheets in the oven. Bake for 45-60 minutes. The meringues should be dry to the touch and easily lift off the parchment paper. They should not be browned. If they start to brown, lower the temperature. This takes 45-60 minutes.
- Cool: Turn off the oven and leave the meringues inside with the door slightly ajar for another 30 minutes. This residual heat helps dry them out completely and prevents cracking as they cool. This takes 30 minutes.
Total time: About 1.5 hours, mostly hands-off baking time.
Cooking Tips & Techniques
I’ve made a lot of mistakes with meringues, so you don’t have to. Here are some pro tips to ensure your crispy ghost meringue cookies with chocolate chip eyes turn out perfectly every time.
- Room Temperature Eggs: As mentioned, room temperature egg whites whip to a greater volume than cold ones. If you’re in a rush, place your egg whites in a bowl of warm water for 5 minutes before whipping.
- Clean Bowl: Ensure your mixing bowl is completely free of grease. Any residue from butter, oil, or even some dish soap can prevent the eggs from whipping. Wipe the bowl with a paper towel dipped in vinegar or lemon juice before starting.
- Stiff Peaks: Don’t stop whipping too early. If your peaks droop, your meringues will spread and lose their shape. They need to be stiff. Test it by turning the bowl upside down; if the whites don’t move, you’re good.
- Low and Slow: The oven temperature must be low. If your oven runs hot, use an oven thermometer and adjust accordingly. High heat will brown the meringues and leave them chewy inside. You want them pale and crisp.
- Humidity is the Enemy: Meringues absorb moisture from the air. If it’s a rainy or humid day, add an extra 15 minutes to the baking time. Store them in an airtight container immediately after cooling to keep them crisp.
One personal failure: I once tried to speed up the process by baking at 250°F. The result? Brown, crispy shells with gooey, raw centers. Don’t do that. Trust the low temp.
Variations & Adaptations
While the classic white ghost is iconic, there are plenty of ways to twist this recipe.
- Food Coloring: Add a drop of gel food coloring to the egg whites before whipping for colored ghosts. Pink, orange, or purple work well for Halloween. Gel coloring is best because it doesn’t add extra liquid.
- Flavor Variations: Swap the vanilla for almond extract, or add a teaspoon of lemon zest for a citrusy twist. You could also fold in a tablespoon of cocoa powder for “dark matter” ghosts.
- Gluten-Free: This recipe is naturally gluten-free, so no changes needed. Just ensure your chocolate chips are certified gluten-free if you have celiac disease.
- Vegan Option: You can use aquafaba (the liquid from a can of chickpeas) instead of egg whites. Whip it just like egg whites, but it may take slightly longer to reach stiff peaks. The texture will be similar, though slightly less crisp.
- Alternative Eyes: Instead of chocolate chips, use mini M&Ms, sprinkles, or even small dots of melted dark chocolate drawn on with a piping tip for a more detailed look.
I tried adding matcha powder to the whites once for a “zombie” ghost. It was surprisingly good, with a nice earthy flavor that balanced the sugar.
Serving & Storage Suggestions
These cookies are best served at room temperature. They don’t need to be warmed up. They are perfect for plating on a spooky-themed platter with black napkins and orange accents. They pair well with a hot cup of coffee or tea, as the crisp texture contrasts nicely with the warm liquid.
For storage, keep them in an airtight container at room temperature for up to two weeks. If they start to get soft, pop them back in the 200°F oven for 10 minutes to re-crisp them. Do not store them in the refrigerator, as the humidity will make them soggy. They can also be frozen for up to three months. Just thaw them at room temperature before serving.
I’ve found that the flavors actually meld nicely after a day or two, making them even more cohesive. They are great for meal prepping party snacks.
Nutritional Information & Benefits
These crispy ghost meringue cookies with chocolate chip eyes are naturally gluten-free and low in fat, as they contain no butter or oil. They are mostly sugar and air, so they are light on the stomach. However, they are high in sugar, so enjoy in moderation. Each cookie is roughly 20-30 calories, depending on size. They are a good option for those avoiding gluten or dairy, provided you use dairy-free chocolate chips. They offer a quick energy boost, though the sugar crash is real, so pair them with protein if you’re watching your blood sugar.
Conclusion
These crispy ghost meringue cookies with chocolate chip eyes are the easiest, cutest, and most festive treat you can make for Halloween. They require minimal ingredients, minimal effort, and deliver maximum impact. Whether you’re baking for kids, hosting a party, or just want a spooky snack, these ghosts are the answer. I hope you try them and enjoy the process as much as I did. Feel free to experiment with colors and flavors to make them your own. Don’t forget to leave a comment below with your variations or photos of your spooky creations. Happy baking!
FAQs
Can I use egg whites from a carton?
Yes, pasteurized egg whites from a carton work well for meringues. They may take slightly longer to whip, but they produce a stable foam. Just ensure they are at room temperature.
Why are my meringues soft and chewy?
This usually means they weren’t baked long enough or the oven temperature was too high. Make sure to bake them at 200°F for the full time and let them cool in the turned-off oven.
Can I make these ahead of time?
Yes, these cookies keep well for up to two weeks in an airtight container. They are a great make-ahead treat for parties.
What if I don’t have a piping bag?
You can use a Ziploc bag with the corner cut off, or simply drop spoonfuls of meringue onto the baking sheet. They won’t look as neat, but they will still taste great.
Can I add nuts to the meringues?
Yes, you can fold in chopped nuts like almonds or walnuts for added crunch. Just be gentle so you don’t deflate the mixture.
Pin This Recipe!
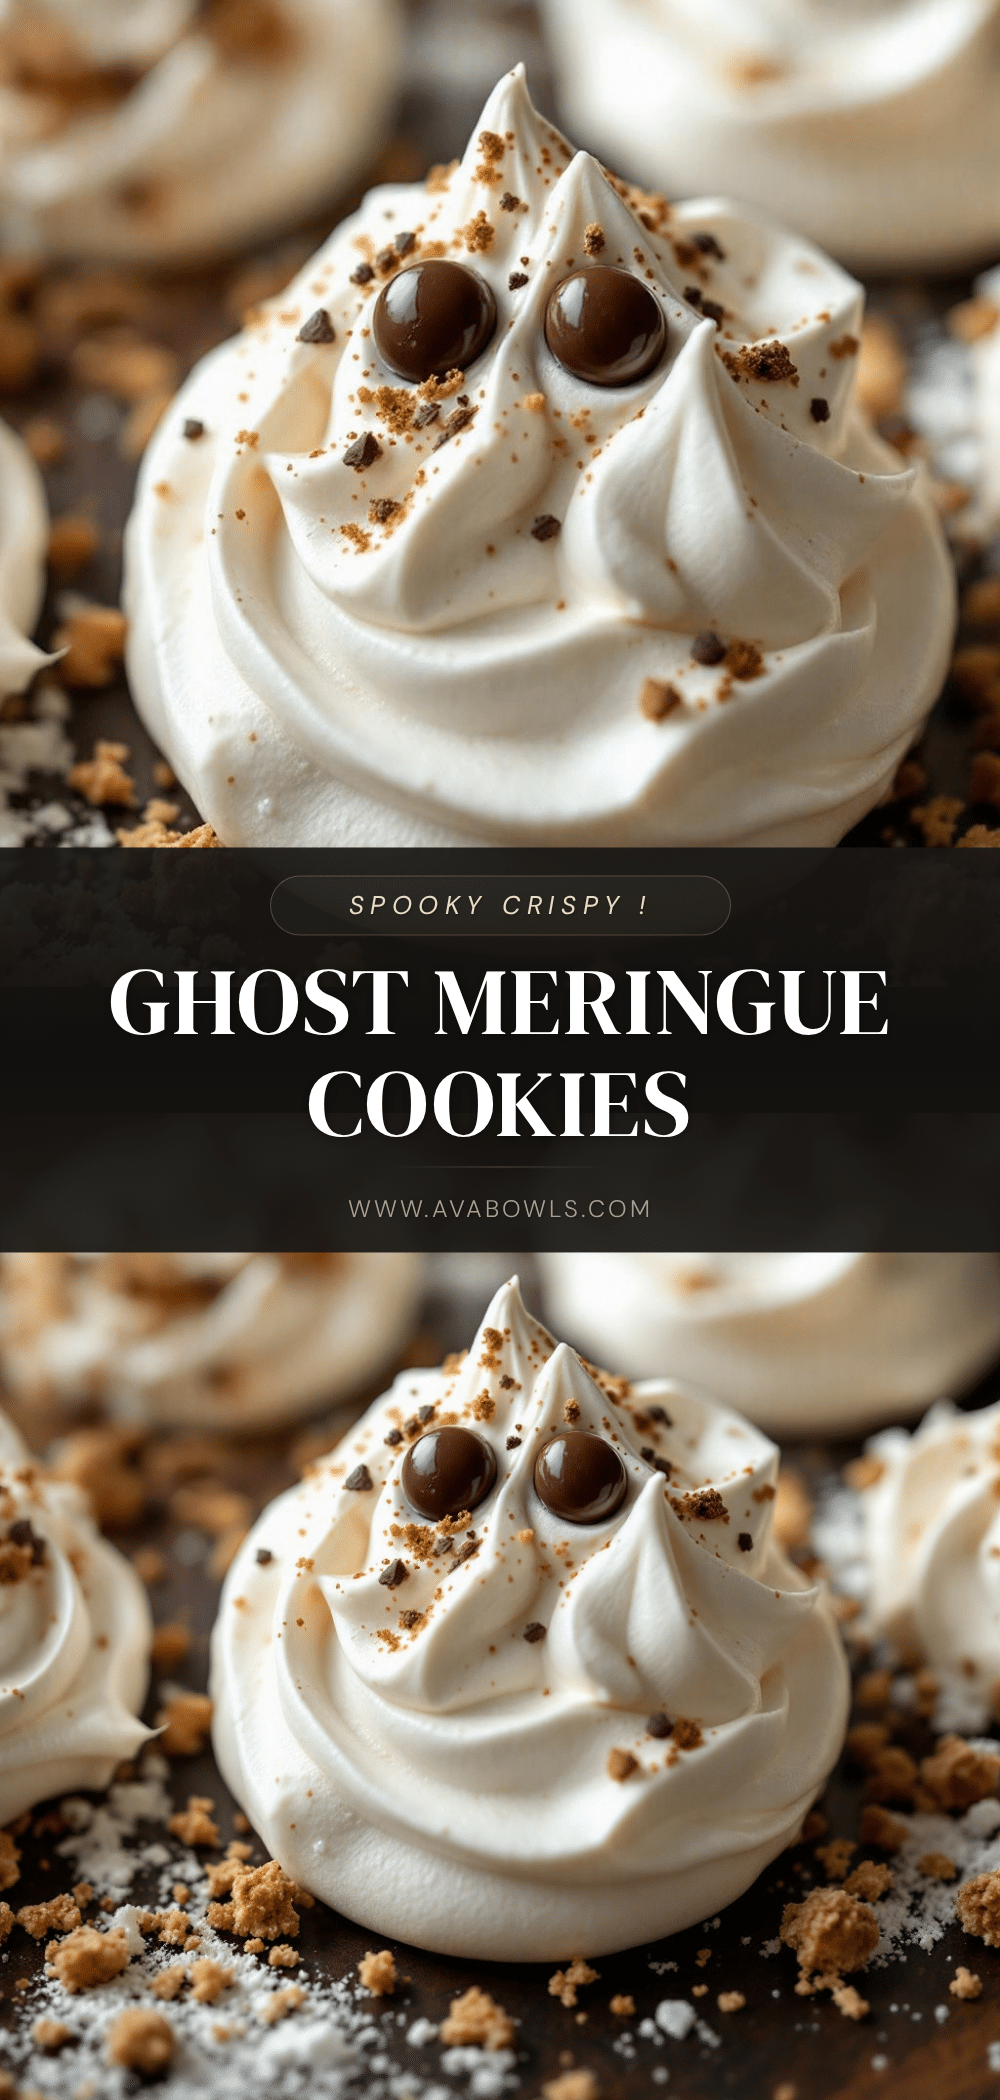
Crispy Ghost Meringue Cookies: 5-Minute Halloween Treats
These crispy ghost meringue cookies are a simple, gluten-free Halloween treat made with just egg whites, sugar, and mini chocolate chip eyes. They are naturally dairy-free, require minimal effort, and offer a shatteringly crisp texture.
- Prep Time: 15 minutes
- Cook Time: 45-60 minutes
- Total Time: 1 hour 30 minutes
- Yield: Approximately 12-15 cookies 1x
- Category: Dessert
- Cuisine: American
Ingredients
- 3–4 large egg whites (room temperature)
- 3/4 to 1 cup granulated white sugar
- 1 teaspoon vanilla extract
- Mini chocolate chips (for eyes)
- Pinch of cream of tartar (optional, for stability)
Instructions
- Preheat oven to 200°F (95°C). Line two baking sheets with parchment paper.
- Carefully separate egg whites from yolks, ensuring no yolk contaminates the whites. Place whites in a clean, grease-free mixing bowl.
- Using an electric mixer on medium speed, beat egg whites until foamy and bubbly (1-2 minutes). Add cream of tartar if using.
- With mixer on low, slowly pour in granulated sugar over 2-3 minutes. Increase speed to high and beat for 3-5 minutes until stiff, glossy peaks form.
- Turn off mixer and gently fold in vanilla extract with a spatula.
- Spoon meringue into a piping bag fitted with a round tip (or a Ziploc bag with corner cut off). Pipe small mounds onto baking sheets to resemble ghosts.
- Press two mini chocolate chips onto the top of each meringue mound to create eyes.
- Bake for 45-60 minutes until dry to the touch and easily lifted from parchment. Do not let them brown.
- Turn off oven and leave meringues inside with the door slightly ajar for 30 minutes to cool and dry completely.
Notes
Ensure mixing bowl is completely free of grease or oil. Room temperature egg whites whip better. Do not substitute granulated sugar with powdered sugar as it contains cornstarch. If baking on a humid day, add extra baking time. Store in an airtight container at room temperature for up to two weeks.
Nutrition
- Serving Size: 1 cookie
- Calories: 25
- Sugar: 6
- Carbohydrates: 6
Keywords: Halloween recipes, meringue cookies, gluten-free desserts, easy baking, ghost cookies, vegan option, party snacks


