“You brought those mini cheesecakes again? Seriously, where do you even find the time?” my friend asked, eyeing the tray I’d just pulled from the oven. Honestly, I didn’t have a good answer. It started as a quick fix after a hectic day when I didn’t want to deal with a full-sized dessert. I tossed together what I had—cream cheese, berries, a simple crust—and hoped for the best. The kitchen smelled like sweet berries and vanilla within minutes, and the texture was so creamy it caught me off guard.
That night, as I sat quietly nibbling on one of those tiny cheesecake bites, it hit me how perfect these little desserts were. Not too heavy, just the right amount of sweetness, and a pop of fresh berry that felt like spring trapped in a bite. Since then, they’ve popped up on my table more times than I can count—at potlucks, last-minute guests, and even quiet evenings when I just needed a small treat without the fuss.
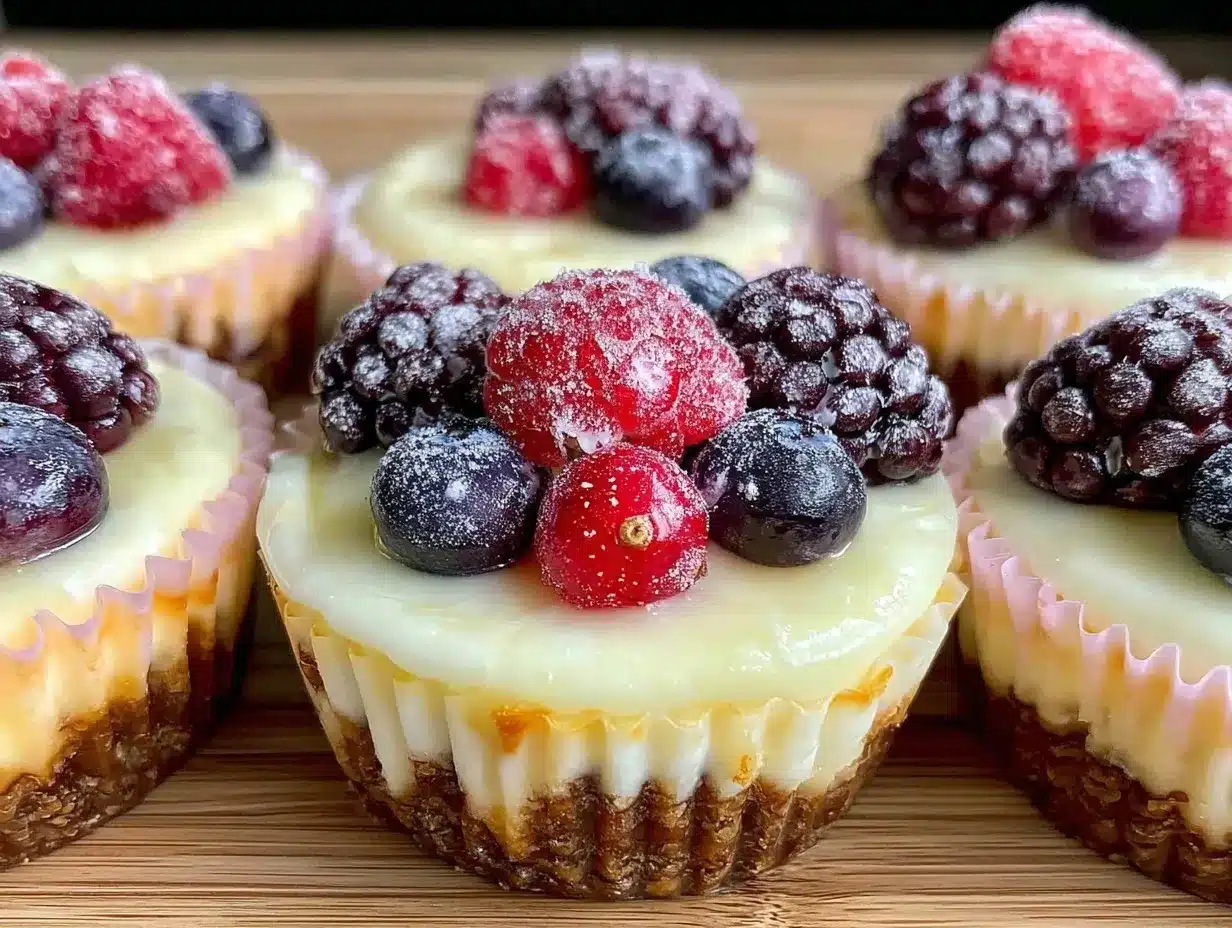
There’s something comforting about these Creamy Berry Sweet Mini Cheesecake Bites that’s hard to put into words. Maybe it’s the creamy texture balanced with the brightness of berries, or the fact they’re just small enough to feel indulgent without guilt. Whatever it is, they’ve become my go-to when I want something homemade, pretty, and honestly, just a little bit special. And trust me, once you try them, they might quietly sneak into your rotation too.
Why You’ll Love This Recipe
After making these mini cheesecake bites more times than I can remember, a few things stand out that make this recipe a keeper:
- Quick & Easy: They come together in about 30 minutes plus chilling time, perfect for busy weeknights or spontaneous dessert cravings.
- Simple Ingredients: No complicated or exotic items needed—just pantry staples and fresh or frozen berries.
- Perfect for Parties: These bite-sized treats are ideal for potlucks, brunches, or casual get-togethers where people love finger food.
- Crowd-Pleaser: Kids, adults, berry lovers, and cheesecake fans alike tend to ask for seconds (or thirds).
- Unbelievably Delicious: The creamy, smooth filling paired with a sweet and crumbly base makes for a delightful texture combo you’ll want to recreate again and again.
What sets these apart from other mini cheesecakes? It’s the little touches: blending the cream cheese until ultra-smooth before folding in the berries gently, and a perfectly balanced crust that’s sweet but not overpowering. I also like to use a mix of fresh and frozen berries depending on the season—frozen berries work beautifully and keep the recipe accessible year-round.
Honestly, it’s the kind of dessert that makes you pause and savor the moment. Whether you’re serving them alongside a cup of coffee or as a sweet finish to dinner, these bites have a way of making any occasion feel just a bit more special.
What Ingredients You Will Need
This recipe uses simple, wholesome ingredients to deliver bold flavor and satisfying texture without the fuss. Most are pantry staples, and many can be swapped out depending on your preference or what’s on hand.
- For the Crust:
- Graham cracker crumbs (about 1 cup or 100g) – I prefer Honey Maid for a nice balance of sweetness and texture
- Unsalted butter, melted (4 tbsp / 60g) – adds richness and helps bind the crust
- Granulated sugar (2 tbsp / 25g) – for a touch of sweetness
- For the Cheesecake Filling:
- Cream cheese, softened (8 oz / 225g) – use full-fat for the creamiest texture
- Granulated sugar (½ cup / 100g) – balances the tang of cream cheese
- Large egg, room temperature (1) – helps set the filling
- Vanilla extract (1 tsp) – for warm, aromatic depth
- Sour cream (¼ cup / 60ml) – adds creaminess and slight tang
- For the Berry Topping:
- Mixed berries (½ cup / 75g), fresh or frozen – strawberries, blueberries, raspberries, or blackberries work well
- Powdered sugar (optional, for dusting)
Ingredient Tips: Look for cream cheese that’s soft but not melted—room temperature helps it blend smoothly. If you want a dairy-free version, try swapping cream cheese and sour cream with plant-based alternatives like cashew cream or coconut yogurt. For gluten-free crust, almond flour or gluten-free graham cracker crumbs work great.
Equipment Needed
- Mini muffin pan or silicone mini cheesecake molds – I’ve found silicone molds make release much easier, but a non-stick metal pan with paper liners works fine too.
- Mixing bowls – one for crust and one for filling
- Electric mixer or stand mixer – to beat the cream cheese until silky smooth
- Spatula – for folding in ingredients gently
- Measuring cups and spoons – accuracy helps with consistency
- Cooling rack – to cool cheesecakes evenly
If you don’t have a mini muffin pan, you can use a regular muffin tray and simply make slightly bigger cheesecake bites. For a budget-friendly option, silicone molds are often cheap and reusable. When using an electric mixer, make sure not to overbeat the filling to avoid cracks.
Preparation Method
- Prepare the Crust: Preheat your oven to 325°F (163°C). In a mixing bowl, combine 1 cup (100g) graham cracker crumbs, 4 tbsp (60g) melted unsalted butter, and 2 tbsp (25g) granulated sugar. Stir until the mixture resembles wet sand and holds together when pressed.
- Form the Crust Bases: Lightly grease or line your mini muffin pan with paper liners. Press about 1 tablespoon of the crust mixture into the bottom of each cup, using the back of a spoon or your fingers to compact it firmly and evenly. Bake for 5 minutes, then set aside to cool while you prepare the filling.
- Make the Cheesecake Filling: In a large bowl, beat 8 oz (225g) softened cream cheese with ½ cup (100g) granulated sugar until smooth and creamy, about 2-3 minutes. Add 1 large egg and 1 tsp vanilla extract, beating just until combined. Stir in ¼ cup (60ml) sour cream until the mixture is silky and uniform.
- Assemble the Cheesecakes: Spoon the cheesecake filling evenly over the pre-baked crusts, filling each cup nearly to the top. Gently tap the pan on the counter to release any air bubbles and level the tops.
- Add the Berry Topping: Place 2-3 berries on top of each cheesecake bite, pressing them gently into the filling so they don’t sink during baking.
- Bake to Perfection: Bake at 325°F (163°C) for 15-18 minutes, or until the edges are set but the centers still jiggle slightly when nudged. Avoid overbaking or the cheesecakes will crack and dry out.
- Cool and Chill: Remove from the oven and cool in the pan for 30 minutes before transferring to the refrigerator. Chill for at least 3 hours, preferably overnight, to let the flavors develop and the texture firm up.
- Serve: Once chilled, carefully remove the mini cheesecakes from the pan. Dust with powdered sugar if desired and serve cold.
Tip: If your berries release a lot of juice during baking, drain excess liquid before serving to keep the crust crisp. You can also gently fold berries into the filling for a fruity swirl effect, but I prefer them on top for a fresh burst.
Cooking Tips & Techniques
Getting that perfect creamy texture without cracks can be tricky, so here are some tips I’ve picked up:
- Room Temperature Ingredients: Make sure your cream cheese and egg are at room temperature. This helps everything blend smoothly and prevents lumps.
- Don’t Overmix: Beat the filling just enough to combine. Overworking introduces air, which can cause cracks during baking.
- Watch Your Oven: Oven temperature varies, so check the cheesecakes a few minutes before the timer. You want the edges set but the center slightly jiggly.
- Use a Water Bath (Optional): For extra creamy results, place the mini pan in a larger pan with hot water halfway up the sides during baking. This keeps the temperature steady and prevents cracking, but it’s not mandatory.
- Cooling Matters: Let cheesecakes cool gradually at room temperature before chilling. Sudden temperature changes can cause cracks.
I learned the hard way that skipping the chilling step results in a less firm bite. Patience pays off here, and the texture improves beautifully after a few hours in the fridge. Also, experimenting with different berry combinations over the seasons keeps this recipe feeling fresh—last summer, I added a hint of lemon zest for a bright twist.
Variations & Adaptations
- Low-Sugar Version: Swap granulated sugar with a natural sweetener like monk fruit or erythritol. Use unsweetened berries or reduce topping sugar for a lighter bite.
- Gluten-Free Crust: Replace graham cracker crumbs with almond flour or gluten-free cookie crumbs. The flavor is slightly nuttier but equally delicious.
- Chocolate Lover’s Twist: Add 2 tablespoons of cocoa powder to the crust or swirl melted chocolate into the filling before baking.
- Dairy-Free Option: Use vegan cream cheese and coconut yogurt instead of sour cream. Coconut oil can replace butter in the crust.
- Seasonal Fruit Swaps: Try peaches, cherries, or mango chunks instead of berries for a summery vibe. For a winter twist, warm spiced cranberry topping works beautifully.
One variation I love is mixing in a handful of chopped toasted pecans into the crust for a bit of crunch. It adds a nice contrast to the creamy bite and a subtle nutty flavor. If you enjoy the texture of a creamy pasta dish, you might appreciate the similar luscious mouthfeel in my creamy lemon ricotta pasta with peas and mint — comfort food with a fresh twist.
Serving & Storage Suggestions
These mini cheesecakes are best served chilled. Let them sit out for 5-10 minutes before serving if you prefer a slightly softer bite. They look lovely arranged on a pretty platter topped with a dusting of powdered sugar or a few fresh mint leaves.
If you’re hosting a brunch or party, pair them with a light sparkling drink or a cup of coffee. They also make a nice sweet finish to a savory meal—think alongside a bowl of creamy spring vegetable fettuccine alfredo for a well-rounded menu.
Store leftovers covered tightly in the refrigerator for up to 4 days. For longer storage, freeze the bites in an airtight container for up to 2 months. Thaw overnight in the fridge before serving. Reheating is generally not recommended, but a couple of minutes at room temperature will soften them slightly.
Flavors meld and improve after a day in the fridge, so if you can wait, the bites become even more irresistible. Plus, the crust stays nicely crisp, which is a little miracle for cheesecakes.
Nutritional Information & Benefits
Each mini cheesecake bite contains roughly:
| Calories | 120-140 kcal |
|---|---|
| Fat | 8-10g (mostly from cream cheese and butter) |
| Carbohydrates | 10-12g |
| Protein | 2-3g |
| Sugar | 7-9g (from sugar and berries) |
The cream cheese provides a good source of calcium and protein, while the berries offer antioxidants and vitamin C. Using fresh or frozen berries keeps the recipe seasonal and nutrient-packed. For those managing gluten or dairy sensitivities, substitutions make this recipe approachable without sacrificing taste.
From a wellness perspective, I appreciate how these mini cheesecakes satisfy sweet cravings in a portion-controlled way. They’re a treat that doesn’t feel like overindulgence, which is a balance I personally aim for in my desserts.
Conclusion
These Creamy Berry Sweet Mini Cheesecake Bites have earned a permanent spot in my dessert repertoire. They’re simple enough to whip up on a whim yet impressive enough to share with guests. What I love most is their balance of creamy, sweet, and fruity—all in a perfectly portioned bite.
Feel free to tinker with the berries, the crust, or even the sweetness to make this recipe truly your own. I find that every batch tells a slightly different story depending on the fruit and mood in the kitchen.
If you try them, I’d love to hear how you made them yours. There’s something special about sharing these little delights—the kind that turns casual get-togethers into moments worth savoring.
So go ahead, give these mini cheesecakes a shot. They might just surprise you like they did me.
FAQs About Creamy Berry Sweet Mini Cheesecake Bites
Can I make these mini cheesecakes ahead of time?
Absolutely! They actually taste better after chilling overnight, which helps the flavors meld and the texture firm up nicely.
What if I don’t have a mini muffin pan?
You can use a regular muffin pan for larger bites or silicone molds in different shapes. Just adjust baking time accordingly—larger sizes may need a bit longer.
Can I use other fruits besides berries?
Yes, peaches, cherries, mangoes, or even spiced cranberries work well. Just keep fruit pieces small so they fit nicely on top or fold into the filling.
Is there a way to make these dairy-free?
Use plant-based cream cheese and coconut yogurt instead of sour cream. Coconut oil can replace butter in the crust. The texture will be slightly different but still delicious.
How do I prevent cracks on the cheesecake filling?
Make sure to use room temperature ingredients, avoid overmixing, and don’t overbake. Cooling gradually and chilling overnight also helps prevent cracks.
Pin This Recipe!
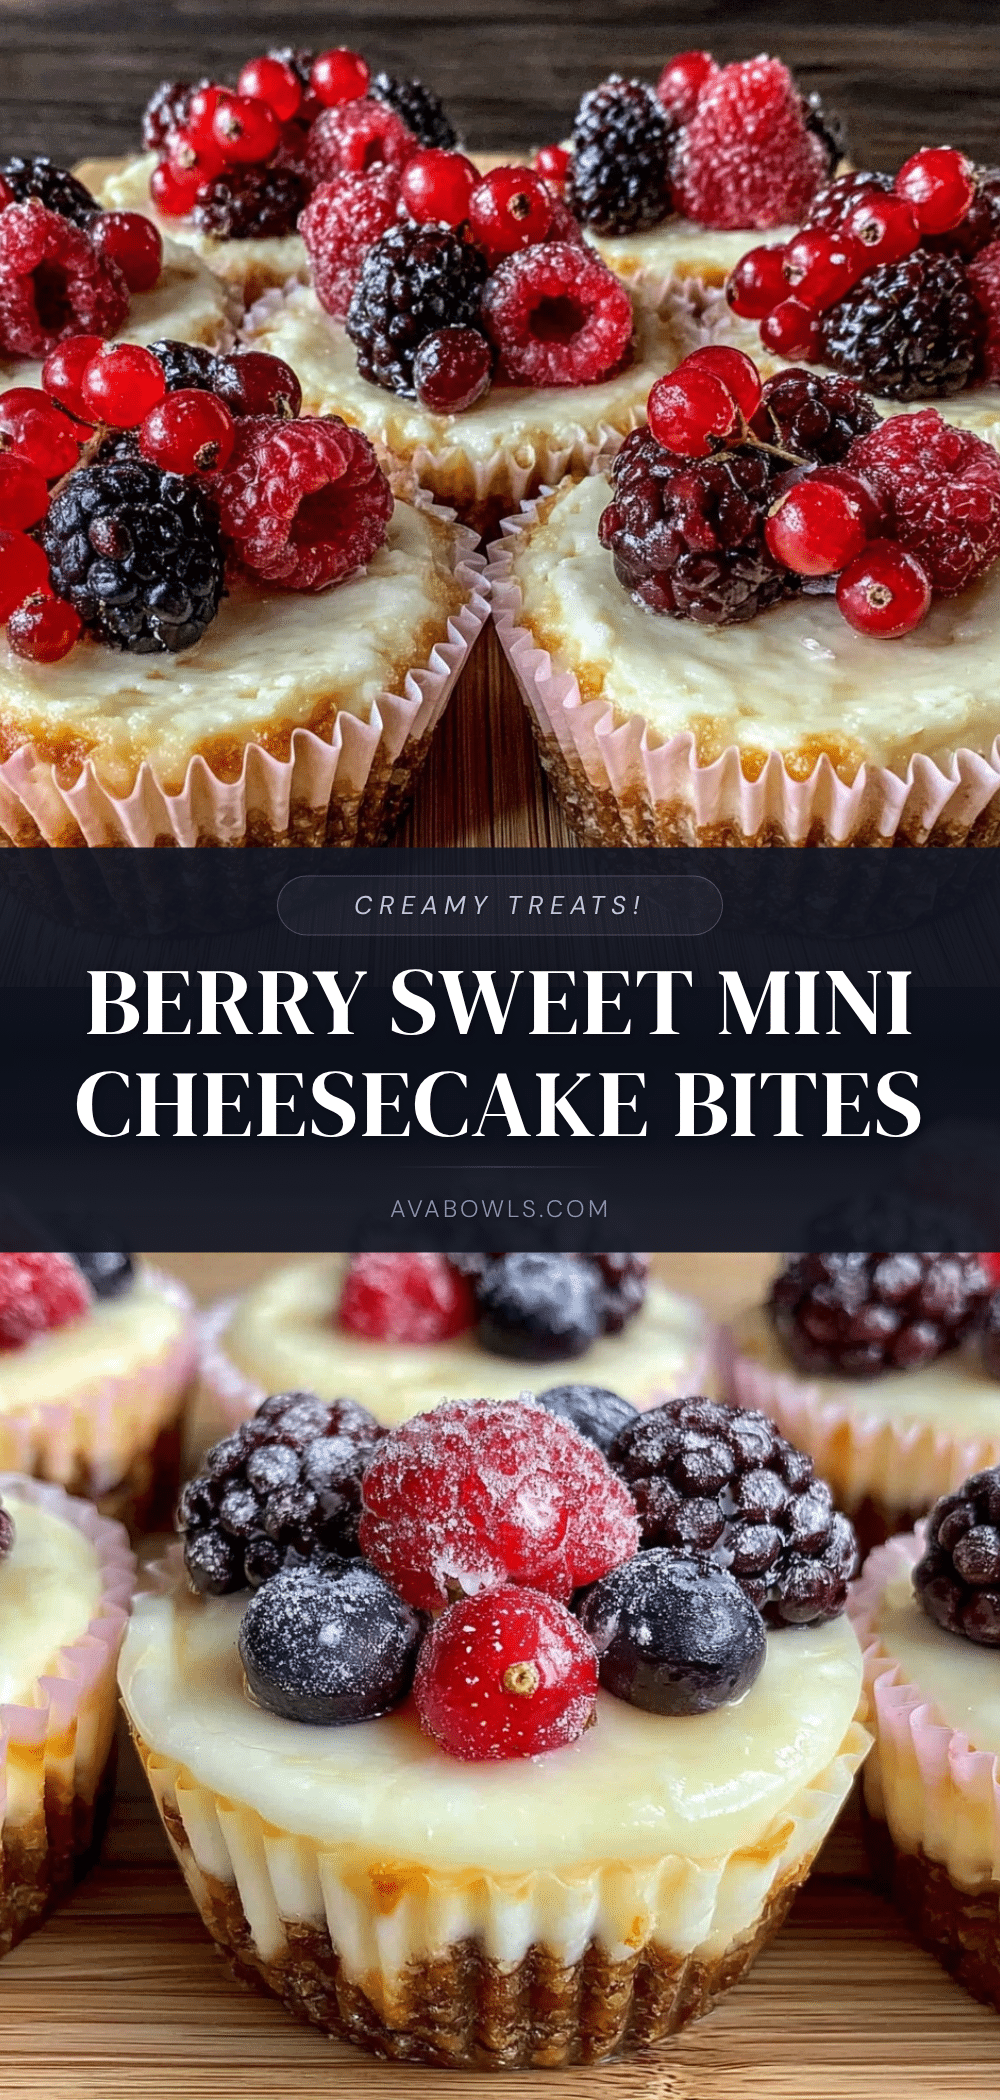
Creamy Berry Sweet Mini Cheesecake Bites
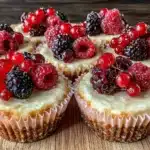
These mini cheesecake bites are creamy, sweet, and topped with fresh or frozen berries. Perfect for quick, portion-controlled desserts that are easy to make and crowd-pleasing.
- Prep Time: 15 minutes
- Cook Time: 23 minutes
- Total Time: 3 hours 38 minutes
- Yield: 24 mini cheesecake bites 1x
- Category: Dessert
- Cuisine: American
Ingredients
- 1 cup (100g) graham cracker crumbs
- 4 tbsp (60g) unsalted butter, melted
- 2 tbsp (25g) granulated sugar
- 8 oz (225g) cream cheese, softened
- ½ cup (100g) granulated sugar
- 1 large egg, room temperature
- 1 tsp vanilla extract
- ¼ cup (60ml) sour cream
- ½ cup (75g) mixed berries (fresh or frozen)
- Powdered sugar (optional, for dusting)
Instructions
- Preheat oven to 325°F (163°C). In a mixing bowl, combine graham cracker crumbs, melted butter, and granulated sugar until mixture resembles wet sand and holds together when pressed.
- Lightly grease or line a mini muffin pan with paper liners. Press about 1 tablespoon of crust mixture into the bottom of each cup, compacting firmly and evenly. Bake for 5 minutes and set aside to cool.
- In a large bowl, beat softened cream cheese with granulated sugar until smooth and creamy, about 2-3 minutes. Add egg and vanilla extract, beating just until combined. Stir in sour cream until silky and uniform.
- Spoon cheesecake filling evenly over pre-baked crusts, filling each cup nearly to the top. Tap pan gently to release air bubbles and level tops.
- Place 2-3 berries on top of each cheesecake bite, pressing gently into filling.
- Bake at 325°F (163°C) for 15-18 minutes, until edges are set but centers jiggle slightly. Avoid overbaking to prevent cracks.
- Cool in pan for 30 minutes, then transfer to refrigerator. Chill at least 3 hours or overnight to firm up.
- Carefully remove mini cheesecakes from pan. Dust with powdered sugar if desired and serve cold.
Notes
Use room temperature cream cheese and egg to avoid lumps. Do not overmix filling to prevent cracks. Check oven early to avoid overbaking. Optional water bath can help keep cheesecakes creamy. Chill overnight for best texture. Drain excess berry juice if needed to keep crust crisp.
Nutrition
- Serving Size: 1 mini cheesecake bi
- Calories: 130
- Sugar: 8
- Sodium: 90
- Fat: 9
- Saturated Fat: 5
- Carbohydrates: 11
- Fiber: 1
- Protein: 3
Keywords: mini cheesecake, berry dessert, creamy cheesecake bites, easy dessert, party dessert, homemade cheesecake, quick cheesecake