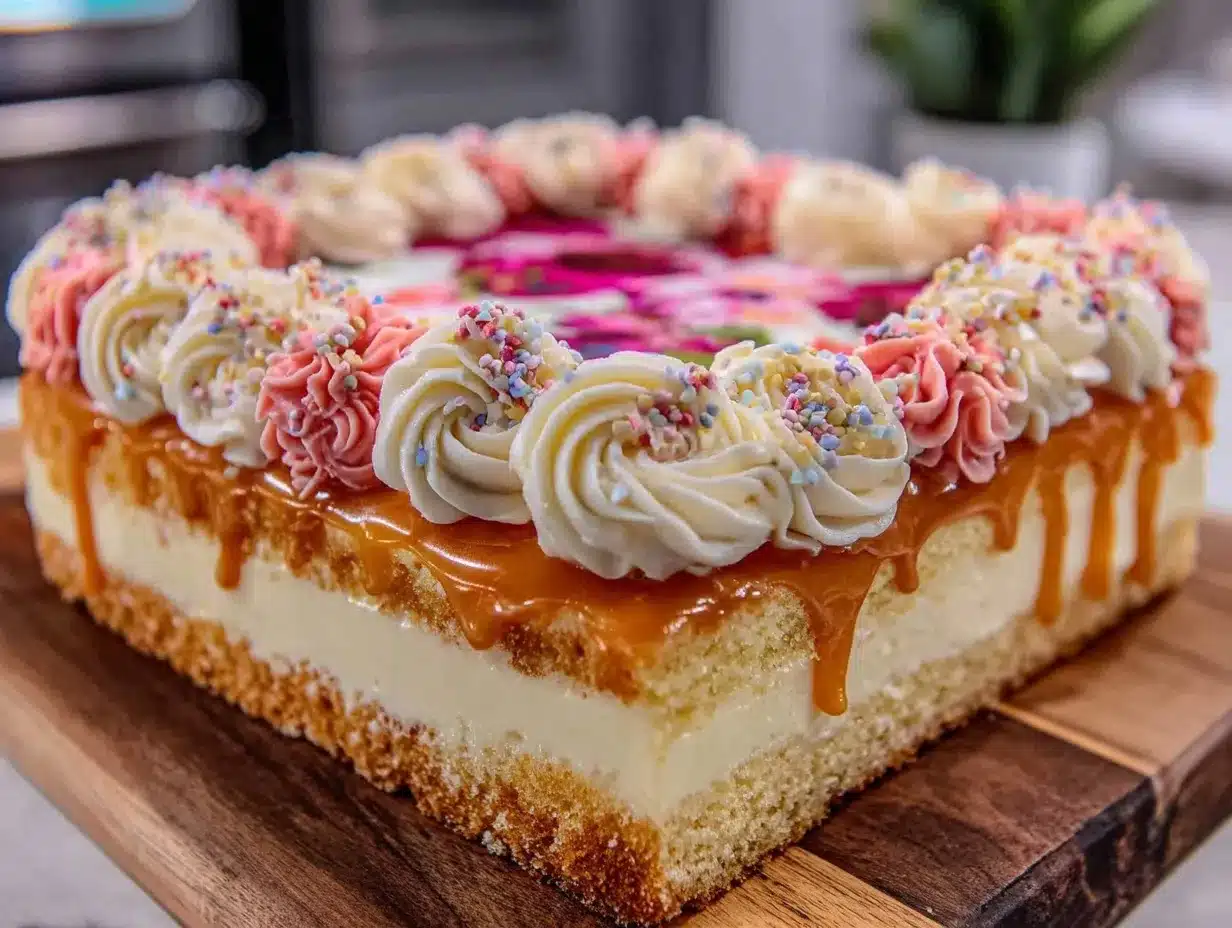
“Can you believe this cake has a photo on it?” my friend gasped, staring at the sheet cake in front of us. I was half as surprised myself. Honestly, I wasn’t sure how this whole photo print design on a sheet cake would turn out when I first tried it, but there we were, cutting into a moist, tender cake with a stunning edible image on top. It all started on a hectic afternoon when I needed a quick but special dessert for a last-minute birthday gathering. I had this idea to combine a perfectly simple sheet cake with a personalized photo print, mostly to save time and wow everyone without fuss. The first attempt felt like a gamble—would the print stick? Would the cake stay moist? Would it taste good? Well, after a few tries (and some scrapped versions), I landed on a perfect sheet cake recipe that works beautifully with edible photo designs. It’s surprisingly simple, and the results are downright impressive.
There’s something quietly satisfying about serving a cake that looks both homemade and custom-made, especially when the photo brings a smile or a memory to the table. This recipe stuck with me because it’s reliable, versatile, and honestly, it turns cake-cutting moments into something a bit more special without adding stress. Whether you’re marking an occasion or just want to surprise someone with a one-of-a-kind dessert, this sheet cake recipe with a photo print design will feel like your secret weapon. It’s the kind of recipe that proves you don’t have to be a professional baker to create an unforgettable centerpiece.
Why You’ll Love This Recipe
Over the years, I’ve made this perfect sheet cake with stunning photo print design more times than I can count. It’s become a go-to when I want something quick, personal, and delicious. Here’s why you’ll appreciate it too:
- Quick & Easy: The batter comes together in under 20 minutes, making it ideal for those busy days when you want to impress but don’t have hours to bake.
- Simple Ingredients: No need for fancy or hard-to-find items. Most of what you need is probably already in your pantry or fridge.
- Perfect for Celebrations: Birthdays, anniversaries, or casual get-togethers — this cake’s photo print makes any occasion feel personalized and festive.
- Crowd-Pleaser: Moist, tender crumb and balanced sweetness means it wins over both kids and adults every time.
- Stunning Visual Impact: The edible photo print adds a wow factor that turns a simple sheet cake into a conversation piece.
What sets this recipe apart is the texture and moisture balance. The cake isn’t overly sweet, which pairs perfectly with the edible icing sheet and keeps the print vibrant. Plus, I use a light crumb that holds up well beneath the photo design — no sogginess or cracking here. The frosting is smooth and acts as a perfect canvas without overpowering the cake. I’ve also tweaked the method so that the photo print stays fresh and intact until serving, which can be tricky with moist cakes. This recipe isn’t just about looks; it’s about that satisfying bite that makes you close your eyes and savor every crumb.
If you’re curious about pairing this cake with other treats, it reminds me a bit of the rich creaminess found in my creamy strawberry cream cheese stuffed French toast — comforting but with a playful twist.
What Ingredients You Will Need
This recipe uses simple, wholesome ingredients to deliver bold flavor and a moist, tender texture without fuss. Most are pantry staples, and substitutions are easy if needed.
- For the Cake Batter:
- 2 ½ cups (312g) all-purpose flour (I prefer King Arthur for consistent texture)
- 2 ½ teaspoons baking powder
- ½ teaspoon baking soda
- ½ teaspoon salt
- 1 cup (226g) unsalted butter, softened (Room temp butter is key for smooth batter)
- 1 ¾ cups (350g) granulated sugar
- 3 large eggs, room temperature
- 1 tablespoon pure vanilla extract
- 1 cup (240ml) whole milk (For a dairy-free option, swap with almond or oat milk)
- For the Frosting (Cream Cheese Buttercream):
- 8 oz (226g) cream cheese, softened (Use small-curd for best texture)
- ½ cup (113g) unsalted butter, softened
- 3 cups (360g) powdered sugar, sifted
- 1 teaspoon vanilla extract
- 2–3 tablespoons heavy cream or milk (adjust to desired consistency)
- For the Photo Print Design:
- Edible icing sheet with printed photo (available online or at specialty baking stores)
- Edible ink (pre-printed sheets are easiest for beginners)
Quick tip: When choosing your edible icing sheet, make sure it’s fresh and stored properly to avoid cracking or discoloration. I’ve found that ordering from trusted brands online gives the best results. Also, if fresh berries are in season, adding a few around the edges of the cake can add a lovely pop of color and freshness.
Equipment Needed
- 9×13 inch (23×33 cm) sheet cake pan — a classic and affordable choice
- Electric mixer (stand or handheld) for creaming butter and mixing batter smoothly
- Mixing bowls — one large for dry ingredients, one medium for wet
- Rubber spatula to scrape the bowl and fold ingredients gently
- Offset spatula or butter knife for spreading frosting evenly
- Cooling rack to let the cake cool completely before frosting
- Optional: Parchment paper for lining the pan to prevent sticking (I always use it!)
If you don’t have a stand mixer, a good handheld mixer works just fine. I once baked this cake with only a whisk and elbow grease — it took longer but still turned out tasty. For spreading the frosting, an offset spatula helps with smooth, even layers, but a butter knife or the back of a spoon will do in a pinch. If you plan to print your own edible photo sheets, a specialized edible ink printer is required, but most people find pre-printed sheets much easier and less stressful.
Preparation Method
- Prep the Pan and Ingredients (10 minutes): Preheat your oven to 350°F (175°C). Line your 9×13 inch pan with parchment paper, letting the edges hang over for easy cake removal later. Soften butter and cream cheese well ahead of time to avoid lumps.
- Mix Dry Ingredients (5 minutes): In a large bowl, whisk together the flour, baking powder, baking soda, and salt. Set aside.
- Cream Butter and Sugar (5-7 minutes): Using an electric mixer, beat the softened butter and granulated sugar until light, fluffy, and pale — this usually takes about 5 minutes. This step is crucial for a tender crumb.
- Add Eggs and Vanilla (2-3 minutes): Beat in eggs one at a time, scraping down the sides as needed. Add vanilla extract and mix until combined.
- Combine Wet and Dry (5 minutes): Alternately add the dry ingredients and milk to the butter mixture, starting and ending with dry ingredients. Mix on low speed just until combined — overmixing can make the cake tough.
- Bake (30-35 minutes): Pour batter into prepared pan and smooth the top with a spatula. Bake in the preheated oven for 30-35 minutes, or until a toothpick inserted into the center comes out clean. The cake should spring back lightly when pressed.
- Cool Completely (at least 1 hour): Let the cake cool in the pan for about 15 minutes, then lift it out using the parchment edges and transfer to a wire rack. Cooling completely is essential — frosting a warm cake will cause melting and ruin the photo print adhesion.
- Prepare Frosting (10 minutes): Beat cream cheese and butter together until smooth. Gradually add powdered sugar and vanilla, then add cream to reach spreading consistency. Scrape down the bowl to keep everything silky.
- Frost the Cake (10 minutes): Spread a thin, even layer of frosting over the cooled cake to create a smooth surface. This layer acts as glue for the photo icing sheet, so take your time smoothing out bumps.
- Apply Photo Print (5 minutes): Carefully place the edible photo sheet on top of the frosted cake. Gently press edges to stick, avoiding wrinkles or tears. Keep refrigerated and serve within 24 hours for best appearance.
Pro tip: If you notice any bubbles under the photo sheet, you can lightly press them out with a clean, dry pastry brush or the back of a spoon wrapped in plastic wrap to avoid damage. Also, I learned the hard way that rushing the cooling stage leads to frosting melt and a sad, smeared photo — patience here pays off.
Cooking Tips & Techniques
Making a perfect sheet cake with a photo print design isn’t rocket science, but a few tricks make all the difference. Honestly, the frosting texture is the most critical part — it needs to be smooth enough to hold the image flat but not so wet that it dissolves the edible sheet. I always use a thin crumb coat first, then a slightly thicker top layer that’s still firm.
One mistake I made early on was applying the photo sheet to a slightly warm or moist frosting surface. The image bled and distorted quickly — lesson learned. Make sure your cake is completely cool and your frosting is set but not hardened.
Timing is everything. When juggling a party, I prep the cake and frosting a day ahead, then put on the photo sheet just a few hours before serving. This way, the image stays fresh and sharp, and the cake doesn’t dry out.
For consistency, measure your flour carefully—too much flour can dry the cake, making the photo sheet crack when sliced. I spoon the flour into the measuring cup rather than scooping directly to avoid packing.
If you want to multitask, try making the frosting while the cake bakes. It saves time, and you’ll have everything ready to assemble as soon as the cake cools.
Variations & Adaptations
This perfect sheet cake recipe is like a blank canvas — once you get the hang of it, you can customize it to suit your needs or preferences.
- Flavor Variations: Swap the vanilla extract for almond or lemon extract for a subtle twist. Adding a handful of mini chocolate chips or berries to the batter creates surprise bursts of flavor.
- Dietary Adaptations: Use almond flour or a gluten-free blend for a gluten-free version. Substitute dairy with coconut oil and non-dairy milk for a vegan-friendly cake. I’ve done a dairy-free version that still held the photo print beautifully.
- Frosting Alternatives: Try a whipped cream frosting for a lighter finish, but note that it won’t hold the photo sheet as well — best for cakes served immediately. Or use a smooth ganache for a glossy look, but you’ll need to carefully place the print on top once ganache firms.
- Cooking Methods: If you prefer cupcakes, this batter works well in a standard muffin tin, baking for about 18-22 minutes. Photo prints can be cut smaller to fit cupcake toppers.
Personally, I once made this cake with a fresh lemon ricotta filling inside, inspired by a recipe like the creamy lemon ricotta pasta I love — it added a zingy freshness that balanced the sweet frosting perfectly.
Serving & Storage Suggestions
This cake is best served chilled or at cool room temperature, especially since the photo print needs a stable surface. I like to slice it into generous squares that show off the photo design on each piece. Presentation-wise, a simple white or pastel plate works wonders to keep the focus on the cake’s stunning top.
For pairing, it goes surprisingly well with a cup of coffee or a light fruit punch. If you want to add a little something extra, fresh berries or a small scoop of vanilla ice cream on the side complements the creamy frosting.
Store the cake covered tightly in the refrigerator to keep the frosting firm and the photo print intact. It will keep well for up to 3 days, but honestly, it rarely lasts that long around here! For longer storage, you can freeze unfrosted cake layers wrapped tightly; just thaw fully before frosting and adding the photo sheet.
Reheating isn’t recommended because the frosting and photo print may melt or discolor, but if you’re serving leftovers, letting the cake sit at room temperature for 20 minutes before slicing softens it nicely.
Nutritional Information & Benefits
Per serving (based on 12 slices): approximately 350 calories, 18g fat, 45g carbohydrates, 3g protein. While this cake isn’t a health food, it uses real butter and cream cheese, which provide a richer flavor and texture than lower-fat alternatives. The milk adds calcium and some protein as well.
If you opt for dairy-free or gluten-free substitutions, the cake can fit a wider range of dietary needs. Just watch out for added sugars in some dairy-free alternatives.
From a wellness perspective, I appreciate that this recipe lets me enjoy a special treat made from scratch without artificial preservatives or overly processed ingredients. Plus, the personal touch of a photo print makes it more meaningful and worth savoring slowly.
Conclusion
Making the perfect sheet cake with a stunning photo print design is one of those kitchen wins that feels fancy without the fuss. It’s reliable, approachable, and adds a personal touch that guests won’t forget. Whether you’re celebrating a milestone, surprising a friend, or just craving a beautiful homemade dessert, this recipe fits the bill.
Feel free to tweak the flavors, swap ingredients, or try different prints — it’s all about making it yours. I love how this cake brings smiles and sparks conversation, turning simple moments into memories. Let me know how your photo cake turns out or share your own creative twists!
And if you want to keep up the creamy, comforting vibe, you might enjoy trying the creamy spring vegetable fettuccine alfredo for a savory treat after dessert.
FAQs
Can I use any photo for the edible print?
Yes, but make sure the photo is high resolution and printed with edible ink on an icing sheet. Most suppliers offer this service online or at specialty baking stores.
How do I store the cake with the photo print?
Keep it refrigerated, covered loosely with plastic wrap or in a cake box. Avoid airtight containers that press down on the photo. Consume within 1-2 days for best appearance.
Can I make this cake gluten-free?
Absolutely! Substitute all-purpose flour with a gluten-free blend that includes xanthan gum. The texture might be slightly different but still delicious.
Is it possible to frost the cake without cream cheese?
Yes, you can use a simple buttercream or whipped frosting, but cream cheese buttercream creates the best smooth surface for the photo print.
Can I print my own edible photo sheets at home?
Technically yes, if you have an edible ink printer and frosting sheets, but it requires practice and equipment. Most people find ordering pre-printed sheets easier and less stressful.
Pin This Recipe!
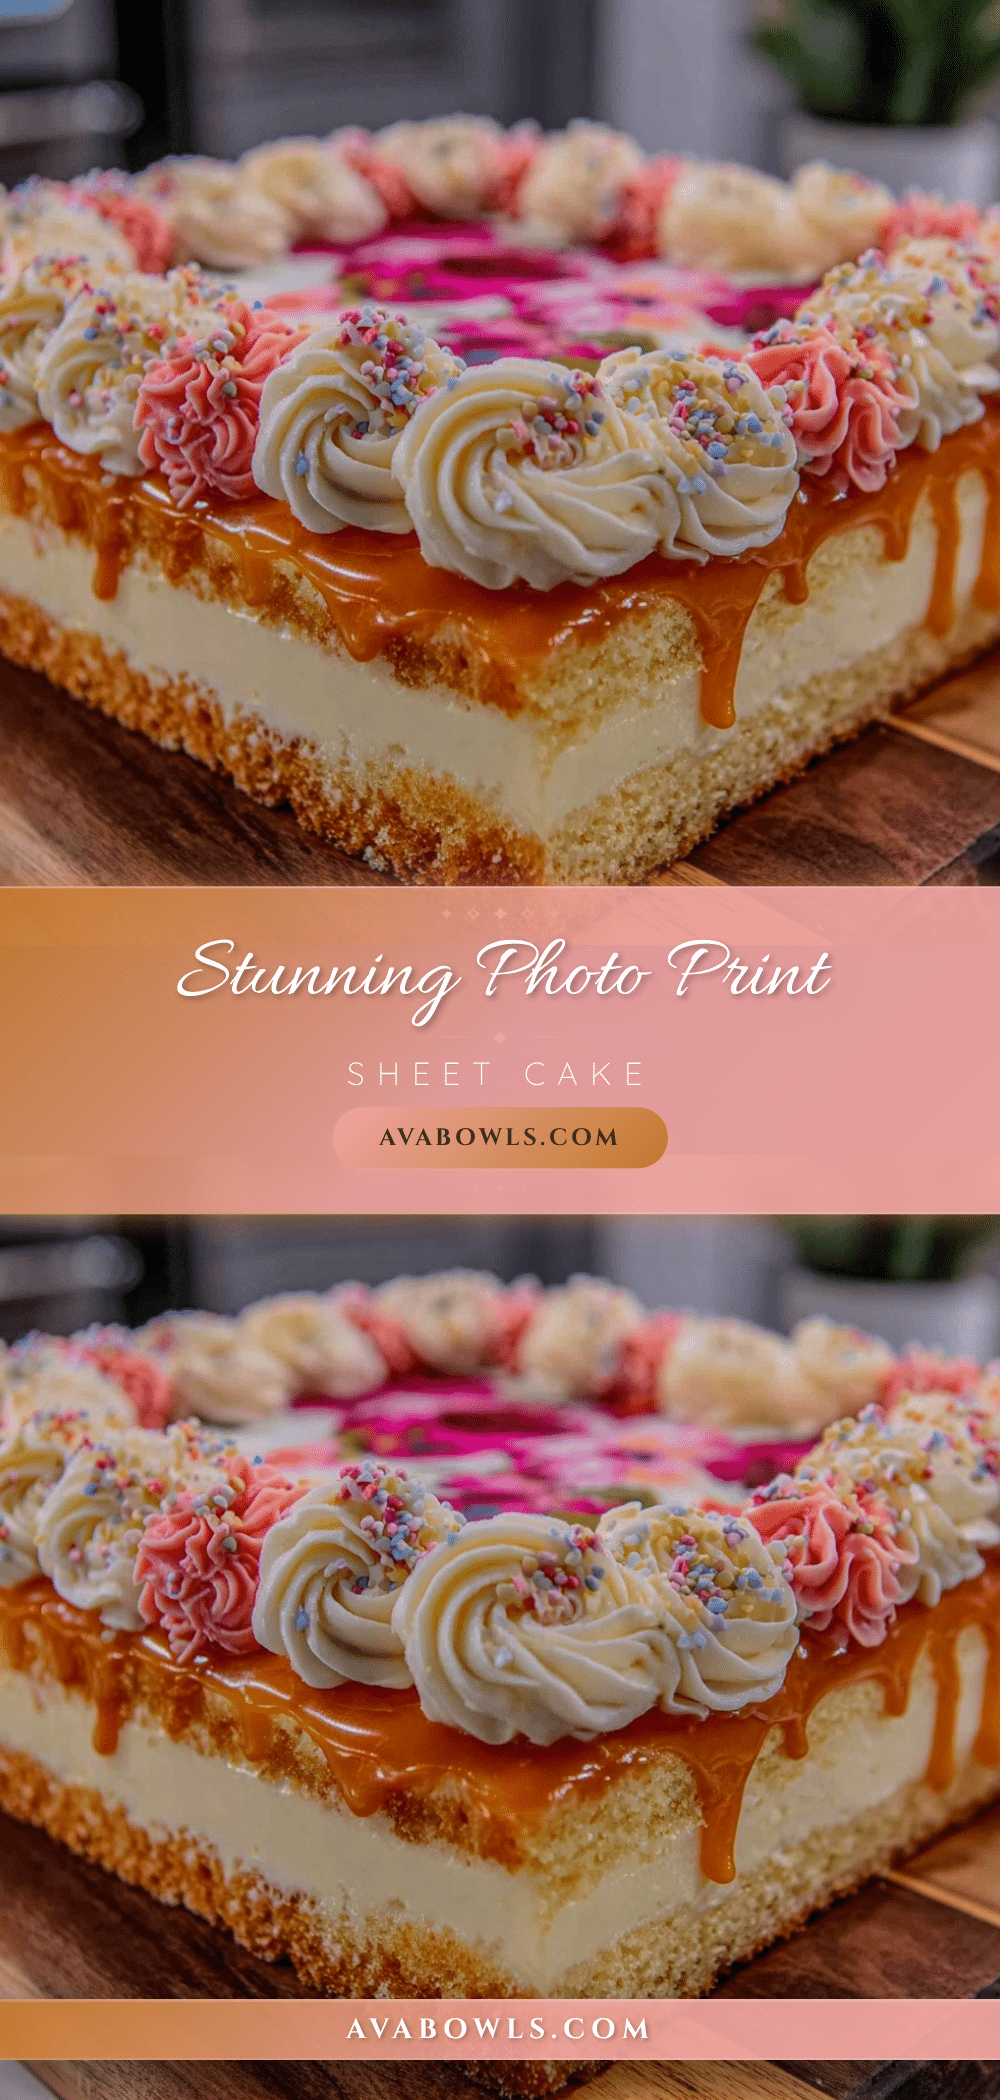
Perfect Sheet Cake Recipe with Stunning Photo Print Design
A moist, tender sheet cake perfect for celebrations, topped with a stunning edible photo print design. Quick and easy to make with simple ingredients and a smooth cream cheese buttercream frosting.
- Prep Time: 20 minutes
- Cook Time: 30-35 minutes
- Total Time: 1 hour 50 minutes
- Yield: 12 servings 1x
- Category: Dessert
- Cuisine: American
Ingredients
- 2 ½ cups (312g) all-purpose flour
- 2 ½ teaspoons baking powder
- ½ teaspoon baking soda
- ½ teaspoon salt
- 1 cup (226g) unsalted butter, softened
- 1 ¾ cups (350g) granulated sugar
- 3 large eggs, room temperature
- 1 tablespoon pure vanilla extract
- 1 cup (240ml) whole milk
- 8 oz (226g) cream cheese, softened
- ½ cup (113g) unsalted butter, softened
- 3 cups (360g) powdered sugar, sifted
- 1 teaspoon vanilla extract
- 2–3 tablespoons heavy cream or milk
- Edible icing sheet with printed photo
- Edible ink (pre-printed sheets recommended)
Instructions
- Preheat oven to 350°F (175°C). Line a 9×13 inch pan with parchment paper, letting edges hang over.
- Whisk together flour, baking powder, baking soda, and salt in a large bowl.
- Using an electric mixer, beat softened butter and granulated sugar until light and fluffy, about 5 minutes.
- Beat in eggs one at a time, then add vanilla extract and mix until combined.
- Alternately add dry ingredients and milk to the butter mixture, starting and ending with dry ingredients. Mix on low speed just until combined.
- Pour batter into prepared pan and smooth the top. Bake for 30-35 minutes or until a toothpick inserted in the center comes out clean.
- Cool cake in pan for 15 minutes, then transfer to a wire rack to cool completely (at least 1 hour).
- Beat cream cheese and butter until smooth. Gradually add powdered sugar and vanilla, then add cream to reach spreading consistency.
- Spread a thin, even layer of frosting over the cooled cake to create a smooth surface.
- Carefully place the edible photo sheet on top of the frosted cake, pressing edges gently to stick. Refrigerate and serve within 24 hours.
Notes
Ensure cake is completely cool before frosting to prevent melting and photo print distortion. Use fresh edible icing sheets stored properly to avoid cracking or discoloration. For best results, apply photo sheet just a few hours before serving and keep refrigerated. Measure flour carefully to avoid dryness. Variations include gluten-free and dairy-free substitutions.
Nutrition
- Serving Size: 1 slice (1/12 of cak
- Calories: 350
- Fat: 18
- Carbohydrates: 45
- Protein: 3
Keywords: sheet cake, photo print cake, edible photo cake, cream cheese buttercream, celebration cake, easy cake recipe, moist cake