Third batch in three days and I finally figured out the pumpkin-to-spice ratio that doesn’t make the cookies sink in the middle. The first dozen came out looking like sad little orange hockey pucks—edible, sure, but not the soft, puffy clouds I was chasing. The second batch? Better texture, but the cinnamon sugar coating just sort of melted into the dough instead of creating that crackly shell you expect from a snickerdoodle. There’s something maddeningly specific about getting pumpkin cookies right, because the moisture content changes every single time depending on the brand of puree or even the weather (I swear, humidity matters).
I kept pulling trays out of the oven, letting them cool just enough to test one (okay, three), and then tweaking something—a little more cream of tartar, a touch less pumpkin, a longer chill time for the dough. By the third round, I had a cookie that actually held its shape, stayed pillowy for two full days, and had that unmistakable snickerdoodle tang wrapped around a warm pumpkin hug. My kitchen smelled like a fall candle had exploded, and honestly, I wasn’t mad about it.
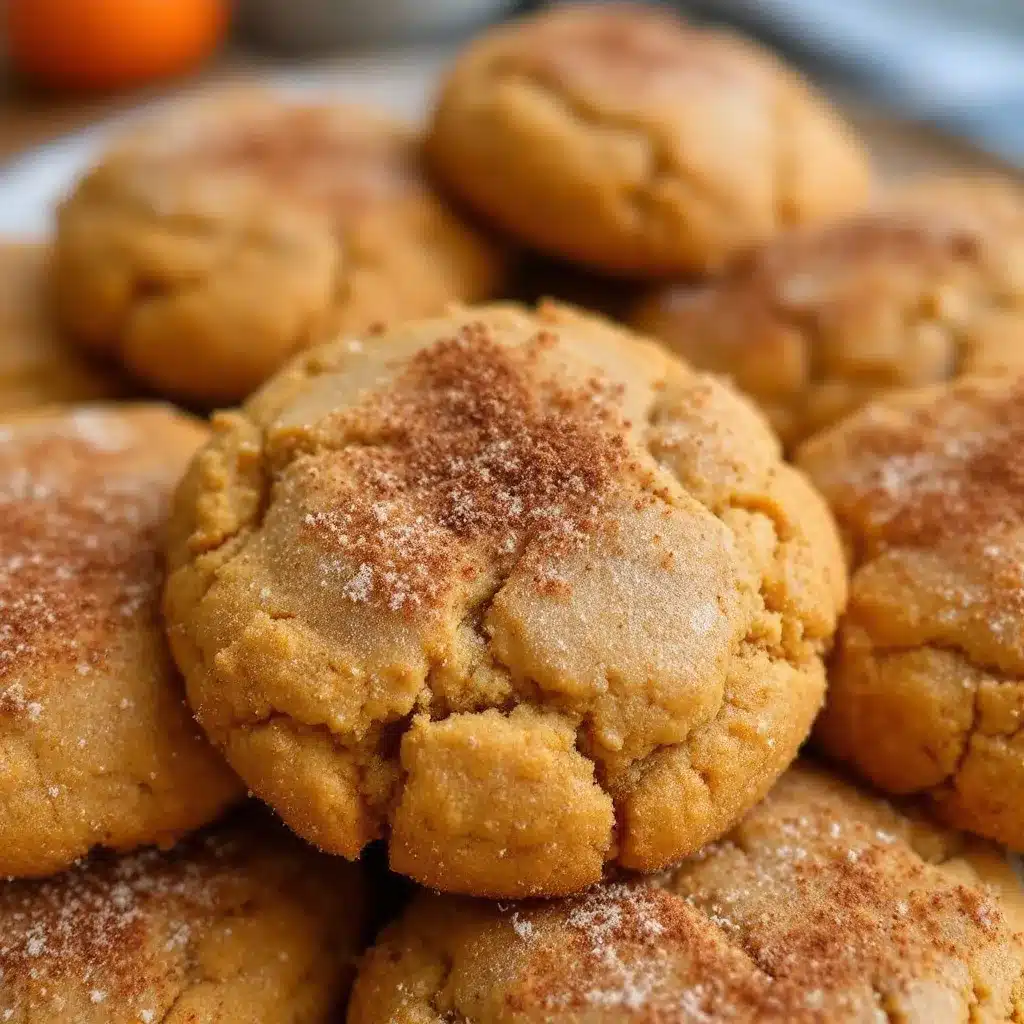
These soft baked pumpkin snickerdoodle cookies are the result of that slightly obsessive week. They are not the crisp, thin kind. They are the kind you bite into and the center gives way like a soft cloud, with cinnamon sugar clinging to every edge. If you have ever struggled with pumpkin cookies turning out gummy or flat, I promise this method works. Stick with me here.
Why You Will Love This Recipe
Let me tell you why these cookies earned a permanent spot in my fall baking rotation. First off, they are genuinely soft. Not the kind of soft that turns into a mushy mess by day two, but the kind that stays tender and bakery-style for days. The secret is in how we handle the pumpkin puree and the chilling step—trust me, it matters.
- Perfectly Spiced : The cinnamon-sugar coating gives you that classic snickerdoodle crackle, while the pumpkin in the dough adds a subtle earthiness that balances the sweetness. It is not pumpkin-pie-in-your-face, just warm and cozy.
- No Stand Mixer Required : You can make these with a hand mixer or even a sturdy whisk and some elbow grease. Less cleanup, more cookies.
- Great for Fall Baking Swaps : Bring these to a potluck or a Friendsgiving and watch them disappear. They are familiar enough to please everyone but different enough to stand out.
- Freezer-Friendly : The dough freezes beautifully, so you can bake off a few at a time whenever a craving hits. I have a log of this dough in my freezer right now, actually.
- Simple Pantry Ingredients : Nothing weird here. You probably have most of this already if you bake semi-regularly. No obscure extracts or hard-to-find flours.
I have tested this recipe with both canned pumpkin and homemade puree, and honestly, canned works better for consistency. The texture is more predictable, which matters when you are trying to nail that soft bake. If you are someone who usually skips the chilling step in cookie recipes, do not skip this one. The dough needs time to hydrate properly and firm up, or you will end up with flat cookies. I learned that the hard way so you do not have to.
What Ingredients You Will Need
This recipe keeps things straightforward. You do not need a specialty grocery run for most of these, which is exactly how I like my baking projects. Here is what you will need and a little bit about why each ingredient matters.
- Unsalted butter, softened (1 cup / 226g) — I use unsalted to control the salt level. Let it sit out for about 30 minutes, not until it is greasy. You want it soft but still cool to the touch.
- Granulated sugar (1 cup / 200g) — This gives the cookies structure and sweetness. Do not substitute brown sugar here; it changes the texture too much.
- Pumpkin puree (1/2 cup / 120g) — Not pumpkin pie filling. Just plain pumpkin puree. Libby’s is my go-to because it is consistently thick and not watery. Blot it with a paper towel if it looks loose.
- Large egg (1) — Room temperature. If you forget to take it out, place it in a bowl of warm water for 5 minutes.
- Vanilla extract (1 teaspoon) — Pure vanilla, not imitation. It makes a difference in the depth of flavor.
- All-purpose flour (2 cups / 250g) — Spoon and level your flour. Scooping directly from the bag packs in too much and makes dry cookies.
- Cream of tartar (1 teaspoon) — This is non-negotiable for snickerdoodles. It gives that signature tangy flavor and helps with the soft texture. Do not skip it.
- Baking soda (1/2 teaspoon) — Works with the cream of tartar to give the cookies lift.
- Salt (1/2 teaspoon) — Balances the sweetness and enhances the pumpkin flavor.
- Pumpkin pie spice (1 teaspoon) — You can use store-bought or make your own with cinnamon, nutmeg, ginger, and cloves. I prefer homemade because I can adjust the ratios.
- Cinnamon (1/2 teaspoon) — Adds warmth to the dough itself, not just the coating.
For the coating:
- Granulated sugar (1/4 cup / 50g)
- Cinnamon (1 tablespoon)
- Pinch of nutmeg (optional, but I love it)
A few notes on substitutions. If you need a dairy-free version, you can use vegan butter sticks (I like Earth Balance), but the texture will be slightly less tender. For a gluten-free option, swap the all-purpose flour with a 1:1 gluten-free baking blend that contains xanthan gum. I have tested this with King Arthur’s Measure for Measure and it worked well, though the cookies spread a tiny bit more. Do not use coconut flour or almond flour alone—they will not hold the structure.
Equipment Needed
Nothing fancy here. You probably already own most of this, but here is the full list so you are not hunting mid-recipe.
- Large mixing bowls (one for wet ingredients, one for dry)
- Hand mixer or stand mixer with paddle attachment — A hand mixer works perfectly fine.
- Rubber spatula for scraping down the bowl
- Measuring cups and spoons — Invest in a set of dry measuring cups and a liquid measuring cup if you can. It matters for accuracy.
- Kitchen scale (optional but recommended) — Weighing your flour and pumpkin puree takes the guesswork out completely.
- Baking sheets — Light-colored, rimmed sheets work best. Dark sheets can cause the bottoms to brown too fast.
- Parchment paper or silicone baking mat — I prefer parchment for easy cleanup and even browning.
- Cookie scoop (about 1.5 tablespoons) — This gives you uniform cookies that bake evenly. A spoon works too, but the scoop is worth the few dollars.
- Cooling rack — Essential for letting the cookies set properly. If you leave them on the hot sheet, they will continue to cook and can dry out.
- Small shallow bowl for the cinnamon sugar coating
If you do not have cream of tartar, I am sorry, but you really need to get some for this recipe. It is not a spice you can skip or substitute easily. Baking powder is not a direct swap because the chemistry is different. Cream of tartar is cheap and lasts forever, so grab a jar.
Preparation Method
Let us walk through this step by step. I will include the little cues I look for so you know you are on the right track.
- Preheat your oven to 350°F (175°C). Line two baking sheets with parchment paper. Do not grease the paper—the cookies need the slight friction to hold their shape.
- Cream the butter and sugar. In a large bowl, beat the softened butter and granulated sugar together on medium speed until light and fluffy, about 2-3 minutes. You are looking for a pale, airy mixture that looks like thick frosting. Scrape down the sides of the bowl halfway through.
- Add the pumpkin, egg, and vanilla. Beat in the pumpkin puree, egg, and vanilla extract on low speed until just combined. The mixture will look a little curdled or separated at this point—that is normal. Do not panic. It will come together once the dry ingredients go in.
- Whisk the dry ingredients separately. In a medium bowl, whisk together the flour, cream of tartar, baking soda, salt, pumpkin pie spice, and cinnamon. Whisking aerates the flour and distributes the leaveners evenly. No one wants a pocket of baking soda in their cookie.
- Combine wet and dry. Gradually add the dry ingredients to the wet mixture, mixing on low speed until just combined. Stop when you no longer see streaks of flour. Overmixing at this stage develops gluten and makes the cookies tough. Use a rubber spatula to fold any remaining flour from the bottom of the bowl.
- Chill the dough. This is the most important step. Cover the bowl with plastic wrap and refrigerate for at least 30 minutes, or up to 24 hours. Chilling solidifies the butter, which prevents the cookies from spreading too much. It also allows the flavors to meld. I have tested this with no chill and the cookies were flat and greasy. Do not skip it.
- Make the cinnamon sugar coating. In a small shallow bowl, mix together the granulated sugar, cinnamon, and optional nutmeg.
- Shape and coat the cookies. Using a cookie scoop (about 1.5 tablespoons), scoop the chilled dough and roll it into a ball between your palms. Drop the ball into the cinnamon sugar mixture and roll to coat thoroughly. Place it on the prepared baking sheet, spacing about 2 inches apart. I fit 12 cookies per sheet.
- Bake one sheet at a time. Place the baking sheet on the center rack. Bake for 9-11 minutes. The edges should look set and slightly golden, but the centers will still look soft and puffy. They might look slightly underbaked in the middle—that is exactly what you want. For softer cookies, bake on the shorter end. For slightly firmer edges, go to 11 minutes.
- Cool on the baking sheet. Let the cookies rest on the hot baking sheet for 5 minutes. This allows them to finish setting up without drying out. After 5 minutes, transfer them to a cooling rack to cool completely. If you move them too soon, they will fall apart.
One thing I have learned the hard way: do not press the dough balls down before baking. Snickerdoodles need to spread on their own. Pressing them creates flat, dense cookies instead of those lovely puffy rounds with crackly tops.
Cooking Tips & Techniques
After making these cookies more times than I care to admit in a single week, I have collected a few tricks that make the process smoother and the results more consistent.
Blot your pumpkin puree. This is the number one tip I can give you. Pumpkin puree contains a lot of water, and excess moisture leads to gummy cookies. After you measure your 1/2 cup, dump it onto a plate lined with a paper towel. Place another paper towel on top and press gently. Let it sit for a minute while you prep other ingredients. You will be shocked at how much liquid comes out. This single step transformed my cookies from flat and sad to tall and tender.
Use a cookie scoop for uniform size. I know it seems like a small thing, but cookies that are the same size bake at the same rate. If you have some big and some small, you end up with burnt edges on the little ones and raw centers on the big ones. A 1.5-tablespoon scoop is my favorite for these.
Do not overbake. I say this about almost every cookie, but it is especially true here. The residual heat from the baking sheet continues to cook the cookies after they come out of the oven. If they look fully done in the oven, they will be overdone on the cooling rack. Pull them when the edges are set and the centers still look soft and slightly puffy. They will deflate a little as they cool, creating that signature crackly top.
Room temperature ingredients matter. Cold butter does not cream properly. Cold egg can seize the batter. Take everything out of the fridge about 30 minutes before you start. If you are in a rush, cut the butter into small cubes and let it sit for 10 minutes, and place the egg in a bowl of warm water for 5 minutes.
Chill between batches. If you are baking multiple sheets, keep the remaining dough in the refrigerator between batches. Warm dough spreads more. I have definitely forgotten this and ended up with cookies that merged into one giant cookie sheet. Delicious, sure, but not what we are going for.
Variations & Adaptations
One of the best things about this recipe is how flexible it is. Here are a few variations I have tried and loved.
Dark Chocolate Pumpkin Snickerdoodles. After you roll the dough balls in cinnamon sugar, press a few dark chocolate chips into the top of each ball before baking. The chocolate melts into little pockets of richness that pair beautifully with the pumpkin and spice. I tried this on a whim one afternoon and it is now my favorite variation.
Vegan Version. Substitute the butter with vegan butter sticks (not spreadable margarine) and use a flax egg (1 tablespoon ground flaxseed mixed with 3 tablespoons water, let sit for 5 minutes). The texture is slightly less tender but still very good. Chill the dough for a full hour to help it firm up.
Gluten-Free Adaptation. Use a 1:1 gluten-free baking blend that contains xanthan gum. I have tested this with King Arthur Measure for Measure and it worked well. The cookies spread a tiny bit more, so I recommend chilling the dough for at least 45 minutes. The flavor is identical, and the texture is only slightly different—still soft and tender.
Maple Glaze Drizzle. For a more decadent version, whisk together 1/2 cup powdered sugar, 1 tablespoon maple syrup, and 1-2 teaspoons milk until smooth. Drizzle over the cooled cookies. The maple flavor complements the pumpkin and cinnamon beautifully. I did this for a fall brunch and people went crazy.
Extra Spiced. If you love a strong spice profile, add 1/4 teaspoon ground ginger and 1/8 teaspoon ground cloves to the dry ingredients. You can also add a pinch of cardamom to the cinnamon sugar coating. It gives the cookies a chai-like warmth that is perfect for chilly afternoons.
If you are looking for another cozy fall treat to pair with these cookies, try my creamy butternut squash soup with maple cream swirl. The sweet and savory combo is perfect for a fall dinner party.
Serving & Storage Suggestions
These cookies are best served slightly warm or at room temperature. The centers are soft and pillowy, and the cinnamon sugar coating gives a little crunch on the outside. I like to serve them with a glass of cold milk or a warm cup of chai. They also pair wonderfully with a creamy matcha latte with sweet cream cold foam for a cozy afternoon treat.
Storage: Place cooled cookies in an airtight container at room temperature. They stay soft for up to 4 days. If you stack them, place a piece of parchment paper between layers to prevent the cinnamon sugar from rubbing off. Do not refrigerate them—the fridge dries out baked goods.
Freezing Baked Cookies: You can freeze the baked cookies for up to 3 months. Place them in a single layer on a baking sheet and freeze until solid, then transfer to a freezer-safe bag or container. Thaw at room temperature for about 30 minutes before serving.
Freezing Dough: This is my preferred method. Scoop the chilled dough into balls, roll in cinnamon sugar, and place them on a parchment-lined baking sheet. Freeze until solid, then transfer to a freezer bag. You can bake them straight from frozen—just add 2-3 minutes to the baking time. No need to thaw.
Reheating: If you want that just-baked warmth, pop a cookie in the microwave for 8-10 seconds. It softens the center perfectly. For a whole batch, place them on a baking sheet in a 300°F oven for 3-4 minutes.
One thing I have noticed is that these cookies actually taste better on day two. The spices meld and the texture evens out. So do not be afraid to make them a day ahead. They will still be soft and delicious.
Nutritional Information & Benefits
Here is an approximate nutritional breakdown per cookie (based on 24 cookies):
- Calories: 145
- Fat: 7g
- Saturated Fat: 4g
- Carbohydrates: 20g
- Sugar: 12g
- Fiber: 1g
- Protein: 2g
- Sodium: 95mg
These numbers are estimates and will vary based on specific brands and any substitutions you make.
Pumpkin puree is a surprisingly nutritious ingredient for a dessert. It is high in vitamin A (from beta-carotene), which supports eye health and immune function. It also provides fiber, which helps with digestion and keeps you feeling fuller longer. The cinnamon in the coating has anti-inflammatory properties and can help regulate blood sugar levels. So while these are definitely a treat, they are not completely devoid of nutritional merit.
If you are watching your sugar intake, you can reduce the sugar in the dough by 2 tablespoons without significantly affecting the texture. I have tested this and the cookies are still sweet enough, especially with the cinnamon sugar coating. For a lower-carb option, you can try a sugar substitute like monk fruit sweetener, but I have not tested this myself, so proceed with caution.
These cookies contain gluten, dairy, and eggs. If you need allergen-friendly versions, check the variations section above for vegan and gluten-free adaptations.
Conclusion
These soft baked pumpkin snickerdoodle cookies have become my official fall baking project, and I honestly do not see that changing anytime soon. They hit that perfect spot between a classic snickerdoodle and a pumpkin cookie, with a texture that stays soft for days and a flavor that makes your kitchen smell like a harvest festival. The process is straightforward, the ingredients are simple, and the result is genuinely impressive.
I love that I can make a batch of dough on a Sunday, bake a few cookies that night, and freeze the rest for whenever a craving strikes. It makes me feel prepared, which is a rare feeling in my kitchen. Whether you are baking for a holiday gathering, a cozy night in, or just because you need something warm and sweet, these cookies deliver.
If you give them a try, I would love to hear how they turn out. Leave a comment below and let me know if you tried any of the variations or came up with your own twist. Did you add chocolate chips? Try the maple glaze? Or maybe you baked them for a Friendsgiving and they disappeared in five minutes? Share your stories—I read every single one. And if you are looking for more cozy fall recipes, check out my hearty Tuscan white bean soup with kale for a savory option that pairs beautifully with these cookies. Happy baking, friends!
Frequently Asked Questions
Can I use pumpkin pie filling instead of pumpkin puree?
No, do not do this. Pumpkin pie filling is pre-sweetened and spiced, and it contains thickeners that will throw off the texture and sweetness of the cookies. Stick with plain pumpkin puree. Libby’s is my go-to brand for consistent results.
Why did my cookies turn out flat?
Flat cookies usually come from one of three issues: the dough was not chilled long enough, the butter was too soft or melted, or too much pumpkin puree was used. Make sure you chill the dough for at least 30 minutes and blot the pumpkin puree with a paper towel to remove excess moisture. Also, check that your baking soda and cream of tartar are fresh—they lose potency over time.
Can I skip the cream of tartar?
I do not recommend it. Cream of tartar gives snickerdoodles their signature tangy flavor and helps activate the baking soda for the right texture. If you absolutely have to substitute, you can use 2 teaspoons of lemon juice or white vinegar mixed with the wet ingredients, but the flavor will be different. The cookies will still be good, but they will not taste like true snickerdoodles.
How do I know when the cookies are done baking?
Look for set edges that are slightly golden and centers that look soft and puffy. They should not look wet or shiny, but they should still be soft to the touch. If you insert a toothpick into the center, it should come out with a few moist crumbs, not raw batter. Remember that they continue to cook on the hot baking sheet for 5 minutes after you take them out of the oven.
Can I make these cookies ahead of time for a party?
Absolutely. You have two options. You can bake the cookies up to 2 days ahead and store them in an airtight container at room temperature. Or you can make the dough up to 3 days ahead, keep it refrigerated, and bake fresh cookies the day of the party. The dough actually develops better flavor after a day in the fridge. If you are really planning ahead, freeze the dough balls for up to 3 months and bake straight from frozen.
Pin This Recipe!
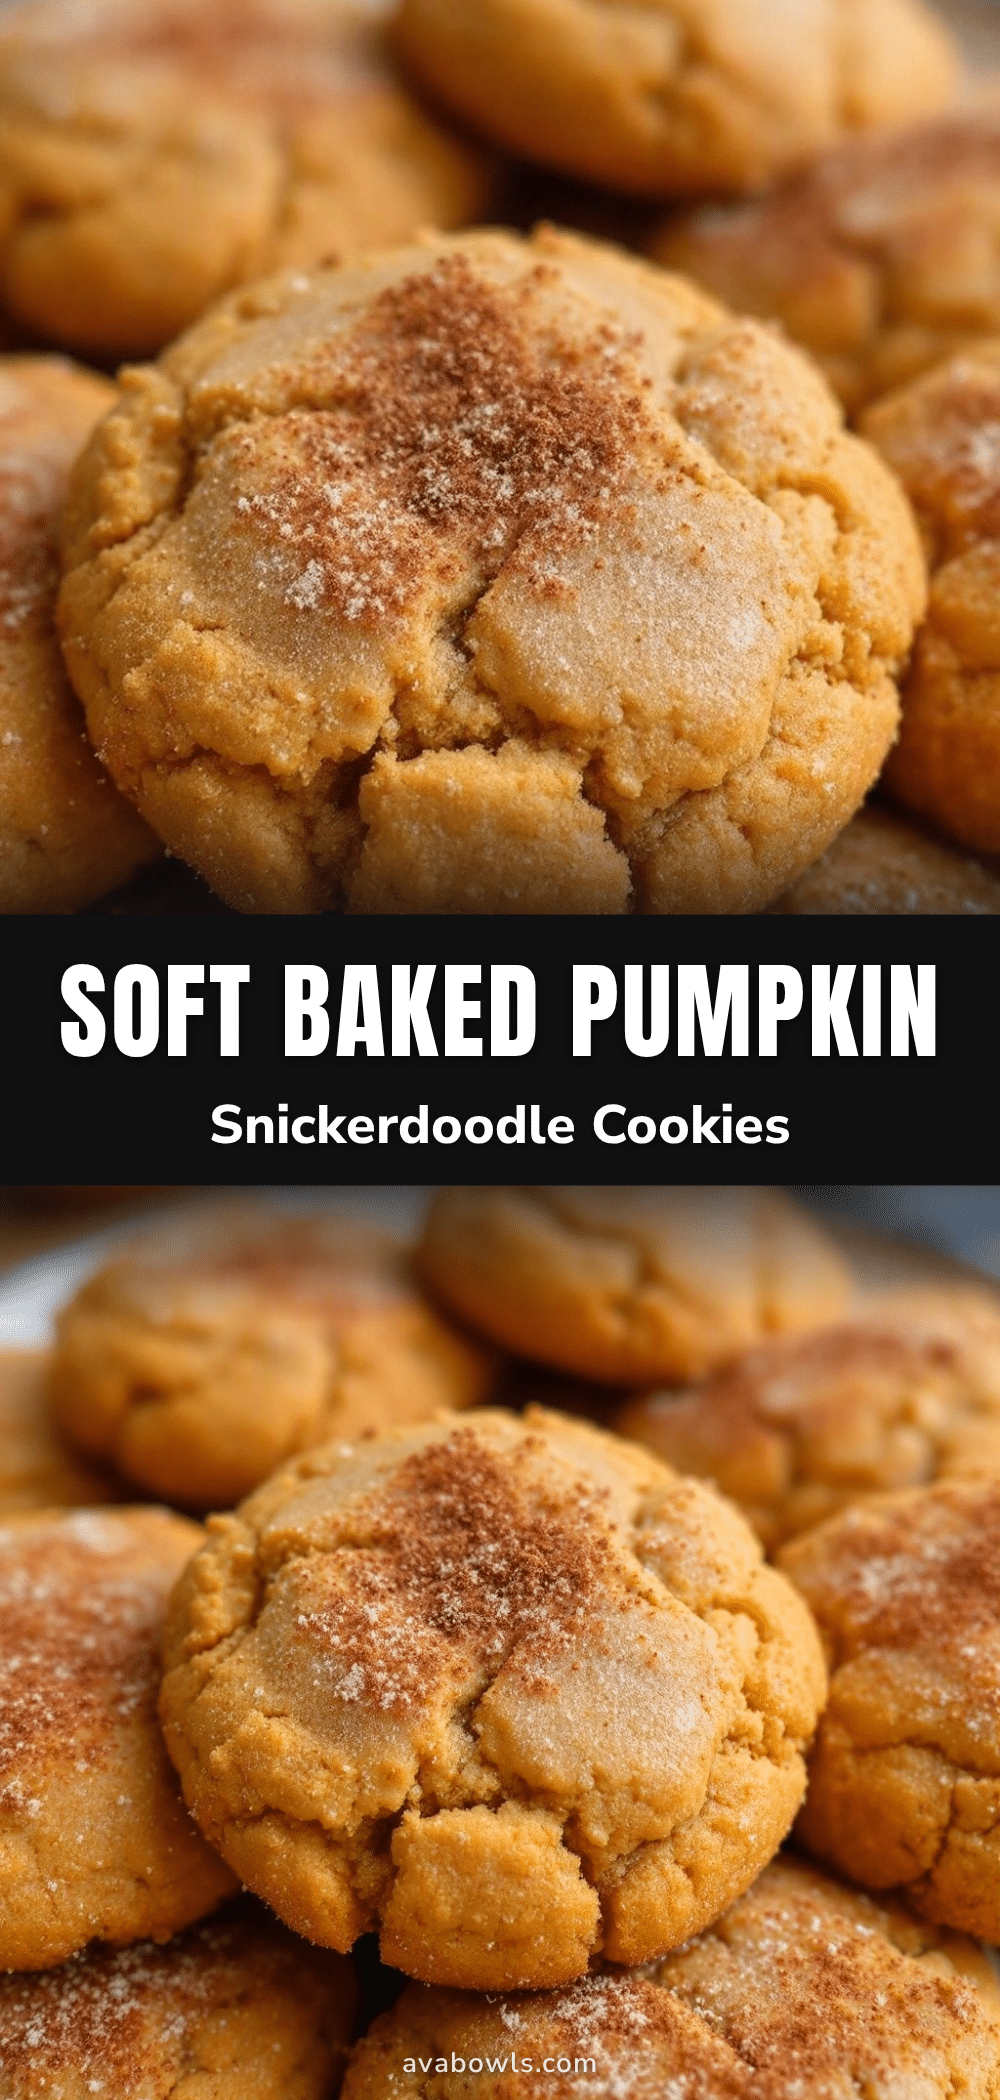
Soft Baked Pumpkin Snickerdoodle Cookies Recipe
These soft baked pumpkin snickerdoodle cookies are pillowy, tender, and coated in cinnamon sugar. They stay soft for days and are perfect for fall baking.
- Prep Time: 15 minutes
- Cook Time: 10 minutes
- Total Time: 55 minutes (includes 30 minutes chilling)
- Yield: 24 cookies 1x
- Category: Dessert
- Cuisine: American
Ingredients
- 1 cup (226g) unsalted butter, softened
- 1 cup (200g) granulated sugar
- 1/2 cup (120g) pumpkin puree (blotted dry)
- 1 large egg, room temperature
- 1 teaspoon vanilla extract
- 2 cups (250g) all-purpose flour
- 1 teaspoon cream of tartar
- 1/2 teaspoon baking soda
- 1/2 teaspoon salt
- 1 teaspoon pumpkin pie spice
- 1/2 teaspoon cinnamon
- For the coating: 1/4 cup (50g) granulated sugar
- 1 tablespoon cinnamon
- Pinch of nutmeg (optional)
Instructions
- Preheat oven to 350°F (175°C). Line two baking sheets with parchment paper.
- In a large bowl, beat softened butter and granulated sugar on medium speed until light and fluffy, about 2-3 minutes.
- Beat in pumpkin puree, egg, and vanilla extract on low speed until just combined (mixture may look curdled).
- In a medium bowl, whisk together flour, cream of tartar, baking soda, salt, pumpkin pie spice, and cinnamon.
- Gradually add dry ingredients to wet mixture, mixing on low until just combined. Do not overmix.
- Cover bowl with plastic wrap and refrigerate dough for at least 30 minutes (up to 24 hours).
- In a small shallow bowl, mix together coating sugar, cinnamon, and nutmeg.
- Using a 1.5-tablespoon cookie scoop, scoop chilled dough and roll into balls. Roll each ball in cinnamon sugar mixture to coat thoroughly.
- Place coated dough balls on prepared baking sheets, spacing 2 inches apart. Do not press down.
- Bake one sheet at a time on center rack for 9-11 minutes, until edges are set and centers look soft and puffy.
- Let cookies rest on baking sheet for 5 minutes, then transfer to a cooling rack to cool completely.
Notes
Blot pumpkin puree with paper towels to remove excess moisture. Do not skip chilling the dough. Do not press dough balls down before baking. For softer cookies, bake on the shorter end of the time range.
Nutrition
- Serving Size: 1 cookie
- Calories: 145
- Sugar: 12
- Sodium: 95
- Fat: 7
- Saturated Fat: 4
- Carbohydrates: 20
- Fiber: 1
- Protein: 2
Keywords: pumpkin snickerdoodle, soft baked cookies, fall cookies, pumpkin cookies, snickerdoodle recipe


