It is 6:30 AM on a Tuesday, and the house is still quiet. I am standing in my kitchen, staring into the open fridge, debating between a granola bar that tastes like cardboard and a slice of toast that feels too heavy for this hour. I want something warm. I want something that tastes like autumn, even though the calendar says it is technically just another workday. I want a breakfast that fuels me without weighing me down, something that doesn’t require me to stand over a sizzling skillet while half-asleep.
The solution usually involves oats, pumpkin, and a spoonful of patience. But today, I am tired of the mess. I am tired of the sticky spoon that refuses to clean easily. I want structure. I want portability. I want Healthy Baked Pumpkin Oatmeal Cups that I can grab on my way out the door, toss in my bag, and eat while walking to the car. These cups are the answer to my morning chaos. They are essentially breakfast cookies, but with the soul of a bowl of oatmeal.
There is a specific comfort in knowing that the hard work is done the night before. You mix the batter, you scoop it into the tin, and you let the oven do the heavy lifting. When you wake up, you just pop them in the microwave for thirty seconds. The smell of cinnamon and roasted pumpkin fills the air, and suddenly, the dread of the morning commute vanishes. It is a small victory, but it is a real one. I have made these countless times, and they never fail to turn a frantic morning into a peaceful ritual.
The beauty here is in the simplicity. You do not need fancy ingredients or a degree in pastry arts. You just need a few pantry staples and the willingness to trust the process. These cups hold their shape, they stay moist for days, and they taste significantly better than anything you can buy at a gas station. Let’s face it, we all need a win in the morning, and this is mine.
Why You’ll Love This Recipe
I have spent years testing breakfast recipes, and most of them fall into one of two categories: too complicated or just plain sad. These oatmeal cups sit in that perfect middle ground. They are designed for real life, not for Instagram photoshoots. Here is why they have earned a permanent spot in my weekly rotation:
- Quick & Easy: The prep takes about ten minutes. That is it. You mix, scoop, and bake. It is perfect for busy weeknights or last-minute cravings when you want to prep ahead without spending hours in the kitchen.
- Simple Ingredients: No fancy grocery trips needed. You likely already have everything in your kitchen right now. Rolled oats, pumpkin puree, an egg, and some spices. That is it. No obscure flours or expensive superfoods.
- Perfect for Meal Prep: Great for busy mornings, potlucks, or just having a healthy snack ready for when the 3 PM slump hits. They keep well in the fridge for up to five days.
- Crowd-Pleaser: Always gets rave reviews from kids and adults alike. The texture is soft and cake-like, not dry or crumbly. Even my picky eater friends ask for the recipe regularly.
- Unbelievably Delicious: The texture and flavor combo is next-level comfort food. It tastes like pumpkin pie met a breakfast muffin, and they had a delicious baby.
What makes this recipe different from the rest is the balance of moisture. Many baked oatmeal recipes turn out dry and dense because they rely too heavily on dry oats. By using pumpkin puree as the primary liquid base, you get a tender, moist crumb that stays soft even after cooling. It is not just good—it is the kind that makes you close your eyes after the first bite. It is comfort food reimagined—healthier, faster, but with the same soul-soothing satisfaction. Perfect for impressing guests without stress, or turning a simple meal into something memorable.
What Ingredients You Will Need
This recipe uses simple, wholesome ingredients to deliver bold flavor and satisfying texture without the fuss. You do not need to hunt down specialty stores for this one. The magic lies in the combination of whole foods that work together to create a naturally sweet, spiced treat. Here is what you will need to gather:
- Rolled Oats: Use old-fashioned rolled oats, not quick oats or steel-cut. Quick oats will turn the mixture into mush. You need about 1 ½ cups for the right chew.
- Pumpkin Puree: Make sure you use 100% pure pumpkin puree, not pumpkin pie filling. The filling has added sugar and spices that will throw off the balance. You need ½ cup.
- Eggs: Two large eggs act as the binder. They hold everything together and add protein. Room temperature eggs mix more evenly, but cold ones work fine too.
- Milk: Any milk works here. I prefer unsweetened almond milk for a lighter texture, but oat milk or dairy milk are great too. Use about ¼ cup.
- Maple Syrup: Pure maple syrup is the sweetener of choice here. It adds a rich, caramel-like depth that sugar just can’t match. Use about 2-3 tablespoons, depending on how sweet you like it.
- Vegetable Oil or Coconut Oil: Adds moisture and helps keep the cups tender. Melted coconut oil adds a nice subtle flavor. Use 2 tablespoons.
- Baking Powder: A small amount, about 1 teaspoon, helps them rise slightly and stay fluffy.
- Cinnamon: The star of the spice show. Use 1 ½ teaspoons for a warm, aromatic punch.
- Vanilla Extract: Just a teaspoon to round out the flavors and add that classic bakery smell.
- Salt: A pinch is crucial. It balances the sweetness and makes the pumpkin flavor pop.
I recommend using a quality maple syrup, like Log Cabin or a local brand, for the best flavor. If you are gluten-sensitive, ensure your oats are certified gluten-free. For a dairy-free option, simply swap the milk and check your syrup. The ingredients are forgiving, so you can adjust the sweetness slightly if you prefer a less sugary snack.
Equipment Needed
You do not need a fancy kitchen to make these. In fact, keeping it simple is part of the appeal. Here is what you will need:
- 12-Cup Muffin Tin: Standard size. If you want smaller snacks, you can use a mini muffin tin, but adjust the baking time accordingly.
- Muffin Liners: Paper or silicone liners make cleanup a breeze. I usually use paper because they are easier to dispose of, but silicone is great for the environment.
- Mixing Bowl: A medium-sized bowl is perfect for combining the wet and dry ingredients.
- Measuring Cups and Spoons: Standard baking tools. Accuracy matters here, especially with the baking powder.
- Fork or Whisk: To mix the wet ingredients before combining with the dry. A fork works just fine if you do not want to wash another tool.
- Spoon or Scoop: To distribute the batter evenly into the muffin cups. A cookie scoop is ideal for uniformity, but a large spoon works.
If you do not have a muffin tin, you can bake this in a small square baking dish, but the texture will be different—more like a baked oatmeal bar than individual cups. I find the individual portions much easier to manage for meal prep.
Preparation Method
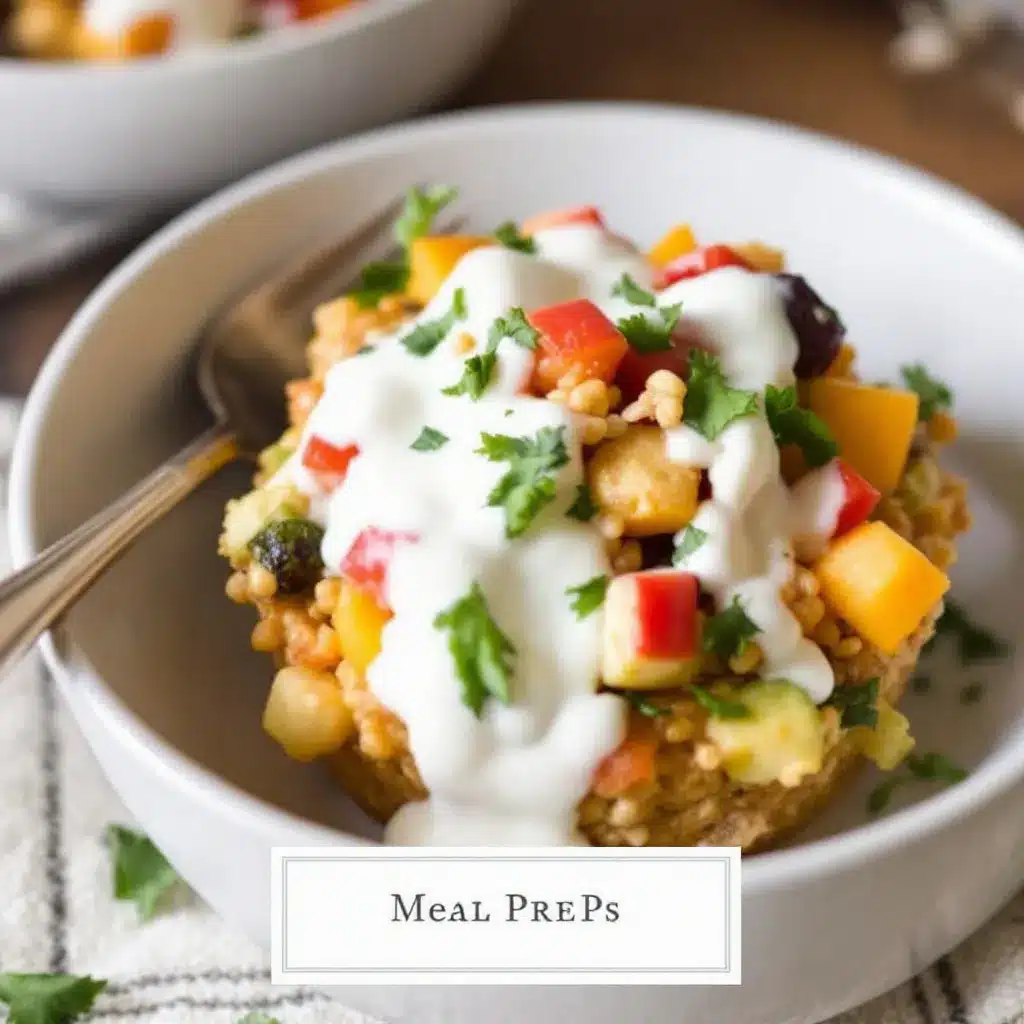
Making these cups is straightforward, but there are a few key steps to ensure they turn out perfectly. Follow these instructions closely for the best results.
- Preheat and Prep: Preheat your oven to 350°F (175°C). Line your 12-cup muffin tin with paper liners. This step is crucial because the pumpkin mixture can be sticky, and you want easy removal.
- Mix Wet Ingredients: In a medium mixing bowl, crack the two eggs. Add the maple syrup, vegetable oil, vanilla extract, and milk. Whisk these together vigorously until they are well combined and slightly frothy. This usually takes about one minute.
- Add Pumpkin: Add the ½ cup of pumpkin puree to the wet mixture. Stir until fully incorporated. The mixture should look smooth and orange.
- Combine Dry Ingredients: Add the rolled oats, baking powder, cinnamon, and salt to the bowl. Do not stir yet. Let the dry ingredients sit on top for a moment.
- Mix Batter: Using a fork or a sturdy spoon, mix everything together until no dry streaks of flour or oats remain. The batter will be thick and chunky. This is normal. Do not overmix, or the oats will become tough.
- Scoop into Tin: Divide the batter evenly among the 12 muffin cups. Use the back of your spoon to press the batter down slightly, creating a flat top. This helps them bake evenly.
- Bake: Place the tin in the preheated oven. Bake for 18-20 minutes. You will know they are done when the tops are lightly golden and a toothpick inserted into the center comes out clean or with just a few moist crumbs.
- Cool: Let the cups cool in the pan for 5 minutes. Then, transfer them to a wire rack to cool completely. This helps them set and firm up. If you try to move them while hot, they might break.
The baking time is critical. If you underbake them, they will be gummy. If you overbake them, they will be dry. Keep an eye on them around the 18-minute mark.
Cooking Tips & Techniques
I have learned a few things the hard way while perfecting these cups. Here are some tips to save you from common pitfalls.
- Don’t Skip the Cooling: I know it is tempting to eat them hot, but they need time to set. The oats continue to absorb moisture as they cool, which gives them that perfect cake-like texture.
- Check Your Oven: Ovens vary wildly. If your oven runs hot, check them at 16 minutes. If it runs cool, you might need 22 minutes. Use a toothpick test to be sure.
- Batter Consistency: The batter should be thick. If it seems too dry, add a splash more milk. If it is too runny, add a tablespoon more oats. You want it to hold its shape when scooped.
- Even Distribution: Try to weigh your batter if you can. Equal portions ensure even baking. If one cup is bigger, it will take longer to cook.
- Storage Prep: Let them cool completely before storing. Trapped steam will make them soggy. Use an airtight container.
I once tried to rush the cooling process by putting them in the fridge while warm. Big mistake. They turned into a dense, wet brick. Patience pays off here.
Variations & Adaptations
While the base recipe is perfect as is, you can customize these cups to fit your dietary needs or taste preferences. Here are a few ideas:
- Gluten-Free: Simply swap the rolled oats for certified gluten-free oats. The rest of the ingredients are naturally gluten-free.
- Dairy-Free: Use plant-based milk and ensure your maple syrup is vegan (most are). The recipe is already dairy-free if you use oil instead of butter.
- Added Protein: Stir in a scoop of vanilla protein powder for a post-workout snack. You may need to add an extra tablespoon of milk to compensate for the dryness of the powder.
- Chocolate Chip: Add ¼ cup of dark chocolate chips to the batter. It turns these into a dessert-like breakfast treat.
- Nutty Twist: Add ¼ cup of chopped walnuts or pecans. It adds crunch and healthy fats.
I often add a tablespoon of chia seeds for extra fiber. It is a small change, but it makes a big difference in how full I feel later.
Serving & Storage Suggestions
These cups are versatile in how you serve them. They are great warm or cold.
- Serving: Microwave for 30-60 seconds for a warm, fresh-from-the-oven feel. They are also delicious straight from the fridge for a cool, firm texture.
- Pairings: Serve with a side of fresh fruit, a dollop of Greek yogurt, or a glass of cold milk. They pair well with coffee or tea.
- Refrigerator Storage: Store in an airtight container for up to 5 days. They actually taste better on day two as the flavors meld.
- Freezer Storage: Freeze them for up to 3 months. Place them in a single layer on a baking sheet first, then transfer to a freezer bag. Thaw in the fridge or microwave directly from frozen.
The flavors develop over time, so do not be afraid to make a double batch. They last surprisingly long in the fridge.
Nutritional Information & Benefits
These cups are not just tasty; they are nutritious. Here is a rough estimate per cup:
- Calories: ~120-130 kcal
- Protein: 3-4g
- Fiber: 2-3g
- Sugar: 6-8g (natural sugars from maple syrup and pumpkin)
Pumpkin is rich in Vitamin A and antioxidants. Oats provide soluble fiber, which is great for heart health. Maple syrup offers minerals like zinc and manganese. This is a balanced snack that will keep you energized without the sugar crash.
Conclusion
These Healthy Baked Pumpkin Oatmeal Cups are a game-changer for morning routines. They are easy, healthy, and delicious. I love them because they take the stress out of breakfast. You can make them ahead of time, and they taste great every time. I encourage you to try them and customize them to your liking. Add nuts, swap the milk, or change the spices. Make them your own.
If you make this recipe, I would love to hear how it turns out. Please leave a comment below with your thoughts or any variations you tried. Share your photos on social media and tag me. Happy baking!
FAQs
Can I use quick oats instead of rolled oats?
No, quick oats will absorb too much liquid and make the cups mushy. Rolled oats provide the necessary texture and chew.
How long do these cups last in the fridge?
They last up to 5 days in an airtight container. They often taste better on the second and third days as the flavors settle.
Can I freeze these oatmeal cups?
Yes, they freeze very well. Store them in a freezer-safe bag for up to 3 months. You can eat them cold or microwave them directly from frozen.
Can I add chocolate chips?
Absolutely. Add ¼ cup of dark chocolate chips to the batter for a sweeter, dessert-like treat.
Are these cups gluten-free?
Yes, as long as you use certified gluten-free oats. All other ingredients are naturally gluten-free.
Pin This Recipe!
Healthy Baked Pumpkin Oatmeal Cups
These 5-ingredient baked oatmeal cups are a quick, portable, and moist breakfast or snack. Made with pumpkin puree and rolled oats, they are perfect for meal prep and offer a comforting autumn flavor.
- Prep Time: 10 minutes
- Cook Time: 20 minutes
- Total Time: 30 minutes
- Yield: 12 servings 1x
- Category: Breakfast
- Cuisine: American
Ingredients
- 1 ½ cups old-fashioned rolled oats
- ½ cup 100% pure pumpkin puree
- 2 large eggs
- ¼ cup milk (unsweetened almond, oat, or dairy)
- 2–3 tablespoons pure maple syrup
- 2 tablespoons vegetable oil or melted coconut oil
- 1 teaspoon baking powder
- 1 ½ teaspoons cinnamon
- 1 teaspoon vanilla extract
- 1 pinch salt
Instructions
- Preheat oven to 350°F (175°C) and line a 12-cup muffin tin with paper liners.
- In a medium mixing bowl, whisk together eggs, maple syrup, oil, vanilla extract, and milk until frothy.
- Stir in the pumpkin puree until fully incorporated.
- Add rolled oats, baking powder, cinnamon, and salt to the wet mixture.
- Mix with a fork or spoon until no dry streaks remain; do not overmix.
- Divide batter evenly among the 12 muffin cups and press down slightly with the back of a spoon.
- Bake for 18-20 minutes until tops are lightly golden and a toothpick inserted comes out clean.
- Cool in the pan for 5 minutes, then transfer to a wire rack to cool completely before storing.
Notes
Use old-fashioned rolled oats, not quick oats, to maintain texture. Ensure pumpkin puree is 100% pure, not pie filling. Let cups cool completely to set properly; they may break if moved while hot. Store in an airtight container for up to 5 days or freeze for up to 3 months.
Nutrition
- Serving Size: 1 cup
- Calories: 125
- Sugar: 7
- Sodium: 100
- Fat: 4
- Saturated Fat: 0.5
- Carbohydrates: 20
- Fiber: 2.5
- Protein: 3.5
Keywords: pumpkin oatmeal cups, healthy breakfast, meal prep, gluten-free, dairy-free, baked oatmeal, pumpkin recipe, easy snack


