There was a gap in the world of dorm room food. Not between meals, exactly, but between what you could actually make with a hot plate and a microwave, and what you actually wanted to eat. For a while, I just accepted that nachos in a dorm meant opening a bag of chips and dipping them into a jar of salsa. It worked. It filled the space. But it wasn’t really nachos, you know? It was just chips with a side of hope.
I remember staring at my toaster oven one Tuesday night (the kind that barely fits a frozen pizza) and thinking there had to be a way to get that melty, layered, slightly burnt-at-the-edges thing that real nachos have. The kind where every chip has a little bit of cheese and a little bit of something else. The problem was space. And pans. And honestly, patience. I didn’t have a full kitchen, but I had a sheet pan that came with the toaster oven, and I had a stubborn belief that this could work.
The first attempt was a mess. Chips slid everywhere. Cheese pooled in the middle. But the second time? Something clicked. I layered the chips, I pressed them down just a little, and I stopped overthinking it. That pan of nachos came out crispy on the edges, gooey in the center, and completely satisfying. It wasn’t fancy. It was exactly what I had been looking for — a real plate of loaded nachos made in a single pan, in a tiny room, with almost no cleanup. That pan became my go-to. It still is.
Why You’ll Love This Recipe
These aren’t just dorm nachos. These are the kind of nachos that make you forget you’re eating off a tray table. I’ve made this version for friends in cramped apartments, for late-night study sessions, and even for a small Super Bowl gathering where the kitchen was basically a hallway. Every single time, the pan comes back empty.
- One Pan, Zero Fuss: Everything cooks on one sheet pan. No boiling, no sautéing, no extra dishes. You line it, load it, and bake it. That’s it.
- Dorm-Friendly Equipment: All you need is a toaster oven or a regular oven. No stovetop required. If you have a microwave, you can even prep the toppings ahead.
- Budget-Friendly Ingredients: Canned beans, shredded cheese, tortilla chips, and a few pantry staples. No fancy grocery trips. You probably already have most of this.
- Fully Customizable: You can go vegetarian, add ground beef, load it with veggies, or keep it simple. This recipe is a template, not a rulebook.
- Perfect for Sharing: Whether it’s a movie night, a study break, or just a Tuesday, this dish feeds two generously or four as a snack. It’s the kind of food that makes people hover around the pan.
What makes this different from every other nacho recipe out there is the layering. Most recipes just dump chips and cheese on a pan and hope for the best. I tested this until every chip had a purpose. The bottom layer stays crunchy, the middle layer gets melty, and the top layer gets all the good stuff. It’s not just another nacho recipe — it’s the one that actually works in a dorm.
What Ingredients You Will Need
This recipe uses simple, pantry-friendly ingredients that come together for maximum flavor with minimal effort. Most of these are things you can keep on hand for last-minute cravings.
For the Base
- Tortilla chips (1 large bag, about 10-12 ounces) — go with sturdy, restaurant-style chips. Thin chips will break under the weight of the toppings. I like Tostitos Scoops for the extra dip-ability.
- Shredded Mexican blend cheese (2 cups, about 8 ounces) — this melts beautifully. Pre-shredded works fine, but shredding your own gives a creamier melt.
- Canned black beans (1 can, 15 ounces, drained and rinsed) — they add protein and texture without needing to cook anything.
- Roma tomatoes (2 medium, diced) — fresh tomatoes add brightness. If they’re out of season, cherry tomatoes work too.
- Jalapeño (1 medium, sliced into thin rounds) — fresh gives heat, pickled gives tang. Your call.
- Green onions (3-4 stalks, sliced) — for a fresh, mild onion kick on top.
For the Toppings (After Baking)
- Sour cream (about 1/2 cup) — for cooling down the heat.
- Fresh salsa or pico de gallo (about 1/2 cup) — I grab a store-bought pico when I’m lazy.
- Guacamole or sliced avocado (1 medium avocado) — adds creamy richness.
- Fresh cilantro (a handful, chopped) — optional, but it makes everything look fancy.
- Lime wedges (from 1 lime) — squeeze over the top right before eating.
Optional Add-Ins (Before Baking)
- Cooked ground beef or chorizo (about 1/2 pound) — if you want meat, brown it ahead and sprinkle it on.
- Pickled jalapeños — for extra tang without the fresh heat.
- Olives (sliced black or green) — some people love them, some don’t. You do you.
Equipment Needed
The beauty of this recipe is that you don’t need much. Here’s what you’ll actually use:
- Sheet pan (half-sheet size, about 13×18 inches) — this is the star. If you don’t have one, a toaster oven pan or even a large baking dish works.
- Aluminum foil or parchment paper — for easy cleanup. Trust me, you want this.
- Cutting board and knife — for dicing tomatoes and slicing jalapeños.
- Small bowls — for holding toppings before assembly.
- Toaster oven or regular oven — either works. A toaster oven actually heats up faster and is perfect for small batches.
- Spatula or tongs — for serving straight from the pan.
I’ve made these nachos in a toaster oven that cost twenty bucks at a thrift store. No joke. If it fits a pan, it works. Just keep an eye on the cheese so it doesn’t burn — toaster ovens run hot.
Preparation Method
This is the part where it all comes together. Follow these steps, and you’ll have a pan of nachos that feels like a real meal, not a snack.
- Preheat your oven or toaster oven to 400°F (200°C). If using a toaster oven, give it a full 5 minutes to come to temperature. Ovens vary, so check the heat.
- Line your sheet pan with foil or parchment paper. This isn’t optional if you value your sanity. The cheese will stick to everything, and scrubbing a sheet pan covered in baked cheese is a special kind of punishment.
- Spread half the tortilla chips in an even layer on the pan. Don’t pile them too high — one layer is ideal. If they overlap a little, that’s fine, but you want most chips touching the pan.
- Sprinkle half the black beans and half the shredded cheese over the first chip layer. Distribute evenly. You want every chip to get a little bit of bean and a little bit of cheese.
- Add the second layer of chips on top. Arrange them so they cover the gaps from the first layer. This is the secret to getting cheese on every chip.
- Top with the remaining beans and cheese. Again, spread it out. Don’t dump it all in the middle. If you want to add meat or olives, scatter them over this layer now.
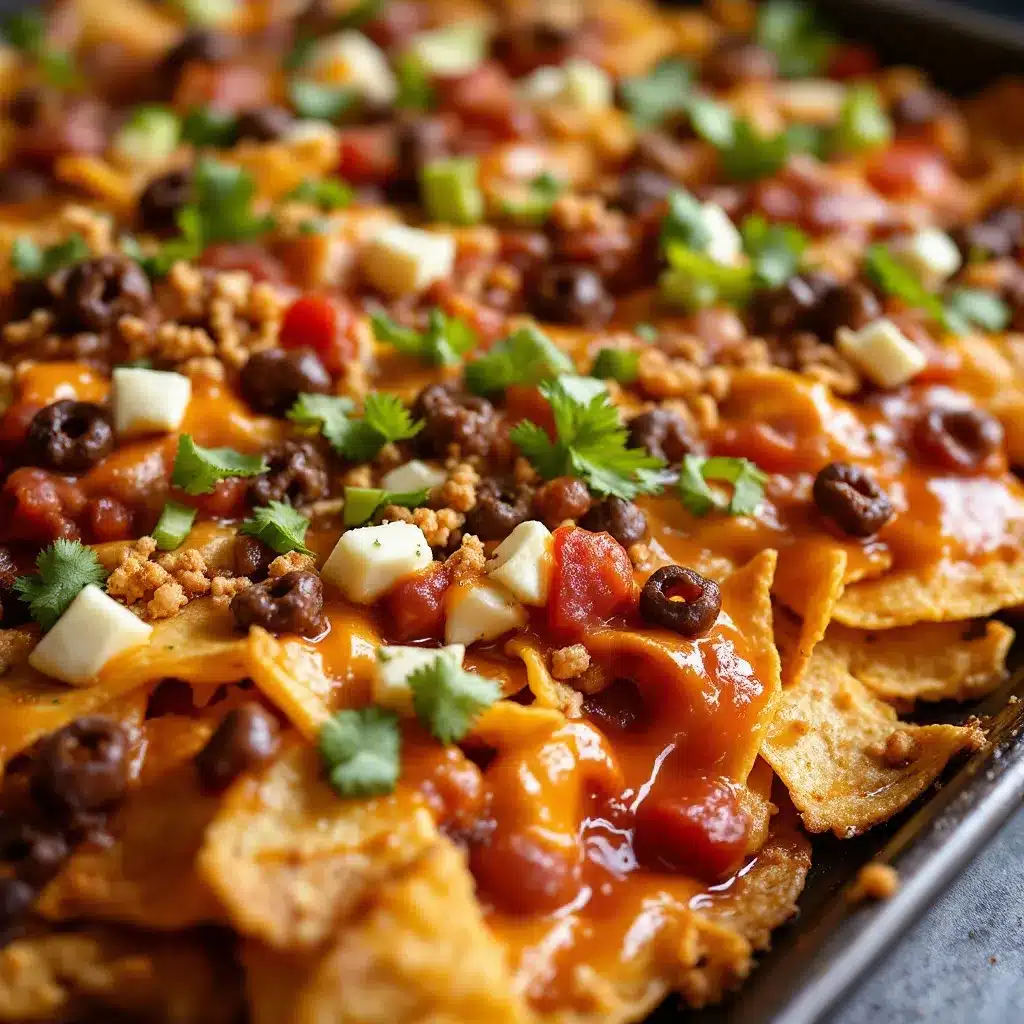
- Bake for 10-12 minutes, until the cheese is fully melted and bubbly. The edges of the chips should start to brown slightly. Keep an eye on it after 8 minutes — toaster ovens can burn things fast.
- Remove the pan from the oven and let it rest for 2 minutes. This lets the cheese set just a little so it doesn’t slide off when you pick up a chip.
- Top with diced tomatoes, sliced jalapeños, and green onions. Then add dollops of sour cream, salsa, and guacamole. Sprinkle cilantro on top and squeeze lime juice over everything.
- Serve directly from the pan. That’s the whole point. Grab a fork or just use your hands. No plates required.
A note on timing: If you’re making this for a group, prep all your toppings while the nachos bake. That way everything is ready to go the second the pan comes out. Hot nachos don’t wait.
Cooking Tips & Techniques
I’ve burned more than a few pans of nachos learning these lessons, so you don’t have to.
Don’t overload the chips. It’s tempting to pile everything on, but too many toppings make the chips soggy. Stick to two layers max, and spread everything evenly. The chips need room to breathe.
Use room-temperature cheese. If your cheese is straight from the fridge, it takes longer to melt, and the chips might burn before the cheese is gooey. Let the cheese sit out for 10 minutes while you prep everything else.
Watch the edges. The chips around the perimeter of the pan cook faster than the ones in the middle. If they start looking too dark, pull the pan out a minute early. The residual heat will finish melting the center.
Layer strategically. The bottom layer gets the most direct heat, so it stays crunchy. The middle layer gets steamed by the cheese and stays softer. That contrast is what makes these nachos interesting. Don’t try to make every chip the same — embrace the texture difference.
One mistake I made early on: I used pre-shredded cheese from a bag that had anti-caking agents. It melted, but it wasn’t as creamy. If you can, shred your own block cheese. It makes a noticeable difference in texture.
If you’re using a toaster oven, rotate the pan halfway through. Most toaster ovens have hot spots. A quick turn at the 6-minute mark ensures even melting.
Variations & Adaptations
This recipe is a starting point. Here are some ways to make it your own.
Vegetarian Loaded Nachos
Skip the meat entirely and double up on the beans. Add corn kernels (canned or frozen, thawed) and diced bell peppers for extra crunch. It’s hearty, colorful, and completely satisfying. For a protein boost, crumble some crispy baked buffalo cauliflower bites on top after baking — the spicy kick pairs perfectly with the cool sour cream.
Spicy Chorizo Nachos
Cook 1/2 pound of Mexican chorizo in a skillet until crispy, then sprinkle it over the chips before adding the cheese. The grease from the chorizo flavors the chips as they bake. Drain the chorizo on paper towels first to avoid soggy chips.
Breakfast Nachos
Yes, this is a thing. Swap the black beans for scrambled eggs and add cooked breakfast sausage. Use cheddar cheese instead of Mexican blend. Top with salsa verde and a drizzle of hot sauce. It’s a great way to use leftover taco meat from a ranch taco party bowl — just crumble it over the eggs.
Dairy-Free Version
Use a plant-based shredded cheese that melts well (I like Violife or Daiya). Nutritional yeast sprinkled on top adds a cheesy flavor without dairy. Everything else stays the same.
Low-Carb Option
Swap the tortilla chips for bell pepper slices or zucchini rounds. Layer them the same way and bake for 12-15 minutes. It’s not the same texture, but it scratches the itch if you’re watching carbs.
Serving & Storage Suggestions
These nachos are best eaten immediately, straight from the pan, while the cheese is still stretchy. But life happens, and sometimes you have leftovers.
Serving: Set the pan in the middle of the table (or desk) and let everyone dig in. Provide small plates if you want, but honestly, eating directly from the pan is part of the experience. Pair these with a cold drink — a copycat iced brown sugar oat milk shaken espresso is surprisingly good alongside the salty, cheesy chips.
Storage: If you have leftovers (rare, but possible), let the pan cool completely. Transfer the nachos to an airtight container and refrigerate for up to 2 days. The chips will soften, but the flavor will still be good.
Reheating: The microwave will make them soggy. Instead, reheat them on a sheet pan in a 350°F oven for 5-7 minutes. They won’t be as crunchy as fresh, but they’ll be close. For a quick fix, you can also reheat them in a dry skillet over medium heat for a few minutes.
Flavor development: Honestly, these don’t get better with time. Fresh is best. But if you’re meal-prepping, you can prep all the toppings ahead and assemble right before baking. The beans, tomatoes, and jalapeños can be chopped and stored separately for up to 3 days.
Nutritional Information & Benefits
These nachos are comfort food, not health food, but they’re not as bad as you might think. Here’s a rough estimate per serving (about 1/4 of the pan):
- Calories: ~420
- Protein: 14g
- Fat: 22g
- Carbohydrates: 45g
- Fiber: 8g
Health highlights: Black beans are packed with fiber and plant-based protein, which helps keep you full. Tomatoes provide vitamin C and antioxidants. Avocado adds healthy fats that support heart health. The cheese gives you calcium, but it’s also where most of the saturated fat comes from — so moderation is key.
Dietary considerations: This recipe is naturally vegetarian. To make it gluten-free, use certified gluten-free tortilla chips (most are, but check the label). To make it vegan, use plant-based cheese and sour cream. The main allergens are dairy (cheese, sour cream) and corn (chips).
I’m not a nutritionist, but I’ve learned that balance matters more than perfection. If you’re eating a pan of nachos, enjoy it fully, and maybe pair it with a side of veggies the next meal.
Conclusion
These one-pan sheet pan nachos are proof that you don’t need a full kitchen to make something genuinely good. They’re simple, forgiving, and endlessly adaptable. Whether you’re in a dorm room, a tiny apartment, or just don’t feel like doing dishes, this recipe delivers every time.
I love this recipe because it reminds me that cooking isn’t about having the perfect setup — it’s about making the most of what you have. A single sheet pan, a few ingredients, and a little patience can turn a bag of chips into a meal worth sharing.
Try it this week. Customize it with whatever you have on hand. And if you come up with a variation I haven’t thought of, drop it in the comments. I’m always looking for new ideas. Happy cooking!
Frequently Asked Questions
Can I make these nachos in a microwave?
Technically yes, but the texture won’t be the same. The chips will get soft and chewy instead of crispy. If you’re in a pinch, microwave for 1-2 minutes in 30-second bursts, but I’d recommend the oven or toaster oven for best results.
How do I keep the chips from getting soggy?
Layer them in two thin layers instead of one thick pile. Also, make sure your beans are drained and rinsed well — extra moisture is the enemy of crispy chips. And don’t add wet toppings like salsa or sour cream until after baking.
Can I prep these ahead of time?
You can prep all the toppings ahead, but don’t assemble the nachos until you’re ready to bake. Once the chips touch the beans and cheese, they start absorbing moisture. Assemble and bake immediately for the best texture.
What’s the best cheese for melting?
Monterey Jack, cheddar, and Colby are all great. A Mexican blend is convenient and melts well. Avoid hard cheeses like parmesan — they don’t melt smoothly. Shredding your own block cheese gives the creamiest melt.
Can I add meat without cooking it first?
No. Any meat you add needs to be fully cooked before it goes on the nachos. The baking time isn’t long enough to cook raw meat safely. Brown ground beef, cook chorizo, or shred leftover chicken before adding it to the pan.
Pin This Recipe!
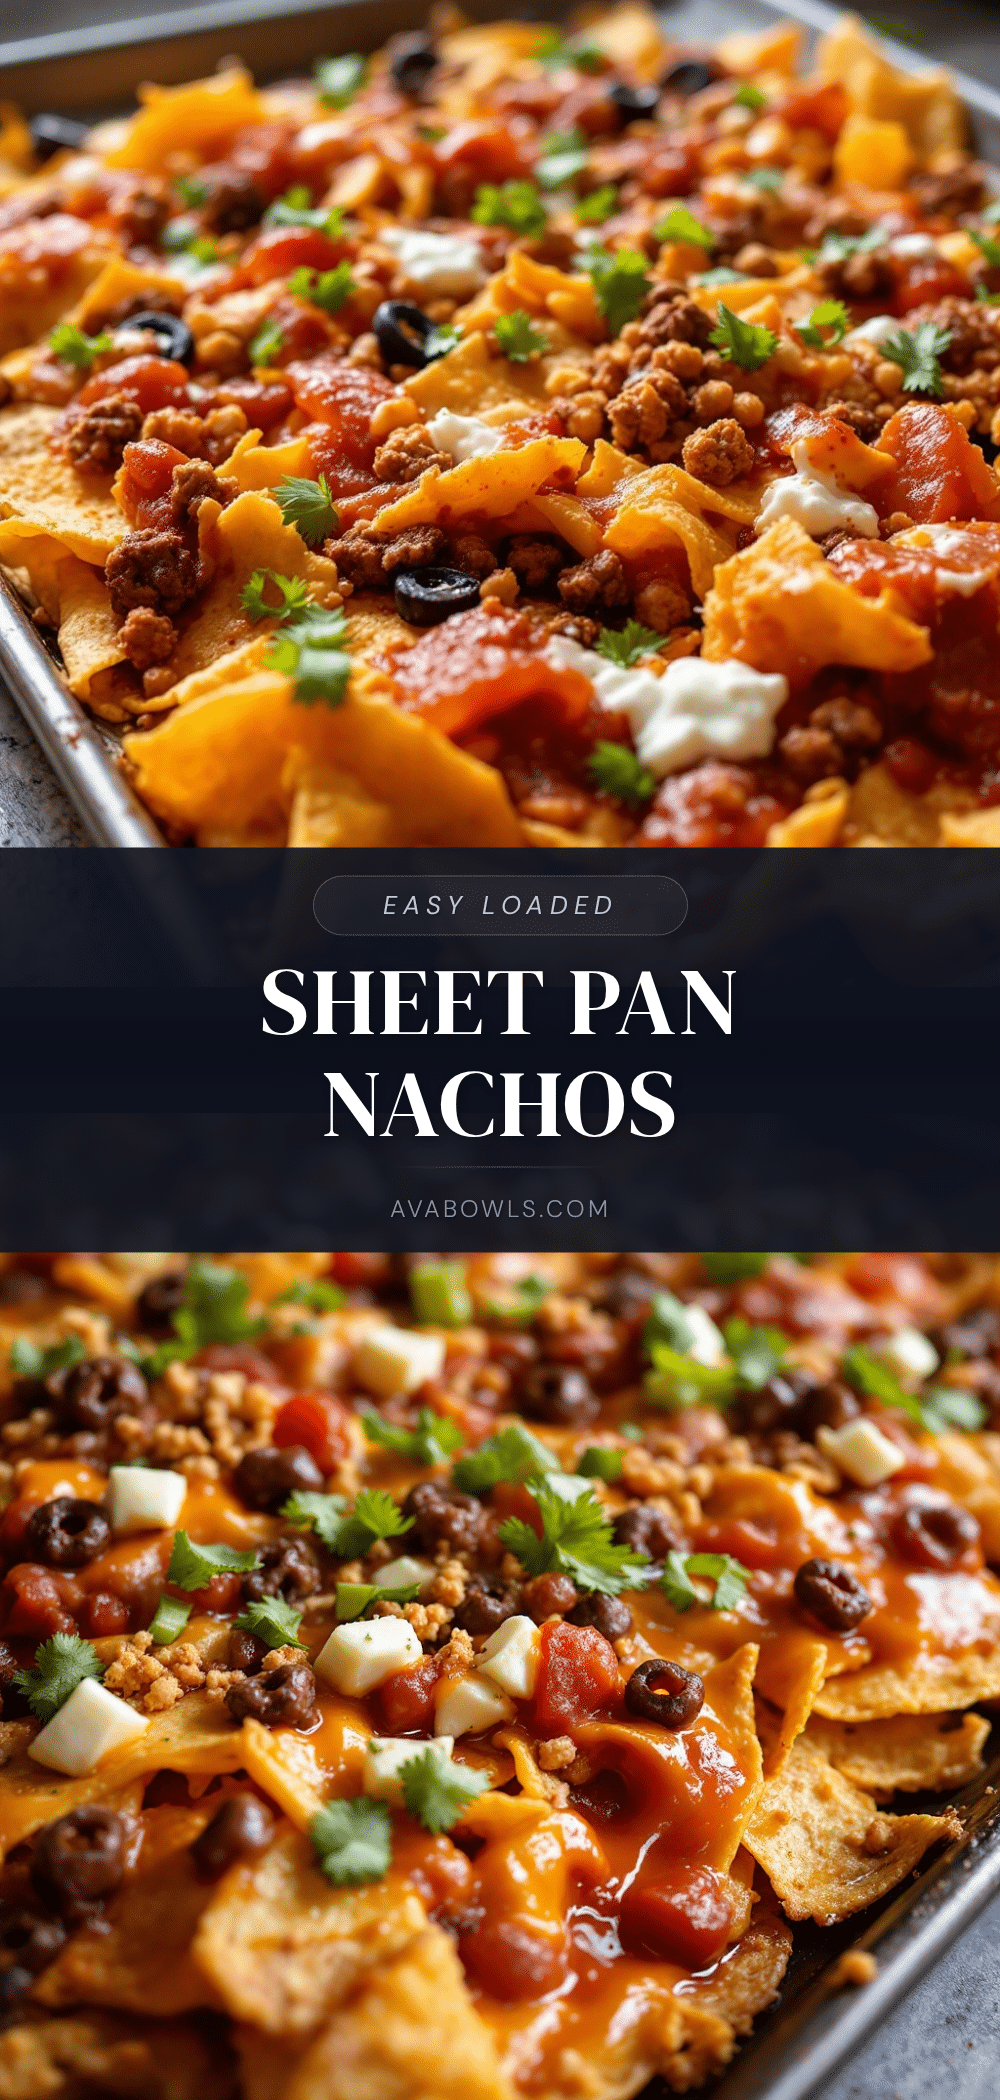
Easy One-Pan Sheet Pan Nachos for College Dorms

These one-pan sheet pan nachos are proof that you don’t need a full kitchen to make something genuinely good. They’re simple, forgiving, and endlessly adaptable, perfect for dorm rooms or tiny apartments.
- Prep Time: 15 minutes
- Cook Time: 12 minutes
- Total Time: 27 minutes
- Yield: 4 servings 1x
- Category: Main Course
- Cuisine: Mexican
Ingredients
- 1 large bag (10–12 ounces) tortilla chips (restaurant-style, like Tostitos Scoops)
- 2 cups (8 ounces) shredded Mexican blend cheese
- 1 can (15 ounces) black beans, drained and rinsed
- 2 medium Roma tomatoes, diced
- 1 medium jalapeño, sliced into thin rounds
- 3–4 green onions, sliced
- 1/2 cup sour cream
- 1/2 cup fresh salsa or pico de gallo
- 1 medium avocado (for guacamole or sliced)
- Handful fresh cilantro, chopped (optional)
- 1 lime, cut into wedges
- 1/2 pound cooked ground beef or chorizo (optional)
- Pickled jalapeños (optional)
- Sliced black or green olives (optional)
Instructions
- Preheat your oven or toaster oven to 400°F (200°C).
- Line your sheet pan with aluminum foil or parchment paper.
- Spread half the tortilla chips in an even layer on the pan.
- Sprinkle half the black beans and half the shredded cheese over the first chip layer.
- Add the second layer of chips on top, covering gaps from the first layer.
- Top with the remaining beans and cheese. If adding meat or olives, scatter them over this layer now.
- Bake for 10-12 minutes, until the cheese is fully melted and bubbly. Watch after 8 minutes to prevent burning.
- Remove the pan from the oven and let it rest for 2 minutes.
- Top with diced tomatoes, sliced jalapeños, and green onions. Add dollops of sour cream, salsa, and guacamole. Sprinkle cilantro and squeeze lime juice over everything.
- Serve directly from the pan.
Notes
Layer chips in two thin layers for best texture. Use room-temperature cheese for even melting. Rotate the pan halfway through if using a toaster oven. Prep all toppings while nachos bake. For best results, serve immediately.
Nutrition
- Serving Size: 1/4 of the pan
- Calories: 420
- Sugar: 4
- Sodium: 680
- Fat: 22
- Saturated Fat: 8
- Carbohydrates: 45
- Fiber: 8
- Protein: 14
Keywords: nachos, sheet pan nachos, dorm food, easy nachos, one-pan meal, vegetarian nachos, loaded nachos


