I was staring into my fridge on a Tuesday night, the kind of Tuesday where takeout sounds reasonable but your wallet says otherwise. Chicken thighs were defrosted, a half-used bottle of honey sat in the pantry, and I just knew I didn’t have the energy for a sink full of dishes. I had been looking for a dinner that actually delivered big flavor without demanding a full kitchen cleanup crew, and honestly, I was tired of recipes that promised simplicity but left me scrubbing three pans. This one-pan honey garlic chicken thighs recipe came together out of pure necessity, and it stuck because it worked. The first time I made it, the smell alone convinced me I was onto something real. It wasn’t complicated, it wasn’t fussy, and the cleanup took about thirty seconds. That’s the kind of cooking I can get behind.
There’s a quiet satisfaction in finding a recipe that just works for your life. This one doesn’t ask for much, but it gives back everything. The honey garlic glaze turns into this sticky, savory-sweet coating that clings to the chicken like it was meant to be there. And the best part? You don’t have to babysit it. You just let the oven do its thing while you handle the rest of your evening. It’s the kind of meal that makes you feel like you have your act together, even on those days when you definitely don’t.
Why You’ll Love This Recipe
Let’s be real, we all want dinner to be delicious without turning our kitchen into a disaster zone. This easy one-pan honey garlic chicken thighs recipe delivers on both fronts. I’ve tested this more times than I can count, tweaking the glaze ratio and the cooking time until it was just right. Here’s why it earned a permanent spot in my weekly rotation:
- One Pan, Minimal Mess: Everything cooks in a single baking dish or skillet. No extra pots, no burnt-on sauce pans, just one dish to wash at the end. That’s a win in my book.
- Simple Pantry Ingredients: You probably have most of these already. Honey, soy sauce, garlic, chicken thighs, and a few pantry staples. No fancy grocery store runs required.
- Perfect for Busy Weeknights: From prep to table in about 45 minutes, with only 10 minutes of active work. The oven does the heavy lifting while you can chop a salad or just sit down for a minute.
- Crowd-Pleasing Flavor: The sweet and savory combo is universally loved. Kids go for it, adults go back for seconds, and leftovers are fought over the next day.
- Unbelievably Juicy Results: Chicken thighs are naturally forgiving, but this method keeps them incredibly tender with that perfect sticky glaze. It’s comfort food that doesn’t weigh you down.
This isn’t just another chicken recipe. The secret is in the balance of the honey garlic sauce, which reduces down into a glossy glaze that coats every piece of chicken perfectly. I’ve tried versions with too much garlic that turned bitter, or not enough honey that left the sauce thin. This version hits the sweet spot, and I’m confident it will become your go-to, too. It’s the kind of meal that makes you close your eyes after the first bite, not because it’s fancy, but because it’s exactly what you needed.
What Ingredients You Will Need
This recipe keeps things simple, relying on a handful of everyday ingredients that come together to create something truly special. Each component plays a key role in building that signature sweet and savory flavor and tender texture.
- Bone-in, skin-on chicken thighs (6-8 thighs, about 2.5 lbs): The bone keeps the meat juicy during roasting, and the skin gets beautifully crispy under the glaze. You can use boneless thighs, but reduce the cooking time by about 10 minutes. I personally prefer thighs from a trusted butcher or organic brand for the best flavor.
- Honey (1/3 cup): The star of the show. Use a good quality, runny honey for the best glaze consistency. Local honey adds a nice floral note, but any pure honey works beautifully.
- Soy sauce (1/4 cup, low sodium recommended): Adds that deep umami flavor that balances the sweetness of the honey. Low sodium gives you more control over the saltiness. Tamari or coconut aminos make great gluten-free substitutes.
- Minced garlic (4-5 cloves, or 1 tablespoon): Fresh garlic is non-negotiable here. Pre-minced jarred garlic just doesn’t deliver the same punch. The garlic mellows as it roasts, infusing the sauce with a warm, savory depth.
- Rice vinegar (2 tablespoons): A touch of acidity cuts through the richness and brightens the whole dish. Apple cider vinegar works in a pinch.
- Sesame oil (1 tablespoon): Adds a subtle nutty aroma that makes the glaze taste more complex. Toasted sesame oil is best for this. If you don’t have it, use a neutral oil like avocado or grapeseed.
- Cornstarch (1 tablespoon): Helps thicken the sauce into that perfect sticky glaze. Arrowroot powder works as a substitute.
- Salt and black pepper (to taste): Season the chicken generously before searing. Don’t skip this step, it builds the foundation of flavor.
- Optional garnishes: Sliced green onions, toasted sesame seeds, and a pinch of red pepper flakes for heat. These add color and a fresh finish.
That’s it. No long list of obscure ingredients. Just real, accessible things you can find at any grocery store. The beauty of this recipe is that the whole is greater than the sum of its parts. Each ingredient earns its place.
Equipment Needed
You don’t need a fully stocked professional kitchen for this one. Here’s what you’ll need to make these easy one-pan honey garlic chicken thighs:
- Large oven-safe skillet or baking dish (12-inch): A cast-iron skillet is my first choice because it heats evenly and goes from stovetop to oven without a hitch. A stainless steel or enameled pan works great too. If using a baking dish, you’ll need to sear the chicken in a separate pan first, which adds one extra dish.
- Tongs: For flipping the chicken thighs without tearing the skin. Silicone-tipped tongs are gentle on non-stick surfaces.
- Small bowl: For whisking together the honey garlic sauce ingredients.
- Whisk or fork: To combine the sauce until smooth.
- Meat thermometer: Honestly, this is the best investment for perfect chicken every time. Chicken is done at 165°F, but thighs are even better at 175-185°F, where the connective tissue breaks down and the meat becomes ultra-tender.
- Cutting board and knife: For mincing garlic and prepping garnishes.
If you don’t have an oven-safe skillet, just transfer the seared chicken to a baking dish before adding the sauce and baking. It’s one extra step but still qualifies as one-pan in my book. I’ve used a cheap baking dish from the grocery store for years and it works perfectly.
Preparation Method
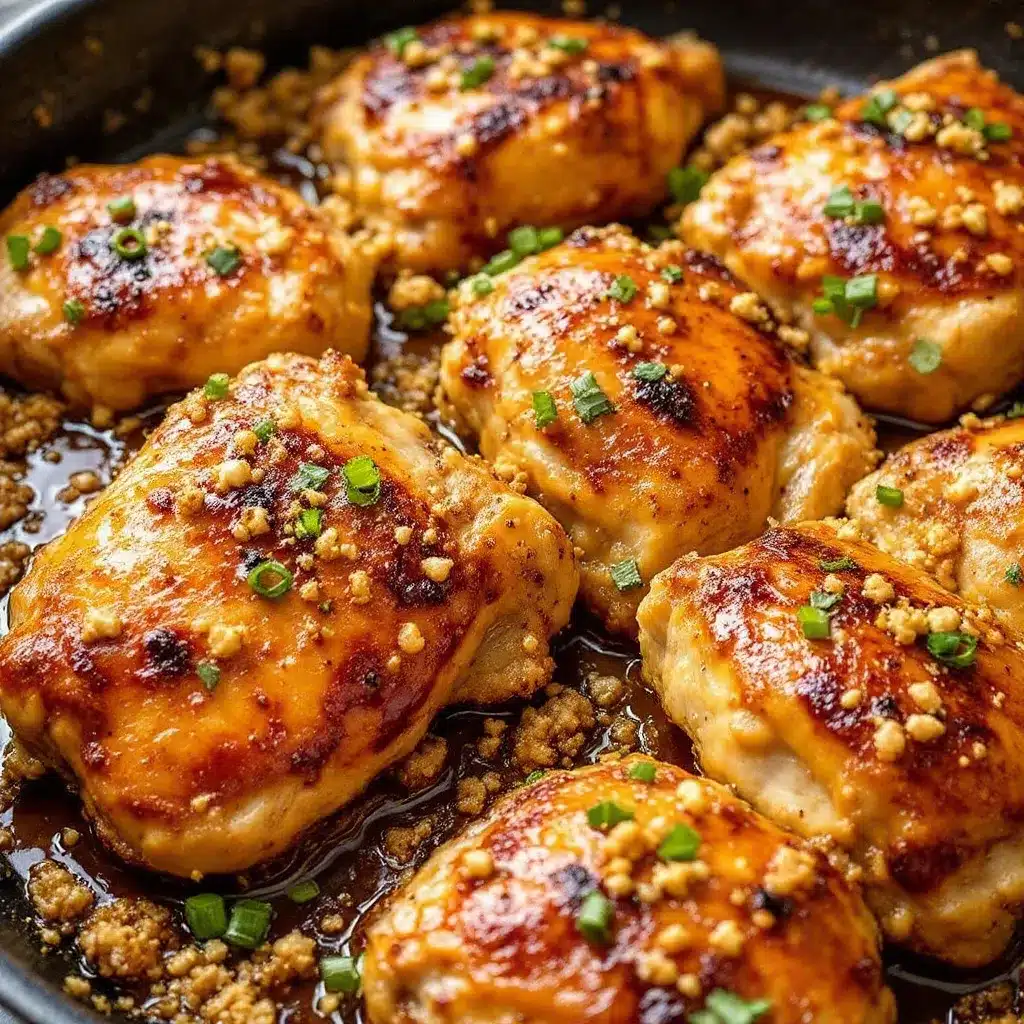
Let’s get cooking. This method is designed to be straightforward, but I’ve included all the little details that make the difference between good chicken and unforgettable chicken.
- Preheat your oven to 400°F (200°C). Getting the oven hot ahead of time ensures even cooking and helps the glaze caramelize properly.
- Pat the chicken thighs dry with paper towels. This is crucial for crispy skin. Moisture is the enemy of browning. Season both sides generously with salt and black pepper.
- Heat 1 tablespoon of neutral oil (like avocado or grapeseed) in your oven-safe skillet over medium-high heat. Wait until the oil shimmers, that’s your sign it’s hot enough.
- Place the chicken thighs skin-side down in the skillet. Don’t crowd the pan. If you have to do it in two batches, that’s fine. Let them sear undisturbed for 5-6 minutes. The skin should be deep golden brown and release easily from the pan. If it sticks, it’s not ready yet.
- Flip the chicken thighs and sear the other side for 3-4 minutes. The second side won’t get as brown, and that’s okay. Remove the skillet from the heat. Don’t drain the fat, it adds flavor to the sauce.
- While the chicken sears, make the honey garlic sauce. In a small bowl, whisk together the honey, low sodium soy sauce, minced garlic, rice vinegar, sesame oil, and cornstarch until the cornstarch is fully dissolved. The mixture will look thin now, but trust the process.
- Pour the sauce over the chicken thighs in the skillet. Tilt the pan slightly to distribute the sauce evenly. Don’t worry if it doesn’t cover everything completely, it will bubble up and coat the chicken as it bakes.
- Transfer the skillet to the preheated oven. Bake for 25-30 minutes, basting the chicken with the pan sauce halfway through. Use a spoon to drizzle the bubbling glaze over the tops. The chicken is done when the internal temperature reaches 175-185°F for thighs, and the skin is sticky and caramelized.
- Remove from the oven and let the chicken rest for 5 minutes. This allows the juices to redistribute. During this time, the sauce will thicken further into a gorgeous, glossy glaze.
- Garnish with sliced green onions and toasted sesame seeds. A sprinkle of red pepper flakes adds a nice kick if you like heat. Serve immediately.
One thing I learned the hard way, don’t skip the basting step halfway through. It’s what gives the chicken that beautiful lacquered look and intense flavor. The first time I made this, I skipped it and ended up with dry spots on the skin. Lesson learned.
Cooking Tips & Techniques
After making this recipe more times than I can count, I’ve picked up a few tricks that make a real difference. Here’s what I wish someone had told me:
- Dry the chicken thoroughly. I cannot stress this enough. Wet skin steams instead of sears, and you lose that golden crust. Use paper towels and really press them in.
- Let the pan get hot before adding the chicken. If the oil isn’t shimmering, the skin won’t sear properly. It should sizzle immediately when the chicken hits the pan.
- Don’t move the chicken while it sears. Let it develop a crust. You’ll know it’s ready when it releases easily from the pan. If you try to flip it too early, the skin will tear.
- Use a meat thermometer. Chicken thighs are forgiving, but a thermometer takes the guesswork out. I aim for 180°F for the most tender, juicy results.
- Baste halfway through baking. This is non-negotiable for that sticky, caramelized finish. The sauce reduces and concentrates, so don’t skip this step.
- Let it rest. I know it’s tempting to dig in right away, but those 5 minutes make a difference. The sauce sets up, the juices settle, and every bite is better.
I once forgot to baste and ended up with chicken that was perfectly cooked but missing that signature sticky glaze. It was still good, but it wasn’t great. The basting step is where the magic happens. Don’t skip it.
Variations & Adaptations
This recipe is incredibly flexible. Here are some ways to make it your own:
- Spicy Honey Garlic: Add 1-2 teaspoons of sriracha or a pinch of red pepper flakes to the sauce. The heat balances the sweetness beautifully. I tried this version on a whim and now it’s my husband’s favorite.
- Garlic and Herb: Stir in 2 teaspoons of dried thyme or rosemary with the garlic. The herbs add an earthy, aromatic layer that pairs wonderfully with the honey.
- Lemon Honey Garlic: Replace the rice vinegar with 2 tablespoons of fresh lemon juice and add a teaspoon of lemon zest. The citrus brightens the whole dish and cuts through the richness.
- Gluten-Free Option: Use tamari or coconut aminos instead of soy sauce. The flavor is slightly different but equally delicious. I’ve tested this multiple times and it works perfectly.
- Dairy-Free: This recipe is naturally dairy-free, so no changes needed. Just double check that your soy sauce doesn’t contain any dairy additives.
- Vegetable Add-Ins: Add broccoli florets, green beans, or sliced bell peppers to the pan during the last 15 minutes of baking. They roast in the glaze and become a complete meal. I love adding broccoli, it gets slightly charred and soaks up the sauce.
Feel free to experiment. The base recipe is solid, but the variations are where you can really make it your own. I’ve even made a version with crispy baked buffalo cauliflower bites on the side for a fun twist on game day.
Serving & Storage Suggestions
These honey garlic chicken thighs are versatile enough for any occasion. Here’s how to serve and store them:
- Serving Temperature: Serve hot, straight from the oven. The glaze is at its stickiest and most flavorful when fresh. Let it rest for 5 minutes before serving.
- Presentation: Arrange the chicken on a platter and spoon the remaining pan sauce over the top. Garnish with green onions and sesame seeds for a restaurant-quality look. A bed of steamed rice underneath catches all the extra sauce.
- What to Serve With: Steamed jasmine rice or coconut rice soaks up the glaze perfectly. A simple green salad with a tangy vinaigrette balances the richness. Roasted vegetables like asparagus or broccoli are also excellent choices. For a heartier meal, try serving it alongside a hearty Tuscan white bean soup with kale for a cozy dinner.
- Storage: Store leftovers in an airtight container in the refrigerator for up to 4 days. The flavors actually deepen overnight, making leftovers even better.
- Reheating: Reheat in a 350°F oven for 10-15 minutes, or until warmed through. The microwave works in a pinch, but the skin won’t be as crispy. To revive the glaze, add a splash of water or chicken broth before reheating.
- Freezing: These freeze well for up to 3 months. Place the cooked and cooled chicken in a freezer-safe container with some of the sauce. Thaw overnight in the refrigerator before reheating.
The sauce will thicken as it sits, so don’t be alarmed if leftovers look more like a sticky coating than a liquid glaze. That’s actually perfect for spooning over rice or noodles the next day.
Nutritional Information & Benefits
Here’s a rough estimate of the nutritional breakdown per serving (based on 4 servings, using skin-on thighs and low sodium soy sauce):
- Calories: Approximately 450-500 per serving
- Protein: 30-35g
- Fat: 25-30g (mostly from the skin and natural chicken fat)
- Carbohydrates: 25-30g (from honey and soy sauce)
- Sugar: 20-25g (natural sugars from honey)
- Sodium: 600-700mg (varies based on soy sauce brand)
Chicken thighs are a great source of protein, iron, and B vitamins, which support energy metabolism. The honey provides natural antioxidants and can help soothe a sore throat (bonus!). Garlic is known for its immune-boosting properties, and sesame oil adds healthy fats. This recipe is naturally gluten-free if you use tamari, and dairy-free as written. It’s also low-carb friendly if you skip the rice and serve it with steamed vegetables instead.
I personally love that this meal feels indulgent without being overly heavy. It hits that sweet spot between comfort food and something you can feel good about eating. If you’re looking for a lighter option, try it with a nourish bowl with black bean corn mix for a balanced, satisfying meal.
Conclusion
This easy one-pan honey garlic chicken thighs recipe is exactly what weeknight dinners need to be, delicious, simple, and forgiving. It doesn’t demand hours of prep or a sink full of dishes. It just delivers juicy, sticky, flavor-packed chicken that makes everyone at the table happy. I’ve made this for busy weeknights, casual dinner parties, and even lazy Sunday dinners, and it never disappoints.
I encourage you to make it your own. Adjust the sweetness, add some heat, throw in your favorite vegetables. Cooking should be flexible and fun. The first time I made this, I burned the garlic a little and the sauce was too thin. But I kept tweaking it, and now it’s a staple in my kitchen. You’ll find your perfect version too.
If you try this recipe, I’d love to hear how it turned out. Drop a comment below and let me know what variations you tried. Share your photos on Pinterest and tag me so I can see your beautiful creations. Happy cooking, friends. This one’s a keeper.
Frequently Asked Questions (FAQs)
Can I use boneless, skinless chicken thighs?
Yes, you can. Boneless thighs will cook faster, about 20-25 minutes in the oven. The skin won’t be crispy, but the meat will still be tender and juicy. Just reduce the searing time slightly since they’re thinner.
Can I make this recipe in a slow cooker?
You can, but you’ll lose the crispy skin. Sear the chicken first, then transfer to a slow cooker with the sauce. Cook on low for 4-5 hours. For a thicker glaze, remove the chicken and simmer the sauce on the stovetop for 10 minutes before serving.
How do I prevent the honey garlic sauce from burning?
Keep an eye on the oven temperature and don’t go above 400°F. The honey can caramelize quickly and burn if the heat is too high. Basting halfway through helps distribute the sauce evenly and prevents dry spots from burning.
Can I double this recipe for a crowd?
Absolutely. Just use a larger baking dish or two skillets. You may need to sear the chicken in batches to avoid overcrowding. The baking time stays roughly the same, but check the internal temperature to be safe.
What’s the best way to reheat leftovers without drying them out?
The oven is your best friend here. Reheat at 350°F for 10-15 minutes with a splash of chicken broth or water to revive the sauce. Cover with foil for the first 10 minutes, then uncover for the last 5 to crisp the skin back up.
Pin This Recipe!
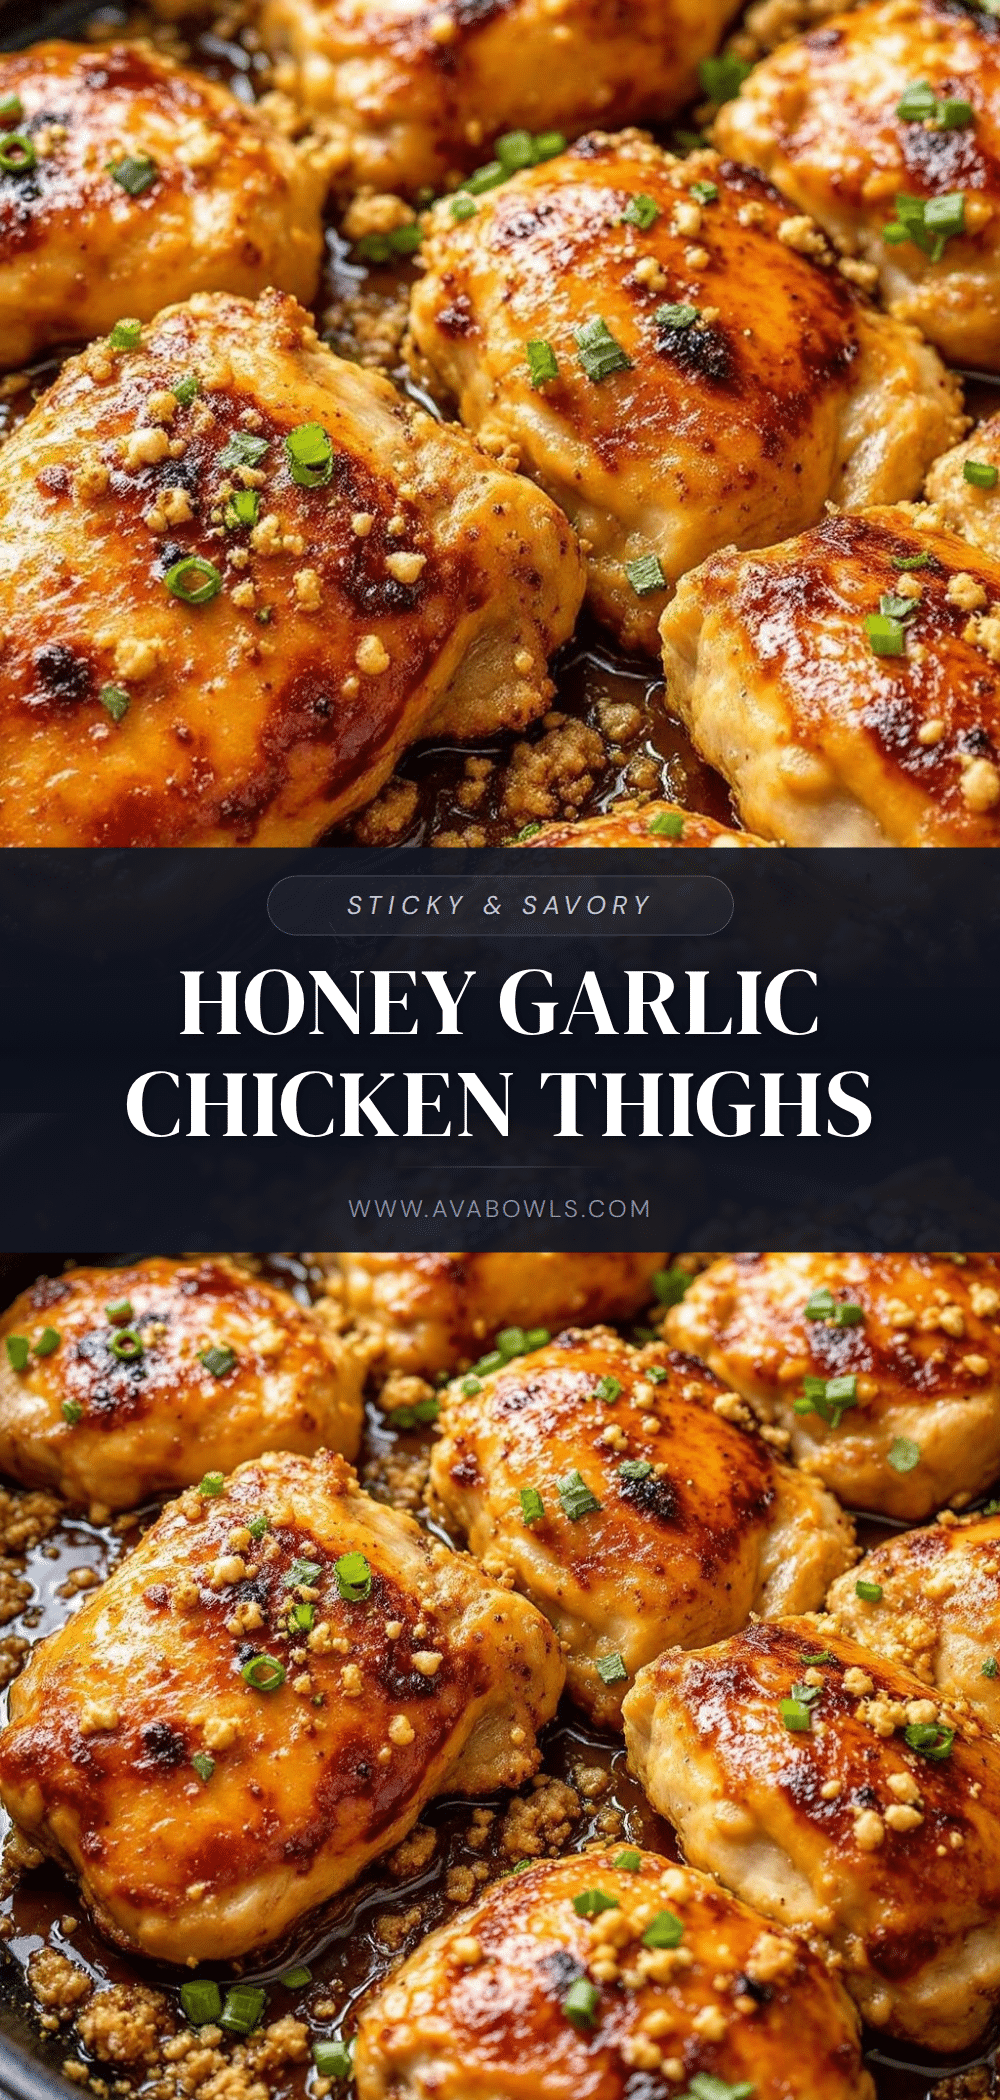
Easy One-Pan Honey Garlic Chicken Thighs

Juicy, sticky, and flavor-packed chicken thighs with a sweet and savory honey garlic glaze, all made in one pan for minimal cleanup. Perfect for busy weeknights.
- Prep Time: 10 minutes
- Cook Time: 35 minutes
- Total Time: 45 minutes
- Yield: 4 servings 1x
- Category: Main Course
- Cuisine: American
Ingredients
- 6–8 bone-in, skin-on chicken thighs (about 2.5 lbs)
- 1/3 cup honey
- 1/4 cup low sodium soy sauce
- 4–5 cloves garlic, minced (1 tablespoon)
- 2 tablespoons rice vinegar
- 1 tablespoon sesame oil
- 1 tablespoon cornstarch
- Salt and black pepper to taste
- 1 tablespoon neutral oil (avocado or grapeseed)
- Optional: sliced green onions, toasted sesame seeds, red pepper flakes for garnish
Instructions
- Preheat your oven to 400°F (200°C).
- Pat the chicken thighs dry with paper towels. Season both sides generously with salt and black pepper.
- Heat 1 tablespoon of neutral oil in a large oven-safe skillet over medium-high heat until shimmering.
- Place the chicken thighs skin-side down in the skillet. Sear undisturbed for 5-6 minutes until deep golden brown.
- Flip the chicken thighs and sear the other side for 3-4 minutes. Remove the skillet from heat.
- In a small bowl, whisk together honey, low sodium soy sauce, minced garlic, rice vinegar, sesame oil, and cornstarch until the cornstarch is fully dissolved.
- Pour the sauce over the chicken thighs in the skillet, tilting the pan to distribute evenly.
- Transfer the skillet to the preheated oven. Bake for 25-30 minutes, basting the chicken with the pan sauce halfway through. Chicken is done when internal temperature reaches 175-185°F.
- Remove from the oven and let the chicken rest for 5 minutes.
- Garnish with sliced green onions and toasted sesame seeds. Serve immediately.
Notes
Don’t skip the basting step halfway through baking—it creates the signature sticky glaze. For best results, use a meat thermometer and aim for 175-185°F for tender thighs. Let the chicken rest 5 minutes before serving to allow juices to redistribute.
Nutrition
- Serving Size: 1 serving (2 thighs
- Calories: 475
- Sugar: 23
- Sodium: 650
- Fat: 28
- Saturated Fat: 8
- Carbohydrates: 28
- Protein: 33
Keywords: honey garlic chicken, one-pan chicken, chicken thighs, easy weeknight dinner, sticky chicken, baked chicken thighs


