I burned the topping on my pumpkin dump cake three times before I understood what was going wrong. Honestly, I didn’t even like pumpkin desserts much until this recipe found me on a hectic fall evening when the oven was all that was left standing between me and a sugar craving. The first time I made this easy one-can pumpkin dump cake, I didn’t bother with the whipped cream—just the cake straight from the pan. It was messy, imperfect, and the edges were a bit too crunchy, but somehow, it felt like a warm hug after a long day.
That sticky-sweet scent of cinnamon and nutmeg filling the kitchen was enough to make me sit down and savor a second helping. I kept tweaking the method, testing different canned pumpkin brands and topping mixes, and finally, the salted caramel whipped cream appeared—because, let’s face it, everything’s better with a little salty-sweet magic on top. What stuck with me was how ridiculously simple this dessert is, yet it tastes like you spent hours fussing over it. It’s the kind of recipe that feels like a cozy secret, especially when busy schedules leave no time for fancy baking.
This recipe wasn’t born out of perfection but from a few burnt pans, a lot of trial, and that quiet realization that sometimes the easiest things become your favorite. That’s why this easy one-can pumpkin dump cake with salted caramel whipped cream isn’t just a dessert—it’s a little fall joy that anyone can pull off without breaking a sweat.
Why You’ll Love This Recipe
- Quick & Easy: Ready in under 45 minutes, perfect for busy weeknights or those last-minute dessert emergencies.
- Simple Ingredients: You only need one can of pumpkin and a few pantry staples—no running to specialty stores required.
- Perfect for Fall Gatherings: Whether it’s a casual get-together or a holiday meal, this pumpkin dump cake fits right in.
- Crowd-Pleaser: The combination of warm spices and the salted caramel whipped cream always gets rave reviews from both kids and adults.
- Unbelievably Delicious: That tender pumpkin base with a crunchy, buttery topping and the creamy, sweet-salty whipped cream? Next-level comfort food, honestly.
This isn’t just another pumpkin dump cake slapped together. The secret lies in using just the right amount of spice and a topping that crisps up perfectly without burning. Plus, the salted caramel whipped cream adds a rich depth that turns it into a dessert you’ll want to make again and again. It’s the kind of dish that makes you pause and appreciate simple ingredients done right.
Like when I made the strawberry cream cheese stuffed French toast last winter, this pumpkin dump cake brings a cozy feeling that’s hard to beat. It’s comforting, uncomplicated, and just a bit indulgent without the fuss.
What Ingredients You Will Need
This pumpkin dump cake recipe uses simple, wholesome ingredients to deliver bold fall flavor and a satisfying texture without any fuss. Most of these are pantry staples, and the canned pumpkin keeps it easy and accessible year-round.
- 1 can (15 oz / 425 g) pumpkin puree: The star of the show; use pure pumpkin, not pumpkin pie filling for better control over sweetness and spices.
- 1 box yellow cake mix (about 15.25 oz / 432 g): I prefer Betty Crocker for a reliable crumb and light topping, but any brand works fine.
- 1 cup (240 ml) evaporated milk: Adds creaminess and richness to the pumpkin base (whole milk works in a pinch).
- 3 large eggs, room temperature: Helps bind and set the pumpkin filling nicely.
- 1 cup (200 g) granulated sugar: Balances the pumpkin’s earthiness (can reduce slightly if you want less sweet).
- 1 teaspoon ground cinnamon: Classic fall flavor that warms the dish.
- 1/2 teaspoon ground nutmeg: Adds depth, but don’t overpower.
- 1/2 teaspoon salt: Balances the sweetness perfectly.
- 1/2 cup (115 g) unsalted butter, melted: Poured over the cake mix for that crispy, buttery topping.
For the Salted Caramel Whipped Cream:
- 1 cup (240 ml) heavy whipping cream, cold: Whip it cold for best volume.
- 2 tablespoons salted caramel sauce: I like using Smucker’s for a rich but not too sweet flavor.
- 1 tablespoon powdered sugar: Just enough to sweeten without clumping.
- Pinch of sea salt: To brighten the caramel and add that signature salty kick.
If you want to adjust for dietary needs, you can swap the cake mix for a gluten-free version or use coconut whipped cream instead. For a seasonal twist, fresh pumpkin puree from roasted pumpkins works beautifully when in season.
Equipment Needed
- 9×13-inch (23×33 cm) baking dish: Standard size for even baking; glass or metal both work.
- Mixing bowls: One large for the pumpkin mixture, one medium for whipping cream.
- Whisk and spatula: For combining ingredients smoothly.
- Electric mixer or hand mixer: Essential for whipping the cream to soft peaks efficiently.
- Measuring cups and spoons: Accuracy matters, especially with spices and sugar.
I once tried making this in a smaller dish, and the topping browned too fast, so sticking to the 9×13 helps keep the balance right. For the whipped cream, if you don’t have a mixer, a chilled glass jar with a tight lid works for shaking up cream, but it’s more workout than I prefer. Also, a silicone spatula is my go-to because it scrapes every bit of that delicious batter out of the bowl.
Preparation Method
- Preheat your oven to 350°F (175°C). This ensures the oven is ready for when your batter is mixed, avoiding any uneven baking. Grease your 9×13-inch baking dish lightly with butter or non-stick spray.
- In a large bowl, combine pumpkin puree, evaporated milk, eggs, sugar, cinnamon, nutmeg, and salt. Whisk everything together until smooth and well blended—no lumps. The mixture should be somewhat thick but pourable. If it looks too thick, a splash more milk can help.
- Pour the pumpkin mixture evenly into the prepared baking dish. Smooth the top with a spatula for an even layer.
- Sprinkle the dry yellow cake mix evenly over the pumpkin layer. Don’t stir—just dump and spread it as evenly as possible to cover the pumpkin mixture completely.
- Drizzle the melted butter slowly and evenly over the cake mix layer. It might seem like a lot of butter, but trust me—it creates that irresistible crispy topping.
- Bake uncovered for 45-50 minutes, or until the top is golden brown and slightly crispy. You’ll know it’s done when you see bubbling around the edges and the topping is firm but not burnt. Keep an eye after 40 minutes to avoid overcooking.
- While the cake bakes, prepare the salted caramel whipped cream. Chill your mixing bowl and beaters in the fridge for 10 minutes beforehand if possible. Pour the cold heavy cream into the bowl, add the powdered sugar, sea salt, and salted caramel sauce. Beat on medium-high speed until soft peaks form—don’t overbeat or it will get grainy.
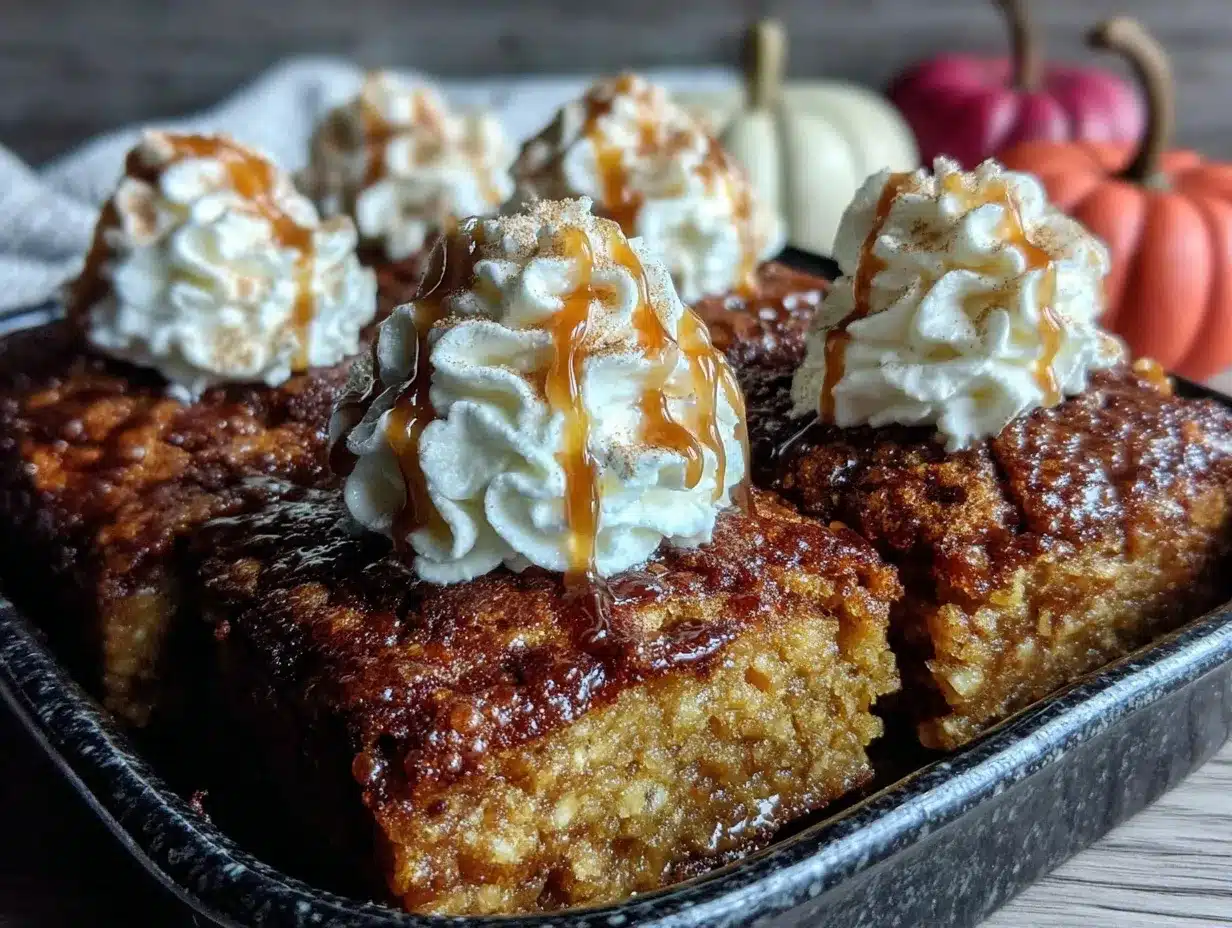
- Once the cake is out of the oven, let it cool for at least 15 minutes. This helps the layers set so it’s easier to serve. Spoon generous dollops of the caramel whipped cream on top just before serving.
Pro tip: If the topping looks like it’s browning too quickly, tent the pan loosely with foil after 30 minutes. This keeps the edges from burning while the inside finishes baking. Also, I like to stir the whipped cream gently by hand once it’s whipped to keep it light and fluffy.
Cooking Tips & Techniques
One thing I learned the hard way is not to mix the cake topping into the pumpkin layer—just dump it on top. Stirring ruins the texture, and the magic of a crisp, buttery crust is lost. The topping should sit on the surface, baking into a crunchy, golden shell while the pumpkin underneath stays creamy.
Timing is everything here. If you rush the cooling, the cake can fall apart when served, so patience really pays off. Also, using cold heavy cream for the salted caramel whipped cream is key to getting it to whip up quickly and hold shape better. If your kitchen is warm, pop the bowl into the freezer for a few minutes.
If you’re multitasking, start the whipped cream about 10 minutes before the cake is done baking. That way, you can whip it up just in time for serving without it sitting too long and losing volume.
Don’t skimp on the butter for the topping. It’s tempting to use less, but that golden crust depends on it. I once tried half the butter and ended up with a dry, crumbly top—definitely not what you want.
Variations & Adaptations
- Gluten-Free Version: Swap the yellow cake mix for a gluten-free one. Brands like King Arthur or Bob’s Red Mill have excellent options that work well for this recipe.
- Vegan Adaptation: Use a dairy-free cake mix and substitute eggs with flax eggs (1 tbsp flaxseed meal + 3 tbsp water per egg). Replace evaporated milk with canned coconut milk and use vegan butter.
- Spiced Up: Add 1/4 teaspoon ground cloves or ginger to the pumpkin mix for a deeper spice profile. A splash of bourbon in the caramel whipped cream adds a grown-up twist.
- Seasonal Twist: Swap the canned pumpkin for canned sweet potato puree or even butternut squash puree for a different but equally cozy flavor.
- Salted Caramel Alternatives: Try maple syrup or honey whipped into the cream with a pinch of sea salt if you want a natural sweetener option.
My favorite personal variation is adding chopped pecans on top of the cake mix before drizzling the butter—it gives an extra crunch and a nice nutty flavor that pairs beautifully with the salted caramel whipped cream.
Serving & Storage Suggestions
This pumpkin dump cake is best served warm or at room temperature with a generous scoop of salted caramel whipped cream on top. The contrast between the warm cake and the cool, silky cream is pure comfort food heaven.
It pairs wonderfully with a hot cup of chai tea or a creamy latte—perfect for a cozy afternoon treat. For a more indulgent brunch, try it alongside fluffy scrambled eggs or even creamy lemon ricotta pasta with fresh peas for a sweet and savory balance.
Store leftovers covered in the refrigerator for up to 4 days. The flavors actually deepen with time, but the topping will soften, so reheat gently in a 300°F (150°C) oven for about 10 minutes to crisp it back up before serving again.
You can freeze the pumpkin cake (without whipped cream) in an airtight container for up to 2 months. Thaw overnight in the fridge, then warm as described above. Whip fresh caramel cream when ready to serve.
Nutritional Information & Benefits
Each serving of this pumpkin dump cake provides a comforting dose of vitamins A and C, thanks to the pumpkin puree, which is packed with antioxidants supporting eye health and immune function. The spices like cinnamon and nutmeg can help with digestion and add anti-inflammatory benefits.
This recipe is moderate in calories, with about 350–400 calories per serving depending on portion size and whipped cream amount. Using evaporated milk keeps the filling rich yet lighter than heavy cream alternatives.
It’s naturally gluten-containing unless you use a gluten-free cake mix, and contains dairy and eggs, so keep that in mind for allergies. For lower sugar, you can adjust the sugar content or try sugar substitutes, though the classic version is worth the indulgence now and then.
From a wellness perspective, this easy one-can pumpkin dump cake feels like a treat that’s indulgent but not overcomplicated—perfect for nourishing both body and soul during chilly months.
Conclusion
This easy one-can pumpkin dump cake with salted caramel whipped cream is proof that sometimes, simple wins the day. It’s forgiving, fast, and full of cozy fall flavors that feel like a celebration without the stress. I love how it takes just a few ingredients and turns them into something that feels homemade and special—without hours of work.
Feel free to make it your own, whether that means adding nuts, tweaking the spices, or swapping toppings. Every time I make this recipe, it reminds me that you don’t need to fuss to create something memorable in the kitchen.
Give it a try, and if you do, I’d love to hear what twist you put on it or how you served it up. Sharing these little kitchen wins is what makes cooking fun and keeps the season feeling bright.
Frequently Asked Questions
Can I use fresh pumpkin instead of canned pumpkin puree?
Yes, but make sure to cook and puree the fresh pumpkin until smooth and thick. Fresh pumpkin has more water, so you might need to reduce the evaporated milk slightly to keep the right consistency.
What can I use if I don’t have evaporated milk?
Whole milk or half-and-half can work as substitutes, but evaporated milk adds richness and helps set the pumpkin layer better. If using regular milk, the texture might be a bit softer.
How long can I keep the salted caramel whipped cream?
It’s best used the same day you make it, but you can store it covered in the fridge for up to 24 hours. Whisk gently before serving if it has softened.
Can I make this pumpkin dump cake ahead of time?
Absolutely. Bake it the day before and refrigerate. Reheat gently in the oven before serving and add freshly whipped caramel cream on top.
Is there a way to make this recipe healthier?
You can reduce sugar, use a gluten-free or whole grain cake mix, swap butter for a plant-based alternative, or use coconut whipped cream. However, the classic recipe’s indulgence is part of its charm.
Pin This Recipe!
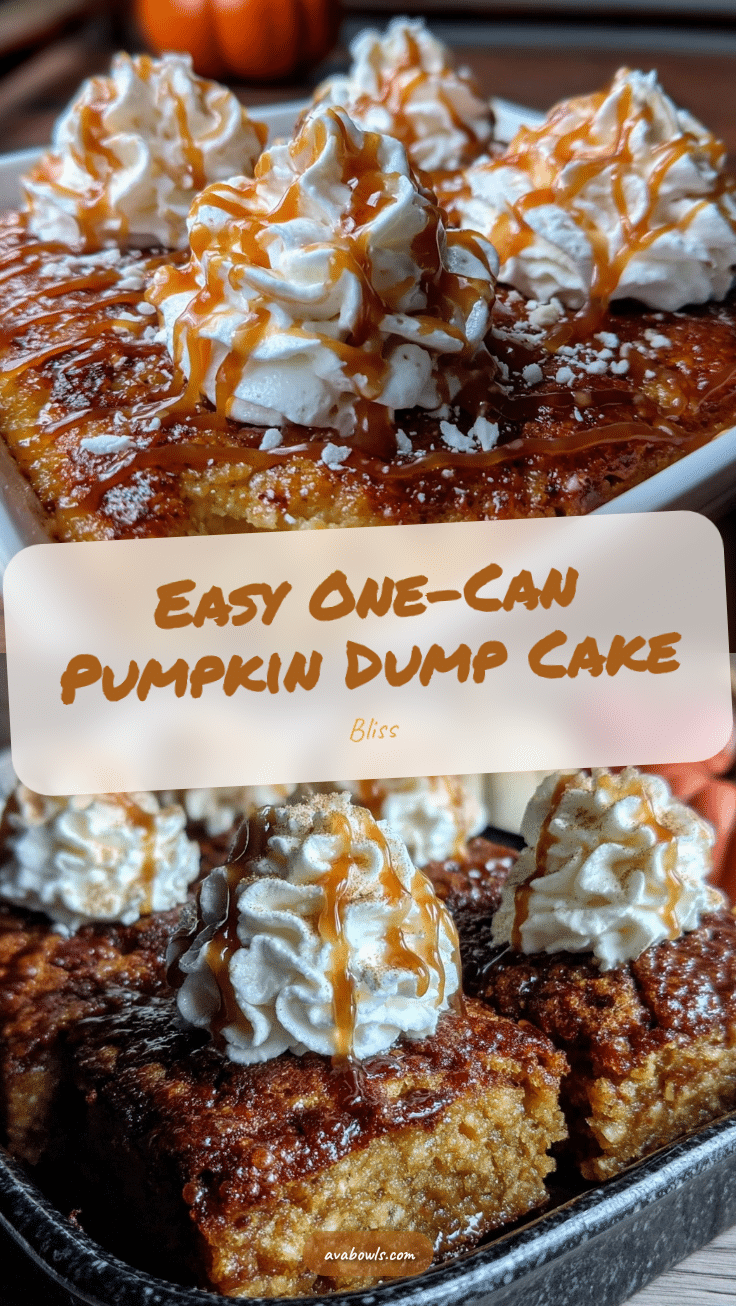
Easy One-Can Pumpkin Dump Cake Recipe with Salted Caramel Whipped Cream

A quick and easy pumpkin dump cake made with one can of pumpkin puree, topped with a crunchy buttery crust and finished with salted caramel whipped cream. Perfect for cozy fall gatherings and busy weeknights.
- Prep Time: 15 minutes
- Cook Time: 45 minutes
- Total Time: 60 minutes
- Yield: 12 servings 1x
- Category: Dessert
- Cuisine: American
Ingredients
- 1 can (15 oz / 425 g) pumpkin puree
- 1 box yellow cake mix (about 15.25 oz / 432 g)
- 1 cup (240 ml) evaporated milk
- 3 large eggs, room temperature
- 1 cup (200 g) granulated sugar
- 1 teaspoon ground cinnamon
- 1/2 teaspoon ground nutmeg
- 1/2 teaspoon salt
- 1/2 cup (115 g) unsalted butter, melted
- For the Salted Caramel Whipped Cream:
- 1 cup (240 ml) heavy whipping cream, cold
- 2 tablespoons salted caramel sauce
- 1 tablespoon powdered sugar
- Pinch of sea salt
Instructions
- Preheat your oven to 350°F (175°C). Grease your 9×13-inch baking dish lightly with butter or non-stick spray.
- In a large bowl, combine pumpkin puree, evaporated milk, eggs, sugar, cinnamon, nutmeg, and salt. Whisk until smooth and well blended.
- Pour the pumpkin mixture evenly into the prepared baking dish and smooth the top with a spatula.
- Sprinkle the dry yellow cake mix evenly over the pumpkin layer without stirring.
- Drizzle the melted butter slowly and evenly over the cake mix layer.
- Bake uncovered for 45-50 minutes, or until the top is golden brown and slightly crispy. Check after 40 minutes to avoid burning.
- While the cake bakes, chill your mixing bowl and beaters for 10 minutes if possible. Pour cold heavy cream into the bowl, add powdered sugar, sea salt, and salted caramel sauce. Beat on medium-high speed until soft peaks form.
- Let the cake cool for at least 15 minutes after baking. Serve with generous dollops of salted caramel whipped cream on top.
Notes
If the topping browns too quickly, tent the pan loosely with foil after 30 minutes. Use cold heavy cream for best whipped cream volume. Do not stir the cake mix into the pumpkin layer to maintain a crispy topping. For gluten-free, swap cake mix accordingly. For vegan, use dairy-free cake mix, flax eggs, coconut milk, and vegan butter.
Nutrition
- Serving Size: 1 slice (1/12 of cak
- Calories: 375
- Sugar: 30
- Sodium: 350
- Fat: 18
- Saturated Fat: 9
- Carbohydrates: 48
- Fiber: 2
- Protein: 5
Keywords: pumpkin dump cake, easy pumpkin dessert, salted caramel whipped cream, fall dessert, quick pumpkin cake


