The snap. That first clean break through a layer of chocolate, the way the graham cracker crunches and the marshmallow gives just a little before pulling apart in a perfect, sticky ribbon. That’s the whole point of these Easy No-Bake S’mores Bars for Labor Day. Everything else—the heat, the crowd, the last-minute scramble to bring something to the picnic—just fades away when you get that texture right.
I wasn’t even trying to make a recipe, honestly. It was the Friday before Labor Day weekend, and I was staring at a half-empty box of graham crackers, a bag of marshmallows I’d bought for hot chocolate that never happened, and a few chocolate bars I’d stashed for a rainy day. The forecast said ninety-eight degrees with humidity so thick you could spoon it. Building a campfire for traditional s’mores felt less like a nostalgic activity and more like a personal vendetta against my own air conditioner.
So I made these instead. And let me tell you—I stood over the kitchen counter, eating a piece still warm from the fridge, and I actually laughed. Not because it was funny, but because it was so stupidly good for how little effort it took. No oven. No campfire. No sticky fingers covered in ash (well, maybe a little chocolate on the thumb). Just that perfect snap.
These bars have become my official unofficial holiday send-off. They’re the thing I make when I want to show up with something impressive without spending my whole Saturday in the kitchen. And honestly? They taste better than the original. That’s not hyperbole. That’s just the truth of what happens when you let the flavors settle and the textures set into something almost magical.
Why You’ll Love This Recipe
I’ve tested this recipe more times than I care to admit, mostly because I kept eating the test batches before they could set properly. But through all that rigorous (read: delicious) trial and error, I landed on a version that delivers every single time. Here’s why these bars deserve a spot at your holiday table:
- No Oven Required : When it’s ninety-five degrees and you’re already sweating just thinking about turning on the stove, these bars are a lifesaver. Everything comes together on the stovetop or in the microwave.
- Five Ingredients : You probably have everything in your pantry right now. Graham crackers, butter, marshmallows, chocolate, and a pinch of salt. That’s it.
- Perfect for Labor Day : Whether you’re heading to a barbecue, a pool party, or just hanging out in the backyard, these bars travel beautifully and don’t need any special serving setup.
- Crowd-Pleaser Approved : I brought a batch to a neighborhood potluck last year, and three separate people asked for the recipe before I’d even set the plate down. Kids, adults, everyone goes back for seconds.
- Better Than the Original : The texture is what gets you. The graham cracker base stays buttery and firm, the marshmallow layer gets this almost chewy-caramel quality, and the chocolate sets into a smooth, snappy shell. It’s s’mores, but elevated in the best possible way.
What makes this version different from the dozens of other no-bake s’mores bars out there? It’s the ratio. I spent a whole weekend tweaking the butter-to-cracker ratio until the crust held together without being greasy. I tested different marshmallow melting methods until I got that perfect pull. This isn’t just another recipe—it’s the one I’d make for my own family on the last weekend of summer.
There’s something about that first bite that makes you close your eyes. It’s comfort food reimagined for a hot day—no campfire required, but all the soul-soothing satisfaction of the real thing.
What Ingredients You Will Need
This recipe uses simple, everyday ingredients to create something that tastes far more complicated than it actually is. Here’s what you’ll need and why each one matters:
For the Graham Cracker Crust
- 2 cups graham cracker crumbs (about 14-16 full sheets, crushed finely) – I recommend using Honey Maid or your favorite brand. You can crush them in a food processor or seal them in a bag and go to town with a rolling pin. Just make sure the crumbs are uniform for the best texture.
- ½ cup unsalted butter, melted – This binds the crumbs together. If you only have salted butter, just reduce the added salt later. Let the butter cool slightly before mixing so it doesn’t make the crumbs soggy.
- 2 tablespoons granulated sugar – Adds a touch of sweetness to balance the saltiness of the crackers. You can skip this if you’re using sweetened graham crackers, but I like the extra little crunch it gives.
- ¼ teaspoon salt – Trust me on this one. Salt makes the chocolate taste more chocolatey and cuts through the sweetness of the marshmallows.
For the Marshmallow Layer
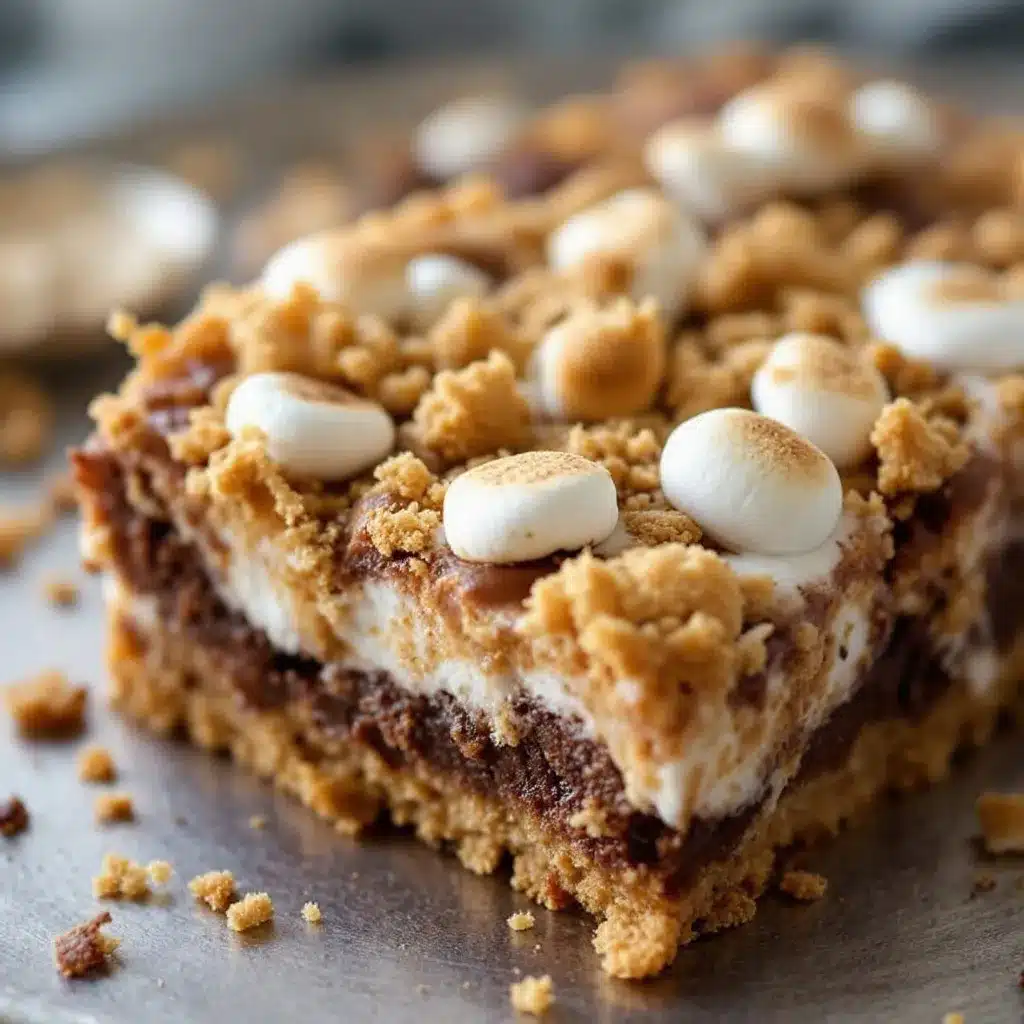
- 4 cups mini marshmallows (about one 10-ounce bag) – Regular marshmallows work too, but minis melt more evenly. I’ve tested this with Jet-Puffed and store brands—both work fine, though the name brand tends to get a slightly better melt.
- 2 tablespoons unsalted butter – This helps the marshmallows melt into a smooth, spreadable layer instead of turning into a sticky mess. Don’t skip it.
- 1 teaspoon vanilla extract – Adds warmth and depth to the marshmallow flavor. Pure vanilla is best, but imitation works in a pinch.
For the Chocolate Topping
- 2 cups semi-sweet chocolate chips (about one 12-ounce bag) – I prefer Ghirardelli or Guittard for their smooth melt and rich flavor. Milk chocolate works if you want a sweeter bar, but semi-sweet balances the marshmallow better.
- 1 tablespoon coconut oil or vegetable shortening – This is the secret to that snappy, glossy chocolate top. It helps the chocolate set firmly without being too hard. Coconut oil adds a faint tropical note that actually works beautifully with the graham cracker.
Substitution Notes
If you’re gluten-sensitive, use gluten-free graham crackers—they work exactly the same. For a dairy-free version, substitute the butter with a high-quality vegan butter (I’ve had good results with Miyoko’s). The coconut oil in the chocolate layer is already dairy-free, so you’re halfway there. And if you’re watching your sugar intake, you can use sugar-free chocolate chips, though the texture will be slightly different.
Equipment Needed
You don’t need a fancy kitchen to pull these off. Here’s what I use every time:
- 8×8-inch baking pan – This is the perfect size for thick, satisfying bars. A 9×9 works too, but your bars will be slightly thinner. Line it with parchment paper for easy removal—trust me, you don’t want to wrestle these out of the pan.
- Food processor or zip-top bag and rolling pin – For crushing the graham crackers. The food processor gives you a finer, more consistent crumb, but the bag method works great and doubles as a stress reliever.
- Medium saucepan – For melting the marshmallows and butter. A non-stick pan makes cleanup much easier.
- Small microwave-safe bowl – For melting the chocolate. You can also use a double boiler if you prefer, but the microwave is faster.
- Spatula – A silicone spatula is your best friend here. It spreads the marshmallow layer evenly without tearing the crust.
- Sharp knife – For cutting clean bars. Run it under hot water and wipe it dry between cuts for the neatest edges.
I picked up my 8×8 pan at a thrift store for three dollars, and it’s been my go-to for years. You don’t need expensive equipment—just something that holds heat evenly and doesn’t stick.
Preparation Method
This comes together in about twenty minutes of active time, plus two hours of chilling. Here’s exactly how to do it:
Step 1: Make the Crust
In a food processor, pulse the graham crackers until they become fine crumbs. You should have about 2 cups. If you’re using the bag method, place the crackers in a zip-top bag, seal it, and crush them with a rolling pin until you can’t feel any large pieces. Transfer the crumbs to a medium bowl.
Pour the melted butter over the crumbs, then add the sugar and salt. Stir with a fork until the mixture looks like wet sand. Every crumb should be coated—if you see dry patches, add another tablespoon of melted butter.
Press the mixture firmly into your parchment-lined 8×8 pan. I use the bottom of a measuring cup to really pack it down. The crust should be even and compact, about ¼-inch thick. Pop it in the fridge while you work on the marshmallow layer.
Step 2: Make the Marshmallow Layer
In a medium saucepan over low heat, combine the mini marshmallows and 2 tablespoons of butter. Stir constantly with a silicone spatula. The marshmallows will start to melt and get gooey—this takes about 3-4 minutes. Don’t walk away during this step. Marshmallows can burn quickly if the heat is too high.
Once the marshmallows are completely melted and smooth, remove the pan from the heat. Stir in the vanilla extract. The mixture will be thick and stretchy, like warm taffy. Work quickly here—it starts to set as it cools.
Pour the marshmallow mixture over the chilled crust. Use your spatula to spread it evenly, right to the edges. If it’s too sticky to spread, lightly spray your spatula with cooking spray. Return the pan to the fridge for 15 minutes to let the marshmallow set slightly.
Step 3: Make the Chocolate Topping
In a small microwave-safe bowl, combine the chocolate chips and coconut oil. Microwave in 30-second intervals, stirring after each, until the chocolate is completely smooth and glossy. This usually takes about 1-2 minutes total. Be careful not to overheat it—chocolate seizes up if it gets too hot.
Pour the melted chocolate over the slightly-set marshmallow layer. Tilt the pan gently to spread it evenly, or use a spatula to coax it to the edges. The chocolate should cover the entire surface in a thin, even layer.
Step 4: Chill and Set
Place the pan in the refrigerator for at least 2 hours, or until the chocolate is firm to the touch. If you’re in a hurry, you can pop it in the freezer for 45 minutes, but the texture won’t be quite as smooth.
Once set, lift the bars out of the pan using the parchment paper overhang. Place them on a cutting board. Use a sharp knife to cut into 16 squares (4×4 grid). For the cleanest cuts, run the knife under hot water and wipe it dry between each slice.
The bars should have a clean snap when you bite into them—the chocolate breaks, the marshmallow pulls, and the crust holds firm. That’s how you know you did it right.
Cooking Tips & Techniques
I’ve made these bars probably twenty times now, and I’ve learned a few things the hard way. Here’s what I wish someone had told me:
Don’t overheat the marshmallows. The first time I made these, I got distracted and let the marshmallows bubble. They turned into a sticky, caramelized mess that hardened into something closer to peanut brittle than a soft s’mores layer. Low and slow is the way to go. If you see any browning, you’ve gone too far.
Let the crust chill completely. I know it’s tempting to rush, but a warm crust will soak up the marshmallow and turn soggy. Give it at least 15 minutes in the fridge. I usually make the crust first, then prep the marshmallow ingredients while it chills.
Use a hot knife for clean cuts. This is the single biggest tip for getting those Instagram-worthy squares. Run your knife under hot water, dry it off, and slice. Wipe the blade clean between each cut. The chocolate will stay intact, and you won’t end up with marshmallow strings everywhere.
If the chocolate is too thick, add more oil. Sometimes chocolate chips are thicker than expected. If your melted chocolate doesn’t spread easily, add another teaspoon of coconut oil. It should flow like warm honey, not cold peanut butter.
Multitask strategically. While the crust is chilling, melt the marshmallows. While the marshmallow layer is setting, melt the chocolate. This whole recipe takes less than 30 minutes of active time if you plan your steps. I’ve made these while simultaneously packing for a road trip—they’re that forgiving.
Variations & Adaptations
One of the best things about this recipe is how easy it is to customize. Here are a few versions I’ve tried and loved:
Salted Dark Chocolate S’mores Bars. Use dark chocolate (70% cocoa or higher) instead of semi-sweet, and sprinkle a pinch of flaky sea salt on top before the chocolate sets. The salt cuts through the sweetness and makes the whole thing taste incredibly sophisticated. I brought these to a book club meeting and they disappeared in five minutes.
Peanut Butter S’mores Bars. Before pouring the chocolate layer, drizzle ¼ cup of melted peanut butter over the marshmallow and swirl it in with a knife. The peanut butter adds a savory richness that pairs beautifully with the chocolate. If you’re a fan of peanut butter cups, this is your version.
Vegan S’mores Bars. Use vegan butter, dairy-free chocolate chips, and vegan marshmallows (Dandies brand works great). The texture is slightly different—the marshmallow layer is a bit less stretchy—but the flavor is spot-on. I’ve served these to non-vegans who didn’t notice the difference.
Berry S’mores Bars. After spreading the marshmallow layer, scatter ½ cup of fresh raspberries or sliced strawberries over the top before adding the chocolate. The tart berries cut through the sweetness and add a pop of color. This is perfect for summer when berries are in season.
Air Fryer Variation. If you want that campfire-toasted flavor without the campfire, you can briefly toast the assembled bars in an air fryer at 350°F for 2-3 minutes before serving. The marshmallow gets slightly golden on top, and the chocolate stays cool underneath. It’s a fun trick for impressing guests.
Serving & Storage Suggestions
These bars are best served cold, straight from the fridge. The chocolate should be firm and snappy, the marshmallow layer soft but not sticky. If you let them sit at room temperature for more than 20 minutes, the chocolate starts to soften and the bars lose their structure. So keep them chilled until serving time.
For presentation, I like to arrange the squares on a wooden board or a simple white platter. A sprinkle of sea salt or a few edible flowers (if I’m feeling fancy) adds a nice touch. They pair beautifully with cold milk, iced coffee, or a scoop of vanilla ice cream on the side. If you’re serving these at a Labor Day barbecue, they’re also great alongside a creamy slow cooker queso blanco dip for a sweet-and-savory dessert spread.
For storage, place the bars in an airtight container in the refrigerator. They’ll stay fresh for up to 5 days, though honestly, they never last that long in my house. If you want to freeze them, wrap each bar individually in plastic wrap, then place them in a freezer-safe bag. They’ll keep for up to 3 months. To thaw, just transfer them to the fridge overnight.
A word of warning: the flavors actually get better after a day or two. The marshmallow layer softens slightly, the chocolate firms up, and the graham cracker crust absorbs just enough moisture to become perfectly tender. So if you can resist eating them all on day one, day two is even better.
Nutritional Information & Benefits
Let’s be real—these are a treat, not a health food. But here’s the breakdown for one bar (based on 16 servings):
- Calories: Approximately 220
- Fat: 12g
- Carbohydrates: 28g
- Sugar: 20g
- Protein: 2g
- Fiber: 1g
On the upside, the graham crackers provide a small amount of whole grains, and dark chocolate (if you use it) is rich in antioxidants. The coconut oil in the chocolate layer contains medium-chain triglycerides, which some studies suggest may have metabolic benefits. But let’s be honest—you’re not eating these for the health benefits. You’re eating them because they taste incredible, and that’s okay.
If you’re watching your sugar intake, you can use sugar-free chocolate chips and reduce the sugar in the crust. The marshmallow layer is harder to adjust, but you can find sugar-free marshmallows at some specialty stores. For a lower-fat version, you can reduce the butter in the crust by a tablespoon, though the texture will be less tender.
Conclusion
These Easy No-Bake S’mores Bars are the kind of recipe that makes you look like a hero with almost no effort. They’re perfect for Labor Day, for summer barbecues, for those hot afternoons when you want something sweet but can’t bear to turn on the oven. The texture is spot-on—crunchy, chewy, smooth—and the flavor is pure nostalgia with a grown-up upgrade.
I love that I can make these in under 30 minutes and still have time to enjoy the last days of summer. I love that they travel well, that they please every crowd, and that they taste even better the next day. But mostly, I love that first bite—that perfect snap that takes me right back to campfires and starry nights, even when I’m standing in my own kitchen.
Try them for your next gathering, and let me know how they turn out. Did you add a twist? Did they disappear as fast as mine always do? Drop a comment below or tag me on social media—I’d love to see your version. And if you’re looking for more easy, crowd-pleasing desserts, check out my creamy strawberry cream cheese stuffed French toast for another no-fuss treat that feels special. Happy Labor Day, friends. Make it sweet.
Frequently Asked Questions
Can I use regular marshmallows instead of mini marshmallows?
Yes, you can. Just cut them into smaller pieces before melting so they melt more evenly. Mini marshmallows are easier, but regular ones work fine.
How do I keep the chocolate from cracking when I cut the bars?
Use a sharp knife and run it under hot water before each cut. Wipe the blade dry between slices. This keeps the chocolate from shattering.
Can I make these bars gluten-free?
Absolutely. Just use gluten-free graham crackers. Everything else in the recipe is naturally gluten-free.
Do I have to use coconut oil in the chocolate layer?
No, you can use vegetable shortening or even a teaspoon of butter. Coconut oil just gives the chocolate a nicer snap and a slight sheen.
How far in advance can I make these?
You can make them up to 5 days ahead and store them in the fridge. They also freeze well for up to 3 months. Just thaw in the fridge overnight before serving.
Pin This Recipe!
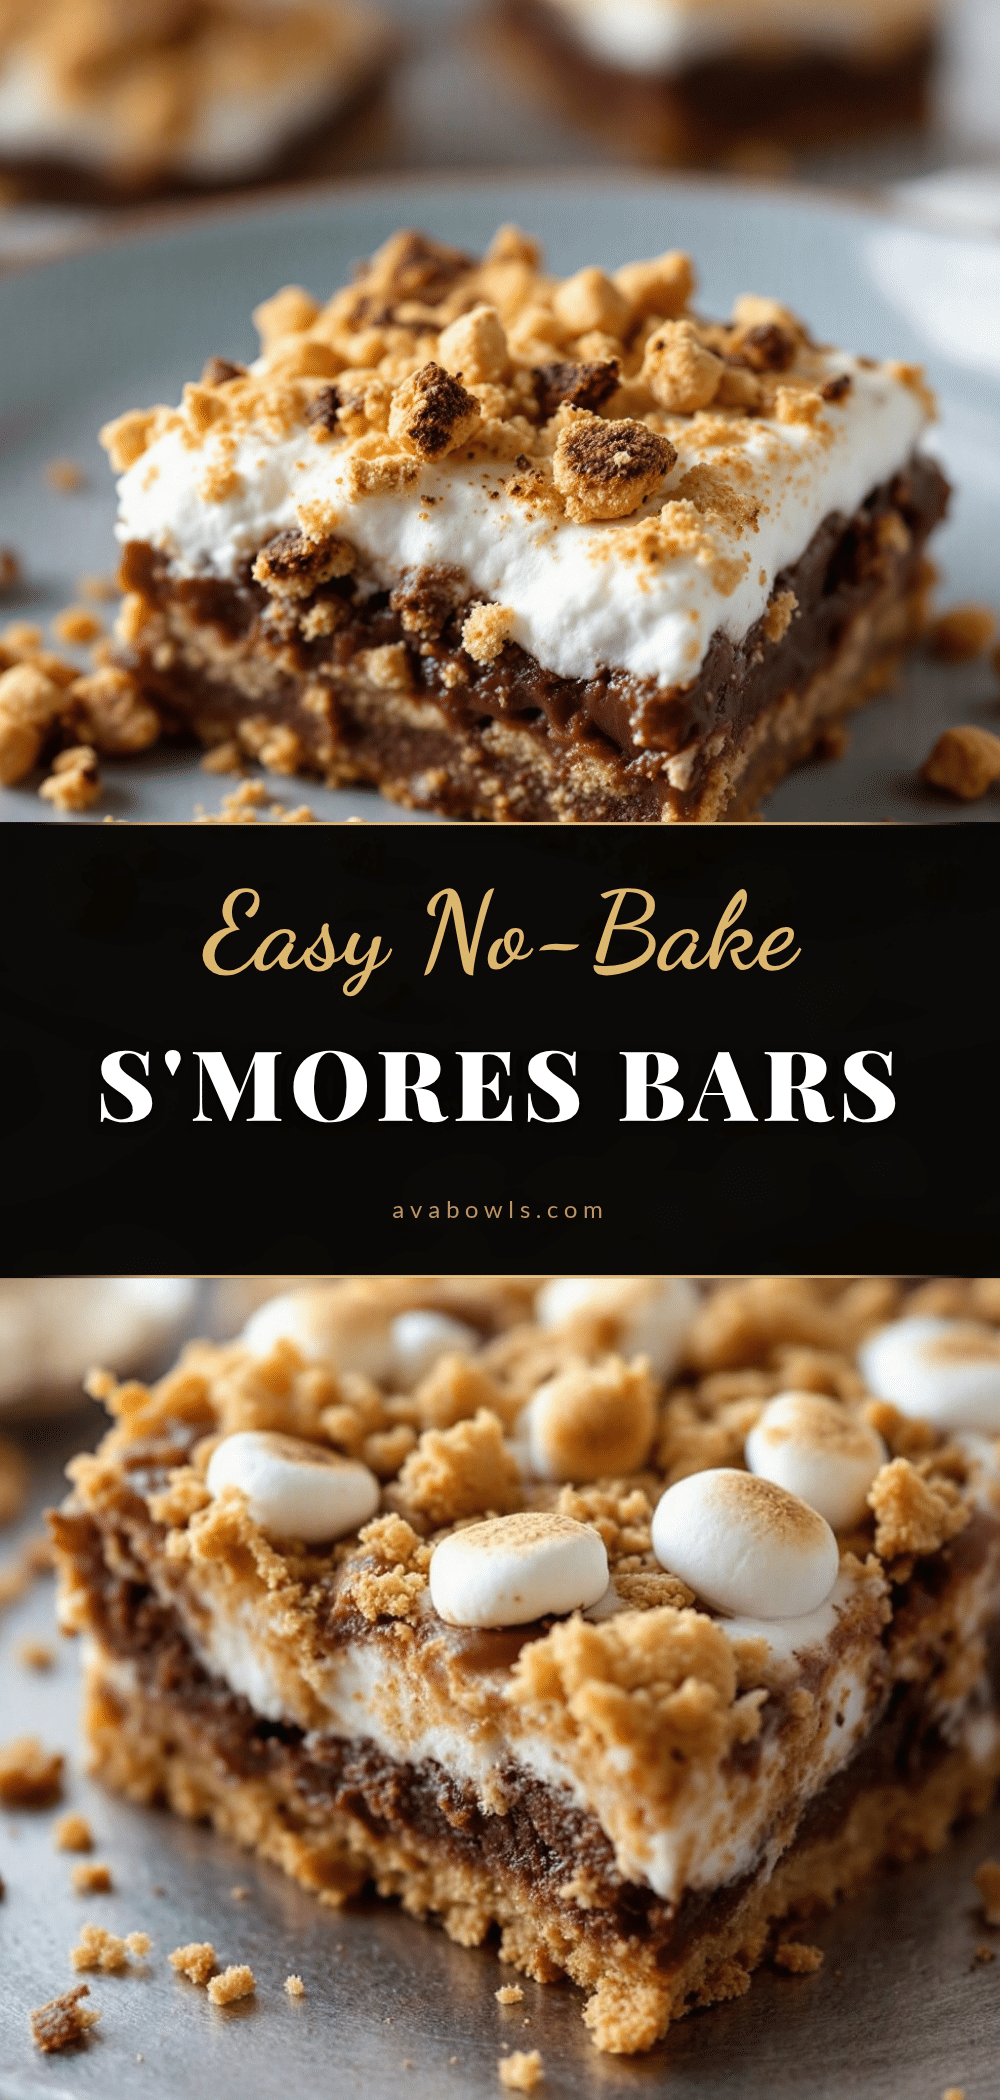
Easy No-Bake Smores Bars: Perfect Labor Day Treat
These Easy No-Bake S’mores Bars are the perfect Labor Day treat—no oven required, just five ingredients, and a texture that delivers a perfect snap with every bite. They’re a crowd-pleasing dessert that tastes better than the original, ideal for hot summer days.
- Prep Time: 20 minutes
- Cook Time: 10 minutes
- Total Time: 2 hours 30 minutes (includes chilling)
- Yield: 16 servings 1x
- Category: Dessert
- Cuisine: American
Ingredients
- 2 cups graham cracker crumbs (about 14–16 full sheets, crushed finely)
- ½ cup unsalted butter, melted
- 2 tablespoons granulated sugar
- ¼ teaspoon salt
- 4 cups mini marshmallows (about one 10-ounce bag)
- 2 tablespoons unsalted butter
- 1 teaspoon vanilla extract
- 2 cups semi-sweet chocolate chips (about one 12-ounce bag)
- 1 tablespoon coconut oil or vegetable shortening
Instructions
- Make the crust: In a food processor, pulse graham crackers into fine crumbs (about 2 cups). Alternatively, crush in a zip-top bag with a rolling pin. Transfer crumbs to a medium bowl. Pour melted butter over crumbs, add sugar and salt, and stir with a fork until mixture resembles wet sand. Press firmly into a parchment-lined 8×8-inch pan using the bottom of a measuring cup. Refrigerate while preparing marshmallow layer.
- Make the marshmallow layer: In a medium saucepan over low heat, combine mini marshmallows and 2 tablespoons butter. Stir constantly with a silicone spatula until completely melted and smooth, about 3-4 minutes. Remove from heat and stir in vanilla extract. Pour over chilled crust and spread evenly with a spatula (lightly spray spatula with cooking spray if sticky). Return to fridge for 15 minutes to set slightly.
- Make the chocolate topping: In a small microwave-safe bowl, combine chocolate chips and coconut oil. Microwave in 30-second intervals, stirring after each, until smooth and glossy (about 1-2 minutes total). Pour over slightly-set marshmallow layer and tilt pan or use a spatula to spread evenly.
- Chill and set: Refrigerate for at least 2 hours, or until chocolate is firm. For faster setting, freeze for 45 minutes (texture may be slightly less smooth). Once set, lift bars out of pan using parchment overhang. Cut into 16 squares (4×4 grid) using a sharp knife run under hot water and wiped dry between cuts.
Notes
For clean cuts, run knife under hot water and wipe dry between each slice. Bars are best served cold straight from the fridge. Flavors improve after a day or two. Store in an airtight container in the refrigerator for up to 5 days, or freeze individually wrapped for up to 3 months.
Nutrition
- Serving Size: 1 bar
- Calories: 220
- Sugar: 20
- Sodium: 120
- Fat: 12
- Saturated Fat: 7
- Carbohydrates: 28
- Fiber: 1
- Protein: 2
Keywords: no-bake s'mores bars, easy s'mores bars, Labor Day dessert, no-bake dessert, graham cracker bars, marshmallow bars, chocolate bars, summer dessert


