I burned the first batch of these dill pickle chips twice before I finally figured out the trick to crispiness. Honestly, I wasn’t even sure if I liked fried pickles at first. I mean, pickles are great on burgers and sandwiches, but turning them into chips? It sounded a little odd. Plus, my early attempts were soggy, greasy disasters that I barely wanted to eat. But after some trial and error (and a lot of patience), I nailed a recipe that makes perfectly crispy, tangy homemade dill pickle chips every single time.
What stuck with me was the balance between that bold dill flavor and the crunch that just melts in your mouth. It’s not just about deep frying; it’s about the right soak, the perfect batter, and the kind of crispy that makes you reach for more without feeling weighed down. This recipe became my go-to snack for movie nights and casual get-togethers, a fun twist when I’m craving something salty and zesty.
I like that it’s simple to make at home, no weird ingredients or fancy gadgets needed, and it’s a little nostalgic, too—like a fairground treat but with a homemade touch. If you’ve ever been hesitant about making your own dill pickle chips, I get it. But stick around, because these chips might just surprise you and become a favorite snack you didn’t expect to love. It’s a quiet little victory in my kitchen, and I think you’ll find that same joy with this easy crispy homemade dill pickle chips recipe.
Why You’ll Love This Recipe
This easy crispy homemade dill pickle chips recipe isn’t your average pickle snack. After having tested countless variations in my kitchen, I can honestly say it hits the sweet spot for flavor and crunch. Here’s why you’ll want this recipe in your snack arsenal:
- Quick & Easy: From start to finish, it takes less than 30 minutes—perfect for those last-minute cravings or when friends drop by unexpectedly.
- Simple Ingredients: No need to hunt for anything fancy—just pantry staples and your favorite dill pickles (I like Claussen for their crunch).
- Perfect for Snacking & Parties: Whether you’re hosting a casual get-together or looking for a crunchy side to your sandwich, these chips fit right in.
- Crowd-Pleaser: Kids and adults alike can’t resist the tangy, crunchy goodness. It’s always the first dish to disappear.
- Unbelievably Delicious: The batter crisps up golden and light, locking in the pickle’s juicy bite without sogginess.
What sets this version apart is the light, crispy coating that’s neither too thick nor oily. I toss the pickles in a mix of seasoned flour and cornmeal, which gives the perfect crunch without stealing the spotlight from the dill flavor. Plus, a quick dip in an egg wash helps the coating stick just right. Honestly, this recipe feels like a small celebration of dill pickles, turning something simple into a snack that makes you close your eyes after the first bite.
If you enjoy dipping snacks, pair these with a creamy ranch or a tangy beer cheese dip like the one in my creamy beer cheese pretzel dip recipe—it’s a match made in snack heaven.
What Ingredients You Will Need
This recipe uses simple, wholesome ingredients to deliver bold flavor and satisfying texture without the fuss. Most of these are pantry staples, and the star is, of course, your favorite dill pickles. Feel free to use fresh or jarred—just make sure they’re firm and crunchy.
- Dill Pickle Chips: About 20-25 slices of dill pickles, drained and patted dry (I prefer thick-cut pickles, like those from Claussen, for extra crunch)
- All-Purpose Flour: ¾ cup (90g), for the base of the batter coating
- Cornmeal: ¼ cup (30g), adds extra crunch and texture
- Garlic Powder: 1 teaspoon, for a subtle savory kick
- Onion Powder: 1 teaspoon, complements the garlic and dill
- Smoked Paprika: ½ teaspoon, optional but adds a nice smoky depth
- Salt & Black Pepper: To taste, keeping the seasoning balanced
- Eggs: 2 large, beaten lightly to help the coating stick
- Buttermilk or Milk: ¼ cup (60ml), to thin out the egg wash (use dairy-free milk if needed)
- Vegetable Oil or Canola Oil: For frying, enough to fill your pan about 2 inches deep
If you want to try a gluten-free option, swapping the all-purpose flour with a gluten-free blend works well. For an extra tang, you can add a pinch of dill weed or dried parsley to the batter mix. I once tried adding a little cayenne pepper for heat—it was a fun twist that my spice-loving friends appreciated.
Equipment Needed
- Deep Fryer or Large Heavy-Bottomed Skillet: To get that perfect frying temperature and even heat distribution. A cast iron skillet works wonders if you don’t have a fryer.
- Slotted Spoon or Spider Strainer: For safely removing the chips from hot oil without excess grease.
- Mixing Bowls: At least two—one for the dry mix and one for the egg wash.
- Paper Towels or Cooling Rack: To drain the excess oil after frying.
- Kitchen Thermometer: Optional but handy, especially if you want to keep the oil at the ideal 350°F (175°C) without guessing.
For a budget-friendly option, a deep-sided frying pan and a regular spoon will do the trick, but the slotted spoon makes life easier. I’ve tried air frying these chips, but honestly, the oil frying delivers the best crunch and flavor, so I stick with that method.
Preparation Method
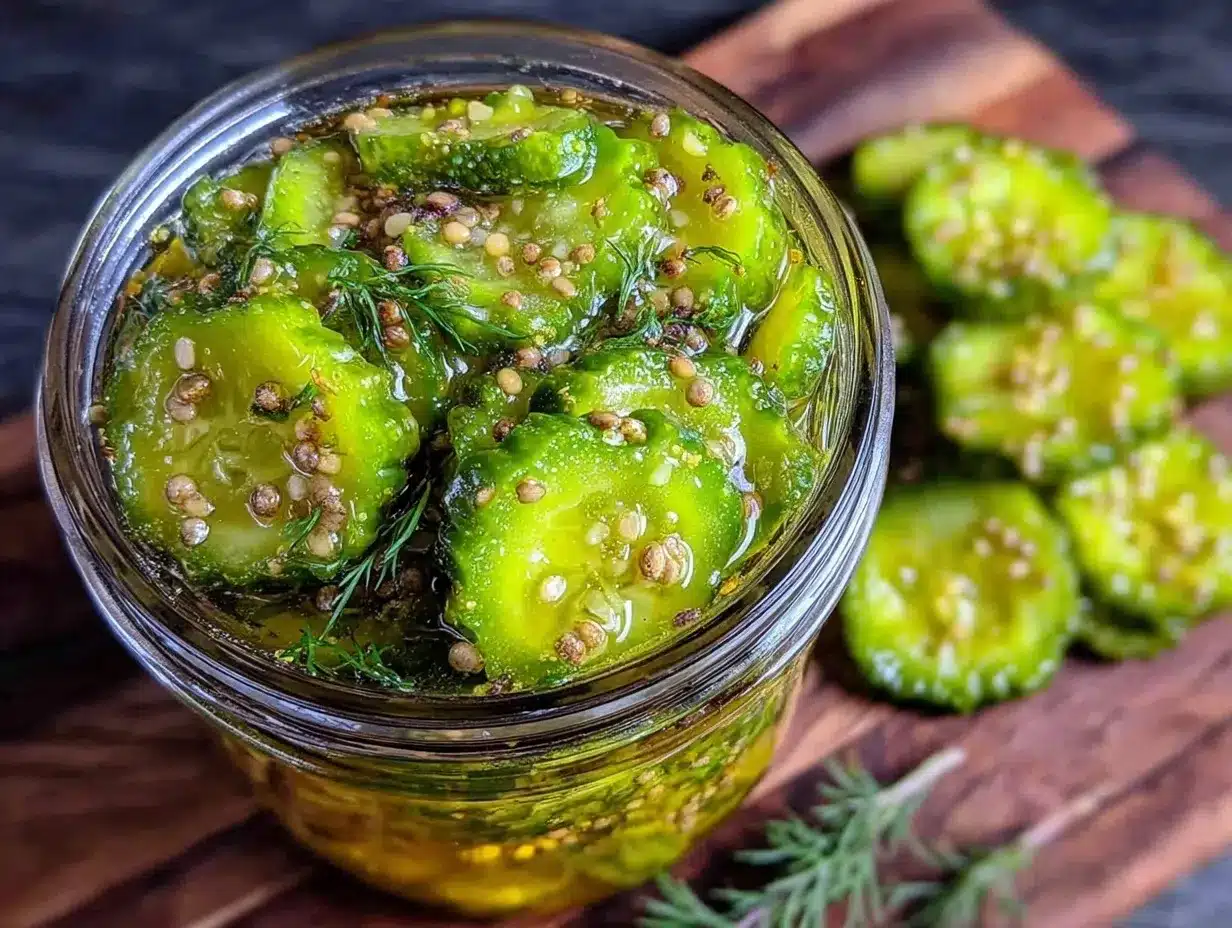
- Prep the Pickles: Drain about 20-25 dill pickle slices and pat them dry with paper towels. Removing moisture is key to crispiness, so don’t skip this step. Let them sit on a towel for 10 minutes while you prep the batter.
- Make the Dry Coating: In a medium bowl, combine ¾ cup (90g) all-purpose flour, ¼ cup (30g) cornmeal, 1 tsp garlic powder, 1 tsp onion powder, ½ tsp smoked paprika (optional), and salt and pepper to taste. Stir well to evenly distribute the spices.
- Prepare the Egg Wash: In a separate bowl, beat 2 large eggs with ¼ cup (60ml) buttermilk or milk until smooth.
- Heat the Oil: Pour about 2 inches of vegetable oil into your deep fryer or skillet. Heat to 350°F (175°C). Use a kitchen thermometer if you have one to keep the temperature steady. Too hot and the coating burns; too cool and the chips get greasy.
- Coat the Pickles: Dip each pickle slice into the egg wash, letting excess drip off, then dredge thoroughly in the flour-cornmeal mixture. Press lightly to make sure the coating sticks well. Set them on a plate while you finish coating the rest.
- Fry in Batches: Carefully place a few coated pickles into the hot oil (don’t overcrowd!). Fry for about 2-3 minutes, turning once, until golden brown and crispy. Use your slotted spoon to flip and remove them.
- Drain and Cool: Transfer the fried chips to a paper towel-lined plate or cooling rack to drain excess oil. Let them rest for a minute or two—the coating firms up as they cool, giving you that perfect crunch.
- Serve Warm: These are best enjoyed fresh and warm, paired with a creamy dip or straight up for that salty, tangy kick.
If you notice your chips getting soggy, it might be the oil temperature dropping too low—take a moment to let it come back up before frying the next batch. I learned that the hard way after impatiently piling in too many chips at once!
Cooking Tips & Techniques
Getting these dill pickle chips just right takes a bit of finesse, but here are some tips I’ve picked up:
- Keep Pickles Dry: Moisture is the enemy of crispiness. Pat your pickle slices dry and let them air out briefly before coating.
- Oil Temperature Is Everything: Maintaining 350°F (175°C) ensures the chips fry quickly without soaking up too much oil. Use a thermometer to avoid guesswork.
- Don’t Crowd the Pan: Fry in small batches to keep oil temperature steady and the chips crispy.
- Use Cornmeal for Crunch: The cornmeal adds texture that flour alone can’t provide. It’s a game-changer for that snack-worthy crunch.
- Press the Coating: When dredging the pickles, press the flour mixture gently onto the surface so it adheres well. Otherwise, the batter can fall off mid-fry.
- Drain Properly: Use a cooling rack instead of just paper towels if you want to avoid sogginess on the bottom of your chips.
- Try a Double Dip: For an extra crispy crust, dip the pickles again in egg wash and flour before frying. It’s a thicker coating but worth it for crunch fans.
One lesson I learned the hard way was not rushing the oil temperature. Early on, I fried when the oil wasn’t hot enough, and the chips turned greasy and limp. After adjusting the heat and giving the oil time to recover between batches, my chips came out perfect every time.
Variations & Adaptations
This recipe is easy to tweak depending on your dietary needs or flavor preferences. Here are some ideas I’ve played around with:
- Spicy Kick: Add ¼ teaspoon cayenne pepper or chili powder to the flour mix for a subtle heat that complements the dill.
- Gluten-Free Version: Substitute the all-purpose flour with a gluten-free flour blend and use gluten-free cornmeal. The crunch still holds up nicely.
- Baked Alternative: For a lighter version, try baking the coated pickle slices at 425°F (220°C) on a parchment-lined sheet for about 15-20 minutes, flipping halfway. They won’t be quite as crispy but still tasty.
- Herb Boost: Mix dried dill weed, parsley, or even a bit of thyme into the coating for an extra herbal note.
- Cheesy Twist: Sprinkle some finely grated Parmesan into the flour mixture for a savory cheese flavor that pairs wonderfully with the pickles.
Once, I tried swapping the buttermilk with plain Greek yogurt thinned with milk, which gave a slightly tangier coating and helped the batter cling better. It’s a neat way to add protein and flavor if you have yogurt on hand.
Serving & Storage Suggestions
These dill pickle chips are best served warm right out of the fryer when the coating is at its crispiest. I like to plate them with a little bowl of creamy ranch dressing or a zesty chipotle mayo for dipping. They also pair well with light sandwiches or burgers, adding a crunchy, tangy side.
If you want to store leftovers (though honestly, they rarely last), place them in an airtight container lined with paper towels in the fridge. Reheat in a 375°F (190°C) oven or toaster oven for 5-7 minutes to bring back some crispness. Avoid microwaving, as it makes them soggy.
Flavors tend to mellow a bit after sitting, so I recommend enjoying these chips fresh for the best experience. If you want a snack that holds up longer, try my crispy air fryer chickpea snacks for something crunchy and shelf-stable.
Nutritional Information & Benefits
While fried snacks aren’t exactly health food, you can feel good about this recipe thanks to the simple ingredients and portion control. Here’s an estimate per serving (about 6-8 chips):
- Calories: ~180
- Fat: 11g (mostly from frying oil)
- Carbohydrates: 15g
- Protein: 3g
- Sodium: Moderate to high, depending on the pickles used
Dill pickles themselves are low-calorie and provide some vitamins and probiotics if you use fermented varieties. The garlic and onion powders add flavor without extra calories or sodium. For a lower-fat version, try the baking variation above.
These chips are gluten-friendly if you swap the flour, and naturally free of added sugars. Just watch the salt content, especially if you’re sensitive to sodium.
Conclusion
This easy crispy homemade dill pickle chips recipe is a winner in my kitchen because it turns simple ingredients into a snack that’s crunchy, tangy, and downright addictive. It’s flexible enough to make your own with spice tweaks or gluten-free swaps, but the core recipe is solid and straightforward.
I love how this recipe brings a little fun to snack time without complicated steps or weird ingredients. Sometimes, it’s the easy things done well that keep you coming back. If you try it, tweak it, or have your own tips, I’d love to hear how your dill pickle chips turned out. Sharing recipes and kitchen wins always makes the cooking journey better.
And hey, if you want to pair these chips with a creamy pasta for a full meal, try the rich and fresh flavors in my creamy lemon ricotta pasta with fresh peas and mint. It’s a combo that’s both easy and impressive!
FAQs About Easy Crispy Homemade Dill Pickle Chips
Can I use fresh cucumbers instead of pickles?
Fresh cucumbers don’t have the same tang or firmness needed for this recipe, so they won’t crisp up or taste quite right. Pickles provide the essential dill flavor and acidity that make these chips special.
What’s the best oil for frying pickle chips?
Neutral oils with a high smoke point like vegetable, canola, or peanut oil work best. They fry evenly without imparting extra flavors.
How can I prevent the coating from falling off during frying?
Make sure the pickles are dry, press the coating firmly when dredging, and don’t overcrowd the pan, so the oil temperature stays steady. A quick double dip in the egg wash and flour also helps.
Are these chips better fresh or can I store them?
They’re definitely best fresh for maximum crunch. If you need to store leftovers, keep them in the fridge and reheat in the oven to restore crispness, but expect some loss of texture.
Can I bake these instead of frying?
Yes, baking is a lighter alternative, though the chips won’t be as crispy or rich. Bake at 425°F (220°C) for 15-20 minutes, flipping halfway through.
Pin This Recipe!
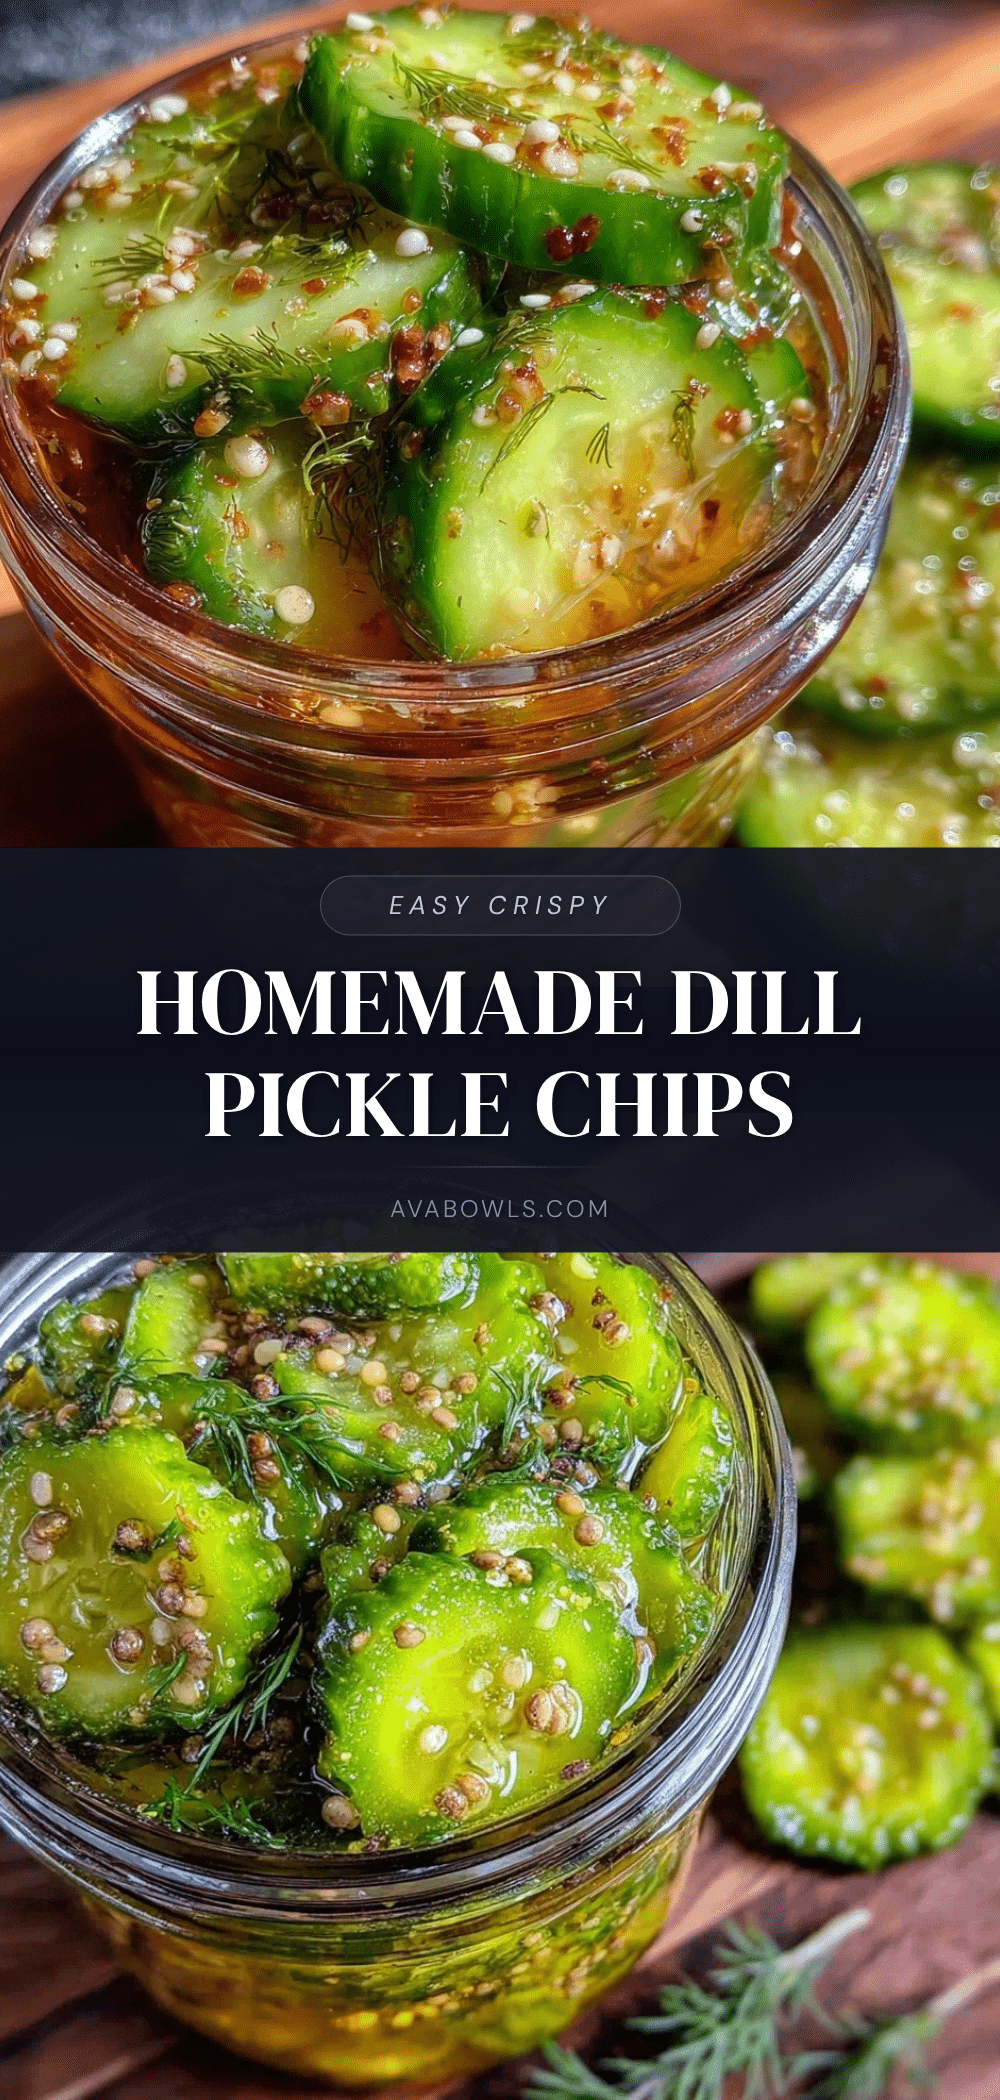
Easy Crispy Homemade Dill Pickle Chips Recipe Perfect for Snacks
A simple recipe for perfectly crispy, tangy homemade dill pickle chips that are quick to make and perfect for snacking or parties.
- Prep Time: 10 minutes
- Cook Time: 10 minutes
- Total Time: 20 minutes
- Yield: 4 servings 1x
- Category: Snack
- Cuisine: American
Ingredients
- 20–25 slices dill pickles, drained and patted dry
- 3/4 cup (90g) all-purpose flour
- 1/4 cup (30g) cornmeal
- 1 teaspoon garlic powder
- 1 teaspoon onion powder
- 1/2 teaspoon smoked paprika (optional)
- Salt and black pepper to taste
- 2 large eggs, beaten lightly
- 1/4 cup (60ml) buttermilk or milk (dairy-free milk optional)
- Vegetable oil or canola oil for frying, about 2 inches deep
Instructions
- Drain about 20-25 dill pickle slices and pat them dry with paper towels. Let them sit on a towel for 10 minutes.
- In a medium bowl, combine 3/4 cup all-purpose flour, 1/4 cup cornmeal, 1 tsp garlic powder, 1 tsp onion powder, 1/2 tsp smoked paprika (optional), salt, and pepper. Stir well.
- In a separate bowl, beat 2 large eggs with 1/4 cup buttermilk or milk until smooth.
- Pour about 2 inches of vegetable oil into a deep fryer or skillet and heat to 350°F (175°C).
- Dip each pickle slice into the egg wash, letting excess drip off, then dredge thoroughly in the flour-cornmeal mixture. Press lightly to ensure coating sticks.
- Carefully place a few coated pickles into the hot oil without overcrowding. Fry for 2-3 minutes, turning once, until golden brown and crispy.
- Use a slotted spoon to remove the chips and transfer to a paper towel-lined plate or cooling rack to drain excess oil.
- Let chips rest for a minute or two to firm up the coating, then serve warm.
Notes
Keep pickles dry before coating to ensure crispiness. Maintain oil temperature at 350°F to avoid soggy or greasy chips. Fry in small batches to keep oil temperature steady. For extra crispiness, double dip in egg wash and flour. Baking is an alternative but yields less crispy chips.
Nutrition
- Serving Size: About 6-8 chips
- Calories: 180
- Fat: 11
- Carbohydrates: 15
- Protein: 3
Keywords: dill pickle chips, fried pickles, crispy snacks, homemade pickle chips, party snacks, easy snack recipe


