The doorbell rang at 5:47 PM. I looked at the chicken thighs thawing on the counter, then at the clock. My sister had texted “dropping by” an hour ago, and I’d completely forgotten. The fridge was a sad landscape of half an onion, a knob of butter, and a bulb of garlic that was starting to sprout. No time for the marinated, slow-roasted plan I had in my head. This needed to be fast, it needed to be good, and it definitely couldn’t look like I’d panicked. I grabbed my heaviest skillet, threw the butter in, and started slicing garlic as fast as my fingers would let me. Thirty minutes later, we were sitting down to the most ridiculously good garlic butter chicken I’d ever made. The skin was crackling-crisp, the meat was juicy, and that buttery, garlicky pan sauce was soaking into everything. It was one of those happy accidents that made me realize you don’t need a fancy marinade or hours of braising. Sometimes the best meals come from a tight deadline and a little faith in your skillet.
That night, my sister asked for the recipe. I laughed and told her it was just chicken, butter, and garlic — the holy trinity of weeknight dinners. But honestly, it’s more than that. It’s about technique and timing, about getting that golden-brown crust without drying out the meat. This easy 30-minute garlic butter chicken thighs skillet has become my go-to for nights when I want something that tastes like I spent all day cooking, but I actually spent most of the time just letting the pan do the work. It’s proof that simple ingredients, treated right, beat complicated recipes every single time.
Why You’ll Love This Recipe
Let’s be real — we all need recipes that deliver big flavor without a big time commitment. This one checks every box.
- Quick & Easy: From fridge to table in under 30 minutes. No marinating, no complicated steps. Just sear, baste, and serve.
- Simple Ingredients: You probably have everything already. Chicken thighs, butter, garlic, salt, pepper. That’s it. No fancy grocery store runs.
- Perfect for Busy Weeknights: Whether you’re juggling work, kids, or just want to eat something amazing without the fuss, this recipe fits right in. It’s also great for impromptu dinner guests — trust me on that one.
- Crowd-Pleaser: I’ve served this to picky eaters, foodie friends, and my dad who “doesn’t like chicken thighs.” Every single plate came back clean. The crispy skin and rich garlic butter flavor win everyone over.
- Unbelievably Delicious: This isn’t just “good for a quick meal.” It’s genuinely restaurant-quality. The secret is the basting technique — spooning that hot garlic butter over the chicken as it cooks creates a flavor and texture that feels indulgent.
What makes this version different? It’s the focus on technique over time. Most quick chicken recipes skip the basting step or rush the sear. I’ve tested this method dozens of times, adjusting heat levels and cooking times to get that perfect balance of crispy skin and tender, juicy meat. It’s the kind of dish that makes you close your eyes after the first bite. Comfort food, reimagined for a Tuesday night.
What Ingredients You Will Need
This recipe relies on a handful of high-quality ingredients to deliver maximum flavor. Here’s what you’ll need and why each one matters.
For the Chicken:
- 4 bone-in, skin-on chicken thighs (about 1.5 lbs / 680g) — The bone keeps the meat moist during cooking, and the skin crisps up beautifully. I prefer thighs over breasts here because they’re more forgiving and flavorful. If you can, look for thighs that are roughly the same size so they cook evenly.
- 1 teaspoon kosher salt — Salt is crucial for seasoning the meat and helping the skin crisp. I use Diamond Crystal kosher salt; if you’re using table salt, reduce to ¾ teaspoon.
- ½ teaspoon black pepper — Freshly ground is best. It adds a subtle warmth that complements the garlic.
For the Garlic Butter Sauce:
- 3 tablespoons unsalted butter (45g) — Butter is the star here. It adds richness and helps brown the chicken. I recommend unsalted so you can control the salt level. Kerrygold or any European-style butter works beautifully.
- 6 cloves garlic, thinly sliced — Fresh garlic is non-negotiable. Pre-minced jarred garlic will burn and turn bitter. Slicing the cloves instead of mincing them means you get lovely golden bits of garlic that add texture and a milder, sweeter flavor.
- 1 tablespoon olive oil (15ml) — A little oil raises the smoke point of the butter, preventing it from burning during the initial sear.
For Serving (Optional but Recommended):
- Fresh parsley, chopped (for garnish) — Adds a pop of color and freshness.
- Lemon wedges — A squeeze of lemon right before eating cuts through the richness of the butter beautifully.
Ingredient Tips & Substitutions:
- If you only have boneless, skinless chicken thighs, they’ll work but cook faster (about 6-8 minutes per side) and won’t have the same crispy skin. You can still get a good sear, just be careful not to overcook them.
- Use ghee instead of butter for a dairy-free option that still gives you that nutty, rich flavor.
- Add a pinch of red pepper flakes with the garlic if you like a little heat. I do this about half the time — it’s a nice kick.
Equipment Needed
You don’t need a lot of fancy gear for this one, which is part of the beauty.
- A 10- or 12-inch cast iron skillet — This is my go-to for this recipe. Cast iron holds heat evenly and gives you that gorgeous golden crust. If you don’t have one, a heavy-bottomed stainless steel skillet works great too. Non-stick will work, but you won’t get quite as much browning.
- Tongs — For flipping the chicken and handling it in the hot pan. I prefer spring-loaded tongs for better control.
- A sharp chef’s knife — For slicing the garlic thinly. A dull knife will crush the garlic and release too much moisture.
- A meat thermometer — Not strictly necessary, but it gives you peace of mind. Chicken thighs are done at 175°F (80°C). I’ve cooked this recipe so many times I can tell by feel, but a thermometer is great for beginners.
- A small spoon or baster — For spooning the hot butter over the chicken. A regular spoon works fine.
Budget-friendly tip: You can find a good cast iron skillet at thrift stores for under $20. They last forever. I got mine for $12 and it’s been with me for years.
Preparation Method
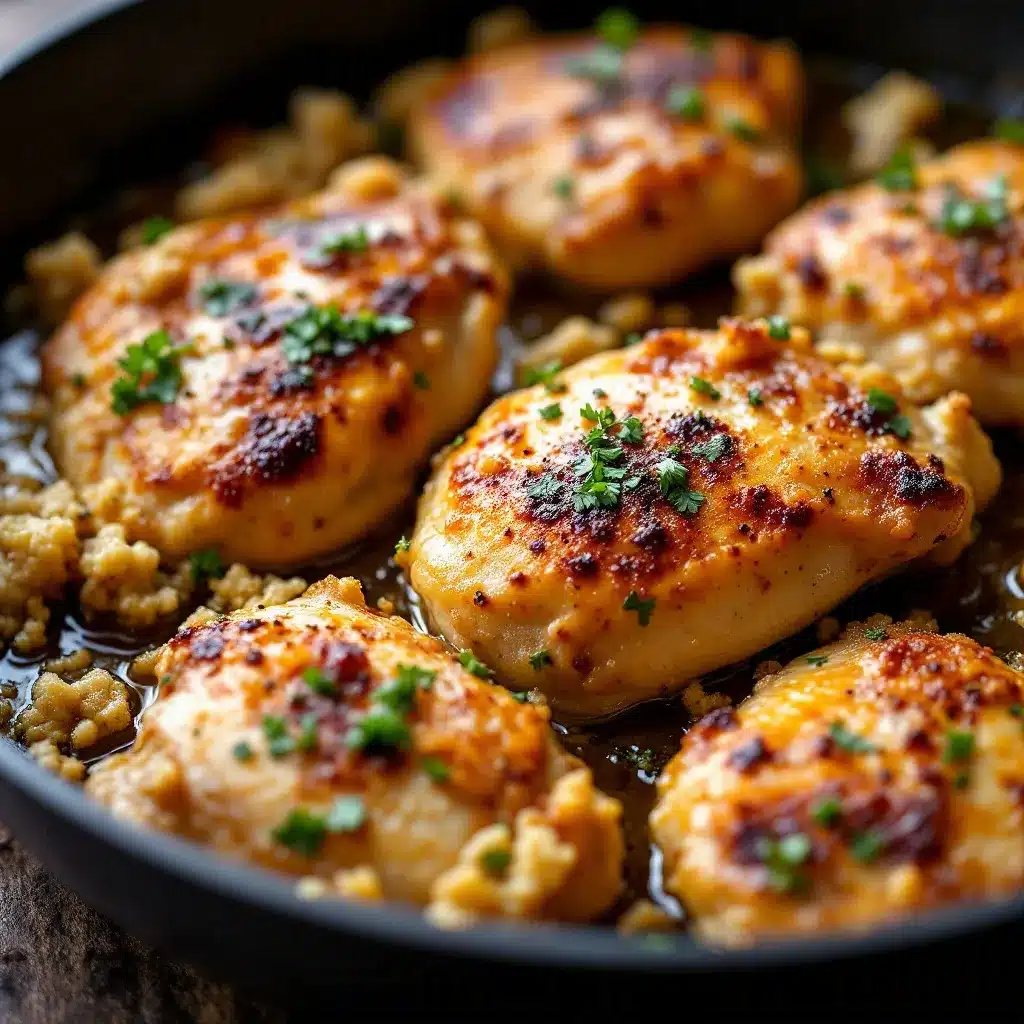
Let’s make this happen. Total active time is about 10 minutes of prep and 20 minutes of cooking.
- Prep the chicken (5 minutes): Pat the chicken thighs dry with paper towels. This is the most important step — moisture is the enemy of crispy skin. Season both sides generously with the salt and pepper. Let them sit at room temperature while you slice the garlic (about 5 minutes). This helps the seasoning penetrate and takes the chill off the meat for more even cooking.
- Heat the pan (2 minutes): Place your skillet over medium-high heat. Add the olive oil and 1 tablespoon of the butter. Swirl to coat. Wait until the butter is melted and foamy but not browning — about 1-2 minutes.
- Sear the chicken (8 minutes): Place the chicken thighs skin-side down in the hot skillet. Listen for that satisfying sizzle. Leave them alone for 4-5 minutes — don’t peek or move them. You want the skin to develop a deep golden-brown crust. If you try to flip too early, the skin will stick. When it releases easily, it’s ready. Flip and cook for another 3-4 minutes on the other side.
- Add the garlic (1 minute): Reduce the heat to medium. Push the chicken to one side of the pan. Add the remaining 2 tablespoons of butter and the sliced garlic to the empty space. Stir the garlic constantly for about 30 seconds until it’s fragrant and just starting to turn golden. Be careful — garlic burns fast.
- Baste the chicken (3 minutes): Tilt the pan slightly so the butter pools at one edge. Use a spoon to scoop up the garlic butter and pour it over the chicken thighs. Do this continuously for about 2-3 minutes. The chicken should look glossy and the garlic should be lightly browned. This step is what makes the dish special — it infuses the meat with flavor and keeps it incredibly moist.
- Check for doneness (1 minute): If you have a thermometer, the internal temperature should read 175°F (80°C) at the thickest part. If not, cut into the thickest thigh — the juices should run clear, and the meat should no longer be pink. Remember, thighs are more forgiving than breasts, so don’t stress too much.
- Rest and serve (2 minutes): Remove the chicken from the pan and let it rest on a plate for 2-3 minutes. This lets the juices redistribute. Pour the remaining garlic butter from the pan over the chicken. Garnish with fresh parsley and serve with lemon wedges.
Sensory Cues: When you flip the chicken, the skin should be a deep amber color with darker spots — that’s flavor. The garlic should smell sweet and nutty, not acrid. The butter should be bubbling gently, not smoking.
Cooking Tips & Techniques
I’ve messed this recipe up more times than I’d like to admit, so let me save you the trouble.
- Don’t overcrowd the pan. If your skillet is too small, the chicken will steam instead of sear. Use a 12-inch pan for 4 thighs, or cook in batches. I learned this the hard way when I tried to fit 6 thighs in a 10-inch pan — the skin came out pale and rubbery.
- Pat those thighs dry. Seriously. Use paper towels and get them as dry as possible. Any moisture on the surface will create steam and prevent browning. I once skipped this step in a hurry and ended up with soggy skin. Never again.
- Let the pan get hot enough. The butter should be foamy but not brown when you add the chicken. If it’s smoking, the pan is too hot. If it’s barely bubbling, it’s too cold. Medium-high heat is your sweet spot.
- Be patient with the sear. The skin will release from the pan naturally when it’s ready. If you try to force it, you’ll tear the skin. Trust the process.
- Watch the garlic. Garlic goes from fragrant to burnt in about 15 seconds. Keep it moving in the pan and remove it from the heat if it starts browning too fast. Burnt garlic tastes bitter and will ruin the sauce.
- Use the basting technique. This isn’t just for show. Spooning the hot butter over the chicken repeatedly cooks the top of the meat gently while keeping the bottom crispy. It’s the same technique restaurants use for steaks.
Variations & Adaptations
This recipe is a great base to play with. Here are some variations I’ve tried and loved.
- Herb Garlic Butter: Add 2-3 sprigs of fresh thyme or rosemary to the pan when you add the garlic. The herbs infuse the butter with an earthy, aromatic flavor. I do this when I’m feeling fancy or when I have fresh herbs from my garden.
- Spicy Garlic Butter: Toss in ½ teaspoon of red pepper flakes with the garlic. The heat cuts through the richness beautifully. My husband loves this version — he adds extra flakes at the table.
- Lemon Garlic Butter: Add the zest of one lemon and a tablespoon of lemon juice to the butter after basting. It brightens the whole dish and makes it feel lighter. Perfect for spring or summer.
- Mushroom Garlic Chicken: After removing the chicken, add 8 oz (225g) of sliced mushrooms to the pan and cook until golden, then spoon them over the chicken. This turns it into a heartier meal.
- Dairy-Free: Substitute the butter with a high-quality vegan butter or ghee (which is lactose-free). The flavor will be slightly different but still delicious.
- Oven-Finished: After searing, transfer the skillet to a 400°F (200°C) oven for 10-12 minutes. This is great if you’re cooking for a crowd and want to keep everything warm.
I’ve personally tried the herb version with rosemary and it’s become my second favorite way to make this. The rosemary gets crispy in the butter and adds a lovely texture.
Serving & Storage Suggestions
This chicken is incredibly versatile when it comes to serving.
Serving Suggestions:
- Serve the chicken hot, straight from the pan, with the garlic butter spooned over the top. A squeeze of lemon right before eating brightens everything up.
- Pair it with simple sides that soak up that buttery sauce. Mashed potatoes, crusty bread, or rice are all excellent choices. I love serving it with a simple green salad dressed with lemon vinaigrette to balance the richness.
- For a complete meal, try it alongside some hearty Tuscan white bean soup or a fresh nourish bowl with black bean corn mix for a lighter option.
Storage:
- Store leftover chicken in an airtight container in the refrigerator for up to 3 days. The garlic butter will solidify, but that’s okay — it will melt again when reheated.
- To reheat, place the chicken in a skillet over medium-low heat with a splash of water or chicken broth. Cover and heat for 5-7 minutes, flipping once. This keeps the meat moist. Avoid the microwave — it will make the skin soggy.
- You can freeze the cooked chicken for up to 2 months. Wrap each piece individually in plastic wrap, then place in a freezer bag. Thaw overnight in the fridge before reheating.
Flavor Development: The flavors actually deepen overnight as the garlic and butter meld together. Leftovers are fantastic cold, sliced over a salad, or chopped into a quick pasta dish.
Nutritional Information & Benefits
Here’s an approximate breakdown per serving (1 chicken thigh with sauce):
- Calories: 350-400
- Protein: 28g
- Fat: 28g (12g saturated)
- Carbohydrates: 2g
- Fiber: 0g
- Sugar: 0g
Health Benefits: Chicken thighs are a great source of high-quality protein, iron, and B vitamins, especially B6 and B12, which support energy metabolism. Garlic is known for its anti-inflammatory and immune-boosting properties. While this dish is indulgent, it’s also satisfying — the protein and fat keep you full longer, which can help with portion control.
Dietary Considerations: This recipe is naturally gluten-free, low-carb, and keto-friendly. For dairy-free, use ghee or vegan butter. If you’re watching sodium, reduce the salt to ½ teaspoon and skip any additional salt in the sauce.
I personally love that this recipe fits into a balanced lifestyle. It’s rich and satisfying, but it doesn’t leave you feeling heavy. Pair it with a big side of vegetables or a fresh salad, and you’ve got a meal that feels both indulgent and nourishing.
Conclusion
This easy 30-minute garlic butter chicken thighs skillet has saved my dinner plans more times than I can count. It’s the recipe I turn to when I want something that feels special but doesn’t require a lot of effort or planning. The crispy skin, the tender meat, that glorious garlic butter sauce — it all comes together in less time than it takes to order takeout. And honestly, it tastes better too.
I hope you give this a try and make it your own. Add your favorite herbs, turn up the heat with some chili flakes, or just keep it simple and perfect. Whatever you do, don’t skip the basting step — that’s where the magic happens. If you make it, let me know how it goes! Drop a comment below, share your photo on Pinterest, or tag me in your creation. I love seeing how you all put your own spin on things.
Happy cooking, and remember — the best meals are the ones shared with people you love, even if they show up unannounced.
Frequently Asked Questions
Can I use boneless, skinless chicken thighs for this recipe?
Yes, you can! Boneless, skinless thighs will cook faster — about 5-6 minutes per side. They won’t have the crispy skin, but they’ll still be juicy and flavorful. Just keep an eye on the internal temperature (175°F / 80°C) so they don’t dry out.
Why is my chicken skin not getting crispy?
The most common reason is moisture. Make sure you pat the chicken thighs completely dry with paper towels before seasoning. Also, don’t overcrowd the pan — if the pieces are too close together, they’ll steam instead of sear. Give them space and let the pan get hot enough before adding the chicken.
Can I make this recipe ahead of time?
Absolutely. Cook the chicken as directed, then let it cool completely. Store it in an airtight container in the fridge for up to 3 days. Reheat in a skillet over medium-low heat with a splash of broth or water to keep it moist. The garlic butter sauce will solidify in the fridge, but it will melt again beautifully.
What can I serve with garlic butter chicken thighs?
The buttery sauce is perfect for soaking up with crusty bread, mashed potatoes, rice, or pasta. I also love serving it with roasted vegetables or a simple green salad. For a heartier meal, try it alongside creamy spring vegetable fettuccine alfredo for an indulgent combo.
Can I use chicken breasts instead of thighs?
You can, but be careful. Chicken breasts cook faster and dry out more easily. Use boneless, skinless breasts and pound them to an even thickness (about ½ inch). Cook for 4-5 minutes per side, then baste as directed. The cooking time will be shorter, so keep an eye on them.
Pin This Recipe!
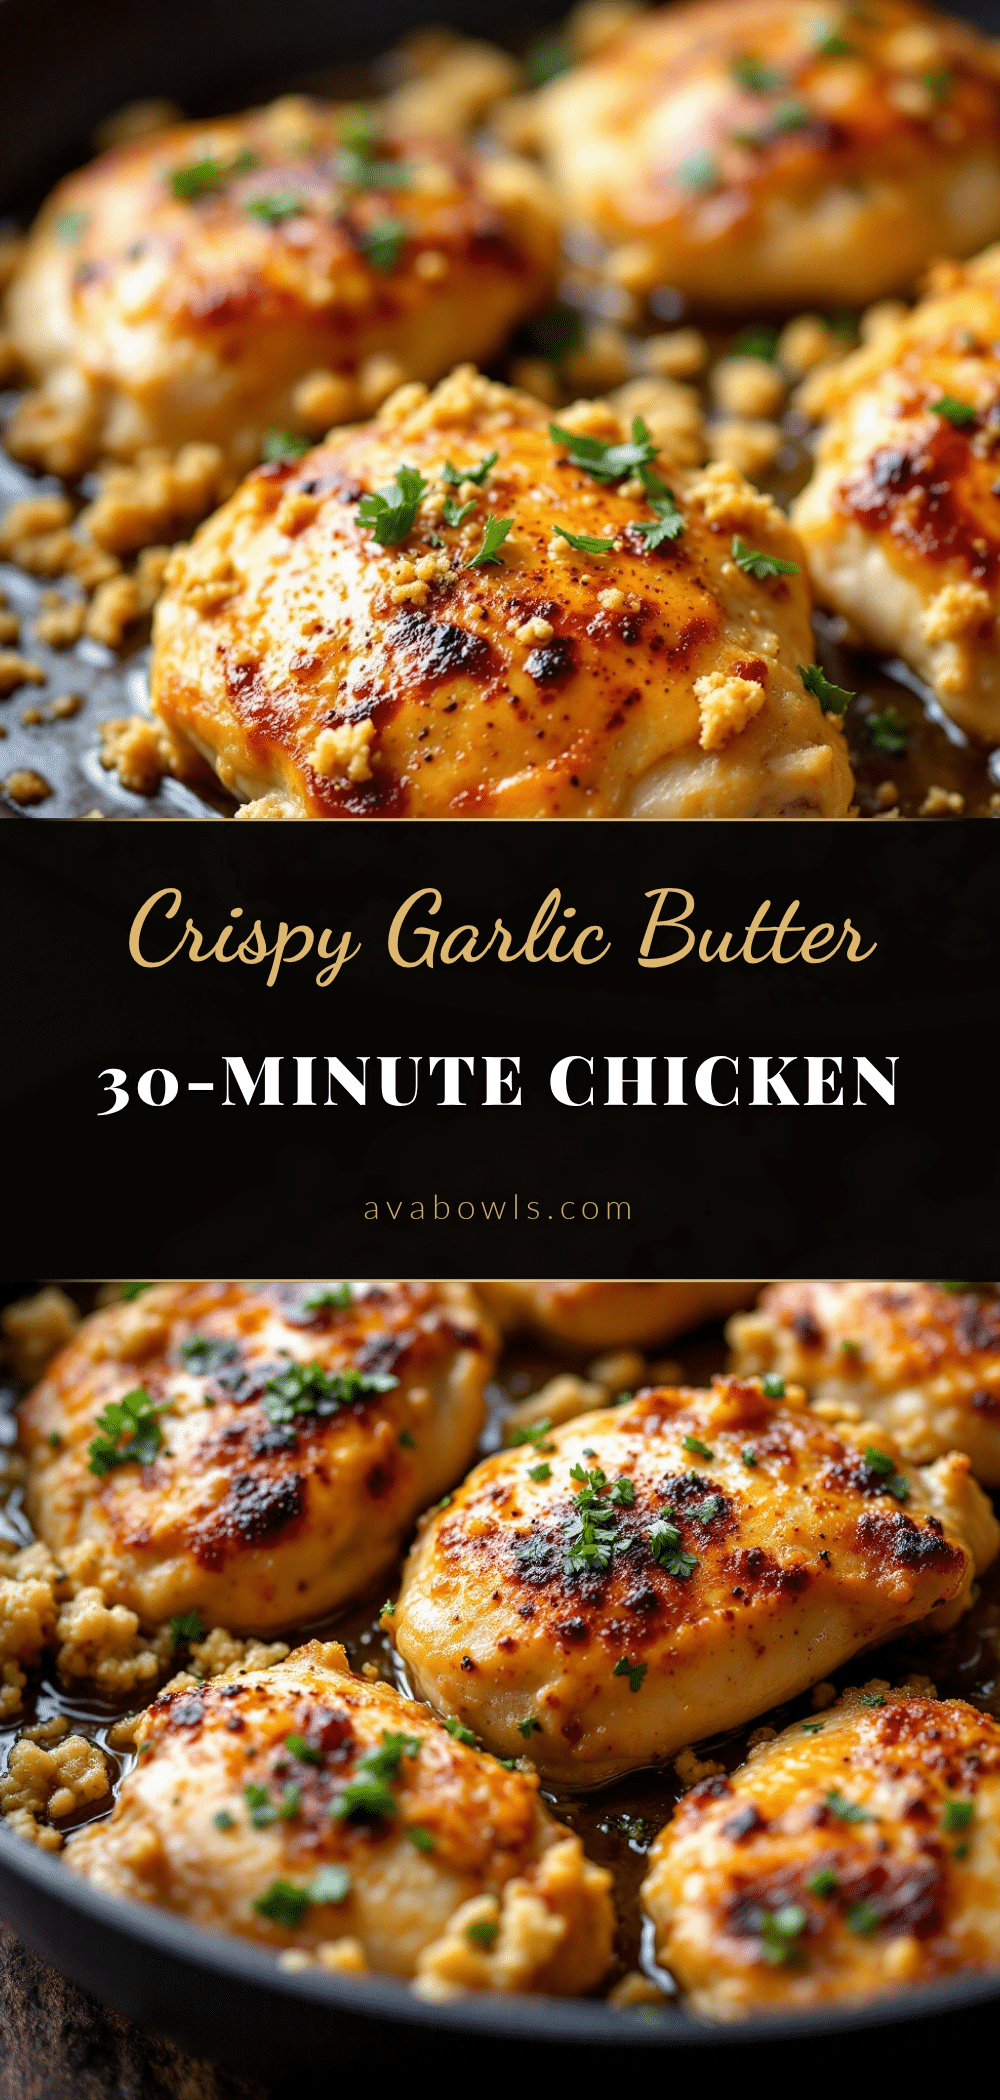
Easy 30-Minute Garlic Butter Chicken Thighs: Best One-Pan Meal

Crispy-skinned, juicy chicken thighs cooked in a rich garlic butter sauce, all in one pan and ready in under 30 minutes. Perfect for busy weeknights or impromptu dinner guests.
- Prep Time: 10 minutes
- Cook Time: 20 minutes
- Total Time: 30 minutes
- Yield: 4 servings 1x
- Category: Main Course
- Cuisine: American
Ingredients
- 4 bone-in, skin-on chicken thighs (about 1.5 lbs / 680g)
- 1 teaspoon kosher salt (or ¾ teaspoon table salt)
- ½ teaspoon black pepper, freshly ground
- 3 tablespoons unsalted butter (45g)
- 6 cloves garlic, thinly sliced
- 1 tablespoon olive oil (15ml)
- Fresh parsley, chopped (for garnish, optional)
- Lemon wedges (for serving, optional)
Instructions
- Prep the chicken (5 minutes): Pat the chicken thighs dry with paper towels. Season both sides generously with the salt and pepper. Let them sit at room temperature while you slice the garlic (about 5 minutes).
- Heat the pan (2 minutes): Place your skillet over medium-high heat. Add the olive oil and 1 tablespoon of the butter. Swirl to coat. Wait until the butter is melted and foamy but not browning — about 1-2 minutes.
- Sear the chicken (8 minutes): Place the chicken thighs skin-side down in the hot skillet. Leave them alone for 4-5 minutes — don’t peek or move them. When the skin releases easily, flip and cook for another 3-4 minutes on the other side.
- Add the garlic (1 minute): Reduce the heat to medium. Push the chicken to one side of the pan. Add the remaining 2 tablespoons of butter and the sliced garlic to the empty space. Stir the garlic constantly for about 30 seconds until fragrant and just starting to turn golden.
- Baste the chicken (3 minutes): Tilt the pan slightly so the butter pools at one edge. Use a spoon to scoop up the garlic butter and pour it over the chicken thighs. Do this continuously for about 2-3 minutes.
- Check for doneness (1 minute): Internal temperature should read 175°F (80°C) at the thickest part. If not using a thermometer, cut into the thickest thigh — juices should run clear and meat should no longer be pink.
- Rest and serve (2 minutes): Remove the chicken from the pan and let it rest on a plate for 2-3 minutes. Pour the remaining garlic butter from the pan over the chicken. Garnish with fresh parsley and serve with lemon wedges.
Notes
Pat chicken thighs very dry for crispy skin. Don’t overcrowd the pan. Watch garlic carefully as it burns quickly. Basting step is key for flavor and moisture. Leftovers keep in fridge for up to 3 days; reheat in skillet with a splash of broth.
Nutrition
- Serving Size: 1 chicken thigh with
- Calories: 375
- Sodium: 600
- Fat: 28
- Saturated Fat: 12
- Carbohydrates: 2
- Protein: 28
Keywords: garlic butter chicken, one-pan chicken, quick chicken dinner, crispy chicken thighs, 30-minute meal, weeknight dinner, easy chicken recipe


