My roommate stared at the empty mason jar in the sink like it had personally offended her. She had left for work at 7:00 AM, and by 8:30, the only thing remaining was a faint smear of peanut butter on the glass rim. That was it. Gone. Just like that. It’s the third time this week this has happened, and honestly, I’m starting to feel like a villain in my own apartment.
She didn’t even have time to take a photo. You know how it is with those early morning rushes; you grab the coffee, you check your emails, and suddenly you’re sprinting out the door. But the smell? That rich, nutty aroma still lingered in the hallway when she came back for her keys. She texted me five minutes later. Not a question. A demand. She wanted the recipe. Again.
I’m not usually the type to brag about breakfast, but this one different itself. It’s not just food; it’s a small victory against the chaos of morning life. I started making these overnight oats because I needed something that wouldn’t leave me hangry by 10 AM. I didn’t expect it to become the most popular item in our fridge. Now, I have to batch-cook three jars every Sunday just to keep the peace. It’s a good problem to have, really.
The secret isn’t in some fancy technique or expensive superfood. It’s just the right ratio of oats to liquid and enough protein to keep you full. It’s quiet, it’s creamy, and it tastes like a dessert that somehow counts as fuel. I love that it’s become our little morning ritual. No shouting, no rushing. Just a spoon, a jar, and a moment of calm before the day starts.
Why You’ll Love This Recipe
Let’s be real for a second. Most protein breakfasts taste like chalk or regret. I’ve tried them all. The gritty texture, the weird aftertaste, the way they sit heavy in your stomach. That’s why I developed this specific version of creamy overnight peanut butter protein oats. It’s the result of too many failed experiments and one happy accident with cottage cheese. I wanted something that felt indulgent but actually worked for my body.
- Quick & Easy Prep: You literally just dump ingredients into a jar. No cooking, no standing over a stove. It takes about five minutes of your morning, or less if you do it the night before.
- Simple Ingredients: You likely have everything in your kitchen right now. Oats, peanut butter, protein powder, milk, and a little sweetener. No trip to a specialty health store required.
- Perfect for Busy Mornings: This is your lifesaver on those days when you hit snooze three times. Grab the jar, throw it in your bag, and eat it while you walk to the train.
- Crowd-Pleaser Status: Even my skeptical partner, who usually sticks to black coffee, asks for this. It’s creamy enough to feel like a treat but filling enough to last until lunch.
- Unbelievably Delicious Texture: The oats get soft and pudding-like overnight. There’s no crunch, no dryness. Just smooth, rich comfort in a jar.
What makes this different from the rest is the protein source. I use whey isolate mixed with a splash of milk to create a smooth emulsion. Some people use Greek yogurt, which is great, but the whey method gives it that specific, velvety mouthfeel that feels like a milkshake. It’s not just good; it’s the kind of breakfast that makes you actually want to wake up early. It’s comfort food reimagined for people who hate cooking. It’s fast, it’s healthy, and it tastes like you spent an hour making it.
What Ingredients You Will Need
This recipe relies on simple, wholesome ingredients to deliver bold flavor and satisfying texture without the fuss. You don’t need fancy powders or obscure grains. The magic happens in how these basic items interact over time. The oats absorb the liquid, the peanut butter adds richness, and the protein powder thickens everything into a creamy consistency. Here is exactly what you need to get started.
- Old-Fashioned Rolled Oats: ½ cup (45g). Do not use instant oats; they turn to mush. Do not use steel-cut; they stay too hard. Rolled oats are the sweet spot for that perfect chewy-soft texture.
- Unsweetened Almond Milk: ¾ cup (180ml). You can use dairy milk, oat milk, or soy milk. Almond milk keeps it lighter, but whole milk makes it richer. I usually keep a carton of unsweetened vanilla almond milk on hand.
- Peanut Butter: 2 tablespoons (32g). Natural peanut butter works best, but standard brands like Skippy or Jif are fine if you don’t mind the added sugar. Make sure it’s smooth, not crunchy, for that creamy texture.
- Whey Protein Powder: 1 scoop (approx. 25-30g). Vanilla or chocolate flavor works best. I recommend Optimum Nutrition Gold Standard for its mixability. Avoid plant-based proteins if you want this specific creamy texture; they can be grainier.
- Chia Seeds: 1 teaspoon (5g). These are optional but highly recommended. They help thicken the oats and add omega-3s. If you don’t have them, just add an extra minute to the soaking time.
- Honey or Maple Syrup: 1 tablespoon (20g). Adjust to taste. If your protein powder is already sweet, you might not need this. I usually taste the mixture before adding it.
- Cinnamon: ½ teaspoon. A pinch of cinnamon adds warmth and makes the peanut butter flavor pop. It’s a small detail that makes a big difference.
For the protein powder, I’ve tested many brands. Some clump up and leave little dry pockets in your jar. That’s annoying. If you use a brand that tends to clump, whisk the powder with the milk first to create a smooth paste before adding the oats. This step saves you from digging out dry bits later. Also, look for firm, small-curd cottage cheese if you want to swap the whey for a dairy option, though the texture changes slightly.
Equipment Needed
You don’t need a fancy kitchen to make this. A few basic tools are all you need to get started.
- Mason Jars or Meal Prep Containers: 16oz jars are perfect for this ratio. I use glass mason jars because they don’t stain from the peanut butter. Plastic containers work too, but they can sometimes hold onto odors.
- Spoons: A standard tablespoon for measuring peanut butter and a teaspoon for chia seeds. I keep a dedicated set of measuring spoons in my pantry for quick access.
- Whisk or Fork: A small whisk is helpful for mixing the protein powder into the milk. If you don’t have one, a fork works fine, but you’ll need to stir a bit longer to avoid clumps.
- Refrigerator: Obviously, you need space in the fridge. Make sure your jars fit comfortably. I usually reserve the back shelf for my prep jars to keep them safe from curious hands.
If you don’t have mason jars, any airtight container will do. Just make sure the lid seals well. I’ve learned the hard way that loose lids lead to leaks in the fridge. Also, if you’re traveling, a sturdy plastic container with a tight seal is better than glass. Budget-friendly options include reused sauce jars from pasta sauces. Just wash them thoroughly and remove the labels.
Preparation Method
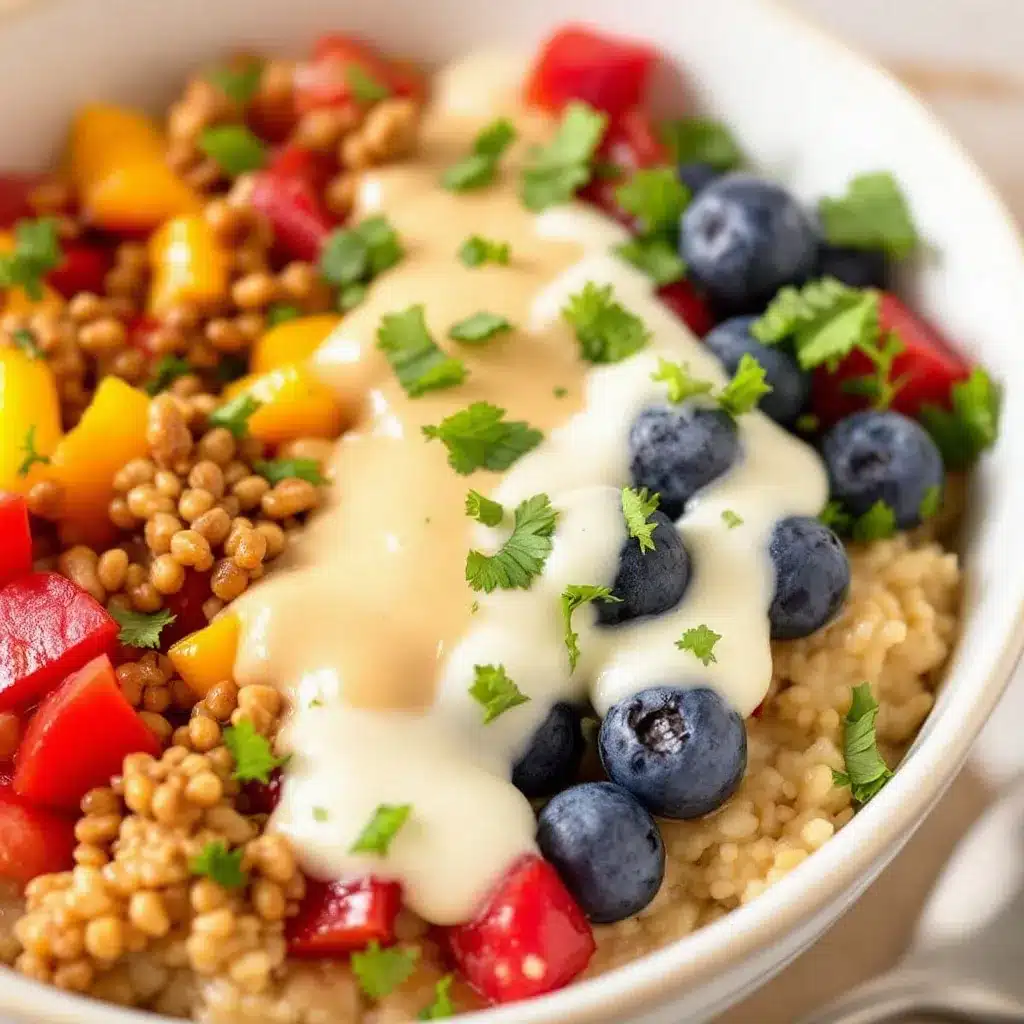
Making these oats is straightforward, but getting the order right matters. Follow these steps to ensure a smooth, creamy result without any clumps or dry spots.
- Mix the Wet Ingredients: In your mason jar, combine the almond milk, peanut butter, and honey. Use a spoon to stir this mixture vigorously. You want the peanut butter to dissolve into the milk as much as possible. This takes about 30 seconds. If you can still see streaks of peanut butter, keep stirring. It doesn’t need to be perfect, but it helps.
- Add the Protein Powder: Sprinkle your scoop of protein powder into the jar. Immediately whisk or stir. This is the critical step. If you add the oats first, the powder will stick to the bottom and form a dry layer. Mix the powder into the liquid until it’s smooth. If you see lumps, give it a good shake or use a whisk.
- Incorporate the Dry Ingredients: Add the rolled oats and chia seeds on top of the liquid mixture. Use a spoon to push the oats down into the liquid. You want them fully submerged. This ensures they soak evenly. If some oats float, just stir them down gently.
- Seal and Shake: Put the lid on tight. Shake the jar vigorously for 10-15 seconds. This helps distribute the ingredients evenly and breaks up any remaining clumps of protein powder. You should see a uniform, creamy mixture inside.
- Refrigerate: Place the jar in the fridge. Let it sit for at least 4 hours, but overnight is best. This gives the oats time to absorb the liquid and soften. The texture will change from watery to pudding-like. Don’t skip this step; the oats need time to do their work.
- Stir and Serve: In the morning, give the jar a good stir. If it’s too thick, add a splash more milk. If it’s too thin, add a few more oats or let it sit for another hour. Top with extra peanut butter, banana slices, or berries if you like. Eat it cold straight from the jar.
Keep an eye on the consistency during the first few tries. Every brand of oats absorbs liquid differently. Some are thicker, some are thinner. Adjust the milk amount accordingly. I usually start with ¾ cup and add more if needed. It’s a learning process, but once you get it right, it’s consistent every time.
Cooking Tips & Techniques
There are a few tricks I’ve picked up over the years to make these oats even better. These aren’t just rules; they’re lessons learned from messy mornings and wasted ingredients.
- Prevent Clumping: The biggest enemy of protein oats is clumpy protein powder. Always mix the powder with the liquid first. If you add it to dry oats, it will stick. I’ve ruined several jars by skipping this step. It’s worth the extra ten seconds.
- Choose the Right Oats: Use old-fashioned rolled oats. Instant oats disintegrate too much, and steel-cut oats stay too hard. Rolled oats give you that perfect creamy-chewy balance. If you only have instant, reduce the milk by ¼ cup.
- Room Temperature Ingredients: If you have time, let the milk and peanut butter come to room temperature before mixing. Cold ingredients can make the peanut butter harder to dissolve. It’s a small detail, but it helps.
- Don’t Rush the Soak: 4 hours is the minimum, but 8 hours is ideal. The longer they sit, the creamier they get. If you’re in a hurry, you can microwave the mixture for 30 seconds before eating, but the texture won’t be as good.
- Batch Prep: Make 3-4 jars at once on Sunday. Store them in the back of the fridge. This saves time during the week and ensures you always have a healthy breakfast ready. It’s a game-changer for busy schedules.
Also, taste the mixture before refrigerating. Adjust the sweetness or peanut butter amount to your preference. It’s easier to adjust before it sets than after. If you like it sweeter, add a bit more honey. If you like it nuttier, add an extra spoonful of peanut butter.
Variations & Adaptations
While the classic peanut butter version is my favorite, this recipe is very flexible. You can tweak it to suit your dietary needs or taste preferences.
- Dairy-Free Option: Use plant-based milk (almond, soy, oat) and a plant-based protein powder. The texture might be slightly different, but it’s still delicious. I use soy milk for a creamier result.
- Gluten-Free: Ensure your oats are certified gluten-free. Most rolled oats are, but cross-contamination is common. Check the label. Everything else is naturally gluten-free.
- Chocolate Peanut Butter: Swap the vanilla protein powder for chocolate. Add a teaspoon of cocoa powder for extra richness. It tastes like a Reese’s cup in a jar. My kids love this version.
- Fruit Addition: Add sliced bananas, berries, or diced apples. Fresh fruit adds moisture, so you might need a splash more milk. I usually add bananas in the morning to prevent browning.
- Nut-Free: Use sunflower seed butter or soy nut butter instead of peanut butter. It works surprisingly well and keeps the recipe nut-free for school or work.
I once tried making this with almond butter instead of peanut butter. It was good, but the flavor was more subtle. Peanut butter has that distinct salty-sweet profile that pairs perfectly with oats. If you try a variation, let me know how it turns out. I’m always curious to see what people create.
Serving & Storage Suggestions
These oats are best served cold, straight from the fridge. The cold temperature enhances the creamy texture and makes it feel more like a dessert. You can eat it with a spoon directly from the jar, which is convenient for on-the-go mornings.
For presentation, top with a drizzle of peanut butter, a sprinkle of cinnamon, or a few fresh berries. It looks appealing and adds extra flavor. I usually keep a small jar of peanut butter in the fridge for easy access.
Store leftovers in the refrigerator for up to 5 days. The oats will continue to absorb liquid, so they might get thicker over time. If it’s too thick, add a splash of milk before eating. Do not freeze these oats; the texture will become grainy and unpleasant upon thawing.
When reheating, if you prefer warm oats, microwave the jar for 60-90 seconds. Stir well after heating to distribute the heat evenly. The texture will be softer, but it won’t be as creamy as the cold version. I usually stick to cold, but some people prefer warm.
The flavors develop over time, becoming more cohesive and rich. The peanut butter melds with the oats, creating a uniform taste. It’s a nice change from the separate flavors you get in freshly cooked oatmeal.
Nutritional Information & Benefits
These oats are packed with protein and healthy fats, making them a satisfying breakfast. One jar contains approximately 350-400 calories, depending on the protein powder and peanut butter used. It provides about 25-30g of protein, which helps with muscle recovery and keeps you full.
The oats provide complex carbohydrates for sustained energy. The peanut butter adds healthy monounsaturated fats, which are good for heart health. Chia seeds offer omega-3 fatty acids and fiber, aiding digestion.
This recipe is suitable for high-protein diets and can be adapted for gluten-free or dairy-free needs. However, it contains nuts and dairy (if using whey protein), so avoid if you have allergies. I find this breakfast helps me stay focused and energized throughout the morning. It’s a solid foundation for a healthy day.
Conclusion
Creamy overnight peanut butter protein oats are a simple, delicious, and nutritious way to start your day. They’re easy to make, customizable, and incredibly satisfying. I hope you try this recipe and enjoy it as much as my roommate and I do. It’s become a staple in our kitchen for a reason.
Feel free to adjust the ingredients to suit your taste. Add fruit, change the nut butter, or experiment with different protein powders. The possibilities are endless. I’d love to hear how you like to make yours. Leave a comment below with your favorite variations or tips.
Share this recipe with friends who need a quick breakfast idea. Maybe they’ll become as obsessed as we are. Thanks for reading, and happy cooking!
FAQs
Can I use steel-cut oats for this recipe?
It’s not recommended. Steel-cut oats are too hard and won’t soften enough in the fridge. Use old-fashioned rolled oats for the best texture. If you must use steel-cut, cook them first, then mix with the other ingredients.
How long do these oats last in the fridge?
They last up to 5 days in an airtight container. The flavor and texture remain good, though they may get thicker over time. Add a splash of milk if needed.
Can I make this vegan?
Yes. Use plant-based milk and a plant-based protein powder. Use sunflower seed butter or soy nut butter if you need to avoid nuts. The texture will be slightly different but still delicious.
Why is my protein powder clumpy?
This usually happens if you add the powder to dry oats. Always mix the protein powder with the liquid first. Whisk it well to create a smooth paste before adding the oats.
Can I add fresh fruit to the mixture?
You can, but add fresh fruit in the morning to prevent browning or sogginess. Bananas and berries are great additions. If you add fruit overnight, the texture might change slightly.
Pin This Recipe!
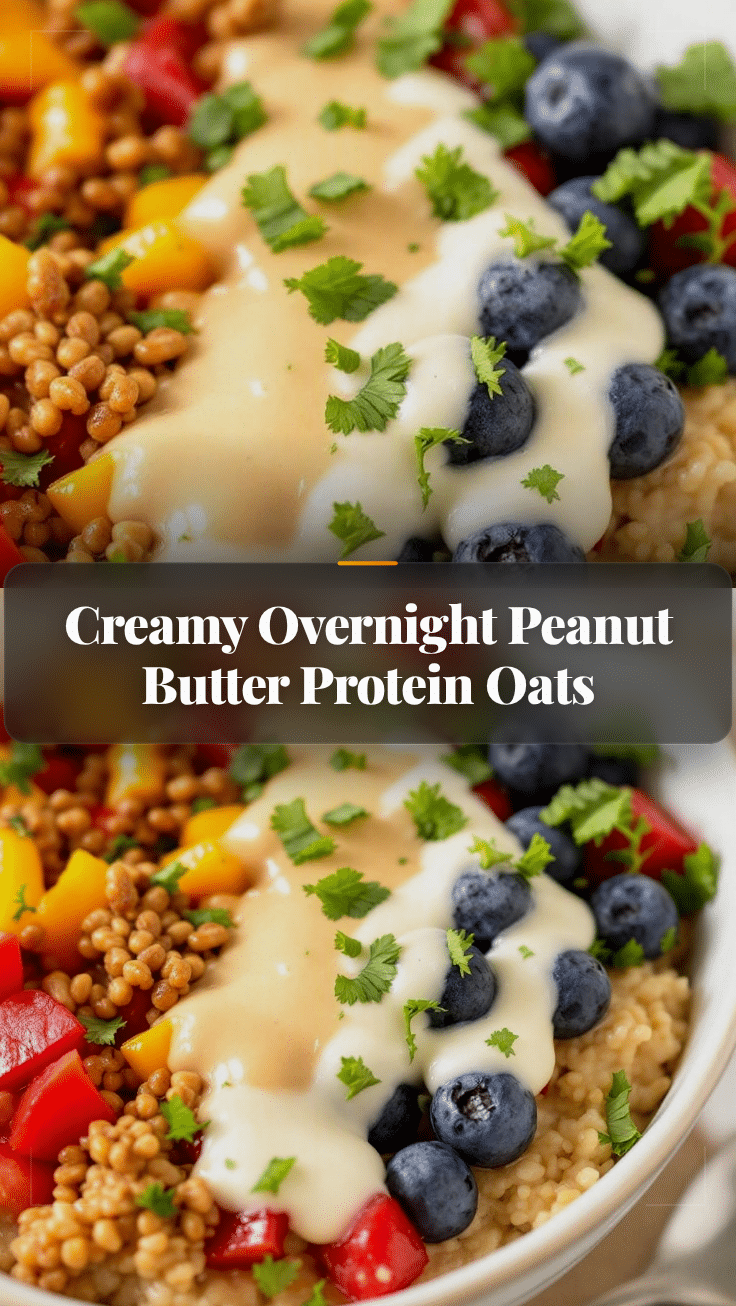
Creamy Overnight Peanut Butter Protein Oats

A quick, 5-ingredient breakfast that is creamy, high-protein, and perfect for busy mornings. Made with rolled oats, peanut butter, and whey protein, these overnight oats require no cooking and can be prepped in minutes.
- Prep Time: 5 minutes
- Cook Time: 0 minutes
- Total Time: 4 hours 5 minutes
- Yield: 1 serving 1x
- Category: Breakfast
- Cuisine: American
Ingredients
- 1/2 cup (45g) Old-Fashioned Rolled Oats
- 3/4 cup (180ml) Unsweetened Almond Milk
- 2 tablespoons (32g) Smooth Peanut Butter
- 1 scoop (approx. 25-30g) Whey Protein Powder (Vanilla or Chocolate)
- 1 teaspoon (5g) Chia Seeds
- 1 tablespoon (20g) Honey or Maple Syrup
- 1/2 teaspoon Cinnamon
Instructions
- In a mason jar, combine almond milk, peanut butter, and honey. Stir vigorously for 30 seconds until the peanut butter is mostly dissolved.
- Add the whey protein powder to the liquid mixture and whisk or stir immediately until smooth to prevent clumping.
- Add the rolled oats and chia seeds on top. Use a spoon to push the oats down into the liquid to ensure they are fully submerged.
- Seal the jar tightly and shake vigorously for 10-15 seconds to distribute ingredients evenly.
- Refrigerate for at least 4 hours, preferably overnight, to allow the oats to soften and absorb the liquid.
- In the morning, stir well. Add a splash of milk if too thick. Top with extra peanut butter, fruit, or cinnamon and serve cold.
Notes
Do not use instant oats as they turn to mush, or steel-cut oats as they stay too hard. Always mix protein powder with liquid first to avoid clumps. For best texture, let soak overnight (8 hours). Can be stored in the fridge for up to 5 days. Do not freeze.
Nutrition
- Serving Size: 1 jar
- Calories: 375
- Sugar: 12
- Sodium: 250
- Fat: 14
- Saturated Fat: 2.5
- Carbohydrates: 40
- Fiber: 6
- Protein: 28
Keywords: overnight oats, peanut butter oats, protein breakfast, healthy breakfast, meal prep, high protein, gluten-free option, dairy-free option


