I stared at the baking dish. The edges were bubbling over with thick, amber syrup, and the top layer had formed a hard, caramelized shell. It wasn’t just looking good; it was looking dangerous. I knew that moment well. It’s the moment you realize you’ve burned the sugar just enough to make it bitter, or not enough to make it crunchy. With this brown sugar apple crisp, I needed that perfect, jagged crunch.
The texture is what I made this for — everything else is secondary. Sure, the cinnamon smell fills the house. That’s nice. But I don’t care about the smell when I’m hungry. I care about the sound of the spoon breaking through that oat crust. I care about the resistance of the pecans against my teeth. I care about the contrast between the soft, stewed apple underneath and the shattering crisp on top.
I remember the first time I tried to make this. I used panko breadcrumbs. I thought it would add a nice crunch. It didn’t. It added a dusty, cardboard-like flavor that ruined the whole dish. My husband didn’t say anything, but he pushed the plate away. I learned that lesson the hard way. Oats are non-negotiable. They soak up the butter and brown sugar without turning into mush.
This recipe isn’t about fancy techniques. It’s about respecting the ingredients. You need apples that hold their shape, butter that’s actually butter, and brown sugar that’s moist and dark. If you skimp on the butter in the topping, you get sad, dry crumbs. If you use apple sauce instead of sliced fruit, you get soup. I’ve made both mistakes. You don’t have to.
I make this crisp when the air turns crisp. When I need something warm that doesn’t feel heavy. It’s comfort, but not the kind that puts you to sleep. It’s the kind that wakes you up. The contrast of temperatures matters too. Hot fruit, cold ice cream. The steam rising up, the cold spoon in your mouth. It’s a physical experience.
I don’t make it often. Maybe once a season. Because when you do make it right, it’s unforgettable. You know that feeling when you take the first bite and you just close your eyes? That’s what I’m after. Not the flavor, not the sweetness. The crunch. The chew. The reality of the food in your hand.
Why You’ll Love This Recipe
Let’s be honest, most apple crisps are just sweetened apples with a sad topping. This one is different. I’ve tested this recipe so many times that I can probably make it with my eyes closed. And even then, I pay attention. I know exactly how long the oats need to toast in the butter to get that nutty flavor without burning. I know which apples break down and which ones stay firm. This isn’t just a recipe; it’s a system I’ve perfected.
Here is why this specific version works every single time:
- Quick & Easy: You don’t need to peel and slice a dozen apples if you don’t want to. This comes together in under 30 minutes of prep. The baking time is long, but you’re not watching it. Perfect for busy weeknights when you want dessert without the fuss.
- Simple Ingredients: You likely already have everything in your kitchen. Oats, flour, brown sugar, butter, cinnamon, and apples. No fancy grocery trips needed. No obscure spices hiding in the back of your pantry.
- Perfect for Fall: This is the ultimate autumn comfort food. It smells like a pumpkin patch. It feels like a wool sweater. It’s great for potlucks, cozy dinners, or just treating yourself after a long day.
- Crowd-Pleaser: Kids love the sweetness. Adults love the texture. It always gets rave reviews because everyone has an opinion on the perfect apple crisp, and this one satisfies both sides.
- Unbelievably Delicious: The texture and flavor combo is next-level comfort food. The pecans add a savory note that balances the sugar. The oats add chew. It’s not just another version—it’s my best version.
What makes this recipe different from the rest? It’s the ratio. Most recipes use too much flour and not enough butter. This topping is rich. It’s almost like a cookie dough. The apples are tossed with just enough cornstarch to thicken the juices, so you don’t get a soggy bottom. I’ve also added a pinch of nutmeg, which adds depth without overpowering the apple.
This recipe isn’t just good—it is the kind that makes you close your eyes after the first bite. It’s comfort food reimagined. It’s faster than a pie, but feels just as special. Perfect for impressing guests without stress, or turning a simple meal into something memorable. You’ll find yourself scraping the dish clean.
What Ingredients You Will Need
This recipe uses simple, wholesome ingredients to deliver bold flavor and satisfying texture without the fuss. The beauty of an apple crisp is that it relies on quality basics rather than complex chemicals or hard-to-find items. You want fresh, seasonal apples and good quality oats. Don’t buy the cheapest butter you can find; it makes a difference in the final crust.
Here is what you need to get started:
For the Apple Filling
- 6 large Granny Smith apples: Peeled, cored, and sliced. Granny Smiths are tart and hold their shape well. If you prefer sweeter fruit, you can mix in some Honeycrisp or Fuji apples, but keep at least half Granny Smith for balance.
- 1/2 cup granulated sugar: White sugar helps draw out the moisture from the apples. I use regular granulated sugar, but organic works too.
- 1 tablespoon lemon juice: This prevents the apples from browning and adds a bright acidity that cuts through the richness of the topping.
- 1 teaspoon cinnamon: Use ground cinnamon. If you have fresh sticks, you can steep them in the butter for the topping, but ground is easier.
- 1/2 teaspoon nutmeg: Just a pinch. It adds warmth. Don’t overdo it.
- 2 tablespoons cornstarch: This thickens the juices so you don’t end up with a watery mess. It’s crucial for that glossy sauce.
For the Oat Pecan Topping
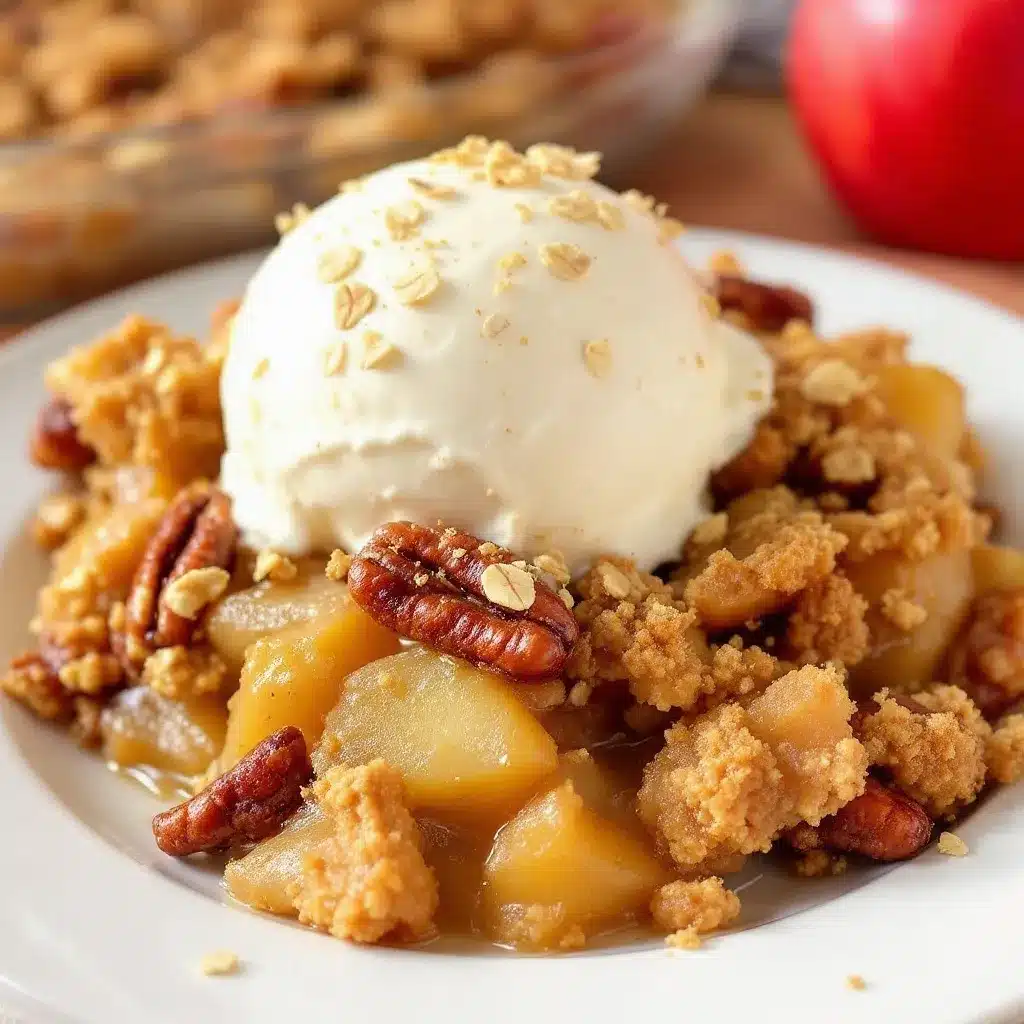
- 1 cup old-fashioned rolled oats: Do not use instant oats. They will turn to mush. Do not use steel-cut oats. They are too hard. Old-fashioned is the sweet spot.
- 1 cup all-purpose flour: This binds the topping together. I use regular unbleached flour.
- 1 cup packed brown sugar: Dark brown sugar is better here. It has more molasses, which gives a deeper, caramel-like flavor. Light brown sugar works in a pinch.
- 1 cup unsalted butter: Cold butter, cubed. Yes, a full cup. It’s rich, but necessary for the texture. I recommend using a high-quality brand like Kerrygold or Plugra for best flavor.
- 1/2 cup chopped pecans: Toasted pecans add a wonderful nutty crunch. You can skip them if you have allergies, but they are highly recommended.
- 1/2 teaspoon salt: Essential to balance the sweetness. Don’t skip this.
I usually buy my oats in bulk to save money. For the apples, I look for firm ones that don’t bruise easily. If you are in summer, you might swap in peaches, but this recipe is designed for apples. The substitution guidance is simple: stick to firm apples. Soft apples like Red Delicious will disintegrate.
Equipment Needed
You don’t need a fancy kitchen to make this. Just a few basic tools will do the job perfectly. Here is what you’ll need:
- 9×9 inch baking dish: A ceramic or glass dish works best. It distributes heat evenly. A metal pan might burn the edges faster.
- Large mixing bowls: You need two. One for the apples and one for the topping. I use two medium-sized bowls.
- Chef’s knife: For slicing the apples. A sharp knife makes peeling and slicing much safer and faster.
- Peeler: A Y-peeler is easier to handle than a swivel peeler for apples.
- Fork or pastry cutter: To mix the butter into the dry ingredients for the topping. A fork works fine if you don’t have a pastry cutter.
- Measuring cups and spoons: Standard set. Make sure your brown sugar is packed correctly for accuracy.
If you don’t have a 9×9 dish, a 9-inch pie plate works too, but the topping might be thinner. A 10-inch square dish will make the topping thicker and crunchier. I’ve used both. The 9×9 is the standard for a reason. It gives the right ratio of fruit to topping.
For maintenance, just wash your bowls immediately after use. The brown sugar sticks like glue if it dries. Budget-friendly option: If you don’t have a pastry cutter, just use your fingers to rub the butter into the flour. It’s faster and warms the butter slightly, which helps it clump.
Preparation Method
Let’s get into the steps. This is straightforward, but timing matters. Follow these steps closely for the best results.
Step 1: Prepare the Apples (10 minutes)
- Preheat your oven: Set it to 375°F (190°C). Make sure it’s fully heated before you put the dish in.
- Peel and slice the apples: Peel the Granny Smith apples. Remove the cores. Slice them into 1/4-inch thick wedges. Try to keep them uniform so they cook evenly. If some are thick and some are thin, the thin ones will turn to mush.
- Mix the filling: In a large bowl, toss the apple slices with granulated sugar, lemon juice, cinnamon, nutmeg, and cornstarch. Use your hands to coat every slice. The cornstarch should be invisible. Let them sit for 5 minutes while you make the topping. This draws out some juice.
Step 2: Make the Topping (5 minutes)
- Combine dry ingredients: In a separate bowl, mix the rolled oats, all-purpose flour, brown sugar, and salt. Stir until well combined.
- Add the butter: Add the cold, cubed butter to the dry mixture. Use a fork, pastry cutter, or your fingers to work the butter into the flour. You want pea-sized clumps. It should look like coarse sand. Don’t overmix. If it becomes a paste, it won’t be crunchy.
- Stir in pecans: Fold in the chopped pecans. They should be evenly distributed.
Step 3: Assemble and Bake (45 minutes)
- Transfer apples: Pour the apple mixture into your 9×9 baking dish. Spread it out evenly. The juices should pool at the bottom.
- Add topping: Sprinkle the oat mixture evenly over the apples. Don’t press it down. Let it sit loose on top. This allows air circulation and ensures even browning.
- Bake: Place the dish in the preheated oven. Bake for 45 minutes. After 30 minutes, check the edges. If they are browning too fast, cover them loosely with aluminum foil.
- Check for doneness: The topping should be golden brown and crisp. The juices should be bubbling thickly around the edges. If the topping is brown but the juices are thin, bake for another 5-10 minutes.
Step 4: Cool and Serve
- Cool slightly: Let the crisp cool for 10-15 minutes before serving. This allows the juices to thicken. If you cut into it hot, the filling will be runny.
- Serve: Scoop into bowls. Add a scoop of vanilla ice cream or a dollop of whipped cream if you want.
Personal tip: I usually let it cool for 20 minutes. It’s harder to wait, but the texture is better. The cornstarch needs time to set. Trust me on this one.
Cooking Tips & Techniques
Here are some professional tips that I’ve learned through trial and error. These small changes can make a big difference in the final result.
- Butter temperature: Keep the butter cold. If it melts before it hits the oven, you lose the flaky texture. Cube it straight from the fridge.
- Apple selection: Use a mix of apples if you want. Half Granny Smith for tartness and structure, half Honeycrisp for sweetness. Avoid Red Delicious or McIntosh, as they get too soft.
- Topping distribution: Don’t pack the topping down. A loose layer ensures that every bite has crunch. If you press it, it becomes a solid crust.
- Prevent burning: Ovens vary. If your oven runs hot, check the crisp at 35 minutes. Cover the edges with foil if needed. The sugar burns easily.
- Thickening power: If your apples are very juicy, add an extra teaspoon of cornstarch. If they are dry, you might not need it. But I always include it for safety.
I once made this with melted butter. It was a disaster. The topping was greasy and dense. I learned that the cold butter creates steam pockets as it melts, which creates those nice crumbly bits. Also, toast your pecans before chopping them. It brings out their flavor. I do this every time now. It’s a simple step that adds so much depth.
Timing is everything. Don’t rush the cooling stage. The residual heat continues to cook the apples. If you serve it too hot, the texture is compromised. Let it rest. It’s worth the wait.
Variations & Adaptations
This recipe is flexible. You can adapt it to your dietary needs or taste preferences. Here are a few ideas:
- Gluten-Free: Substitute the all-purpose flour with a 1:1 gluten-free flour blend. Make sure the oats are certified gluten-free. The texture might be slightly denser, but it still works.
- Dairy-Free: Use vegan butter instead of regular butter. Coconut oil works too, but it changes the flavor slightly. The topping will be a bit more brittle, but still delicious.
- Nut-Free: Simply omit the pecans. You can add more oats or chopped walnuts if you want extra crunch. The recipe still works without nuts.
- Seasonal Twist: In the fall, add a handful of dried cranberries to the apple mixture. They add a tart pop of color and flavor. In winter, add a pinch of cardamom for a spiced twist.
- Low-Sugar: Use a sugar substitute like erythritol or monk fruit. You may need to adjust the cornstarch amount, as sugar helps thicken the juices. Add an extra tablespoon of cornstarch if needed.
I’ve tried making this with pears instead of apples. It’s good, but pears are sweeter and softer. You need to reduce the sugar and add more lemon juice. I also tried it with blackberries. It was amazing, but the juices were thinner. I added an extra tablespoon of cornstarch for the berry version.
Customize it for your family. If they like chocolate, add a layer of chocolate chips under the topping. If they like spice, add a pinch of cayenne. The base recipe is a canvas. Don’t be afraid to experiment.
Serving & Storage Suggestions
How you serve this matters. And how you store it matters too.
- Serving Temperature: Serve warm. Not hot, just warm. Room temperature is okay, but warm is better. The contrast with cold ice cream is key. Use a high-quality vanilla bean ice cream.
- Complementary Dishes: This pairs well with a hot cup of tea or coffee. It’s also great after a heavy meal like roast chicken or pork chops. It cuts through the richness.
- Refrigerator Storage: Store leftovers in an airtight container in the fridge for up to 5 days. The topping will soften over time. To restore crunch, reheat in the oven at 350°F for 10 minutes.
- Freezer Storage: You can freeze the unbaked crisp. Wrap the dish tightly in plastic and foil. Bake from frozen, adding 10-15 minutes to the cook time. You can also freeze baked portions in individual containers.
- Reheating: Microwave reheating makes the topping soggy. Oven or toaster oven is best. It restores the crunch. Microwave only if you are in a rush and don’t care about texture.
I’ve noticed that the flavors develop over time. The second day, the apples are softer and the topping is more integrated. It’s different, but still good. I prefer the first day, but leftovers are never wasted. They just change form.
Nutritional Information & Benefits
This recipe is a treat, but it’s not all empty calories. Here is what you’re getting:
- Calories: Approximately 350 calories per serving (1/8 of the dish).
- Fat: 18g, mostly from butter and pecans.
- Carbs: 45g, from apples, oats, and sugar.
- Fiber: 4g, from the oats and apples. Oats are great for heart health.
- Sugar: 25g. This is the highest calorie component. You can reduce it if needed.
Apples are high in vitamin C and fiber. Oats provide beta-glucan, which helps lower cholesterol. Pecans contain healthy fats and antioxidants. It’s a dessert with some nutritional value. I enjoy it as a balanced treat. Not every meal needs to be perfect. This is a comfort food. Enjoy it mindfully.
If you are watching your sugar intake, reduce the brown sugar by half and add more cinnamon. You can also use unsweetened applesauce to bulk it up, but the texture will change. It’s a trade-off. I prefer the full-sugar version for the best taste.
Conclusion
This Cozy Brown Sugar Apple Crisp is worth the effort. It’s simple, but it requires attention to detail. The crunch, the chew, the warmth—it all comes together in one dish. I love this recipe because it’s reliable. It never fails. It’s a staple in my kitchen.
Customize it to your liking. Add nuts, change the apples, tweak the sugar. Make it your own. I hope you try this recipe and enjoy it as much as I do. It’s a great way to use up extra apples in the fall.
Please leave a comment below if you make it. I love hearing how it turned out for you. Share your variations. Share your tips. Let’s learn from each other. And if you make it, tag me on social media. I’d love to see your creation.
Thanks for reading. Happy baking.
FAQs
Can I use frozen apples for this recipe?
Yes, but you need to thaw them first and drain the excess liquid. Frozen apples release a lot of water, which can make the crisp soggy. Pat them dry with a paper towel before mixing with the sugar and cornstarch.
What is the best apple for apple crisp?
Granny Smith apples are the best choice because they hold their shape and provide a tart balance to the sweet topping. You can mix them with Honeycrisp or Fuji apples for a sweeter flavor profile. Avoid soft apples like Red Delicious.
How do I keep the topping crunchy?
Use cold, cubed butter and do not overmix the topping. You want pea-sized clumps. Bake until golden brown and avoid covering the dish with foil until the very end if the edges are browning too fast. Let it cool completely before storing to maintain texture.
Can I make this ahead of time?
Yes, you can assemble the crisp up to 24 hours in advance. Cover it tightly and refrigerate. Let it sit at room temperature for 20 minutes before baking. You may need to add 5-10 minutes to the baking time since the dish starts cold.
How do I reheat leftovers?
Reheat in the oven at 350°F for 10-15 minutes to restore the crunch of the topping. Microwave reheating will make the topping soft and soggy. Individual portions can be microwaved for 30 seconds if you are in a hurry, but the texture will suffer.
Pin This Recipe!
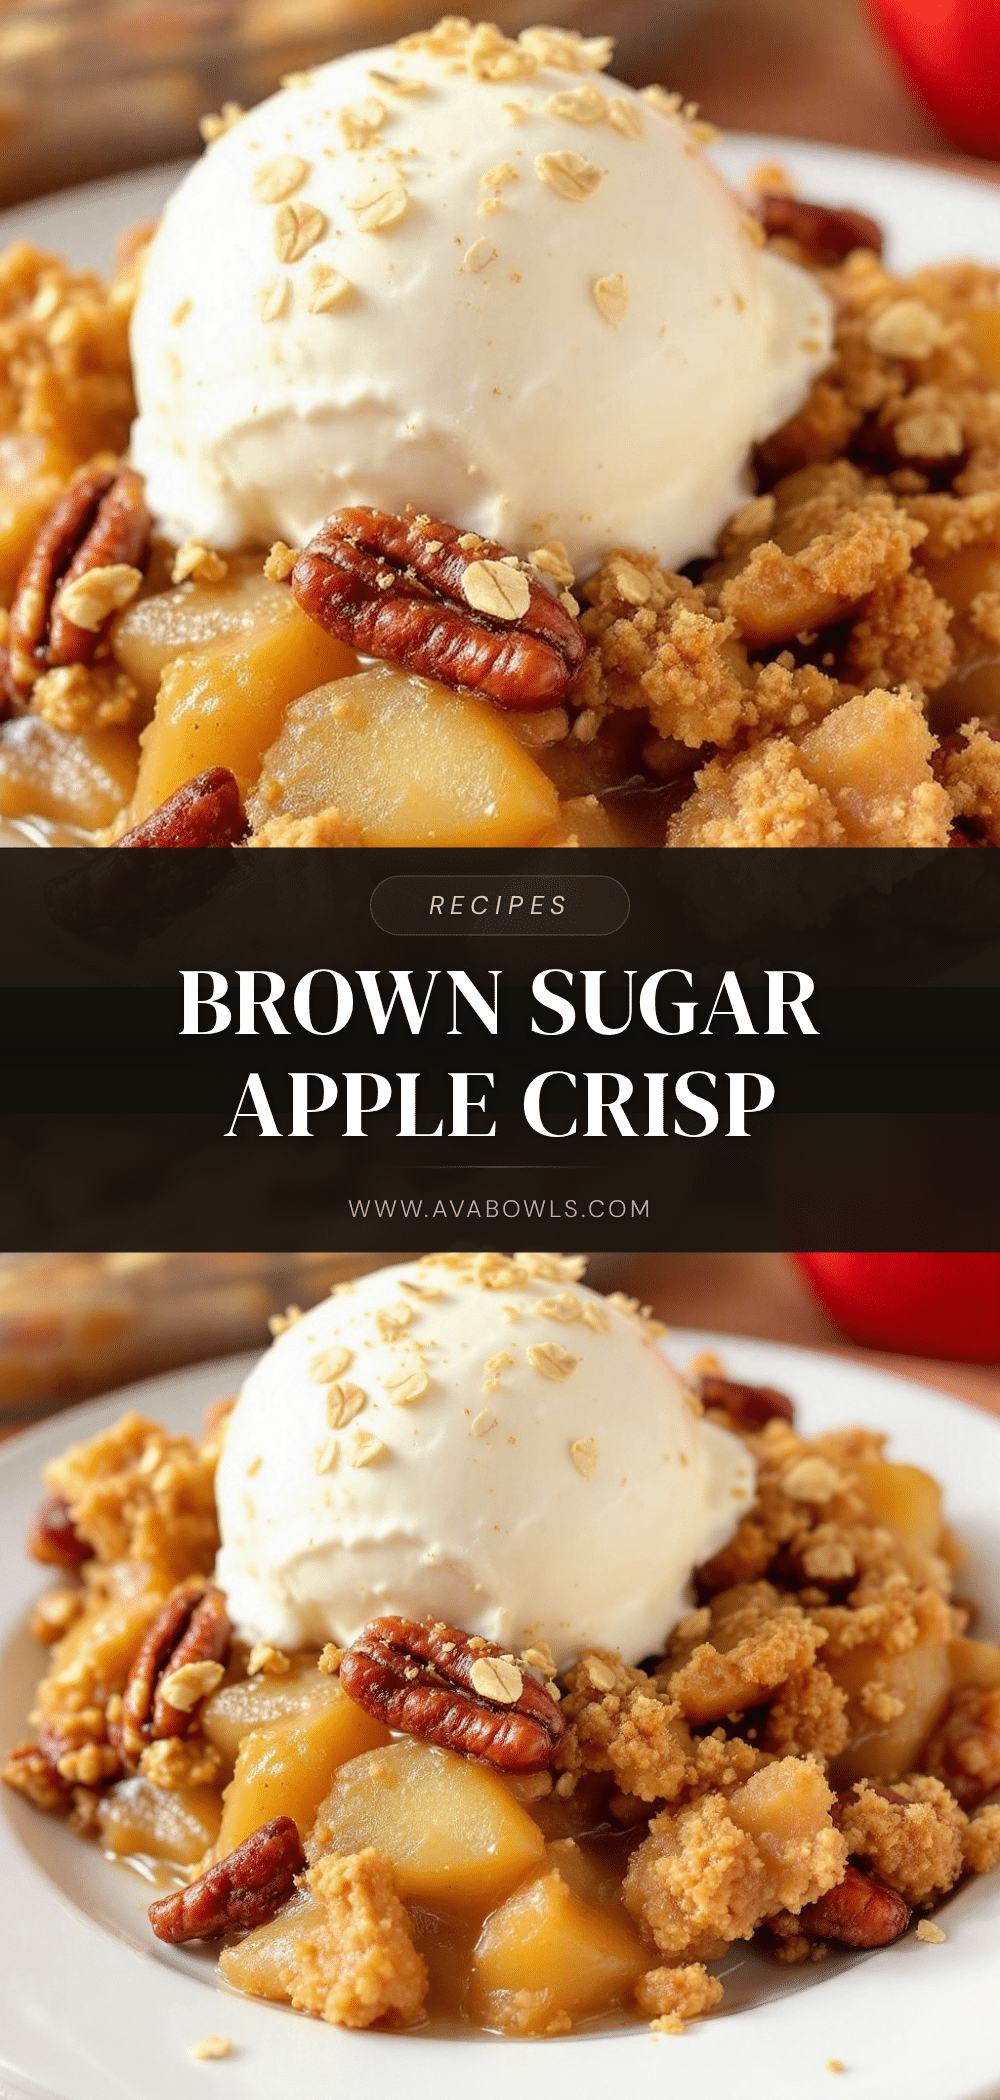
Cozy Brown Sugar Apple Crisp: Best Easy Fall Dessert

A perfect fall dessert featuring tart Granny Smith apples and a crunchy, buttery oat and pecan topping. This recipe focuses on texture, offering a contrast between soft stewed fruit and a shattering, caramelized crust.
- Prep Time: 15 minutes
- Cook Time: 45 minutes
- Total Time: 60 minutes
- Yield: 8 servings 1x
- Category: Dessert
- Cuisine: American
Ingredients
- 6 large Granny Smith apples, peeled, cored, and sliced
- 1/2 cup granulated sugar
- 1 tablespoon lemon juice
- 1 teaspoon ground cinnamon
- 1/2 teaspoon ground nutmeg
- 2 tablespoons cornstarch
- 1 cup old-fashioned rolled oats
- 1 cup all-purpose flour
- 1 cup packed dark brown sugar
- 1 cup unsalted butter, cold and cubed
- 1/2 cup chopped pecans
- 1/2 teaspoon salt
Instructions
- Preheat oven to 375°F (190°C).
- In a large bowl, toss apple slices with granulated sugar, lemon juice, cinnamon, nutmeg, and cornstarch until evenly coated. Let sit for 5 minutes.
- In a separate bowl, combine rolled oats, flour, brown sugar, and salt.
- Add cold cubed butter to the dry ingredients. Use a fork, pastry cutter, or fingers to work the butter in until the mixture resembles coarse sand with pea-sized clumps.
- Fold in chopped pecans.
- Pour the apple mixture into a 9×9 inch baking dish and spread evenly.
- Sprinkle the oat topping evenly over the apples without pressing down.
- Bake for 45 minutes, or until the topping is golden brown and juices are bubbling. If edges brown too quickly, cover loosely with foil after 30 minutes.
- Cool for 10-15 minutes before serving to allow juices to thicken.
- Serve warm with vanilla ice cream or whipped cream.
Notes
Use cold butter for the topping to ensure a flaky, crunchy texture. Do not use instant or steel-cut oats. Granny Smith apples hold their shape best, but a mix with Honeycrisp is acceptable. Let the crisp cool for at least 10 minutes before serving to prevent runny filling. For gluten-free, use GF flour and certified GF oats. For dairy-free, use vegan butter.
Nutrition
- Serving Size: 1/8 of the dish
- Calories: 350
- Sugar: 25
- Sodium: 150
- Fat: 18
- Saturated Fat: 10
- Carbohydrates: 45
- Fiber: 4
- Protein: 3
Keywords: apple crisp, fall dessert, brown sugar, oat topping, pecan crisp, easy dessert, comfort food, gluten-free option


