Browned butter bubbling in the pan, the kitchen filling with that nutty, toasty smell that instantly makes everything feel cozier — I was just trying to salvage a batch of cookies that were turning out flat and sad. You know those days? When you’ve already committed to the butter softening and the sugar creaming, and then you realize you’re out of patience for another failed recipe? That was me. A half-stick of butter, a hot pan, and the stubborn refusal to let another cookie batch disappoint me.
Honestly, I’d been chasing that perfect chewy texture for months. The kind where the edges are just barely crisp, the center stays soft for days, and every bite has that deep, almost butterscotch-like flavor that regular cookies just can’t touch. I’d tried chilling the dough overnight (which helps, but who has time for that every time?), swapping flours, even adding a touch of corn syrup. Nothing quite hit the mark until I let the butter go a little further than I usually dared.
Letting it sizzle and foam until those brown specks appeared felt risky at first. I was sure I’d burned it. But that first bite of the finished cookie — the crisp edge giving way to that impossibly tender, chewy center — made me realize I’d stumbled onto something special. These chewy brown butter chocolate chip cookies aren’t just another recipe to add to your collection. They’re the ones you’ll keep coming back to, the ones that make people close their eyes and go quiet for a second. And that’s a pretty great thing to have in your back pocket.
Why You’ll Love This Recipe
Let me tell you why these cookies are different. I’ve tested this recipe more times than I care to admit, tweaking ratios and temperatures until everything clicked. Here’s what makes them stand out:
- Unbeatable Chewiness : The combination of melted brown butter and an extra egg yolk creates a texture that stays soft and chewy for days — not crispy, not cakey, just perfect.
- Deep, Nutty Flavor : Browning the butter adds a layer of complexity you just can’t get from regular melted butter. It’s like the cookie version of toasted nuts and caramel had a baby.
- Simple Pantry Ingredients : You probably have everything you need already. No fancy extracts, no specialty flours, nothing weird. Just real butter, sugar, eggs, flour, and chocolate.
- No Chill Time Required : I know, I know — most “best ever” cookie recipes make you chill the dough for hours. Not this one. You can have cookies in your hands in under 30 minutes from start to finish.
- Perfect for Any Occasion : Whether you’re baking for a cozy night in, a party, or just because you need a little pick-me-up, these cookies deliver every single time.
I’ve made these for holiday cookie swaps, last-minute dinner guests, and even just for myself on a rainy Tuesday. They never last long. There’s something about that combination of salty-sweet, chewy-crisp, and deeply buttery that just hits every craving at once. And honestly? They’re forgiving enough for beginners but impressive enough to serve to anyone.
What Ingredients You Will Need
This recipe uses simple, everyday ingredients that work together to create something truly special. Here’s what you’ll need and why each one matters:
For the Cookie Dough
- Unsalted butter (1 cup / 226g) — You’ll be browning this, so skip the salted butter here. The browning process concentrates flavor, and you want to control the salt level yourself. I always use a good quality European-style butter like Kerrygold when I can, but any unsalted butter works beautifully.
- Dark brown sugar (1 cup packed / 200g) — This is non-negotiable for chewiness. The molasses content in brown sugar keeps cookies soft and adds that deep, caramel-like flavor that pairs perfectly with the brown butter. Light brown sugar works in a pinch, but dark gives you a richer result.
- Granulated sugar (½ cup / 100g) — Helps with spreading and creates those slightly crisp edges. The combination of both sugars is what gives you that perfect texture contrast.
- Large egg (1 whole + 1 egg yolk) — The extra yolk adds richness and tenderness without making the cookies cakey. Save the egg white for your morning scramble!
- Vanilla extract (2 teaspoons) — Use pure vanilla if you can. It brightens the brown butter flavor beautifully. Imitation works fine too, I’ve used both.
- All-purpose flour (2 cups + 2 tablespoons / 270g) — The slight extra flour helps maintain structure with the melted butter. Spoon and level your flour — don’t scoop directly from the bag, or you’ll end up with dry cookies.
- Baking soda (1 teaspoon) — Helps the cookies spread and brown evenly.
- Salt (½ teaspoon, plus flaky salt for topping) — Salt balances sweetness and enhances the brown butter flavor. Don’t skip the flaky salt on top — it’s what takes these from great to unforgettable.
- Semi-sweet chocolate chips or chunks (1½ cups / 260g) — I prefer a mix of chips and chopped chocolate bars for texture variety. Ghirardelli or Guittard are my go-to brands. You can use milk or dark chocolate depending on your preference.
A quick note on the butter: when you brown it, you’ll lose some volume to evaporation. That’s normal. Don’t be tempted to add extra butter to compensate — the recipe accounts for this loss already. Just trust the process.
Equipment Needed
You don’t need a fancy kitchen to make these cookies. Here’s what you’ll actually use:
- A light-colored saucepan or skillet — This is important! Dark pans make it hard to see the butter solids turning brown, and you’ll end up with burnt butter. A stainless steel or light-colored nonstick pan works perfectly.
- Large mixing bowl — For combining wet and dry ingredients. A glass or ceramic bowl works great.
- Whisk and wooden spoon or silicone spatula — A whisk for the wet ingredients, a sturdy spoon for folding in the flour and chocolate.
- Baking sheets — Two standard half-sheet pans. Line them with parchment paper or a silicone baking mat. Parchment is easier for cleanup, but silicone mats give slightly more even browning on the bottoms.
- Cookie scoop or tablespoon — A 1.5-tablespoon scoop gives you consistently sized cookies. If you don’t have one, use a regular tablespoon and your hands to shape them.
- Cooling rack — Essential for letting the cookies set properly. If you leave them on the hot pan, they’ll keep cooking and can get overdone.
One tip I learned the hard way: don’t use nonstick spray on your parchment paper. It can make the cookies spread too much. Just use the paper as-is.
Preparation Method
Ready to bake? Here’s exactly how to make these cookies turn out perfect every time.
- Brown the butter — Cut the butter into pieces and place them in your light-colored saucepan over medium heat. Stir constantly with a whisk or spatula as the butter melts. It will foam up, then the foam will subside, and you’ll start seeing brown specks forming at the bottom. This takes about 5-7 minutes. The moment the butter smells nutty and looks amber-colored (not dark brown), remove it from the heat immediately. Pour it into a heat-safe bowl to stop the cooking process. Let it cool for 10-15 minutes — it should be warm but not hot when you add it to the sugars.
- Combine sugars and butter — In your large mixing bowl, whisk together the warm brown butter, dark brown sugar, and granulated sugar. Whisk vigorously for about 30 seconds until the mixture looks like wet sand and smells incredible. The warmth of the butter helps dissolve the sugar slightly, which contributes to that chewy texture.
- Add the egg and yolk — Crack the whole egg and the extra yolk into the butter-sugar mixture. Add the vanilla extract. Whisk everything together until it’s smooth, pale, and slightly thickened — about 1 minute. You’ll notice it looks almost like caramel sauce. This is good.
- Mix dry ingredients — In a separate small bowl, whisk together the flour, baking soda, and salt. Make sure there are no lumps. The baking soda should be well distributed so your cookies rise evenly.
- Combine wet and dry — Pour the flour mixture into the wet ingredients. Use a wooden spoon or silicone spatula to fold everything together gently. Stir just until you can’t see any more streaks of flour. Overmixing at this stage will make your cookies tough. A few streaks are fine — they’ll disappear when you add the chocolate.
- Fold in the chocolate — Add your chocolate chips or chunks. Fold them in with a few gentle strokes until they’re evenly distributed. The dough will be thick and slightly sticky — that’s the texture you want.
- Portion the dough — Using your cookie scoop or a tablespoon, portion the dough into balls about 1.5 tablespoons each (about 35g). Place them on the prepared baking sheets, spacing them about 2 inches apart. If you want bakery-style cookies, press a few extra chocolate chunks onto the tops of the dough balls before baking — it makes them look gorgeous.
- Bake — Place one baking sheet at a time on the center rack of your preheated 375°F (190°C) oven. Bake for 10-12 minutes. The edges should be golden brown and set, but the centers will still look slightly soft and puffy. Don’t wait for the centers to look fully done — they’ll continue cooking on the hot pan. For softer, chewier cookies, pull them at 10 minutes. For slightly crisper edges, go to 12.
- Cool and finish — Let the cookies rest on the baking sheet for 5 minutes. While they’re still warm, sprinkle a pinch of flaky salt over each one. Then transfer them to a cooling rack to cool completely — if you can wait that long. I usually sneak one at the 3-minute mark.
A sensory cue to watch for: when the cookies come out of the oven, the edges should be a deep golden brown and the tops should be crackled and slightly glossy. If the tops look pale and smooth, they probably need another minute. If the edges are dark brown and the centers are flat, your oven might run hot — try reducing the temperature to 365°F next time.
Cooking Tips & Techniques
After making these cookies more times than I’d like to admit (my jeans can confirm), I’ve picked up a few tricks that make a real difference.
- Watch the butter like a hawk — Browning butter happens fast. One minute it’s fine, the next it’s burnt. Swirl the pan constantly and trust your nose more than your eyes. When you smell that nutty, toasty aroma, you’re there. Remove the pan from heat immediately — the residual heat will continue cooking the butter for a few seconds.
- Cool the butter properly — If your butter is too hot when you add it to the sugars, your cookies will spread into flat, greasy discs. Too cold, and the sugar won’t dissolve properly, leading to a grainy texture. Aim for warm but not hot — think bathwater temperature. If you’re in a hurry, pop the bowl in the fridge for 5 minutes, stirring occasionally.
- Weigh your flour — I know, I know, weighing ingredients feels fussy. But flour is notoriously inconsistent when measured by volume. A cup of flour can weigh anywhere from 120g to 150g depending on how you scoop it. For chewy cookies, getting the flour right is crucial. If you don’t have a scale, spoon the flour into your measuring cup and level it off with a knife — never scoop directly from the bag.
- Don’t overbake — This is the number one mistake I see people make with chewy cookies. They wait until the centers look fully set, and by then, the cookies are overdone. Pull them when the edges are golden and the centers still look slightly underdone. They’ll set perfectly as they cool.
- Let them rest — Those 5 minutes on the hot baking sheet are non-negotiable. The cookies need that time to finish setting up. If you try to move them too soon, they’ll fall apart. Be patient — it’s worth it.
Variations & Adaptations
One of the best things about this recipe is how easily it adapts. Here are some variations I’ve tried and loved:
- Chocolate Lover’s Version — Swap ¼ cup of the flour for unsweetened cocoa powder. The cookies will be darker, richer, and incredibly decadent. Use white chocolate chips for a beautiful contrast.
- Nutty Brown Butter Cookies — Toast ½ cup of chopped pecans or walnuts in the same pan after browning the butter. Let them cool, then fold them into the dough along with the chocolate. The double-nutty flavor is incredible.
- Gluten-Free Adaptation — Substitute the all-purpose flour with a good 1:1 gluten-free baking flour blend (I like Bob’s Red Mill). Add an extra tablespoon of flour to compensate for the lack of gluten structure. The texture will be slightly more delicate but still wonderfully chewy.
- Sea Salt Caramel Swirl — After scooping the dough onto the baking sheet, press a small cube of soft caramel into the center of each cookie. Sprinkle with flaky salt before baking. The caramel gets all gooey and amazing — just be careful, they’ll be extra hot when they come out.
- Mint Chocolate Chip — Add ½ teaspoon of peppermint extract along with the vanilla. Use dark chocolate chips instead of semi-sweet. The combination of mint and brown butter is surprisingly perfect — fresh and cozy at the same time.
I once made a batch with chopped crispy bacon folded in, and honestly, it was incredible. The salty, smoky bacon against the sweet, nutty cookie — don’t knock it till you try it!
Serving & Storage Suggestions
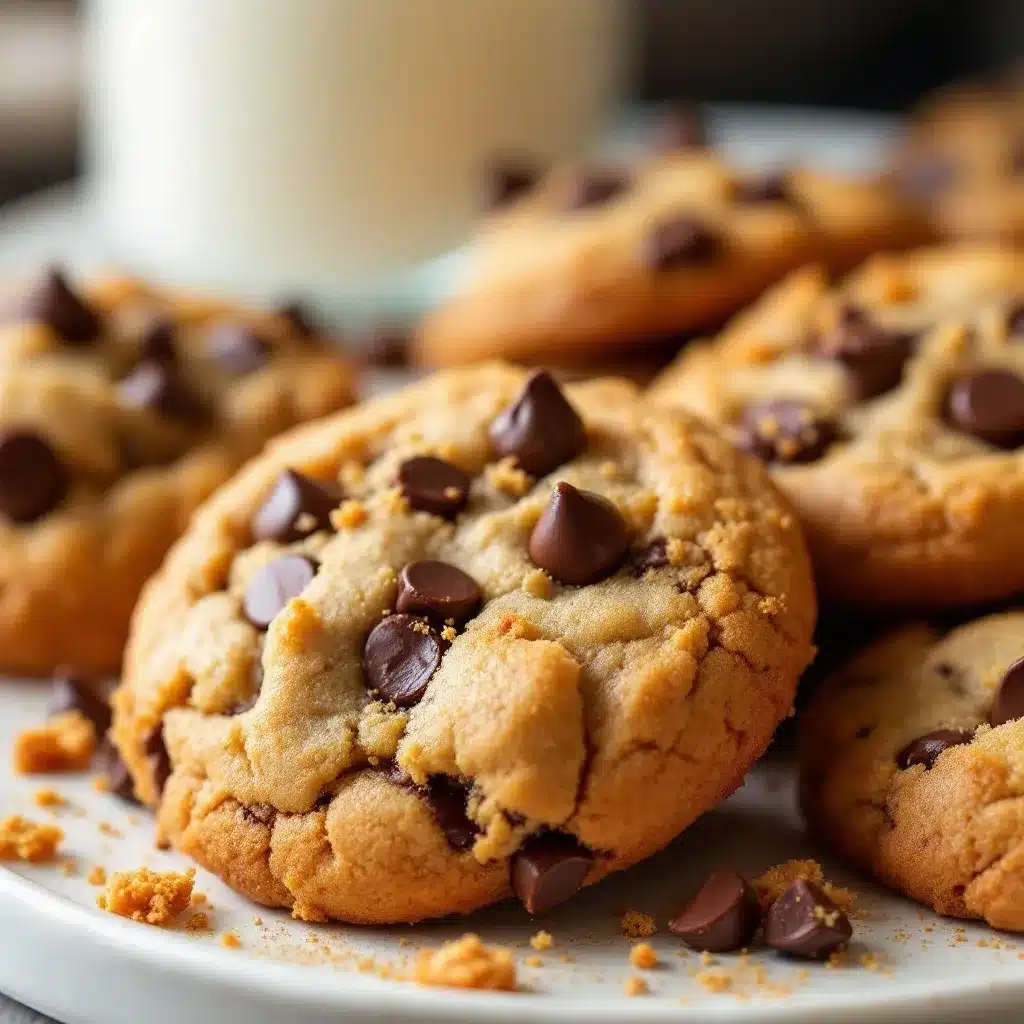
These cookies are best served warm, when the chocolate is still slightly melty and the edges have that perfect crisp-chew contrast. If you can, let them cool for just 5-7 minutes after coming out of the oven, then dig in. A glass of cold milk is the classic pairing, but I also love them with a hot cup of coffee or a creamy matcha latte for an afternoon treat.
For storing, let the cookies cool completely, then place them in an airtight container at room temperature. They’ll stay perfectly chewy for up to 5 days — though in my house, they rarely last that long. If you want to keep them soft, add a slice of bread to the container. The cookies will absorb the moisture from the bread and stay tender. Just replace the bread slice every couple of days.
These cookies freeze beautifully. Place the baked, cooled cookies in a single layer in a freezer-safe bag or container, separating layers with parchment paper. They’ll keep for up to 3 months. To enjoy, let them thaw at room temperature for about 15 minutes, then pop them in a 300°F oven for 3-4 minutes to warm through. They’ll taste almost as fresh as the day you baked them.
You can also freeze the raw dough balls. Scoop them onto a baking sheet, freeze until solid, then transfer to a freezer bag. Bake directly from frozen, adding 2-3 minutes to the baking time. This is my secret for having fresh cookies ready at a moment’s notice — perfect for unexpected guests or late-night cravings.
Nutritional Information & Benefits
Let’s be real — these are cookies, not health food. But that doesn’t mean they can’t be part of a balanced life. Here’s the approximate nutritional breakdown per cookie (based on 24 cookies):
- Calories: 215
- Fat: 12g (7g saturated)
- Carbohydrates: 27g (17g sugar)
- Protein: 3g
- Fiber: 1g
- Sodium: 115mg
On the plus side, dark chocolate contains antioxidants and can help improve mood — so there’s that! The brown butter provides a small amount of vitamin A and healthy fats. And honestly, there’s something to be said for the mental health benefits of taking 30 minutes to bake something that brings you joy. These cookies are about pleasure, comfort, and connection. And sometimes that’s exactly what you need.
If you’re looking for a healthier option, you could try swapping half the all-purpose flour for whole wheat pastry flour or oat flour. You could also reduce the sugar by a quarter cup, though the texture will be slightly less chewy. For a completely different approach, check out these healthy energy balls for a no-bake, naturally sweetened alternative.
Conclusion
These chewy brown butter chocolate chip cookies are everything I want in a cookie — deeply flavorful, perfectly textured, and surprisingly simple to make. They’ve become my go-to for everything from casual afternoons to holiday baking marathons. The brown butter adds a layer of complexity that makes them taste like they came from a fancy bakery, but the truth is, they come from your kitchen, made with your hands, and that makes them even better.
I’d love for you to try this recipe and make it your own. Maybe you’ll add extra chocolate, or a sprinkle of sea salt, or fold in some toasted nuts. Maybe you’ll bake them for someone you love, or just for yourself on a quiet evening. However you make them, I hope they bring you the same kind of joy they’ve brought me.
If you do make them, I’d love to hear how they turned out! Drop a comment below, tag me in your photos, or share your own twist on the recipe. And if you’re looking for more easy, comforting recipes, don’t miss this creamy spring vegetable fettuccine alfredo for a savory option that’s just as satisfying. Happy baking, friends!
Frequently Asked Questions
Can I use salted butter instead of unsalted?
You can, but reduce the added salt in the recipe to ¼ teaspoon. The salt content in salted butter varies by brand, so it’s harder to control the final flavor. I recommend unsalted for the most consistent results.
Why did my cookies turn out flat?
Flat cookies usually mean the butter was too warm when you mixed the dough, or you didn’t use enough flour. Make sure your brown butter has cooled to warm (not hot) before adding it to the sugars. Also, be sure to measure your flour correctly — spoon and level, don’t scoop.
Can I make these cookies ahead of time for a party?
Absolutely! You can bake them up to 3 days in advance and store them in an airtight container. For the freshest taste, reheat them in a 300°F oven for 3-4 minutes before serving. Or freeze the dough balls and bake fresh the day of your party.
How do I get that bakery-style look with the chocolate on top?
After scooping the dough onto the baking sheet, press a few extra chocolate chips or chunks onto the tops of each dough ball. This gives you those beautiful pools of chocolate on the surface after baking. It’s a simple trick that makes a big visual difference.
Can I double this recipe?
Yes! This recipe doubles beautifully. Just make sure you brown the butter in batches — browning too much butter at once can lead to uneven results. Also, don’t overcrowd your baking sheets. Bake in batches and let the sheets cool completely between rounds for the best texture.
Pin This Recipe!
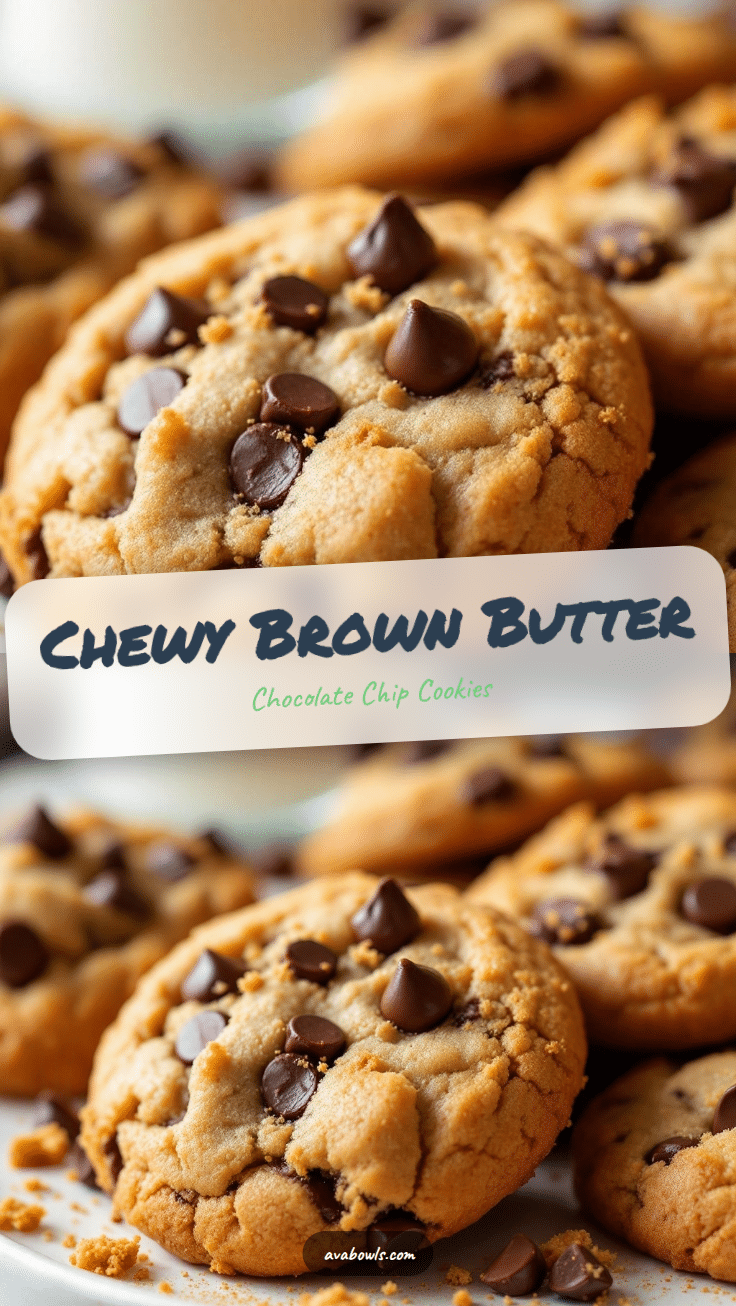
Chewy Brown Butter Chocolate Chip Cookies – Best Easy Recipe

These chewy brown butter chocolate chip cookies have deep, nutty flavor and a perfect texture—crisp edges with a soft, tender center. No chill time required, ready in under 30 minutes.
- Prep Time: 15 minutes
- Cook Time: 10-12 minutes
- Total Time: 25-27 minutes
- Yield: 24 cookies 1x
- Category: Dessert
- Cuisine: American
Ingredients
- 1 cup (226g) unsalted butter
- 1 cup packed (200g) dark brown sugar
- ½ cup (100g) granulated sugar
- 1 large egg + 1 egg yolk
- 2 teaspoons vanilla extract
- 2 cups + 2 tablespoons (270g) all-purpose flour
- 1 teaspoon baking soda
- ½ teaspoon salt, plus flaky salt for topping
- 1½ cups (260g) semi-sweet chocolate chips or chunks
Instructions
- Brown the butter: Cut butter into pieces and place in a light-colored saucepan over medium heat. Stir constantly until butter foams, then subsides, and brown specks appear (5-7 minutes). Remove from heat immediately and pour into a heat-safe bowl. Let cool 10-15 minutes until warm but not hot.
- Combine sugars and butter: In a large mixing bowl, whisk together warm brown butter, dark brown sugar, and granulated sugar for about 30 seconds until mixture looks like wet sand.
- Add the egg and yolk: Crack the whole egg and extra yolk into the butter-sugar mixture. Add vanilla extract. Whisk until smooth, pale, and slightly thickened (about 1 minute).
- Mix dry ingredients: In a separate small bowl, whisk together flour, baking soda, and salt until well combined.
- Combine wet and dry: Pour flour mixture into wet ingredients. Fold gently with a wooden spoon or silicone spatula until just combined (a few streaks of flour are fine).
- Fold in the chocolate: Add chocolate chips or chunks and fold in with a few gentle strokes until evenly distributed. Dough will be thick and slightly sticky.
- Portion the dough: Using a cookie scoop or tablespoon, portion dough into balls about 1.5 tablespoons each (35g). Place on prepared baking sheets lined with parchment paper, spacing 2 inches apart. Optionally press extra chocolate chunks onto tops.
- Bake: Place one baking sheet at a time on center rack of preheated 375°F (190°C) oven. Bake for 10-12 minutes. Edges should be golden brown and set, centers still slightly soft and puffy.
- Cool and finish: Let cookies rest on baking sheet for 5 minutes. While still warm, sprinkle with flaky salt. Transfer to a cooling rack to cool completely.
Notes
Watch the butter carefully when browning—it can go from perfect to burnt quickly. Cool the butter to warm (not hot) before mixing to avoid flat cookies. Measure flour correctly by spooning and leveling. Do not overbake; pull cookies when centers still look slightly underdone. Let cookies rest on the baking sheet for 5 minutes before moving.
Nutrition
- Serving Size: 1 cookie
- Calories: 215
- Sugar: 17
- Sodium: 115
- Fat: 12
- Saturated Fat: 7
- Carbohydrates: 27
- Fiber: 1
- Protein: 3
Keywords: chewy chocolate chip cookies, brown butter cookies, easy cookie recipe, no chill cookies, best chocolate chip cookies


