The layers of a good taco dip should be distinct enough to see from across the room. That’s the whole point. I’m not talking about some sad, muddy scoop where everything melts into a beige blur before the first chip even hits the bowl. I mean a dip that announces itself—sharp white sour cream against deep red salsa, a ribbon of guacamole so green it looks like it was scooped straight from an avocado farm, and a crown of shredded lettuce that stays crisp for the entire party. No soggy bottoms. No flavor chaos. Just a perfect cross-section of everything you want from a party appetizer, stacked in a way that actually works.
I developed this version after what I’ll generously call a “learning experience” at a Super Bowl party a few years back. I showed up with a standard recipe I’d found online, and by halftime, my dip looked like someone had run it through a blender. The chips were breaking, the layers had slid into one another, and honestly, it was a mess. I spent the next few weeks obsessing over the structure of the thing—how to keep the beans from making the sour cream runny, how to get the guacamole to hold its shape without turning brown, and how to make it all taste like something you’d actually crave the next day. This is that recipe. It’s tested, it’s stubborn, and it’s exactly what you need when you’re feeding a crowd.
Why You’ll Love This Recipe
This isn’t just another taco dip recipe. I’ve made this seven-layer taco dip for a crowd at least a dozen times, tweaking proportions and testing different brands until it felt bulletproof. Here’s why it stands out:
- Perfect for Parties: This dip is built for feeding a crowd. It serves 12 to 16 people easily, and it’s one of those dishes that disappears before the main course even hits the table.
- No Soggy Layers: The secret is in the assembly order and a few simple tricks. The beans form a barrier, the sour cream is thickened with a little lime juice, and the guacamole gets a citrus shield. Your dip stays beautiful from the first chip to the last.
- Simple Ingredients: You probably already have most of these in your pantry. No weird specialty items, no expensive cheese blends. Just straightforward, good-quality staples.
- Make-Ahead Friendly: You can prep most of the components a day ahead. Just assemble right before serving, and you’re golden. This is a lifesaver when you’re hosting.
- Crowd-Pleaser: I’ve brought this to potlucks, game days, and family gatherings, and it’s always the first bowl to empty. Kids love it, adults love it, and there’s never a single complaint.
- Customizable: This recipe is a fantastic base. You can swap in different salsas, add seasoned ground beef, or make it vegetarian. It adapts to whatever your crowd needs.
This dip is the kind that makes people hover around the snack table. It’s not just good—it’s the recipe people ask for again and again. And honestly, that’s the best feeling.
What Ingredients You Will Need
This recipe uses simple, wholesome ingredients to deliver bold flavor and satisfying texture without the fuss. Most of these are pantry staples, and the few fresh items are easy to find at any grocery store.
For the Refried Bean Layer
- 1 can (16 ounces) refried beans (I prefer Rosarita or Old El Paso for their smooth texture and mild flavor)
- 1 tablespoon taco seasoning (store-bought or homemade)
- 2 tablespoons water
For the Sour Cream Layer
- 1 cup sour cream (full-fat works best for thickness)
- 1/2 cup mayonnaise (yes, really—it stabilizes the sour cream and adds richness)
- 1 packet (1 ounce) taco seasoning (or 2 tablespoons homemade blend)
- Juice of 1/2 lime (fresh, not bottled)
For the Guacamole Layer
- 3 ripe avocados (they should yield slightly to gentle pressure)
- 1/4 cup finely diced red onion
- 1 jalapeño, seeded and minced (optional, for heat)
- Juice of 1 lime (keeps the guacamole green and bright)
- 1/4 teaspoon salt, or to taste
- 2 tablespoons chopped fresh cilantro (optional, but I love it)
For the Salsa Layer
- 1 cup chunky salsa (I use Pace or Herdez for a good balance of heat and texture)
- Drain the salsa slightly to avoid a watery layer. Let it sit in a fine-mesh strainer for a few minutes while you prep other things.
For the Cheese Layer
- 2 cups shredded Mexican blend cheese (a mix of cheddar, Monterey Jack, and queso quesadilla works beautifully)
- Shred it yourself from a block if you have time—it melts better and doesn’t have the anti-caking agents that make pre-shredded cheese clump.
For the Toppings
- 2 cups shredded iceberg lettuce (crisp and cold)
- 1 cup diced Roma tomatoes (seeded and drained)
- 1/2 cup sliced black olives (drained)
- 1/4 cup sliced green onions (green parts only)
- Fresh cilantro leaves for garnish (optional)
For Serving
- Tortilla chips (I like Tostitos Scoops for their sturdiness—they hold up to the layers without breaking)
Equipment Needed
You don’t need anything fancy to make this seven-layer taco dip for a crowd. Here’s what you’ll need:
- A clear glass or acrylic dish: A 9×13-inch baking dish works perfectly. A clear dish lets the layers shine, which is half the fun of this dip. I use a Pyrex baking dish, and it’s perfect for showing off all those beautiful stripes.
- A rubber spatula: For spreading the layers evenly. A small offset spatula also works wonders for getting smooth, even layers.
- A mixing bowl: For the sour cream mixture and the guacamole.
- A sharp knife and cutting board: For dicing the tomatoes, onions, and jalapeño.
- A citrus juicer: If you don’t have one, just roll the lime on the counter before cutting it in half and squeezing by hand.
- A fine-mesh strainer: For draining the salsa and the diced tomatoes. This is a small step that makes a big difference in texture.
If you don’t have a clear dish, any 9×13-inch dish will do. Just know that you’ll miss out on the visual payoff. And honestly, that’s part of the fun of this dip—it’s as pretty as it is tasty.
Preparation Method
Here’s the step-by-step process. Trust the order—it matters for keeping everything stable.
Step 1: Prep Your Ingredients (10 minutes)
Dice the red onion, mince the jalapeño, seed and dice the tomatoes, and shred the lettuce. Drain the salsa in a fine-mesh strainer. Let it sit while you work on the other layers. This step alone prevents a watery dip.
Step 2: Make the Bean Layer (5 minutes)
In a small bowl, mix the refried beans with the taco seasoning and water. Stir until smooth and spreadable. Spread this evenly over the bottom of your 9×13-inch dish. Use a rubber spatula to get it nice and even. This layer acts as the foundation—it’s thick enough to hold everything above it.
Step 3: Make the Sour Cream Layer (5 minutes)
In a medium bowl, whisk together the sour cream, mayonnaise, taco seasoning packet, and lime juice. Whisk until smooth and fully combined. The mayonnaise might sound strange, but it’s the secret to a stable, non-runny sour cream layer. Spread this gently over the bean layer, being careful not to mix the two layers. An offset spatula helps here.
Step 4: Make the Guacamole (10 minutes)
Cut the avocados in half, remove the pits, and scoop the flesh into a bowl. Add the diced red onion, minced jalapeño (if using), lime juice, salt, and cilantro. Mash with a fork to your desired consistency—I like it a little chunky. Spread this over the sour cream layer. The lime juice in the guacamole acts as a barrier against oxidation, so it stays green for hours.
Step 5: Add the Salsa Layer (2 minutes)
Spoon the drained salsa over the guacamole. Spread it gently, but don’t press down. The salsa should sit on top of the guacamole without sinking in. The draining step is crucial here—if your salsa is watery, it will make the guacamole slide around.
Step 6: Add the Cheese Layer (2 minutes)
Sprinkle the shredded cheese evenly over the salsa. Don’t pile it in one spot. Even coverage means every chip gets a little bit of cheese.
Step 7: Add the Toppings (5 minutes)
Sprinkle the shredded lettuce over the cheese. Then add the diced tomatoes, sliced black olives, and sliced green onions. Garnish with fresh cilantro leaves if you like. The lettuce goes on top of the cheese so it stays crisp. If you put it under the cheese, it gets soggy fast.
Step 8: Chill and Serve (30 minutes minimum)
Cover the dish with plastic wrap and refrigerate for at least 30 minutes before serving. This allows the layers to set and the flavors to meld. I’ve made this up to 4 hours ahead, and it’s always perfect. Serve with sturdy tortilla chips.
Cooking Tips & Techniques
I’ve made this seven-layer taco dip for a crowd more times than I can count, and I’ve learned a few things the hard way. Here are my best tips:
- Drain everything: The salsa, the tomatoes, the olives—drain them all. Excess moisture is the enemy of a stable dip. I once skipped draining the salsa, and by the end of the party, the guacamole had turned into a sad, watery mess. Never again.
- Use room-temperature ingredients: Take the sour cream and cream cheese (if you’re using it) out of the fridge 15 minutes before you start. They spread much more smoothly this way.
- Don’t skip the chilling step: I know you’re hungry, but that 30 minutes in the fridge is non-negotiable. It lets the layers set so they don’t slide around when people start scooping.
- Use a clear dish: This isn’t just for looks. A clear dish lets you see the layers, which means you can tell if they’re even. It’s also a crowd-pleaser when people see that beautiful cross-section.
- Shred your own cheese: Pre-shredded cheese has anti-caking agents that prevent it from melting smoothly. For a cold dip like this, it’s less about melting and more about texture. Freshly shredded cheese just tastes better and clumps less.
- Make the guacamole last: Guacamole browns quickly, so make it right before you assemble the dip. The lime juice helps, but time is still the enemy. If you need to prep ahead, keep the avocado pits in the guacamole and press plastic wrap directly onto the surface.
One more thing—if you’re making this for a party, consider setting out a small bowl of extra sour cream and salsa on the side. Some people like to add a little extra on top of their chips, and it’s a nice touch that shows you thought about your guests.
Variations & Adaptations
This recipe is incredibly flexible. Here are some of my favorite variations:
Loaded Taco Dip with Ground Beef
Brown 1 pound of ground beef with taco seasoning, let it cool, and sprinkle it over the refried bean layer before adding the sour cream. This turns the dip into a full meal. I did this for a game day party once, and it was gone in 20 minutes.
Vegetarian Black Bean Layer
Swap the refried beans for a layer of seasoned black beans. Mash half a can of black beans with cumin, chili powder, and a splash of lime juice. It adds a different texture and a slightly earthier flavor.
Spicy Kick Version
Add a layer of pickled jalapeños between the salsa and the cheese. Or mix a teaspoon of chipotle powder into the sour cream layer. The smoky heat is amazing with the cool sour cream and creamy guacamole.
Dairy-Free Adaptation
Use dairy-free sour cream and a vegan cheese shred. The rest of the recipe stays the same. I’ve tested this with a cashew-based sour cream, and it works beautifully. Just make sure your guacamole is dairy-free (it naturally is).
Fresh Salsa Swap
In summer, when tomatoes are at their peak, use a fresh pico de gallo instead of jarred salsa. Dice tomatoes, onions, cilantro, and jalapeño, and season with lime juice and salt. Drain it well before layering. The freshness is incredible.
Serving & Storage Suggestions
This dip is best served cold, straight from the fridge. The layers hold up best when the dip is well-chilled, so don’t let it sit out at room temperature for more than 2 hours. If you’re serving it at a party, set the dish on a bed of ice to keep it cool.
For presentation, I like to place the dip in the center of a large platter and surround it with tortilla chips. It looks inviting and makes it easy for guests to grab a chip and scoop. If you’re feeling fancy, you can also serve it with a side of creamy beer cheese pretzel dip for a fun snack spread.
Storage: Cover the dish tightly with plastic wrap and refrigerate for up to 2 days. The guacamole will start to brown after 24 hours, but the dip is still safe to eat. If you want to prep ahead, assemble everything except the guacamole and the toppings. Add those just before serving.
Reheating: This dip is meant to be served cold, so reheating isn’t recommended. If you have leftovers, you can use them as a topping for tacos or burrito bowls. I’ve also stirred leftovers into scrambled eggs for a quick breakfast, and it’s surprisingly good.
Flavors actually develop over time. The dip tastes even better after a few hours in the fridge because the seasonings meld together. So don’t be afraid to make it the night before—just add the guacamole and toppings right before serving.
Nutritional Information & Benefits
Here’s an approximate nutritional breakdown per serving (based on 12 servings):
- Calories: 280
- Fat: 22g
- Saturated Fat: 8g
- Carbohydrates: 14g
- Fiber: 6g
- Sugar: 4g
- Protein: 10g
- Sodium: 520mg
Health Benefits: This dip actually has some redeeming qualities. The avocados are packed with healthy monounsaturated fats and fiber, which are great for heart health. The beans add protein and more fiber, making this dip more filling than you’d expect. The tomatoes provide lycopene, an antioxidant linked to reduced inflammation. And the sour cream and cheese offer calcium for bone health.
Dietary Considerations: This recipe is naturally gluten-free (just check your taco seasoning label). To make it vegetarian, skip the ground beef variation. For a lower-fat version, use reduced-fat sour cream and cheese. It’s not the same, but it still works.
Potential Allergens: Dairy (sour cream, cheese, mayonnaise). If you’re serving a crowd, it’s worth labeling the dish so guests with dairy allergies know. The dairy-free adaptation above works well.
Conclusion
This seven-layer taco dip for a crowd has become my go-to party recipe for a reason. It’s reliable, it’s beautiful, and it tastes like something you’d actually want to eat—not just something that fills space on a snack table. The layers stay distinct, the flavors are balanced, and it’s flexible enough to adapt to whatever your crowd needs.
I love this recipe because it reminds me of all the good times I’ve had sharing food with people I care about. Game days, birthday parties, casual get-togethers—this dip has been there for all of them. And every time I make it, someone asks for the recipe. That’s the highest compliment a cook can get.
So go ahead and make this for your next gathering. Customize it, make it your own, and don’t be afraid to experiment. And when you do, I’d love to hear about it. Leave a comment below, share your version on social media, or tag me in your photos. Let’s keep the good food going.
Happy dipping!
Frequently Asked Questions
Can I make this seven-layer taco dip a day ahead?
Yes, with one caveat. You can assemble the bean layer, sour cream layer, salsa, and cheese a day ahead. Cover and refrigerate. Add the guacamole and fresh toppings (lettuce, tomatoes, olives) right before serving. This keeps everything crisp and green.
How do I keep the guacamole from turning brown?
Fresh lime juice is your best friend here. The acidity slows down oxidation significantly. Also, pressing plastic wrap directly onto the surface of the guacamole (before adding the salsa) creates an airtight seal that prevents browning. If you’re prepping ahead, leave the avocado pit in the guacamole until you’re ready to spread it.
What are the best chips for this dip?
Sturdy chips are non-negotiable. I use Tostitos Scoops because they’re thick and have a curved shape that holds a lot of dip. Regular tortilla chips break too easily with all those layers. If you want something different, try thick-cut restaurant-style chips or even pita chips for a change.
Can I make this dip in a smaller dish?
Absolutely. Halve the recipe and use an 8×8-inch dish. The layers will be just as beautiful. Just adjust the chilling time slightly—a smaller dish sets up faster, so 20 minutes in the fridge should be enough.
What can I do with leftovers?
Leftovers are great! Use them as a topping for tacos, burritos, or nachos. I’ve also stirred leftover dip into scrambled eggs for a quick breakfast. If the guacamole has browned, just scrape off the top layer—the dip underneath is still fine. Store leftovers in an airtight container for up to 2 days.
If you’re looking for more crowd-pleasing appetizers, try this creamy slow cooker queso blanco dip or these crispy baked buffalo cauliflower bites. They’re perfect for rounding out your party menu.
Pin This Recipe!
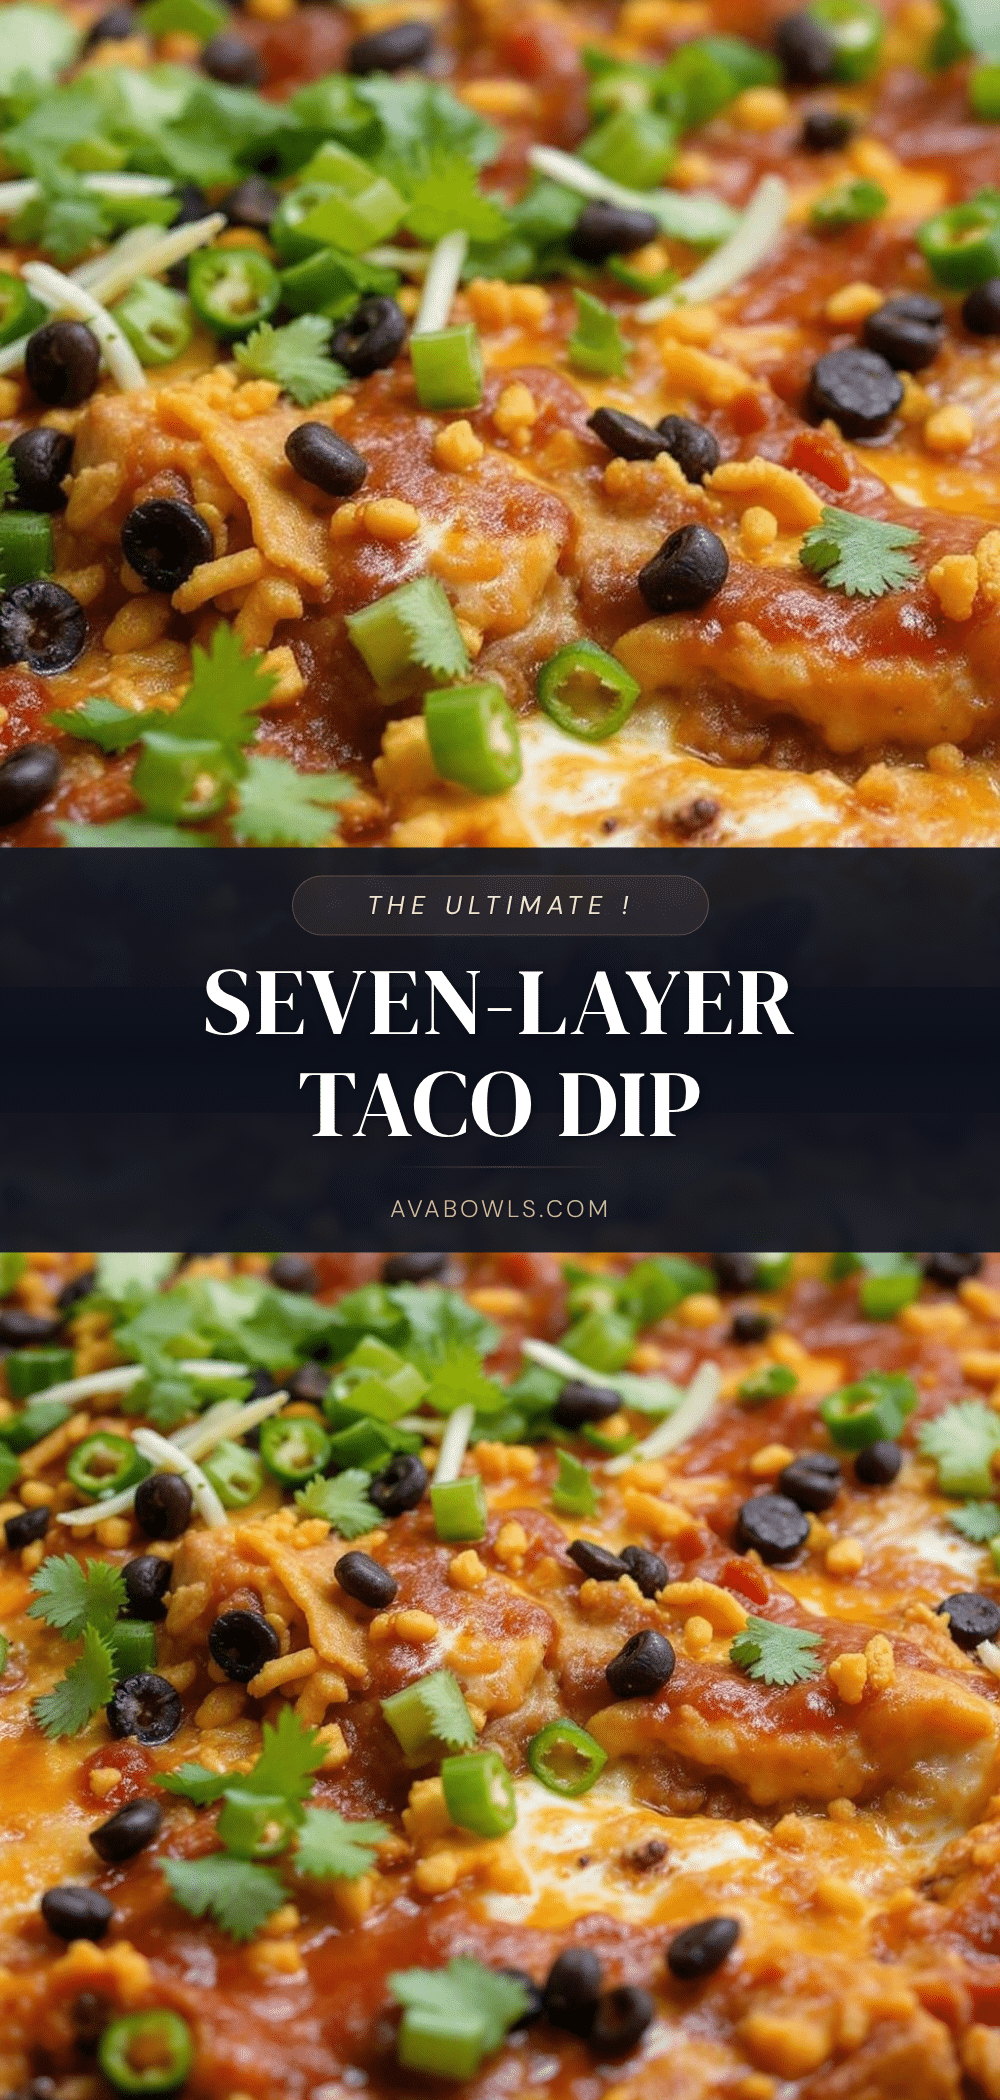
Best Seven-Layer Taco Dip for a Crowd (Easy Recipe)

This seven-layer taco dip features distinct, stable layers of refried beans, sour cream, guacamole, salsa, cheese, and fresh toppings. Perfect for parties, it stays beautiful and delicious from the first chip to the last.
- Prep Time: 30 minutes
- Cook Time: 0 minutes
- Total Time: 1 hour (including chilling)
- Yield: 12-16 servings 1x
- Category: Appetizer
- Cuisine: Mexican-American
Ingredients
- 1 can (16 ounces) refried beans (preferably Rosarita or Old El Paso)
- 1 tablespoon taco seasoning
- 2 tablespoons water
- 1 cup sour cream (full-fat)
- 1/2 cup mayonnaise
- 1 packet (1 ounce) taco seasoning (or 2 tablespoons homemade blend)
- Juice of 1/2 lime (fresh)
- 3 ripe avocados
- 1/4 cup finely diced red onion
- 1 jalapeño, seeded and minced (optional)
- Juice of 1 lime
- 1/4 teaspoon salt, or to taste
- 2 tablespoons chopped fresh cilantro (optional)
- 1 cup chunky salsa (preferably Pace or Herdez), drained
- 2 cups shredded Mexican blend cheese (cheddar, Monterey Jack, queso quesadilla)
- 2 cups shredded iceberg lettuce
- 1 cup diced Roma tomatoes, seeded and drained
- 1/2 cup sliced black olives, drained
- 1/4 cup sliced green onions (green parts only)
- Fresh cilantro leaves for garnish (optional)
- Tortilla chips (preferably Tostitos Scoops) for serving
Instructions
- Prep your ingredients: Dice the red onion, mince the jalapeño, seed and dice the tomatoes, and shred the lettuce. Drain the salsa in a fine-mesh strainer and let it sit.
- Make the bean layer: In a small bowl, mix the refried beans with the taco seasoning and water until smooth. Spread evenly over the bottom of a 9×13-inch dish.
- Make the sour cream layer: In a medium bowl, whisk together the sour cream, mayonnaise, taco seasoning packet, and lime juice until smooth. Spread gently over the bean layer.
- Make the guacamole: Cut avocados in half, remove pits, and scoop flesh into a bowl. Add diced red onion, minced jalapeño (if using), lime juice, salt, and cilantro. Mash with a fork to desired consistency. Spread over the sour cream layer.
- Add the salsa layer: Spoon the drained salsa over the guacamole and spread gently without pressing down.
- Add the cheese layer: Sprinkle the shredded cheese evenly over the salsa.
- Add the toppings: Sprinkle shredded lettuce over the cheese, then add diced tomatoes, sliced black olives, and sliced green onions. Garnish with fresh cilantro leaves if desired.
- Chill and serve: Cover the dish with plastic wrap and refrigerate for at least 30 minutes before serving. Serve with sturdy tortilla chips.
Notes
Drain all wet ingredients (salsa, tomatoes, olives) to prevent a watery dip. Use room-temperature sour cream and cream cheese for easier spreading. Chilling for at least 30 minutes is essential for stable layers. Shred your own cheese for better texture. Make guacamole last to prevent browning. For make-ahead, assemble everything except guacamole and toppings, then add those just before serving.
Nutrition
- Serving Size: 1 serving (based on
- Calories: 280
- Sugar: 4
- Sodium: 520
- Fat: 22
- Saturated Fat: 8
- Carbohydrates: 14
- Fiber: 6
- Protein: 10
Keywords: seven-layer taco dip, taco dip, party dip, game day dip, easy appetizer, crowd-pleaser, no-bake


