For a while, I just accepted that fall snacking wasn’t going to taste like anything other than a handful of dried raisins or a stale granola bar. You know how it goes—October hits, the air gets crisp, and suddenly everyone wants something sweet but also savory, something that looks good on a table but doesn’t require a chef’s degree to assemble. I had been looking for a centerpiece that actually felt special without the stress of hosting a full dinner party. Honestly, most of what I tried was just fruit thrown on a plate with some cheese. It was fine, but it lacked soul.
I remember standing in the kitchen last year, staring at a bunch of Honeycrisp apples that were starting to brown, feeling pretty defeated. I wanted that cozy, harvest-time vibe without the mess of cooking a whole pie. Let’s face it, peeling and coring apples for a dozen guests is a nightmare. I needed something that brought people together, something that encouraged conversation while they grabbed a bite. That’s when the idea clicked. It wasn’t about reinventing the wheel; it was about taking simple, seasonal ingredients and arranging them with intention.
The gap wasn’t in the food itself, but in the experience. I wanted a board that felt abundant and inviting, a mix of textures that made eating feel like an event. I didn’t need fancy gadgets or rare ingredients. I just needed to get the balance right between the tart apple, the rich caramel, and the salty crunch. Once I nailed that ratio, everything else fell into place. It became the go-to for every gathering from then on, quiet and satisfying in a way that just worked.
Why You’ll Love This Caramel Apple Charcuterie Board
This isn’t just another fruit platter. It’s the kind of snack that makes you close your eyes after the first bite because the flavor combo is just that good. I’ve tested this setup dozens of times, tweaking the cheese selection and the apple types, and this specific combination is the winner. It’s comfort food reimagined—healthier, faster, but with the same soul-soothing satisfaction as a warm dessert. Here is why this board stays on repeat:
- Quick & Easy: Comes together in under 15 minutes, perfect for busy weeknights or last-minute guests who drop by unexpectedly.
- Simple Ingredients: No fancy grocery trips needed; you likely already have apples, cheese, and nuts in your kitchen. The caramel can be store-bought or made from scratch in minutes.
- Perfect for Fall Gatherings: Great for harvest parties, game day snacks, or just a cozy Tuesday night treat.
- Crowd-Pleaser: Always gets rave reviews from kids and adults alike. The mix of sweet and salty hits every craving.
- Unbelievably Delicious: The texture contrast between the crisp apple, creamy cheese, and crunchy nuts is next-level.
What makes this recipe different from the rest is the attention to detail in pairing. Many people just throw cheddar on a plate. Here, we are using sharp cheddar for bite, gouda for smoke, and brie for creaminess. It’s a curated experience. Whether you are hosting a large party or just want a nice snack for yourself, this setup feels intentional. It’s perfect for impressing guests without stress, or turning a simple meal into something memorable.
What Ingredients You Will Need
This recipe uses simple, wholesome ingredients to deliver bold flavor and satisfying texture without the fuss. The key is balancing the sweetness of the apples and caramel with savory, salty, and crunchy elements. You want a mix of textures that keeps every bite interesting. Here is what you need to build the ultimate board.
For the Fresh Elements
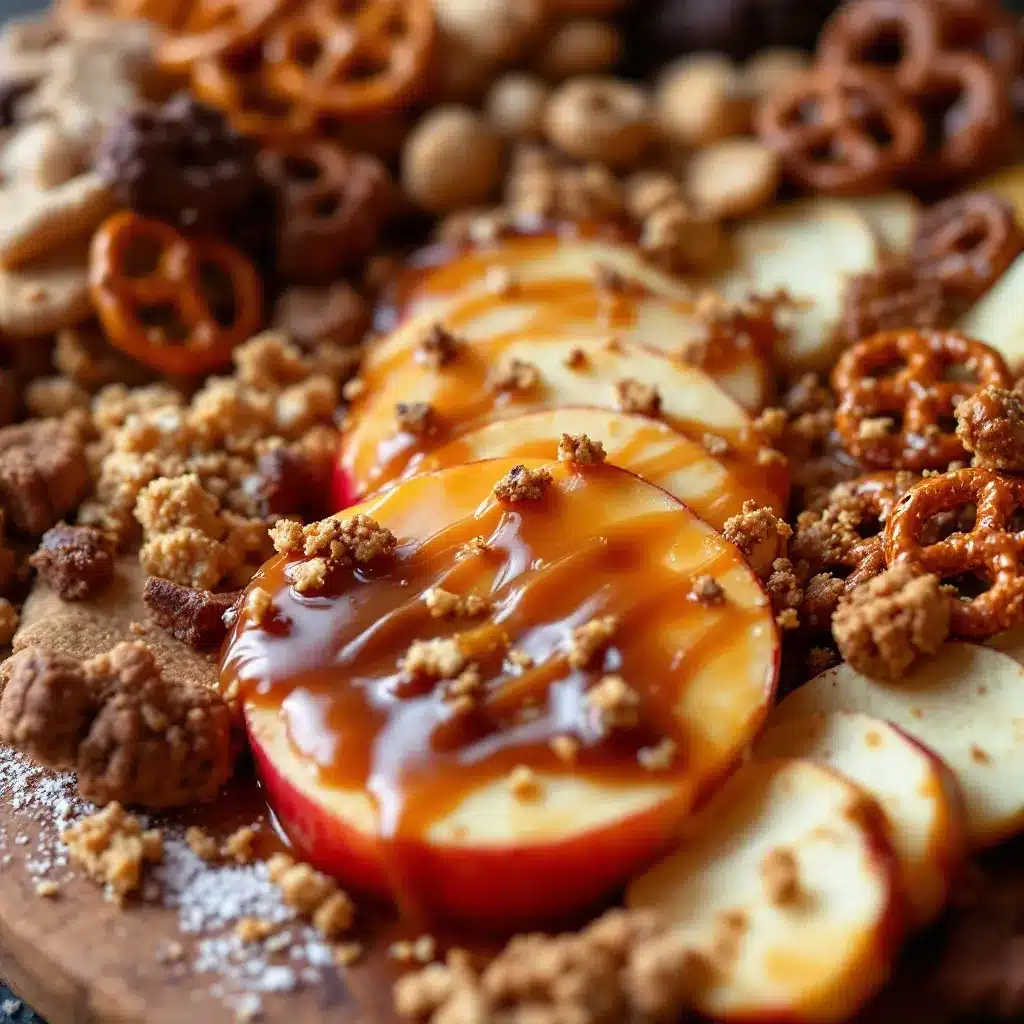
- Firm Apples: Honeycrisp, Gala, or Fuji apples. These hold their shape well and offer a nice snap. Avoid Red Delicious as they can be mealy. (Choose apples that are firm to the touch, no soft spots)
- Fresh Berries: Red grapes or cranberries add a tart contrast to the sweet caramel. (Wash and dry thoroughly to prevent sogginess)
For the Cheese Selection
- Sharp Cheddar: Cubed or sliced. The sharpness cuts through the sweetness. (I recommend Cabot for a reliable sharp flavor)
- Smoked Gouda: Sliced or cubed. Adds a subtle smoky depth that pairs beautifully with apples. (Softens slightly at room temp, which is good)
- Brie or Camembert: Whole rounds or wedges. Adds a creamy, luxurious element. (Let it come to room temp before serving for best texture)
- Manchego: Sliced. A Spanish sheep’s milk cheese that has a nutty, tangy profile. (Great for a sophisticated touch)
For the Crunch and Savory Bits
- Roasted Nuts: Pecans, walnuts, or almonds. Toasted nuts add essential crunch. (Check your local bulk bins for the freshest options)
- Crackers: Water crackers, wheat thins, or pretzel crisps. (Pretzels add a nice salty kick)
- Prosciutto or Bacon: Thinly sliced prosciutto or crispy bacon bits. (Adds a savory, umami punch)
For the Sweet Finish
- Caramel Sauce: High-quality store-bought or homemade. (Look for one with real butter, not just corn syrup)
- Sea Salt Flakes: For sprinkling over the caramel or cheese. (Enhances all the flavors)
- Dark Chocolate Chunks: Optional, but adds a rich bitter note. (Use 70% cacao for best balance)
Equipment Needed
You don’t need much to pull this off, which is part of the beauty of it. The main piece of equipment is a large serving board. A wooden board adds warmth and rustic charm, while marble looks sleek and modern. If you don’t have a dedicated charcuterie board, a large cutting board or even a clean slate tile works perfectly. You will also need a sharp knife for slicing the apples and cheese. Keep it clean between cuts to maintain presentation. Small bowls or ramekins are helpful for holding the caramel sauce and any loose nuts or berries to keep the board organized. If you are making homemade caramel, you will need a small saucepan and a whisk. For storing leftovers, airtight containers are best, especially for the cut apples to prevent browning.
Preparation Method
Building this board is more about arrangement than cooking, but getting the prep right makes a huge difference. Follow these steps for a professional-looking result.
- Prep the Apples (5 minutes): Wash the apples thoroughly. Leave the skins on for color and fiber. Cut them into wedges or thick slices. To keep them from browning, you can toss them lightly in a mixture of water and lemon juice, then pat dry. (Do this right before assembling to keep them crisp)
- Prepare the Cheese (5 minutes): Cube the cheddar and gouda. Slice the brie or cut it into wedges. If using prosciutto, fold the slices loosely to create volume. (Take cheeses out of the fridge 30 minutes before serving so they taste their best)
- Toast the Nuts (Optional, 5 minutes): If your nuts aren’t pre-toasted, spread them on a baking sheet and toast in the oven at 350°F (175°C) for 5-7 minutes. Watch them closely as they can burn quickly. Let them cool completely. (Cooling prevents them from getting soggy in the bowl)
- Arrange the Board (10 minutes): Start with the largest items. Place the brie wheels or cheese wedges first. Then add the bowls for caramel and nuts. Next, arrange the apple slices in a fan shape or clusters. Fill in gaps with grapes, crackers, and prosciutto. (Vary the heights by using bowls or propping up crackers)
- Add the Finishing Touches: Drizzle the caramel into a small bowl. Sprinkle sea salt over the caramel or directly onto the cheese wedges. Add chocolate chunks in small piles. (A little sea salt on caramel apples is a game-changer)
Troubleshooting Common Issues
- Apple Browning: If you prep too early, use the lemon water bath. It’s a simple trick that keeps them bright.
- Sliding Cheese: If your cheese keeps sliding off the board, place a small piece of parchment paper or a napkin under the cheese group to create friction.
- Soggy Crackers: Keep crackers in a separate container until serving time if the caramel is very liquid. Or place them at the edge of the board away from wet ingredients.
Cooking Tips & Techniques
There are a few pro tips that separate a good board from a great one. First, room temperature is key for cheese. Cold cheese tastes bland and hard. Taking it out 30 minutes before serving allows the fats to soften and the flavors to bloom. Second, variety in shape and size keeps the eye interested. Don’t just cube everything. Slice some, wedge some, leave some whole. This visual variety makes the board look abundant and inviting. Third, taste as you go. If the caramel is very sweet, add more salty nuts or sharp cheese to balance it. If the cheese is very salty, add more fresh fruit or honey. It’s all about balance. Also, consider the flow of the board. Place the items so that guests can easily reach everything without having to cross over other food. This is especially important for larger gatherings. Finally, don’t overcrowd the board. Negative space is your friend. It allows each item to stand out and makes the board look more elegant.
Variations & Adaptations
This board is highly adaptable. Here are a few ways to change it up based on your preferences or dietary needs.
- Dairy-Free Option: Swap the cheese for dairy-free alternatives made from cashews or almonds. Many brands now make excellent smoked gouda-style slices that work well here.
- Gluten-Free: Use gluten-free crackers or rice cakes. Ensure the caramel sauce is certified gluten-free if cross-contamination is a concern.
- Low-Sugar Twist: Skip the caramel sauce and use a sugar-free almond butter dip instead. Add more fresh berries and nuts for sweetness.
- Savory Focus: Reduce the fruit and increase the meats and cheeses. Add pickles, olives, and roasted red peppers for a more savory profile.
- Personal Variation: I love adding a drizzle of balsamic glaze over the strawberries and brie. The acidity cuts through the richness beautifully. It’s a simple addition that feels fancy.
Serving & Storage Suggestions
Serve this board at room temperature for the best flavor experience. Pair it with a crisp apple cider or a glass of red wine like Pinot Noir. For a non-alcoholic option, sparkling cider or iced tea works well. If you have leftovers, store the cut apples in an airtight container with a paper towel to absorb moisture. They will last 2-3 days in the fridge. The cheese can also be stored in the fridge, but let it come to room temp before serving again. The caramel sauce should be kept in a sealed jar in the fridge. Reheat it gently in the microwave for 15-30 seconds before serving. The flavors of the board actually meld nicely if you let it sit for an hour, allowing the apple juices to lightly flavor the nearby nuts and crackers.
Nutritional Information & Benefits
This board offers a mix of macronutrients, providing protein from the cheese and nuts, healthy fats from the cheese and nuts, and carbohydrates from the fruit and crackers. Apples are a good source of fiber and Vitamin C. Cheese provides calcium and protein. Nuts offer healthy unsaturated fats and magnesium. While it is indulgent, it is more balanced than many dessert options. It is naturally gluten-free if you choose GF crackers, and can be made dairy-free or nut-free with substitutions. Just be mindful of portion sizes, as the calorie density can add up quickly with the cheese and nuts.
Conclusion
This Caramel Apple Charcuterie Board is a fantastic way to celebrate the fall season. It’s easy to make, visually stunning, and delicious. I encourage you to experiment with different cheeses and fruits to find your perfect combination. It’s a recipe that brings people together, whether it’s for a big party or a quiet night in. Give it a try and let me know how it turns out. I’d love to hear about your favorite pairings in the comments below. Happy snacking!
Frequently Asked Questions
Can I make this board ahead of time?
Yes, you can prep the ingredients up to 24 hours in advance. Store cut apples in water with lemon juice, and keep cheeses and nuts in separate containers. Assemble the board 30-60 minutes before serving to allow the cheese to come to room temperature.
What is the best apple for caramel apples?
Honeycrisp, Fuji, and Gala apples are the best choices because they are firm, sweet, and hold their shape well. Avoid Red Delicious as they can be mealy and lack flavor.
How do I keep the caramel from dripping everywhere?
Use a thick, high-quality caramel sauce. Serve it in small, deep bowls or ramekins rather than drizzling it directly on the board. This makes dipping easier and keeps the board clean.
Can I use homemade caramel?
Absolutely. Homemade caramel tastes amazing. Just let it cool slightly before pouring it into serving bowls so it doesn’t get too runny. You can also thicken it by adding a bit more butter or cream.
What drinks pair best with this board?
Crisp apple cider, red wines like Pinot Noir or Merlot, and sparkling cider are excellent pairings. For a non-alcoholic option, try iced tea with lemon or sparkling water with mint.
Pin This Recipe!
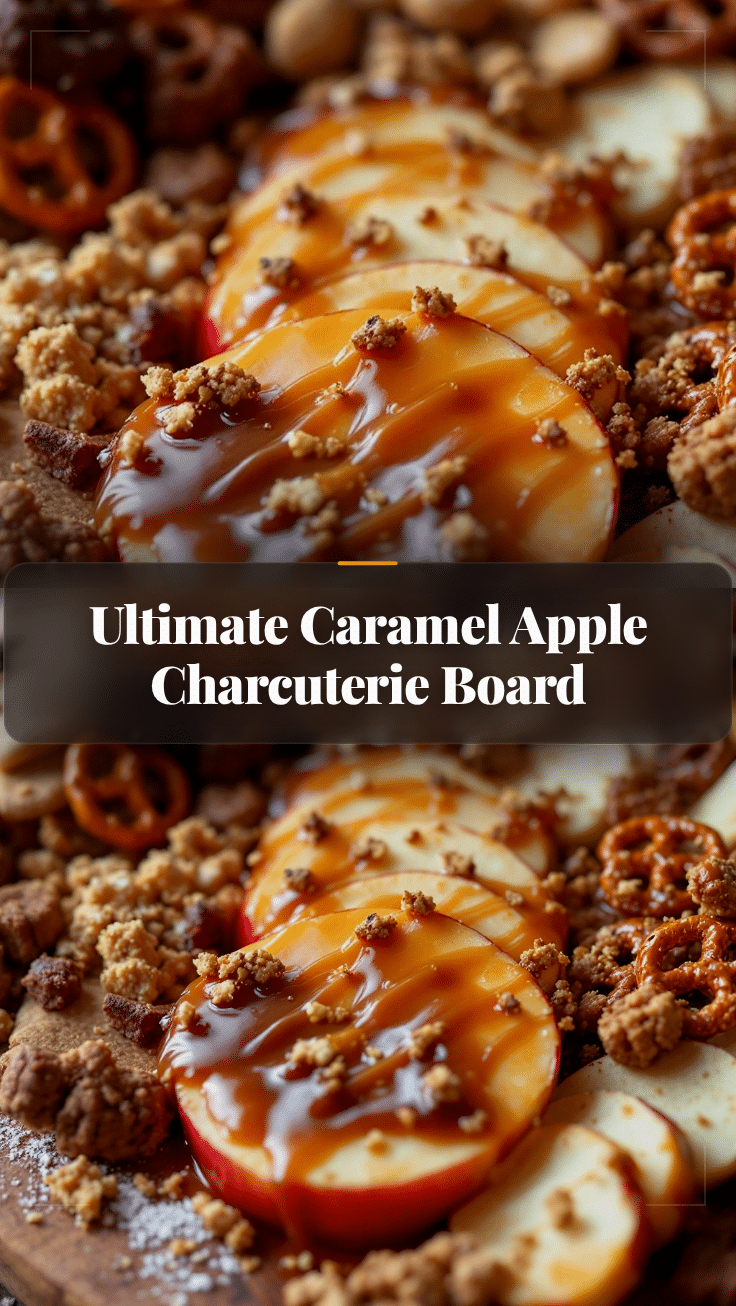
Best Caramel Apple Charcuterie Board: Easy DIY Fall Snack

A quick and easy fall snack board featuring crisp apples, sharp cheeses, roasted nuts, and rich caramel sauce. Perfect for gatherings or a cozy night in, this board balances sweet, salty, and savory flavors with minimal prep time.
- Prep Time: 15 minutes
- Cook Time: 5 minutes
- Total Time: 20 minutes
- Yield: 8 servings
- Category: Appetizer
- Cuisine: American
Ingredients
- Firm apples (Honeycrisp, Gala, or Fuji), sliced or wedged
- Sharp cheddar cheese, cubed or sliced
- Smoked gouda cheese, sliced or cubed
- Brie or Camembert cheese, whole rounds or wedges
- Manchego cheese, sliced
- Roasted nuts (pecans, walnuts, or almonds)
- Crackers (water crackers, wheat thins, or pretzel crisps)
- Prosciutto or crispy bacon bits
- Fresh berries (red grapes or cranberries)
- Caramel sauce (store-bought or homemade)
- Sea salt flakes
- Dark chocolate chunks (optional)
- Lemon juice (for preventing apple browning)
Instructions
- Wash apples thoroughly and leave skins on. Cut into wedges or thick slices. Toss lightly in a mixture of water and lemon juice to prevent browning, then pat dry.
- Cube the cheddar and gouda. Slice the brie or cut it into wedges. If using prosciutto, fold slices loosely to create volume.
- If nuts are not pre-toasted, spread them on a baking sheet and toast in an oven at 350°F (175°C) for 5-7 minutes. Let them cool completely.
- Arrange the board starting with the largest items. Place brie wheels or cheese wedges first.
- Add small bowls for caramel sauce and nuts.
- Arrange apple slices in a fan shape or clusters. Fill gaps with grapes, crackers, and prosciutto.
- Drizzle caramel into a small bowl. Sprinkle sea salt over the caramel or directly onto cheese wedges.
- Add dark chocolate chunks in small piles.
- Serve at room temperature for best flavor.
Notes
[‘Take cheeses out of the fridge 30 minutes before serving to allow flavors to bloom.’, ‘Prep apples right before assembling to keep them crisp.’, ‘If cheese slides, place a small piece of parchment paper or napkin under the cheese group.’, ‘Keep crackers in a separate container until serving if the caramel is very liquid.’, ‘Store cut apples in an airtight container with a paper towel for 2-3 days.’]
Nutrition
- Serving Size: Varied assortment of
- Calories: 350
- Sugar: 20
- Sodium: 450
- Fat: 22
- Saturated Fat: 9
- Carbohydrates: 28
- Fiber: 3
- Protein: 10
Keywords: fall snack, charcuterie board, caramel apple, cheese board, easy appetizer, party food, harvest party, sweet and salty snack


