Fifth batch in three weekends and I still couldn’t tell you exactly what made this one click. The cream cheese was slightly warmer when I mixed it, maybe. Or I let the bacon render a touch longer before wrapping. Something shifted—the way the filling stayed put instead of sliding out, the way the bacon tightened just right around the pepper instead of going slack. My buddy Dave ate seven before anyone else got to the tray. Seven. That’s when I knew I had to write it down, not because I planned to share it, but because I needed to remember what I’d done.
These jalapeno poppers have become the unofficial anchor of every game day spread I bring anywhere. They disappear first, before the wings, before the dip, before anything else within arm’s reach. And honestly? That’s fine by me. There’s something deeply satisfying about watching people reach for something they think they know—stuffed peppers, right?—and then watch their eyes go wide when the cream cheese hits with that cool, tangy richness against the smoky bacon and the sharp little bite of jalapeno.
The trick isn’t complicated. It’s not about fancy ingredients or some chef-level technique. It’s about getting the proportions right and not rushing the bacon. Once you understand that, these things basically make themselves. And they’ll make you look like a hero at the next tailgate, too.
Why You’ll Love This Recipe
I’ve tested these poppers more times than I care to count, and each round taught me something new. The version I’m sharing today is the one that finally made me stop tweaking. Here’s why it works:
- Quick & Easy: From start to table in about 45 minutes. Most of that is oven time, so you’re not stuck in the kitchen while everyone else is having fun.
- Simple Ingredients: Jalapenos, cream cheese, bacon, and a few pantry staples. No weird specialty items or expensive cuts of meat.
- Perfect for Tailgating: These hold up well at room temperature, travel easily, and taste just as good warm as they do slightly cooled. They’re basically designed for parking lot parties.
- Crowd-Pleaser: I’ve watched self-proclaimed “not a fan of spicy food” people eat three or four in a row. The cream cheese tames the heat, and the bacon does the rest of the heavy lifting.
- Unbelievably Delicious: The contrast between crispy bacon, creamy filling, and fresh jalapeno crunch is the kind of thing that makes you close your eyes after the first bite. It’s comfort food that somehow feels a little fancy.
What makes this recipe different from the rest? It’s the par-baking technique for the bacon. Most recipes have you wrap raw bacon around raw peppers and hope for the best. That usually means either undercooked bacon or overcooked peppers. By giving the bacon a head start in the oven, you get perfectly crispy edges every single time without turning the jalapenos to mush.
This isn’t just another version of jalapeno poppers. It’s the one I’d bring to a Super Bowl party, a backyard barbecue, or a Tuesday night when I just need something good to eat while watching the game alone.
What Ingredients You Will Need
This recipe uses simple, straightforward ingredients that work together to create something greater than the sum of their parts. Nothing fancy here—just smart choices and good proportions.
- 12 fresh jalapeno peppers – Look for firm, smooth peppers without soft spots or wrinkles. Medium-sized ones work best; too small and they’re hard to fill, too large and they can be watery. (I prefer peppers that are relatively straight for easier filling.)
- 8 ounces cream cheese, softened – Full-fat cream cheese gives the best texture and flavor. Let it sit on the counter for about 30 minutes before mixing, or microwave it for 10-15 seconds to soften. (Neufchâtel or reduced-fat cream cheese works too, but the filling won’t be as rich.)
- 1/2 cup sharp cheddar cheese, shredded – Adds depth and a little tang that cuts through the richness. I recommend Tillamook or Cabot for consistent melt quality. Pre-shredded cheese works in a pinch, but freshly shredded melts better.
- 12 slices thin-cut bacon – Thin-cut is non-negotiable here. Thick-cut bacon takes too long to cook through, and the pepper will be overcooked before the bacon crisps up. Wright Brand or Oscar Mayer are my go-tos.
- 1/4 teaspoon garlic powder – Adds a subtle savory note without overpowering the other flavors. Fresh garlic can burn in the oven, so stick with powdered.
- 1/4 teaspoon onion powder – Rounds out the savory profile. Skip this if you don’t have it, but it does add a nice layer of flavor.
- 1/4 teaspoon smoked paprika – Optional but recommended. It reinforces the smoky bacon flavor and adds a hint of warmth. (Regular paprika works too, but smoked is better here.)
- Salt and black pepper to taste – Go easy on the salt since bacon and cheddar are already salty. A pinch of black pepper brightens everything up.
- Toothpicks – For securing the bacon. Soak them in water for 10 minutes before using to prevent burning in the oven.
Equipment Needed
You don’t need a fully stocked kitchen to make these poppers, but a few specific tools will make the process smoother:
- Baking sheet with a wire rack – The wire rack allows air to circulate around the poppers, helping the bacon crisp evenly on all sides. If you don’t have a rack, a parchment-lined baking sheet works, but you’ll need to rotate the poppers halfway through.
- Small mixing bowl – For combining the cream cheese filling. Any bowl will do, but a smaller one makes mixing easier.
- Rubber spatula or spoon – For mixing the filling and scraping every last bit out of the bowl.
- Sharp knife – For cutting the jalapenos. A paring knife works best for precision work.
- Small spoon or piping bag – A small spoon works fine for filling, but a piping bag (or even a zip-top bag with the corner snipped off) makes the process faster and cleaner. I usually just use a small spoon and accept a little mess.
- Cutting board – Preferably one that’s easy to clean, since jalapeno oils can linger on porous surfaces.
- Tongs – For handling hot poppers coming out of the oven.
If you don’t have a wire rack, you can use a cooling rack set inside a baking sheet. That’s essentially the same setup. Budget-friendly option: crumple aluminum foil into a makeshift rack and place it on the baking sheet. It’s not perfect, but it works in a pinch.
Preparation Method
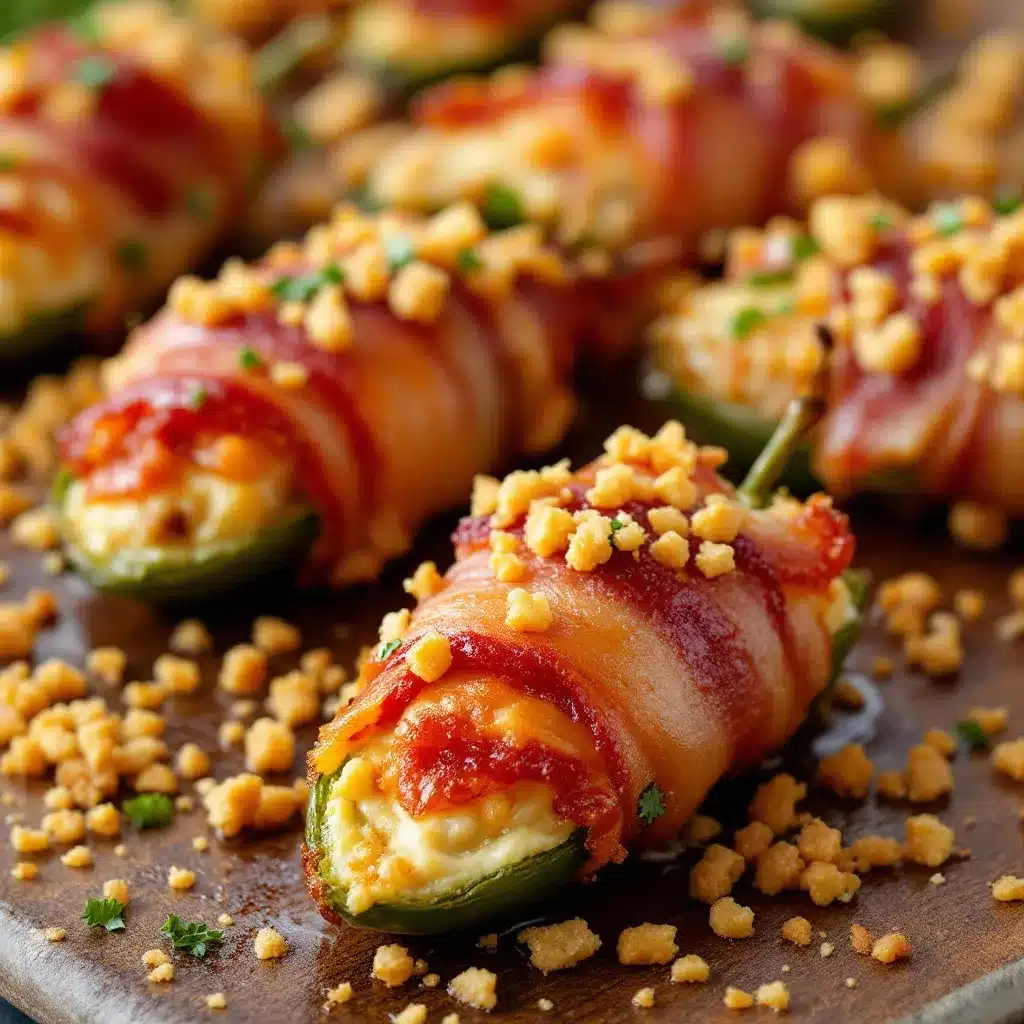
Let’s get into the actual process. I’ve broken this down into clear steps so you can follow along without confusion. Take your time with the first few steps—the prep work makes everything else go smoothly.
- Preheat your oven to 400°F (200°C). Line a baking sheet with foil or parchment for easier cleanup, and place a wire rack on top if you have one.
- Prepare the jalapenos. Wearing gloves (seriously, don’t skip this—jalapeno oil on your fingers will find its way to your eyes later), cut each pepper in half lengthwise from stem to tip. Use a small spoon to scrape out the white membranes and seeds. The membranes hold most of the heat, so leave some if you want spicier poppers, or remove them all for a milder version. Leave the stems intact—they make the poppers easier to handle and look nicer on the plate. You should have 24 jalapeno halves when you’re done.
- Par-bake the bacon. Lay the bacon slices on the wire rack (or directly on the foil-lined sheet) and bake for 6-8 minutes. You want the bacon to be partially cooked but still pliable—it should have rendered some fat but not be crispy yet. This step is the secret to perfectly cooked poppers. Remove the bacon from the oven and let it cool slightly on a paper towel-lined plate. Leave the oven on.
- Make the filling. In a small bowl, combine the softened cream cheese, shredded cheddar, garlic powder, onion powder, smoked paprika, and a pinch of black pepper. Mix until everything is evenly combined. Taste it—if you want more salt, add a tiny pinch, but remember the bacon will add saltiness too. The filling should be smooth and spreadable. If it’s too stiff, let it sit at room temperature for a few more minutes.
- Fill the jalapeno halves. Using a small spoon or a piping bag, fill each jalapeno half with the cream cheese mixture. Don’t overfill—leave a slight dome on top, but don’t let the filling overflow. You want about 1 to 1.5 teaspoons per half. Smooth the tops with the back of the spoon if needed.
- Wrap with bacon. Take a par-baked bacon slice and wrap it around each filled jalapeno half. Start at one end and wrap diagonally, overlapping slightly, until the entire pepper is covered. The bacon should be snug but not tight. Secure the end with a toothpick inserted through the bacon and into the pepper. If the bacon slice is too long, trim the excess and use it for another popper. Each slice should cover one jalapeno half, but you can stretch a slice across two smaller halves if needed.
- Bake the poppers. Arrange the wrapped poppers on the wire rack, leaving a little space between each one for air circulation. Bake for 18-22 minutes, or until the bacon is crispy and golden brown. The exact time depends on your oven and how crispy you like your bacon. At 18 minutes, the bacon will be mostly crispy with slightly chewy edges. At 22 minutes, it’ll be fully crispy throughout. Keep an eye on them during the last few minutes—bacon can go from perfect to burnt quickly.
- Cool and serve. Remove the poppers from the oven and let them rest on the rack for 5 minutes. This allows the filling to set slightly and prevents burning your mouth on molten cream cheese. Remove the toothpicks before serving, or leave them in for easy grabbing at a party. Serve warm or at room temperature.
Troubleshooting tip: If the bacon isn’t crispy enough after the recommended baking time, you can switch the oven to broil for 1-2 minutes. Watch them like a hawk—broiling can go from perfect to charred in seconds. Also, if the filling leaks out during baking, you probably overfilled the peppers or the bacon wasn’t wrapped tightly enough. No big deal—just scrape off the excess and keep going.
Cooking Tips & Techniques
I’ve made enough batches of these to have a few hard-won insights. Here’s what I’ve learned the messy way:
Don’t skip the par-bake. I made this mistake exactly once. Raw bacon wrapped around a raw pepper goes into the oven, and what comes out is either flabby bacon with a perfectly cooked pepper or crispy bacon with a mushy, overcooked pepper. Par-baking the bacon for those 6-8 minutes gives you a 10-minute head start that changes everything. The bacon renders its fat before the pepper even starts cooking, so by the time both are done, the bacon is crispy and the pepper still has structure.
Use gloves when handling jalapenos. I know I mentioned this already, but let me tell you about the time I rubbed my eye after seeding a dozen jalapenos without gloves. It was a 20-minute ordeal involving cold water, milk, and a lot of tears. Just wear the gloves. They’re cheap, and your eyes will thank you.
Timing and multitasking. While the bacon par-bakes, you can seed the peppers and mix the filling. By the time the bacon comes out, you should be ready to start assembling. This cuts the total active time down to about 20 minutes. For a tailgate, I’ll prep everything the night before—seed the peppers, mix the filling, par-bake the bacon—and then assemble and bake fresh on game day. The par-baked bacon can sit in the fridge overnight just fine.
Consistency tip. Try to pick jalapenos that are roughly the same size. This ensures even cooking across the whole batch. If you end up with a mix of sizes, group the smaller ones together on one side of the baking sheet and the larger ones on the other. You can pull the smaller ones out a few minutes early if needed.
Variations & Adaptations
Once you’ve mastered the basic recipe, here are some ways to mix things up:
- Spicy Sausage Version: Brown 1/4 pound of hot Italian sausage, crumble it, and mix it into the cream cheese filling. This adds a meaty depth that makes the poppers even more substantial. I tried this for a playoff game and they disappeared twice as fast as the regular version.
- Smoked Poppers: If you have access to a smoker, cook these at 225°F (107°C) for about 90 minutes using hickory or applewood. The low, slow smoke infuses the cream cheese with an incredible flavor you can’t get from an oven. This is my preferred method when I have time, but it’s not practical for most tailgates.
- Air Fryer Adaptation: Cook the filled and wrapped poppers in an air fryer at 375°F (190°C) for 10-12 minutes, flipping halfway through. The air fryer gives you exceptionally crispy bacon in less time. No need to par-bake the bacon first—the air fryer handles it all in one go.
- Vegetarian Option: Skip the bacon and use crispy baked buffalo cauliflower bites as the wrapper instead. For a different twist, wrap the filled peppers in thinly sliced zucchini or eggplant that’s been lightly salted and patted dry. The texture won’t be the same, but the flavor is still great.
- Sweet Heat Version: Drizzle the finished poppers with honey or a balsamic glaze before serving. The sweetness cuts through the heat and adds a sticky, caramelized finish that’s absolutely addictive. I do this when I want something a little more elevated than the standard tailgate fare.
Serving & Storage Suggestions
These poppers are best served warm, but they’re surprisingly good at room temperature too—which makes them ideal for tailgating. Here’s how to handle both situations:
Serving temperature: Let the poppers rest for 5 minutes after baking, then serve immediately. If you’re bringing them to a tailgate, transfer them to a foil-lined container and cover loosely with foil. They’ll stay warm for about 30 minutes. For longer events, I bring a small portable oven or a preheated cooler to keep them warm. (Yes, a cooler works—just wrap the poppers in foil and place them in a cooler with a hot water bottle or heated bricks at the bottom.)
Presentation: Arrange the poppers on a platter with the toothpicks pointing outward for easy grabbing. Garnish with chopped fresh chives or a sprinkle of smoked paprika for color. Serve alongside creamy beer cheese pretzel dip for dipping—the combination is unbeatable.
Complementary dishes: These poppers pair beautifully with loaded nachos supreme for a full tailgate spread. For drinks, a cold lager or a margarita cuts through the richness perfectly.
Storage instructions: Leftover poppers (if you have any) can be stored in an airtight container in the refrigerator for up to 3 days. The bacon will lose its crispness, but the flavor will still be good.
Reheating methods: The best way to reheat is in a 375°F (190°C) oven for 5-7 minutes, or in an air fryer at 350°F (175°C) for 3-4 minutes. Microwaving works in a pinch, but the bacon will be soft and the filling might get rubbery. If you must microwave, do it in 20-second bursts and eat them immediately.
Freezer instructions: You can freeze unbaked, assembled poppers for up to 2 months. Arrange them on a baking sheet and freeze until solid, then transfer to a freezer bag. Bake from frozen at 400°F (200°C) for 25-30 minutes, adding 5-7 minutes to the regular baking time. Don’t thaw them first—it’ll make the peppers soggy.
Flavor development: Interestingly, these poppers taste even better the next day. The flavors meld together overnight, and the heat from the jalapenos mellows out slightly. I’ve been known to make a double batch just so I have leftovers for lunch the next day.
Nutritional Information & Benefits
Let’s be honest—these aren’t health food. But they’re not meant to be. Here’s the nutritional breakdown for one popper (based on 24 poppers per batch):
- Calories: Approximately 120-140 per popper
- Protein: 5-6 grams
- Fat: 10-12 grams
- Carbohydrates: 2-3 grams
- Fiber: 0.5 grams
- Sugar: 1 gram
- Sodium: 250-300 mg
Health benefits of key ingredients: Jalapenos contain capsaicin, which has anti-inflammatory properties and can boost metabolism. They’re also a good source of vitamin C and vitamin A. Cream cheese provides calcium and protein, while cheddar adds additional calcium. Bacon… well, bacon provides joy. That’s its nutritional contribution.
Dietary considerations: This recipe is naturally low-carb and keto-friendly, with only 2-3 grams of carbs per popper. It’s also gluten-free. For a lower-fat version, use reduced-fat cream cheese and turkey bacon—but honestly, the full-fat version is worth the extra calories for special occasions.
Allergens: Contains dairy (cream cheese, cheddar) and pork (bacon). For a dairy-free version, use a plant-based cream cheese alternative and omit the cheddar or use a dairy-free shred. For a pork-free version, use turkey bacon or beef bacon.
Personal wellness perspective: I don’t eat these every day, and I don’t pretend they’re a health food. But for game days, tailgates, and celebrations, they’re absolutely worth the indulgence. Balance is about making room for the foods you love, and these poppers earn their spot on my table every time.
Conclusion
These bacon-wrapped jalapeno poppers have become my go-to for every tailgate, game day, and casual gathering. They’re the kind of recipe that looks impressive but is secretly simple—the kind that makes people ask for the recipe before they’ve even finished eating.
What I love most about this recipe is how adaptable it is. You can make them spicy or mild, smoky or sweet, classic or loaded with extras. They work for a crowd of 20 or just for you and a few friends. And they always, always deliver that moment of pure satisfaction—the first bite where the bacon crunches, the cream cheese melts, and the jalapeno gives just a little kick.
I’d love to hear how these turn out for you. Drop a comment below and let me know your favorite variation, or tag me in your photos if you make them for your next tailgate. And if you come up with a wild variation I haven’t tried yet, definitely share it—I’m always looking for an excuse to make another batch.
Go make some poppers. Your game day spread deserves them.
Frequently Asked Questions
Can I make these jalapeno poppers ahead of time?
Absolutely. You can assemble the poppers up to 24 hours in advance and keep them covered in the refrigerator. When you’re ready to bake, just pop them in the oven straight from the fridge—you might need to add 2-3 minutes to the baking time. You can also freeze them unbaked for up to 2 months (see the storage section above for details).
How do I make these less spicy?
The heat in jalapenos comes from the white membranes and seeds. To make milder poppers, carefully scrape out all the membranes and seeds from each pepper half. You can also rinse the pepper halves with cold water after seeding to remove any lingering capsaicin. For even less heat, use mini sweet peppers instead of jalapenos—they have the same shape but zero heat.
Can I use thick-cut bacon instead of thin-cut?
You can, but I wouldn’t recommend it. Thick-cut bacon takes much longer to cook through, which means the jalapeno will be overcooked and mushy before the bacon is crispy. If thick-cut is all you have, par-bake it for 12-14 minutes instead of 6-8, and expect the final baking time to be closer to 25 minutes. The results won’t be as good, but they’ll still be edible.
Why did my filling leak out during baking?
This usually happens for one of two reasons: either you overfilled the jalapeno halves, or the bacon wasn’t wrapped tightly enough. Next time, use slightly less filling and make sure the bacon overlaps securely. A toothpick through the center of the popper helps keep everything in place. If leakage still happens, it’s not a disaster—just scrape off the excess and enjoy the poppers anyway.
Can I cook these on a grill instead of in the oven?
Yes, and they’re fantastic on a grill. Set up your grill for indirect heat at around 375°F (190°C). Place the poppers on the cooler side of the grill, close the lid, and cook for 20-25 minutes, rotating the tray halfway through. The smoky flavor from the grill adds another layer of deliciousness. Just watch for flare-ups from the bacon drippings—keep a spray bottle of water handy just in case.
Pin This Recipe!
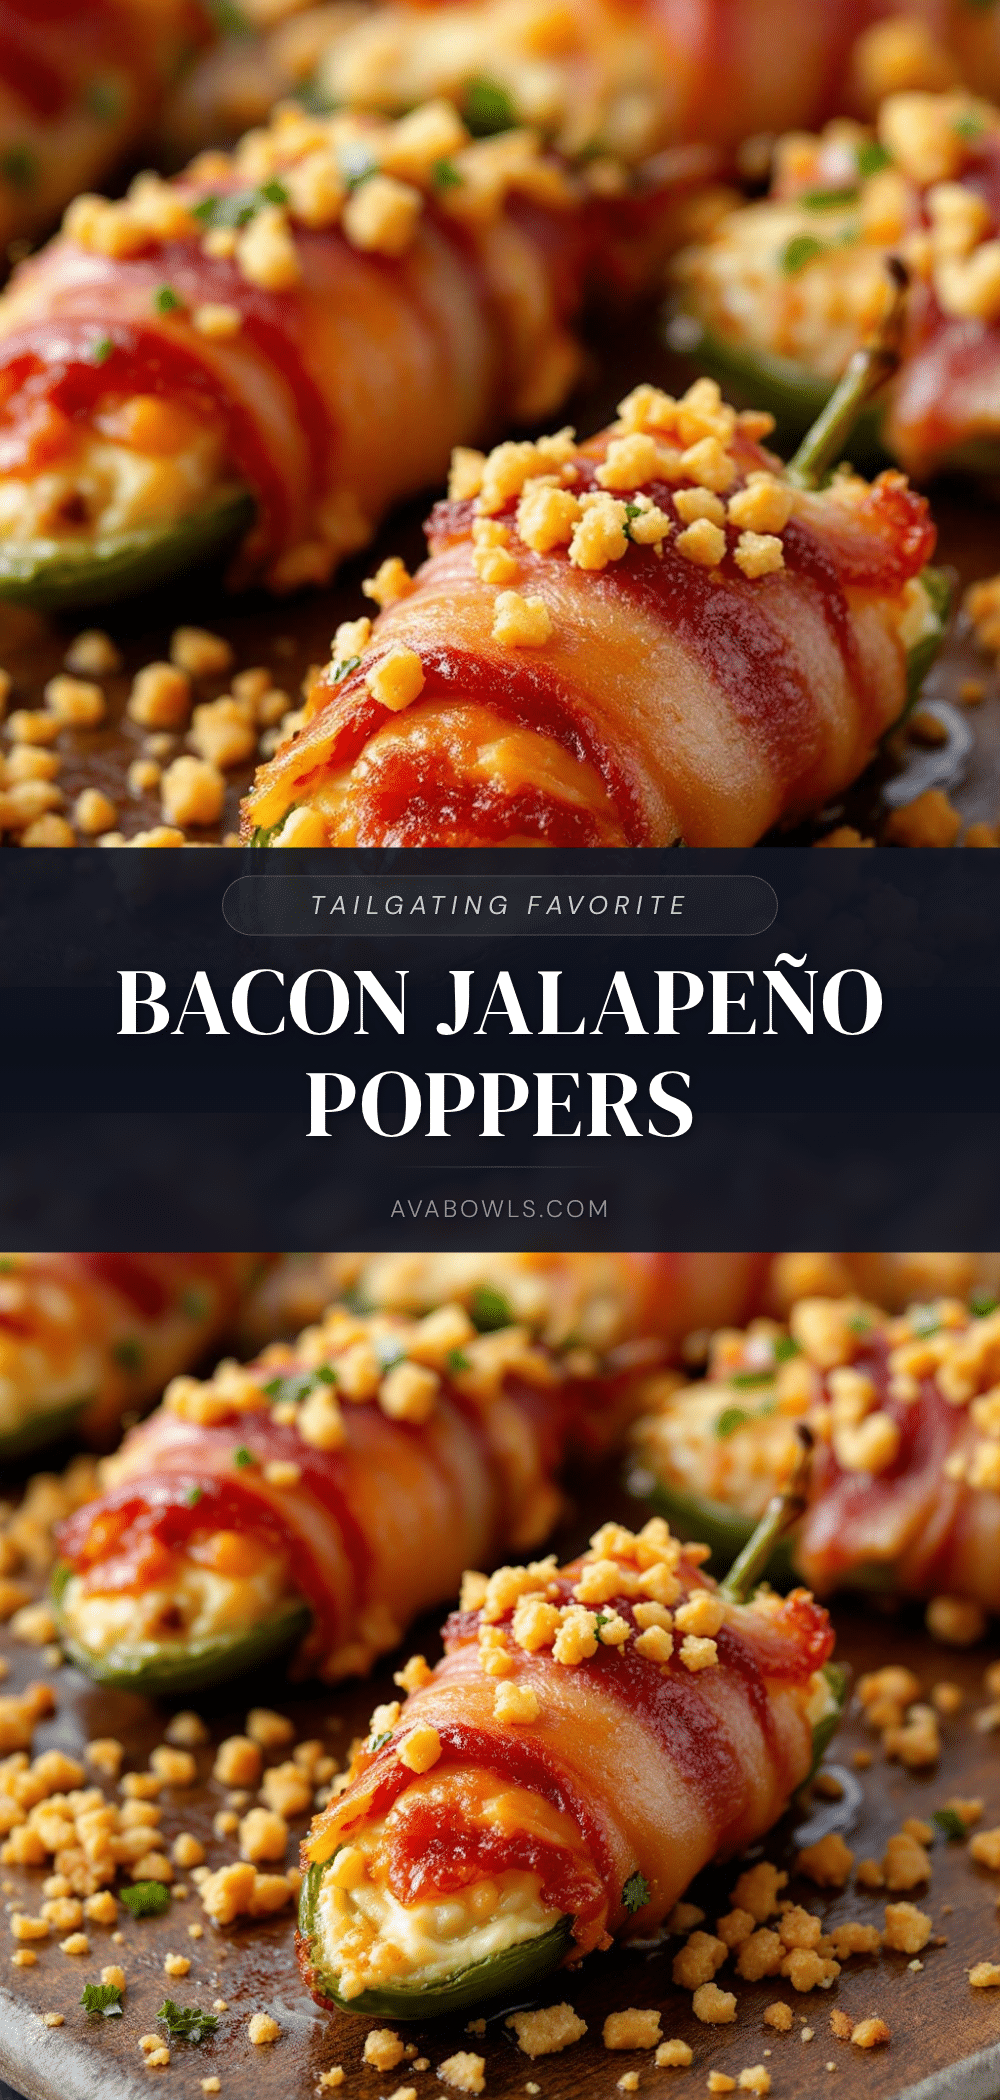
Best Bacon-Wrapped Jalapeno Poppers: Easy Tailgate Appetizer

These bacon-wrapped jalapeno poppers are the ultimate tailgate appetizer, featuring a creamy cheese filling, crispy bacon, and a perfect kick of heat. Easy to make and always a crowd-pleaser, they disappear before anything else on the table.
- Prep Time: 20 minutes
- Cook Time: 25 minutes
- Total Time: 45 minutes
- Yield: 24 poppers (12 servings of 2 poppers each) 1x
- Category: Appetizer
- Cuisine: American
Ingredients
- 12 fresh jalapeno peppers
- 8 ounces cream cheese, softened
- 1/2 cup sharp cheddar cheese, shredded
- 12 slices thin-cut bacon
- 1/4 teaspoon garlic powder
- 1/4 teaspoon onion powder
- 1/4 teaspoon smoked paprika (optional)
- Salt and black pepper to taste
- Toothpicks (soaked in water for 10 minutes)
Instructions
- Preheat your oven to 400°F (200°C). Line a baking sheet with foil or parchment and place a wire rack on top if available.
- Wearing gloves, cut each jalapeno pepper in half lengthwise. Use a small spoon to scrape out the white membranes and seeds. Leave stems intact. You should have 24 jalapeno halves.
- Lay the bacon slices on the wire rack (or directly on the foil-lined sheet) and bake for 6-8 minutes until partially cooked but still pliable. Remove and let cool slightly on a paper towel-lined plate. Leave the oven on.
- In a small bowl, combine softened cream cheese, shredded cheddar, garlic powder, onion powder, smoked paprika, and a pinch of black pepper. Mix until smooth and spreadable.
- Fill each jalapeno half with about 1 to 1.5 teaspoons of the cream cheese mixture, leaving a slight dome on top.
- Wrap a par-baked bacon slice around each filled jalapeno half, starting at one end and wrapping diagonally with slight overlap. Secure with a soaked toothpick.
- Arrange the wrapped poppers on the wire rack, leaving space between each. Bake for 18-22 minutes until bacon is crispy and golden brown.
- Remove from oven and let rest on the rack for 5 minutes. Remove toothpicks before serving, or leave them in for easy grabbing. Serve warm or at room temperature.
Notes
Par-baking the bacon is the secret to perfectly crispy bacon without overcooking the jalapenos. Wear gloves when handling jalapenos to avoid burning your eyes. For milder poppers, remove all membranes and seeds. For spicier poppers, leave some membranes intact. Poppers can be assembled up to 24 hours in advance and refrigerated. Unbaked poppers can be frozen for up to 2 months.
Nutrition
- Serving Size: 2 poppers
- Calories: 260280
- Sugar: 2
- Sodium: 500600
- Fat: 2024
- Saturated Fat: 1012
- Carbohydrates: 46
- Fiber: 1
- Protein: 1012
Keywords: jalapeno poppers, bacon wrapped, tailgate appetizer, game day snack, stuffed jalapenos, keto appetizer, gluten free appetizer


