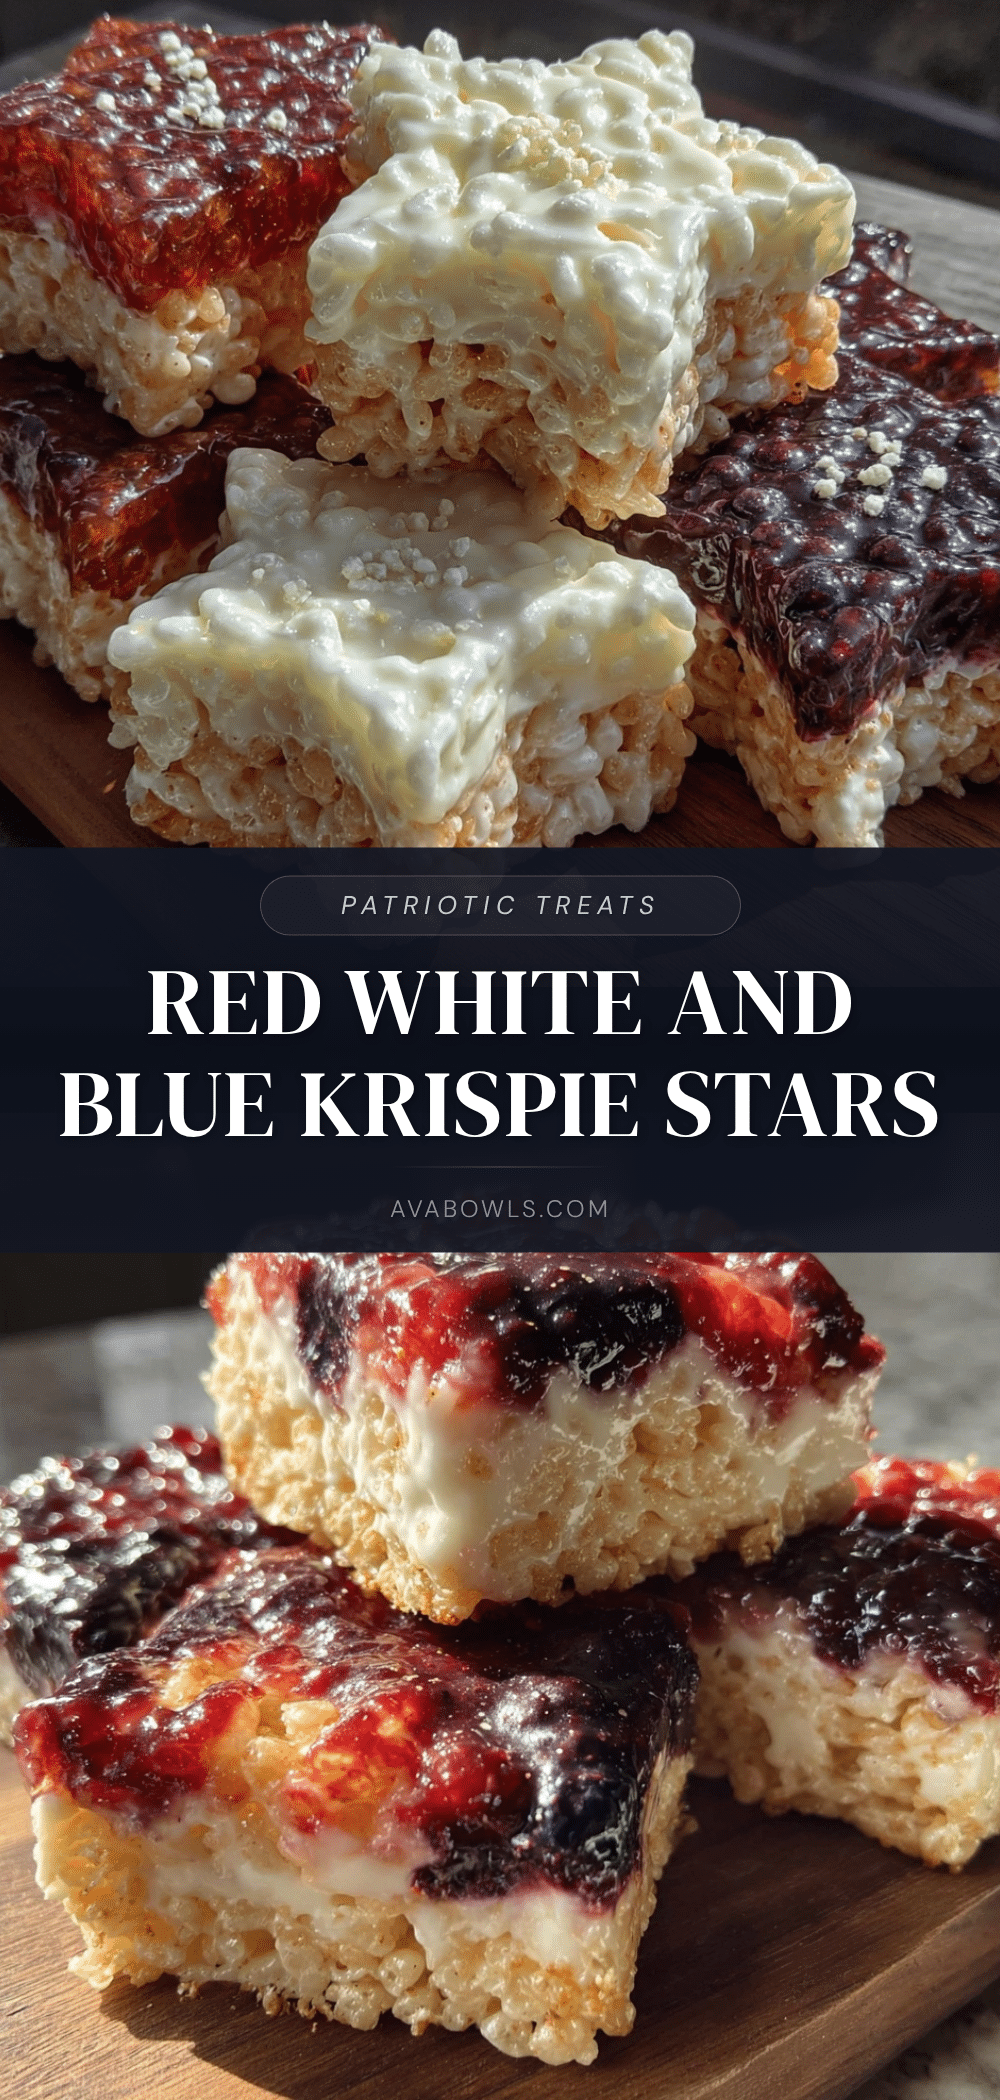
“You gotta see this!” my neighbor texted me last Fourth of July afternoon, sending a snapshot of these dazzling rice krispie stars speckled in red, white, and blue, each perched proudly on a stick. I was skeptical—rice krispie treats are simple enough, right? But the festive twist was so charming, I had to try making these myself. Honestly, it started as a quick, last-minute snack idea for a backyard BBQ, but it turned into a fun, hands-on project that my kids and I kept coming back to all summer long.
The marshmallow aroma filling the kitchen while I mixed the colors, the sticky fingers holding the star-shaped treats, and the crunch that gave way to melty sweetness all made me realize these weren’t just snacks. They were little bursts of summer joy wrapped up in a patriotic package. What stuck with me most was how these Festive Red White and Blue Rice Krispie Treat Stars on Sticks brought everyone together, even the neighbors stopping by for an unexpected bite. It’s funny how something so simple can feel so special, you know? No fancy ingredients, just classic comfort with a twist.
And here’s the thing — these stars have become my go-to party treat, especially when friends drop by without warning. They’re easy, mess-friendly, and they travel well, which is perfect when you’re juggling a million things but want to impress without stress. Plus, they bring that nostalgic childhood magic without any fuss.
So, if you’re craving a sweet that’s as fun to make as it is to eat, these red white and blue rice krispie treat stars on sticks might just become your new summer staple. There’s a quiet joy in serving something that sparks smiles and reminds everyone of those carefree summer days, even if only for a moment.
Why You’ll Love This Recipe
From my kitchen experiments (and a few sticky mishaps), I can assure you this recipe nails the festive vibe without overcomplicating things. Here’s why it stands out:
- Quick & Easy: You can whip these up in about 20 minutes, making them perfect for last-minute parties or casual get-togethers.
- Simple Ingredients: No need for specialty shops — just marshmallows, cereal, and food coloring. I usually keep a bag of mini marshmallows and classic Rice Krispies handy for spontaneous treats.
- Perfect for Patriotic Occasions: Whether it’s Independence Day, Memorial Day, or just a summer picnic, the red, white, and blue theme makes these stars a crowd favorite.
- Crowd-Pleaser: Kids love them, adults get nostalgic, and the visual appeal sparks conversation. These treats always disappear fast!
- Unbelievably Delicious: The crunchy, chewy texture combo is spot-on. Adding that pop of color makes it feel like a special occasion, but honestly, it’s just classic comfort food with a festive twist.
- Unique Presentation: The star shapes on sticks turn a familiar treat into a fun, handheld dessert that’s easy to serve and impossible to resist.
What sets this recipe apart? It’s the balance — a perfectly sticky yet not-too-gummy texture with vibrant colors that don’t bleed or fade. I’ve tweaked the melting and mixing steps to keep the marshmallows glossy and easy to work with, which makes cutting out those stars less frustrating. Plus, using sturdy popsicle sticks means these treats hold up well at outdoor parties, unlike some handheld sweets that get soggy fast.
Honestly, this recipe is the kind that makes you pause for a second after the first bite—comfort food that’s fun, festive, and full of nostalgia. Whether you’re hosting or just feeling like adding a little sparkle to your summer snacks, these stars won’t let you down.
What Ingredients You Will Need
This recipe uses simple, wholesome ingredients to deliver bold flavor and satisfying texture without the fuss. Most are pantry staples, and you can easily swap a few to match what you have on hand.
- Rice Krispies Cereal: 6 cups (150g) – The classic base here. I stick to the original Kellogg’s brand for that perfect crispness that doesn’t go mushy.
- Mini Marshmallows: 4 cups (about 170g) – They melt evenly and create that chewy texture we all love. You can use regular marshmallows if needed but chop them smaller for even melting.
- Unsalted Butter: 3 tablespoons (42g), softened – Adds richness and helps the marshmallows melt smoothly without sticking too much.
- Red & Blue Gel Food Coloring: A few drops – Gel colors work best to keep the mixture vibrant without adding liquid that could make the treats soggy.
- Vanilla Extract: 1 teaspoon – Just a touch for extra flavor depth, optional but recommended.
- Popsicle Sticks or Craft Sticks: About 12 – Choose sturdy sticks to support the stars without bending or snapping.
- Non-stick Cooking Spray or Butter: For greasing hands and work surface – Helps keep sticky fingers at bay when shaping and cutting.
Optional extras:
- Sprinkles or edible glitter for extra sparkle (patriotic colors are a fun touch!)
- White chocolate drizzle for a fancier finish
For substitutions, if you want a gluten-free option, look for certified gluten-free crispy rice cereal like Nature’s Path. Vegan marshmallows are harder to melt but you can try brands like Dandies, adjusting melting time and adding a bit more butter or coconut oil.
In summer, fresh berries or small fruit pieces make a nice side or topping for a fruit-forward twist, though nothing beats the pure star-shaped treat on a stick vibe. If you want a creamier twist, try pairing these with the creamy spring vegetable fettuccine alfredo recipe for an unexpected savory balance.
Equipment Needed
- Large saucepan or pot – For melting butter and marshmallows. A heavy-bottomed pan helps prevent scorching.
- Wooden spoon or silicone spatula – Essential for stirring the sticky marshmallow mixture without scratching your pan.
- Large mixing bowl – To combine the cereal with the melted marshmallow mix.
- Star-shaped cookie cutters (about 3 to 4 inches / 7.5 to 10 cm) – You want sturdy cutters for clean edges. I’ve found metal ones hold their shape better than plastic.
- Baking sheet or tray – For setting the stars before inserting sticks.
- Parchment paper or wax paper – To line your surface and prevent sticking.
- Popsicle or craft sticks – The handles for your stars, easy to find and inexpensive.
If you don’t have cookie cutters, a sharp knife can work, but the shapes won’t be as uniform. I’ve also used silicone molds for a different twist, but the traditional star cutters just feel right for this recipe.
For cleanup, I recommend using non-stick spray on your tools before starting — it saves a lot of sticky scrubbing later. I keep a small bottle handy for treats like these and even for dips like the creamy beer cheese pretzel dip recipe, which also involves some sticky goodness.
Preparation Method
- Prep your workspace: Line a large baking sheet with parchment paper and lightly grease it with non-stick spray or butter. Set your star cookie cutters and popsicle sticks nearby.
- Melt butter and marshmallows: In a large saucepan over low heat, melt 3 tablespoons (42g) of unsalted butter. Once melted, add 4 cups (170g) of mini marshmallows. Stir continuously with a wooden spoon or silicone spatula until the marshmallows are completely melted and smooth. This should take about 5 minutes. Be patient — too high heat can scorch the mixture.
- Add vanilla and divide mixture: Remove the pan from the heat and stir in 1 teaspoon of vanilla extract. Quickly divide the marshmallow mixture into three equal portions in separate heatproof bowls.
- Color the mixtures: Add red gel food coloring to one bowl and blue to another. Stir well to evenly distribute the color. Leave the third bowl plain for the white section. Use just enough coloring to get vibrant shades — typically 4-5 drops each bowl. (Note: Gel colors are best to avoid watering down the mixture.)
- Mix with cereal: Working quickly, fold 2 cups (50g) of Rice Krispies cereal into each colored marshmallow mixture until well coated. Use a spatula or clean hands sprayed with non-stick spray to combine.
- Form the layers: Spread each colored cereal mixture into separate rectangular blocks (about 1-inch / 2.5 cm thick) on the parchment-lined tray, shaping gently with greased hands or a spatula. Chill for 10 minutes to firm up slightly — this helps with cutting clean shapes later.
- Cut out stars: Using your star cookie cutter, press firmly into each colored block and lift out stars. If the mixture sticks, dip the cutter in warm water and dry it quickly between cuts.
- Assemble stars on sticks: Carefully insert a popsicle stick halfway into each star’s base. For stability, press gently but avoid pushing all the way through. Arrange the stars on a parchment-lined tray.
- Optional decoration: Add sprinkles or edible glitter while the treats are still slightly soft. For an extra touch, drizzle melted white chocolate over the stars once cooled.
- Set and serve: Let the stars rest at room temperature for 30 minutes to firm up fully, or refrigerate for 15 minutes if you’re in a hurry. Serve chilled or at room temperature.
Pro tip: If you find the marshmallow mixture tough to handle, warm your hands with a little butter or non-stick spray before shaping. And if the stars crack while inserting sticks, try softening the base slightly with a dab of extra melted marshmallow glue (just melt a few marshmallows and dab on).
Cooking Tips & Techniques
Making these festive treats is pretty straightforward, but here are some tips to keep your stars looking sharp and tasting great:
- Low and slow melting: Melting the marshmallows on low heat prevents scorching and gives you a smooth, elastic texture that’s easier to work with.
- Gel coloring over liquid: Using gel food coloring keeps your marshmallow mixture from getting too runny, which helps keep the shape firm and the colors vibrant.
- Grease your hands and tools: Marshmallow mix is sticky stuff. Greasing hands and cookie cutters with butter or spray makes shaping easier and less messy.
- Cutting clean stars: Chill the blocks slightly before cutting to prevent the shapes from squishing or tearing. Warm the cutter under hot water then dry it before each cut to glide through the mixture smoothly.
- Handling the sticks: Insert sticks gently but firmly. If a star cracks, a small patch of melted marshmallow acts like glue to hold it together.
- Batch prep: You can make the marshmallow mixture a day ahead and store it covered at room temperature. Just knead briefly before shaping.
I learned the hard way that rushing the cutting step can lead to crumbly stars, so pacing yourself here makes all the difference. If you want a richer flavor, a tiny pinch of salt in the butter-melted marshmallow mix balances the sweetness nicely.
For a party, multitask by prepping the marshmallow mixture while setting up other dishes, like the creamy lemon ricotta pasta with fresh peas and mint — it’s a fresh contrast to these sweet treats.
Variations & Adaptations
Here are some fun ways to mix things up with your rice krispie stars:
- Dietary swaps: Use gluten-free crispy rice cereal to make this treat gluten-friendly. For dairy-free, swap butter with coconut oil and opt for vegan marshmallows.
- Flavor twists: Add a teaspoon of almond or peppermint extract instead of vanilla for a new flavor profile. Or fold in mini chocolate chips once the mixture cools slightly.
- Seasonal spins: Swap the red and blue colors for fall tones (orange and yellow) using natural food coloring like beet powder or turmeric for harvest celebrations.
- Alternative shapes: Try hearts for Valentine’s Day or pumpkins for Halloween, using the same technique but different cookie cutters.
- Chocolate coating: Dip stars halfway in melted dark or white chocolate and sprinkle with crushed nuts or sprinkles for extra texture and flair.
One variation I love is adding a drizzle of the creamy strawberry cream cheese stuffed French toast glaze over cooled stars for a dessert-meets-breakfast mashup that’s surprisingly awesome.
Serving & Storage Suggestions
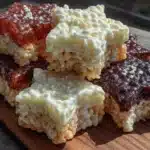
These rice krispie stars are best served at room temperature or slightly chilled. The texture is crunchier fresh but softens just enough when chilled to be pleasantly chewy.
They’re perfect for outdoor parties, kids’ gatherings, or as a colorful dessert centerpiece. Pair them with fresh fruit or a refreshing drink like iced lavender oat milk latte for a well-rounded snack table.
For storage, wrap each star individually in plastic wrap or place them in an airtight container. They keep well for up to 3 days at room temperature or about a week in the fridge.
Reheating isn’t necessary, but if you want to soften them slightly, a 5-10 second zap in the microwave does the trick without melting the stick. Over time, the flavors meld nicely, making them taste even better a day later.
Nutritional Information & Benefits
Each star treat (about 2.5 ounces / 70g) contains roughly:
| Calories | Carbohydrates | Fat | Protein | Sugar |
|---|---|---|---|---|
| 220 kcal | 40g | 4g | 2g | 25g |
While these treats are definitely a sweet indulgence, the use of simple ingredients without preservatives or artificial additives is a small win. Plus, the portion control aspect (being star-shaped and on a stick) helps keep snacking in check.
The cereal provides some whole grain carbs for quick energy, and the marshmallows, while sugary, bring that nostalgic joy that’s good for the soul (honestly!).
If you’re mindful of allergens, watch out for gluten in standard Rice Krispies and dairy in butter. The recipe is versatile enough to accommodate gluten-free and vegan adjustments.
Conclusion
These Festive Red White and Blue Rice Krispie Treat Stars on Sticks are my favorite party trick for a reason — they’re fun to make, visually charming, and deliciously nostalgic. Whether you’re celebrating a holiday or just want to bring a little sparkle to the snack table, this recipe delivers every time.
Don’t hesitate to customize the colors, flavors, or shapes to make it your own. I still find myself making them for casual summer gatherings, often alongside crowd-pleasers like loaded nachos supreme or creamy slow cooker queso blanco dip — both fantastic for complementing sweet treats with savory bites.
I hope these stars bring as much joy to your kitchen as they’ve brought to mine. Let me know how your batch turns out, or share your fun variations in the comments — I love hearing how you make this recipe your own!
Here’s to simple pleasures that taste like celebration.
FAQs
Can I use regular marshmallows instead of mini marshmallows?
Yes, but chop the regular marshmallows into smaller pieces to help them melt evenly and avoid clumps.
How do I keep the colors from bleeding into each other?
Color each batch separately and form them into distinct blocks before cutting. Chilling the blocks slightly helps maintain clean edges.
Can I make these treats ahead of time?
Absolutely! You can make the marshmallow mixture a day in advance and store it covered. Shape and cut the stars just before serving for best texture.
What’s the best way to store these rice krispie stars?
Store them in an airtight container at room temperature for up to 3 days or in the fridge for about a week. Wrap individually if possible to keep them fresh.
Are there gluten-free or vegan options for this recipe?
Use certified gluten-free crispy rice cereal and vegan marshmallows, swapping butter for coconut oil to make it vegan and gluten-free friendly.
Pin This Recipe!
Festive Red White and Blue Rice Krispie Treat Stars on Sticks
These festive rice krispie treat stars on sticks are a quick, easy, and nostalgic party snack perfect for patriotic occasions, combining classic comfort food with a fun, colorful twist.
- Prep Time: 10 minutes
- Cook Time: 10 minutes
- Total Time: 20 minutes
- Yield: 12 servings 1x
- Category: Dessert
- Cuisine: American
Ingredients
- 6 cups (150g) Rice Krispies Cereal
- 4 cups (about 170g) Mini Marshmallows
- 3 tablespoons (42g) Unsalted Butter, softened
- Red gel food coloring, a few drops
- Blue gel food coloring, a few drops
- 1 teaspoon Vanilla Extract
- About 12 Popsicle sticks or craft sticks
- Non-stick cooking spray or butter for greasing
- Optional: Sprinkles or edible glitter (patriotic colors)
- Optional: White chocolate drizzle
Instructions
- Line a large baking sheet with parchment paper and lightly grease it with non-stick spray or butter. Set star cookie cutters and popsicle sticks nearby.
- In a large saucepan over low heat, melt 3 tablespoons (42g) of unsalted butter. Add 4 cups (170g) of mini marshmallows and stir continuously until melted and smooth, about 5 minutes.
- Remove from heat and stir in 1 teaspoon vanilla extract. Divide the marshmallow mixture into three equal portions in separate heatproof bowls.
- Add red gel food coloring to one bowl and blue to another; leave the third plain. Stir well to evenly distribute color.
- Fold 2 cups (50g) of Rice Krispies cereal into each colored marshmallow mixture until well coated.
- Spread each colored mixture into separate rectangular blocks about 1 inch thick on the parchment-lined tray. Chill for 10 minutes to firm up.
- Use star cookie cutters to cut stars from each colored block. Dip cutter in warm water and dry between cuts if needed.
- Insert a popsicle stick halfway into the base of each star carefully. Arrange stars on a parchment-lined tray.
- Optionally, add sprinkles or edible glitter while treats are slightly soft. Drizzle melted white chocolate over cooled stars if desired.
- Let stars rest at room temperature for 30 minutes or refrigerate for 15 minutes to firm up fully before serving.
Notes
Use gel food coloring to avoid runny mixture. Grease hands and tools to prevent sticking. Chill blocks before cutting for clean shapes. Insert sticks gently to avoid cracking. Marshmallow mixture can be made a day ahead and stored covered at room temperature.
Nutrition
- Serving Size: 1 star treat (about
- Calories: 220
- Sugar: 25
- Fat: 4
- Carbohydrates: 40
- Protein: 2
Keywords: rice krispie treats, patriotic dessert, red white and blue, party snacks, easy dessert, kids treats, summer recipes, Fourth of July