“Hey, can you whip up something quick for graduation day?” my neighbor texted me last minute, and honestly, I was staring at an empty fridge and blinking back at my phone. With barely any time to run to the store, I rummaged through the pantry and spotted a couple of jello packets in the school colors tucked away from last Halloween. Skeptical but desperate, I decided to try layering those vibrant jellos in a clear dish, hoping for something festive and fun.
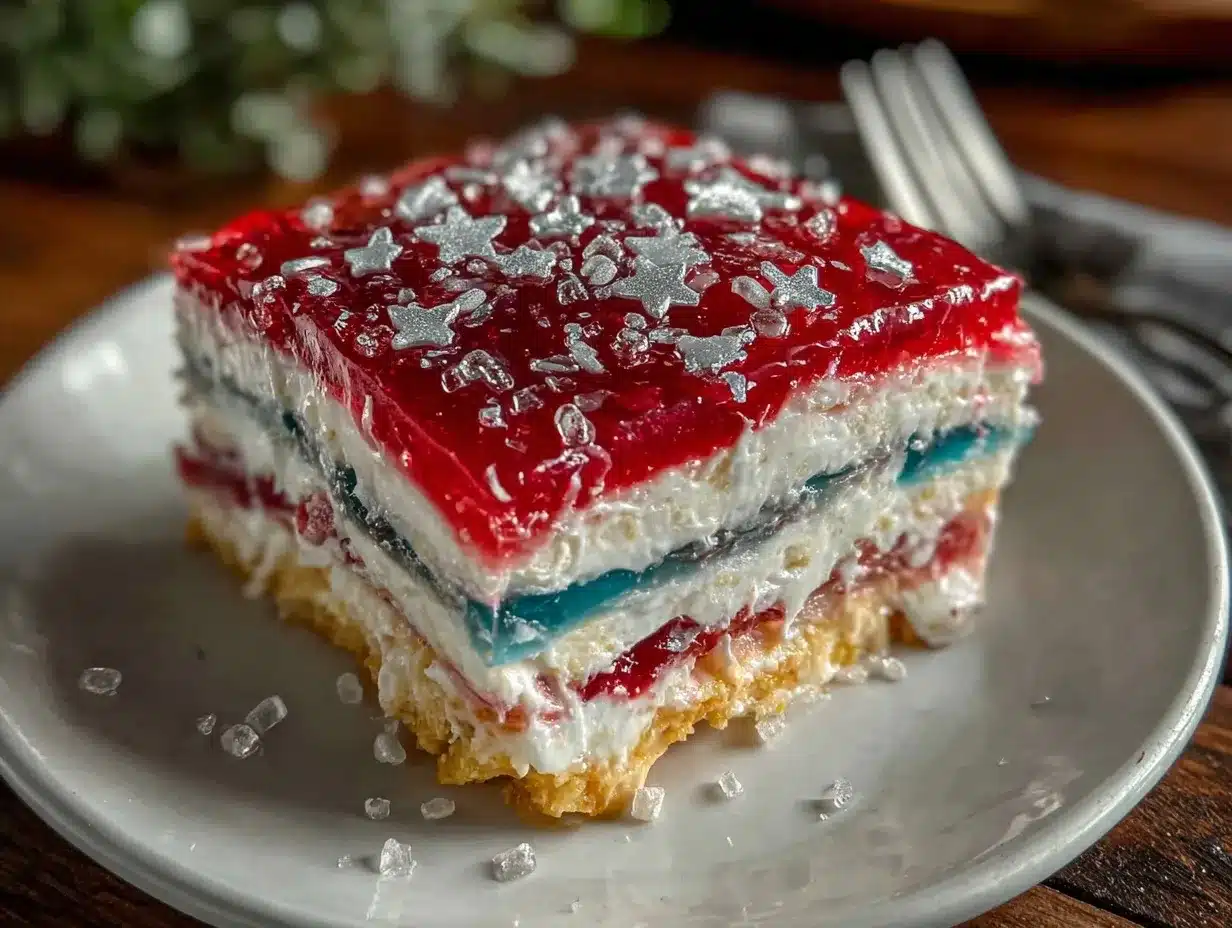
What happened next surprised me — this simple, colorful creation turned into a centerpiece that everyone kept asking about. The jello set perfectly into neat, firm layers with the exact hues of the school spirit, and the light, fruity flavors brought a playful sweetness after a long day of celebrations. It wasn’t fancy, but it had that feel-good vibe, like a childhood treat reimagined for a proud moment.
The best part? It was so easy to make that I ended up repeating the recipe for other school events that week, tweaking it a little here and there. Now, whenever I see those bright school colors, I think of that jello cake — a simple, joyful way to show pride without fuss or stress. It’s become my go-to for celebrations when time and energy are running low but the occasion calls for something memorable.
Why You’ll Love This Recipe
This Vibrant Layered Graduation Jello Cake in School Colors isn’t just a dessert — it’s a mood lifter, a conversation starter, and a nostalgic treat all rolled into one. From my kitchen experiments and countless celebrations, I’ve found this recipe stands out for these reasons:
- Quick & Easy: You can create this colorful showstopper in under 2 hours, making it perfect for last-minute graduations or spontaneous parties.
- Simple Ingredients: No need for complicated shopping lists — just a few jello packets, gelatin, and some milk or cream for the creamy layers.
- Perfect for Celebrations: Whether it’s a school graduation, a team victory, or a spirited gathering, this cake fits right in.
- Crowd-Pleaser: Kids love the bright colors, and adults appreciate the light, refreshing taste — a win-win.
- Unbelievably Delicious: The layers have just the right balance of fruity jello and creamy texture, giving you a fun and silky mouthfeel that’s oddly satisfying.
What makes this recipe different is the layering technique that keeps colors crisp and the texture from getting too rubbery — a small but crucial trick I learned after a few trial runs. Also, swapping out part of the water for cream in alternate layers adds a smooth richness that elevates it beyond your typical jello mold. Honestly, it’s the kind of dessert that makes you pause and smile after the first bite.
It’s a cake that celebrates joy and pride in a no-fuss way, perfect for those moments when the spotlight is on someone special but you don’t want to spend hours in the kitchen. This jello cake delivers that playful pop of color and flavor, without the stress.
What Ingredients You Will Need
This recipe uses straightforward ingredients you might already have or can easily find at any grocery store. Each component plays a role in creating those vibrant, smooth layers that hold together beautifully. Feel free to customize the colors to match your school’s palette or personal favorites!
- Jello packets (3-4 colors matching school colors, 3 oz / 85 g each) — fruit-flavored gelatin powders, like Jell-O brand, work great for vivid colors.
- Unflavored gelatin powder (2 tablespoons / 14 g) — helps firm up the layers, especially the creamy ones.
- Boiling water (about 3 cups / 720 ml total) — to dissolve the jello and gelatin.
- Cold water (about 1.5 cups / 360 ml total) — to cool the mixtures and adjust texture.
- Sweetened condensed milk (1 can, 14 oz / 396 g) — for the creamy layers, giving a rich, silky mouthfeel.
- Milk or half-and-half (1 cup / 240 ml) — use whole milk or half-and-half for creaminess; dairy-free alternatives like coconut milk work well too.
- Vanilla extract (1 teaspoon) — adds a subtle depth to the creamy layers.
You can substitute sweetened condensed milk with evaporated milk plus sugar if needed. For a dairy-free version, swap milk and condensed milk with canned coconut milk and a little extra sweetener. And if you want an extra pop of texture, stirring in mini marshmallows or chopped fruit between layers is a fun twist (though it might make slicing a bit trickier).
Equipment Needed
- Clear glass or plastic rectangular baking dish (8×8 or 9×9 inches / 20×20 or 23×23 cm) — the transparency shows off the colorful layers best.
- Mixing bowls — for dissolving each jello flavor separately.
- Measuring cups and spoons — precise measurements help layers set evenly.
- Whisk or spoon — to combine ingredients smoothly.
- Refrigerator space — enough to chill the dish while each layer sets (about 15-20 minutes per layer).
- Sharp knife — for clean slicing once the cake is fully set.
You don’t need any fancy kitchen gadgets here — a simple setup works perfectly. If you have silicone molds in your school colors, those can make fun individual servings too. I’ve found that a heavy glass dish keeps the jello cool and firm better than thinner plastic containers. And if you’re short on fridge space, freezing the layers for a few minutes can speed things up, but watch closely so they don’t freeze solid.
Preparation Method
- Prepare the jello layers: Boil 1 cup (240 ml) of water. Pour it into a bowl with one jello packet and 1 teaspoon of unflavored gelatin powder. Stir until completely dissolved. Add ½ cup (120 ml) cold water, stir, and set aside to cool slightly (about 5 minutes).
- Pour the first jello layer: Pour the mixture into your clear baking dish, tilting gently to spread evenly. Refrigerate for 15-20 minutes until it’s just set but still slightly tacky on top.
- Make the creamy layer: In a separate bowl, sprinkle 1 tablespoon (7 g) unflavored gelatin over ½ cup (120 ml) cold water and let bloom for 5 minutes. Heat ½ cup (120 ml) boiling water and dissolve the bloomed gelatin in it. Stir in ½ cup (120 ml) sweetened condensed milk, ½ cup (120 ml) milk or half-and-half, and ½ teaspoon vanilla extract.
- Add creamy layer: Once the first jello layer is tacky, gently pour the creamy mixture over it. Return the dish to the fridge for another 20 minutes to set.
- Repeat layering: Continue alternating jello and creamy layers until all colors are used, finishing with a jello layer. Each layer sets best if poured while the previous layer is slightly tacky to help them stick but avoid mixing colors.
- Final chill: Refrigerate the completed cake for at least 2 hours (or overnight) until fully firm.
- Slice and serve: Use a sharp knife warmed under hot water for cleaner cuts. Slice into squares and serve chilled.
Pro tip: Do not rush the setting times or the layers might bleed together. I learned this the hard way and ended up with a big colorful puddle instead of crisp stripes! Also, pouring creamy layers gently over the back of a spoon helps keep the layers distinct. Watching those colors stack up is oddly satisfying — I always feel a little giddy at this point.
Cooking Tips & Techniques
Getting those layers just right takes a little patience and some tricks I picked up after a couple of “oops” moments. Here’s what helped me nail the texture and look:
- Timing is everything: Each layer should be firm enough to support the next but not so hard that the layers won’t stick together. The “tacky but set” stage is your sweet spot.
- Use room temperature liquids: When mixing gelatin with milk and condensed milk, avoid boiling hot water as it can curdle the dairy. Warm, not hot, is best.
- Chill in a flat, level spot: This keeps layers even and prevents colors from pooling on one side.
- Pour creamy layers gently: Use the back of a spoon to slow the flow and avoid disturbing the jello below.
- Patience with slicing: Chill the cake thoroughly and warm your knife in hot water before slicing. This prevents jagged edges and messy cuts.
- Customize sweetness: If you prefer less sweet, reduce the sweetened condensed milk slightly and balance with a splash of vanilla.
One time, I tried to skip the gelatin bloom step, and the creamy layers never set properly — lesson learned! Another time I poured the layers too hot and ended up with color mixing, which wasn’t the look I wanted. But honestly, those little hiccups are part of the fun in making this cake your own.
Variations & Adaptations
This jello cake is surprisingly flexible, so you can tweak it based on what you have or the occasion:
- Dietary swaps: Use agar-agar for a vegetarian or vegan-friendly version, though setting times and textures will vary a bit.
- Flavor twists: Instead of classic fruit jello packets, try sugar-free or natural flavors like lime, berry, or tropical fruit for a fresher taste.
- Different layers: Add chopped fresh fruit like strawberries or blueberries between layers for bursts of texture and flavor.
- Alternate colors: Play with pastel tones for a spring graduation or bold neons for a party vibe.
- Individual servings: Use small clear cups or silicone molds to make personal jello cakes, perfect for grab-and-go celebrations.
Personally, I once made a version inspired by the creamy lemon pea pasta recipe I love — adding a hint of lemon zest to the creamy layers gave a bright, unexpected lift. If you’re curious, pairing this treat with savory bites like creamy beer cheese pretzel dip can balance the sweetness nicely at a party.
Serving & Storage Suggestions
This jello cake is best served chilled straight from the fridge, so plan to slice it just before serving. The vibrant layers show off nicely on a clear platter or individual plates. For a festive touch, garnish with whipped cream or fresh fruit matching the school colors.
Leftovers keep well in the refrigerator for up to 3 days, covered tightly with plastic wrap to prevent drying out or absorbing fridge odors. This cake doesn’t freeze well because the texture changes and layers can separate.
When reheating, just avoid microwaving — it melts the jello! Instead, let it sit at room temperature for 10-15 minutes if it feels too cold. Over time, the flavors mellow and the texture softens slightly, which some people actually prefer.
For a full celebration spread, this jello cake pairs wonderfully with easy pasta dishes like the creamy lemon ricotta pasta with fresh peas and mint, offering a fresh, savory balance to the sweet layers.
Nutritional Information & Benefits
A typical serving of this layered jello cake (about 1/12th of the dish) contains approximately:
| Calories | 120-150 |
|---|---|
| Carbohydrates | 25-30 g |
| Fat | 2-4 g |
| Protein | 1-2 g |
The gelatin provides a modest amount of protein and supports joint and skin health. Using real fruit-flavored gelatin adds antioxidants depending on the flavor chosen. For those watching sugar intake, sugar-free jello versions can work well, though the texture may vary slightly. This dessert is gluten-free by nature and can be adapted for dairy-free diets with coconut milk alternatives.
From my perspective, it’s a celebratory treat that feels lighter than traditional cakes yet still indulgent enough to feel special — a balance that suits both kids and adults looking for a bit of fun without heaviness.
Conclusion
Making a Vibrant Layered Graduation Jello Cake in School Colors is one of those joyful kitchen moments where simplicity meets celebration. It’s easy to prepare, visually stunning, and perfectly festive for honoring milestones with a splash of color and a wink of nostalgia. Whether you’re a last-minute host or someone who enjoys revisiting childhood favorites with a grown-up twist, this recipe offers a cheerful way to mark the occasion.
Customize it endlessly with your favorite colors, flavors, and textures, and don’t be afraid to experiment a little — that’s where the magic happens. I love how this cake brings a smile to faces without requiring hours of effort, making it a reliable favorite in my cookbook.
If you’ve tried this recipe or added your own spin, I’d love to hear about it! Sharing your stories and tweaks helps everyone feel a little more connected through food. So, grab your gelatin packets, and let the layers of celebration begin.
FAQs
Can I make this jello cake ahead of time?
Yes, you can prepare it up to a day in advance. Just keep it covered and refrigerated, and slice it just before serving for the best texture.
What if I don’t have sweetened condensed milk?
You can substitute with evaporated milk plus 2 tablespoons of sugar or use coconut milk and a sweetener for a dairy-free option.
How do I keep the layers from mixing?
Pour each layer over the previous one when it’s slightly set but still tacky, and pour slowly using the back of a spoon to avoid disturbing the layers.
Can I use sugar-free jello packets?
Absolutely! Just note the texture might be a bit different, sometimes less firm, so adjust setting times accordingly.
What’s the best way to slice the cake cleanly?
Run a sharp knife under hot water, wipe it dry, then slice gently through the chilled jello. Repeat warming the knife between cuts for neat pieces.
Pin This Recipe!
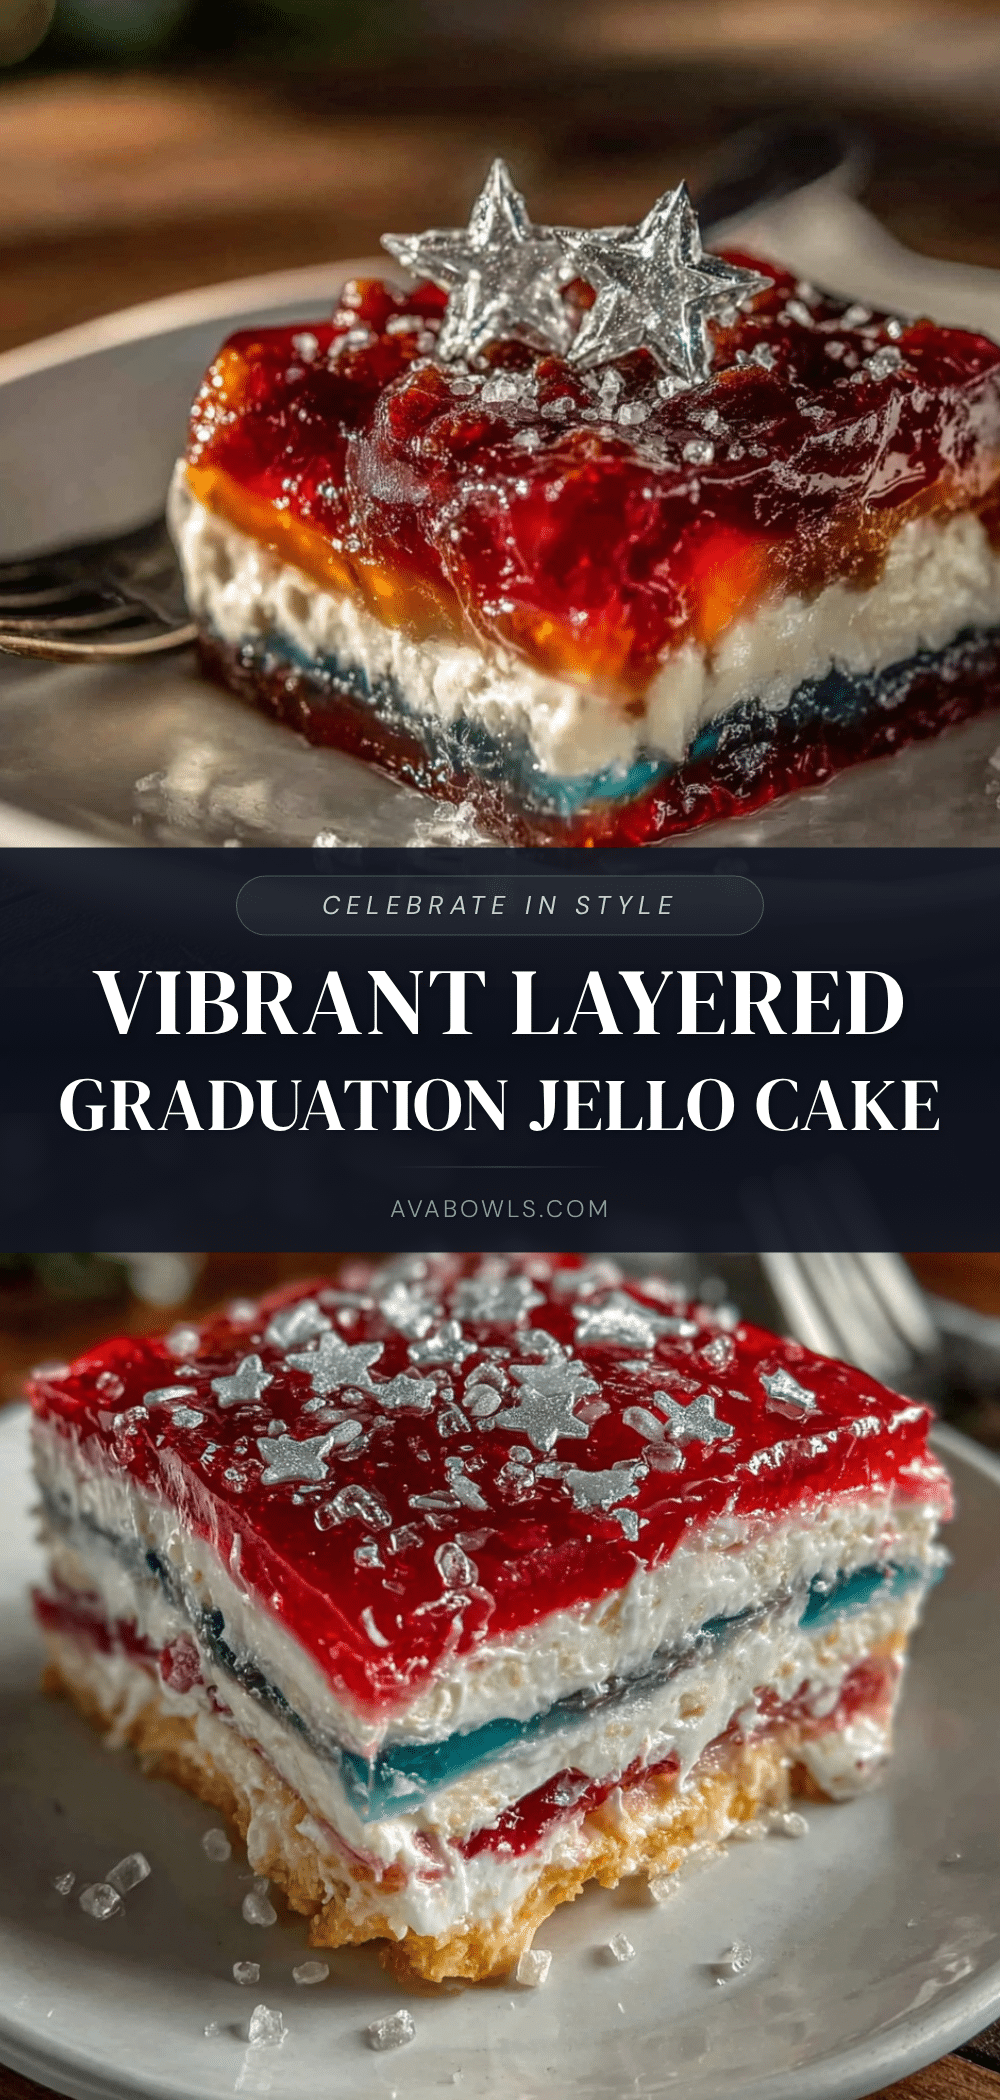
Vibrant Layered Graduation Jello Cake Easy Recipe in School Colors
A quick and easy layered jello cake featuring vibrant school colors, perfect for celebrations and last-minute parties. This colorful dessert combines fruity jello layers with creamy layers for a fun and silky texture.
- Prep Time: 15 minutes
- Cook Time: 1 hour 45 minutes
- Total Time: 2 hours
- Yield: 12 servings 1x
- Category: Dessert
- Cuisine: American
Ingredients
- 3–4 jello packets (3 oz / 85 g each) in school colors, fruit-flavored gelatin powders
- 2 tablespoons (14 g) unflavored gelatin powder
- 3 cups (720 ml) boiling water
- 1.5 cups (360 ml) cold water
- 1 can (14 oz / 396 g) sweetened condensed milk
- 1 cup (240 ml) milk or half-and-half (or dairy-free alternative like coconut milk)
- 1 teaspoon vanilla extract
Instructions
- Boil 1 cup (240 ml) of water. Pour it into a bowl with one jello packet and 1 teaspoon of unflavored gelatin powder. Stir until completely dissolved. Add ½ cup (120 ml) cold water, stir, and set aside to cool slightly (about 5 minutes).
- Pour the mixture into your clear baking dish, tilting gently to spread evenly. Refrigerate for 15-20 minutes until it’s just set but still slightly tacky on top.
- In a separate bowl, sprinkle 1 tablespoon (7 g) unflavored gelatin over ½ cup (120 ml) cold water and let bloom for 5 minutes. Heat ½ cup (120 ml) boiling water and dissolve the bloomed gelatin in it. Stir in ½ cup (120 ml) sweetened condensed milk, ½ cup (120 ml) milk or half-and-half, and ½ teaspoon vanilla extract.
- Once the first jello layer is tacky, gently pour the creamy mixture over it. Return the dish to the fridge for another 20 minutes to set.
- Continue alternating jello and creamy layers until all colors are used, finishing with a jello layer. Each layer sets best if poured while the previous layer is slightly tacky to help them stick but avoid mixing colors.
- Refrigerate the completed cake for at least 2 hours (or overnight) until fully firm.
- Use a sharp knife warmed under hot water for cleaner cuts. Slice into squares and serve chilled.
Notes
Do not rush setting times to avoid color bleeding. Pour creamy layers gently over the back of a spoon to keep layers distinct. Warm knife under hot water before slicing for clean cuts. For dairy-free, substitute milk and condensed milk with coconut milk and sweetener. Agar-agar can be used for vegan version but may alter texture and setting times.
Nutrition
- Serving Size: 1/12th of the cake
- Calories: 120150
- Fat: 24
- Carbohydrates: 2530
- Protein: 12
Keywords: jello cake, layered jello, graduation dessert, school colors, easy jello recipe, colorful dessert, creamy jello layers, party dessert