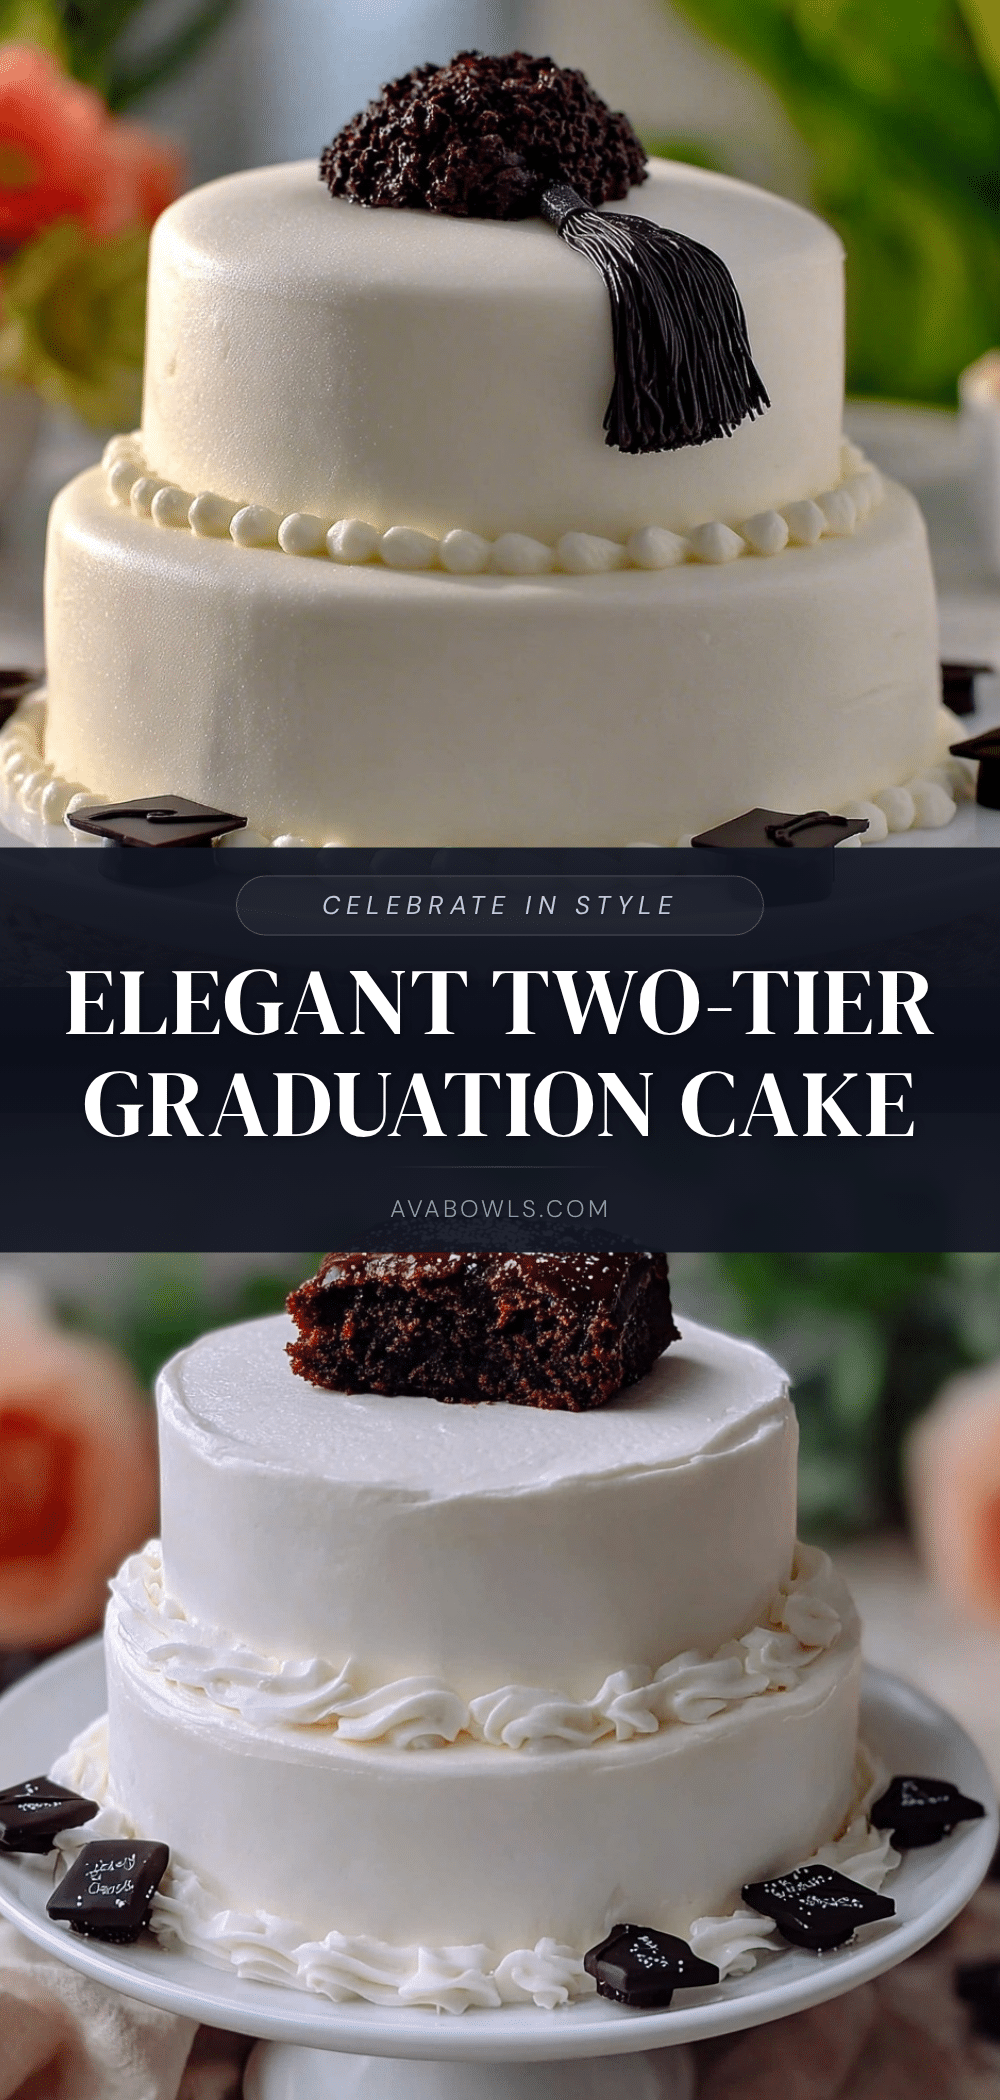
“You really think you can pull off a two-tier cake with fondant tassels in one afternoon?” my friend asked, half amused, half doubtful. Honestly, I was skeptical too when I first decided to take on this Perfect Two-Tier Graduation Cake with Elegant Fondant Tassel for my niece’s big day. It started as a last-minute plan — with only a few hours before the party and a kitchen that looked like a hurricane had passed through it. But somehow, the layers came together, the fondant didn’t crack (too much), and the tassel turned out… well, elegant enough to fool everyone into thinking I’d practiced for weeks.
The smell of vanilla and butter filled the air while I nervously shaped that tassel, and I remember thinking, “Okay, this might just work.” It wasn’t flawless — the edges weren’t perfectly sharp, and I caught a tiny crack near the base — but it had heart. That cake became the centerpiece of the celebration; people kept asking where I got it, and I’d just smile and say, “Made it myself.” It stuck with me because it proved that with a bit of patience (and a lot of frosting), you can create something that looks professional without needing a bakery’s budget or years of experience.
So here’s the thing — this Perfect Two-Tier Graduation Cake with Elegant Fondant Tassel recipe isn’t about perfection. It’s about making a statement, celebrating a milestone, and yes, enjoying every messy, exciting step along the way. Whether you’re a total novice or someone who’s tried and tested cakes before, this recipe offers a manageable yet impressive way to honor graduates with a cake that’s as special as the occasion.
Why You’ll Love This Recipe
After baking this cake multiple times in the past few weeks, I’ve come to trust it as my go-to graduation cake recipe. It’s not just about looking good — it’s about tasting amazing and coming together without a fuss. Here’s what makes this Perfect Two-Tier Graduation Cake stand out:
- Quick & Easy: The entire process, from mixing the batter to decorating with the fondant tassel, takes under 4 hours — perfect for a last-minute celebration or a busy weekend.
- Simple Ingredients: No need for fancy or hard-to-find items. Most ingredients are pantry staples, and the fondant uses just a few basics you might already have.
- Perfect for Graduation Parties: It’s festive but elegant, making it ideal for both intimate family gatherings and larger celebrations.
- Crowd-Pleaser: The vanilla butter cake layers are tender and moist, pleasing both kids and adults — a rare crowd-pleaser.
- Unbelievably Delicious: The smooth buttercream and sweet fondant tassel create a texture and flavor combo that feels indulgent but balanced.
This isn’t just another layered cake. The secret lies in the silky buttercream that holds the layers together and the fondant tassel technique that looks fancy but is surprisingly straightforward. There’s a moment when you pull the tassel strands just right, and it feels like you’ve nailed the centerpiece decoration — a personal victory every time.
It’s the kind of cake that makes you pause and smile after the first bite, and the kind you’ll want to make again for every graduation (or special achievement) in your life. Plus, if you’re into other creamy, comforting dishes, you might enjoy the creamy strawberry cream cheese stuffed french toast I shared — equally indulgent and crowd-friendly!
What Ingredients You Will Need
This recipe relies on simple, wholesome ingredients to deliver a moist, flavorful cake with a smooth, elegant finish. Most are easy to find and often already in your kitchen. You can tweak a few if needed, but I’ve found these to work best.
- For the Cake Layers:
- All-purpose flour – 3 cups (375g), sifted for lightness
- Baking powder – 1 tablespoon (15g), for that perfect rise
- Salt – ½ teaspoon (3g), to balance sweetness
- Unsalted butter – 1 cup (227g), softened, for richness
- Granulated sugar – 2 cups (400g), to sweeten
- Large eggs – 4, room temperature, for structure
- Whole milk – 1 cup (240ml), room temperature, for moisture
- Pure vanilla extract – 2 teaspoons (10ml), for that classic flavor
- For the Buttercream Frosting:
- Unsalted butter – 1 cup (227g), softened
- Powdered sugar – 4 cups (480g), sifted for smoothness
- Heavy cream – 3-4 tablespoons (45-60ml), to get the right consistency
- Vanilla extract – 1 teaspoon (5ml)
- Pinch of salt
- For the Fondant Tassel:
- White fondant – 8 ounces (225g), store-bought or homemade
- Gel food coloring (optional) – black or school colors for tassel detailing
- Cornstarch or powdered sugar – for dusting to prevent sticking
- Edible glue or water – to help pieces stick together
For the fondant, I personally prefer Wilton brand fondant for its smooth texture and ease of handling. If you want to add a pop of color, gel food colors work best without altering consistency. When making the cake layers, using room temperature eggs and milk helps everything blend smoothly, giving you that tender crumb you want. If you need a gluten-free version, swapping all-purpose flour with a gluten-free blend like Bob’s Red Mill 1-to-1 works nicely too.
Equipment Needed
Before getting started, make sure you have these kitchen tools handy. Nothing fancy, but a few essentials make the process smoother:
- Two round cake pans, 8-inch and 6-inch (20cm and 15cm) – non-stick preferred
- Mixing bowls – at least two medium-sized
- Electric mixer – stand or hand mixer to cream butter and sugar properly
- Offset spatula – for smooth frosting application
- Rolling pin – for rolling out fondant evenly
- Sharp knife or pizza cutter – to trim the fondant tassel strips
- Bench scraper or cake scraper – helps to get smooth cake sides
- Parchment paper – to line pans and prevent sticking
- Wire cooling racks – to cool cake layers completely
If you don’t have a cake scraper, a flat edge of a spatula or even a clean ruler works in a pinch. For rolling fondant, I like to dust lightly with cornstarch—it keeps things from sticking like glue. And honestly, a quality mixer makes a huge difference with the buttercream; I’ve had some lumpy batches when mixing by hand that just weren’t the same.
Preparation Method
- Preheat and prep pans: Set your oven to 350°F (175°C). Grease the 8-inch and 6-inch pans well with butter and line the bottoms with parchment paper. This keeps your layers from sticking and helps with even baking. (About 10 minutes)
- Mix dry ingredients: In a medium bowl, sift together the 3 cups (375g) flour, 1 tablespoon (15g) baking powder, and ½ teaspoon (3g) salt. Set aside. This ensures your cake rises evenly and has a tender crumb. (5 minutes)
- Cream butter and sugar: Using an electric mixer, beat 1 cup (227g) softened butter with 2 cups (400g) granulated sugar until light and fluffy—usually 3-5 minutes. You’ll notice the mixture turning pale and airy, which is the secret to a moist cake. (5 minutes)
- Add eggs and vanilla: Crack in the 4 room-temperature eggs one at a time, beating well after each addition. Stir in 2 teaspoons (10ml) vanilla extract. This step helps emulsify the batter for a smooth texture. (3 minutes)
- Alternate adding dry ingredients and milk: In three additions, alternate adding the flour mixture and 1 cup (240ml) milk, starting and ending with flour. Mix gently after each addition to avoid overmixing. The batter should be thick but pourable. (5 minutes)
- Divide and bake: Evenly pour batter into the prepared pans (about 3 cups (720ml) per 8-inch pan, 2 cups (480ml) per 6-inch pan). Smooth tops with a spatula. Bake for 30-35 minutes or until a toothpick inserted comes out clean. Rotate pans halfway through for even baking. (30-35 minutes)
- Cool completely: Let cakes cool in pans for 10 minutes, then transfer to wire racks to cool fully before frosting. This prevents frosting from melting and sliding. (1 hour)
- Prepare buttercream: Beat 1 cup (227g) softened butter until creamy. Gradually add 4 cups (480g) powdered sugar, alternating with 3-4 tablespoons (45-60ml) heavy cream until smooth and spreadable. Add 1 teaspoon (5ml) vanilla and a pinch of salt. (10 minutes)
- Assemble tiers: Level each cake layer with a serrated knife if needed. Place the 8-inch cake bottom layer on your serving plate. Spread a thick layer of buttercream (about ½ cup (120ml)) evenly. Repeat with the second 8-inch layer. Chill briefly to set. Repeat for the 6-inch tier on a separate board. (15 minutes)
- Stack and crumb coat: Carefully place the 6-inch tier atop the 8-inch tier with a dollop of buttercream as glue. Apply a thin crumb coat of frosting over the entire cake to seal crumbs. Chill 20 minutes to firm. (20 minutes)
- Final frosting layer: Apply a smooth, thick layer of buttercream using an offset spatula and cake scraper. Aim for clean edges and even coverage. Chill 30 minutes to set. (30 minutes)
- Create fondant tassel: Knead fondant until pliable. Roll into a ¼-inch (6mm) thick rectangle. Cut thin strips about ½ inch (1.2cm) wide, leaving one end intact to form the tassel base. Gently fan out strips to mimic tassel threads. Use edible glue or water to attach to a small fondant circle for the cap. Color with gel food coloring if desired. Let dry. (30-40 minutes)
- Attach tassel to cake: Use a dab of buttercream or edible glue to fix the tassel on the side of the top tier. Position it hanging naturally for an elegant effect.
Pro tip: If your layers dome on top, level them before stacking to keep the tiers steady. Also, refrigerate the cake between frosting steps to firm up the buttercream — it makes smoothing so much easier. For a detailed guide on frosting techniques, I found it useful to apply methods from my experience making the creamy lemon ricotta pasta where precision and patience really pay off.
Cooking Tips & Techniques
Making a two-tier cake might seem intimidating, but a few tricks go a long way:
- Room temperature ingredients: Butter, eggs, and milk at room temp blend better, giving you a smooth batter and fluffy cake. Cold ingredients can cause lumps or dense texture.
- Don’t overmix: Once you combine wet and dry ingredients, mix just until smooth. Overmixing develops gluten, leading to a tough cake.
- Chill between frosting layers: This prevents crumbs from mixing into the smooth final coat. It also helps the buttercream firm up for cleaner edges.
- Roll fondant evenly: Dust your surface lightly to avoid sticking. Try to keep the thickness consistent — uneven fondant can crack or tear.
- Practice the tassel strip cutting: Use a sharp knife to get clean edges. If strips stick together, gently dust with powdered sugar.
- Stack carefully: Use a small dab of frosting as glue between tiers to stabilize. If you want extra support, insert dowels or straws in the bottom tier before stacking.
One time, I forgot to chill the crumb coat and ended up with frosting sliding off during final frosting — lesson learned! Also, multitasking by preparing the fondant tassel while the cake cools saves time and keeps the flow smooth. These little tricks make the difference between a stressful bake and a fun project.
Variations & Adaptations
You can totally customize this Perfect Two-Tier Graduation Cake to fit your style or dietary needs:
- Flavor swaps: Add lemon zest and juice to the batter for a bright twist or fold in cocoa powder (¾ cup / 75g) for a chocolate version.
- Fondant colors: Use gel colors to match school colors or personalize tassels with initials or numbers.
- Dietary adaptations: Substitute all-purpose flour with gluten-free blends or use dairy-free butter and milk alternatives for a vegan-friendly cake.
- Decor style: Skip fondant and pipe buttercream tassels using a grass tip for a textured look. Or add edible gold leaf for a luxe touch.
- Additional layers: For bigger parties, add 4-inch or 10-inch tiers, just remember to reinforce stacking with cake boards and dowels.
Personally, I once swapped the buttercream for a light cream cheese frosting with a hint of orange zest — it added a fresh zing that everyone loved. If you enjoy a bit of savory flair in your cooking, you might appreciate the balance of flavors in my creamy spring vegetable fettuccine alfredo, which also shows how simple ingredients can create a memorable dish.
Serving & Storage Suggestions
This cake is best served at room temperature. Take it out of the fridge about 30 minutes before cutting to let the buttercream soften slightly — it slices cleanly and melts in your mouth perfectly.
For presentation, place the cake on a simple pedestal or decorative board to highlight the tassel detail. Pair with fresh berries or a light fruit compote to brighten the richness.
Store leftovers covered in the refrigerator for up to 4 days. To keep the fondant tassel intact, avoid stacking anything on top. When reheating slices, microwave on low power for 15-20 seconds to soften buttercream without melting it.
Flavors actually deepen overnight as the cake absorbs moisture from the frosting, so if you can, make it a day ahead for an even tastier treat.
Nutritional Information & Benefits
Each serving (based on 12 slices) contains approximately:
| Nutrient | Amount |
|---|---|
| Calories | 380 kcal |
| Fat | 20 g |
| Saturated Fat | 12 g |
| Carbohydrates | 45 g |
| Sugar | 30 g |
| Protein | 4 g |
The cake provides energy to celebrate big milestones, though it’s definitely a treat to enjoy in moderation. Using real butter and whole milk adds richness but also fat-soluble vitamins like A and D. The eggs contribute protein and essential nutrients.
For those mindful of allergens, this recipe contains gluten, dairy, and eggs, but adaptations are possible with gluten-free flour, dairy-free butter, and flax eggs. Personally, I find that balancing indulgence with homemade quality makes this cake a satisfying celebration centerpiece without guilt.
Conclusion
This Perfect Two-Tier Graduation Cake with Elegant Fondant Tassel has become a celebration staple for me — a way to mark milestones with something homemade, heartfelt, and just a little fancy. It’s approachable for home bakers who want to impress without stress. With a few simple ingredients and some patience, you can create a cake that looks stunning and tastes even better.
Feel free to tweak the flavors, colors, or decorations to fit your graduate’s personality. For me, this cake is more than just dessert — it’s a reminder that sometimes the best celebrations come from trying something new and making it your own.
Don’t hesitate to share your version or any questions you have — I love hearing how these recipes fit into your special moments. Here’s to many more festive bakes ahead!
FAQs
How do I prevent my fondant tassel from cracking?
Knead the fondant well until soft and pliable before rolling. Dust your surface lightly with cornstarch to avoid sticking, and roll to an even thickness. If cracks appear, warm and knead the fondant a bit more before cutting tassel strips.
Can I make this cake ahead of time?
Yes! You can bake and frost the cake a day before the celebration. Keep it refrigerated, then bring to room temperature before serving for the best texture and flavor.
What if I don’t have a cake scraper?
A flat spatula or even a clean, straight-edged ruler can help smooth the frosting. Take your time and chill the crumb coat to make smoothing the final layer easier.
Is it possible to make this cake gluten-free?
Absolutely. Substitute the all-purpose flour with a gluten-free 1-to-1 baking blend. Just be mindful of slight texture changes and adjust baking time if needed.
How do I store leftover fondant decorations?
Keep fondant decorations in an airtight container at room temperature to prevent drying out. Avoid refrigerating them, as moisture can cause them to soften or become sticky.
Pin This Recipe!
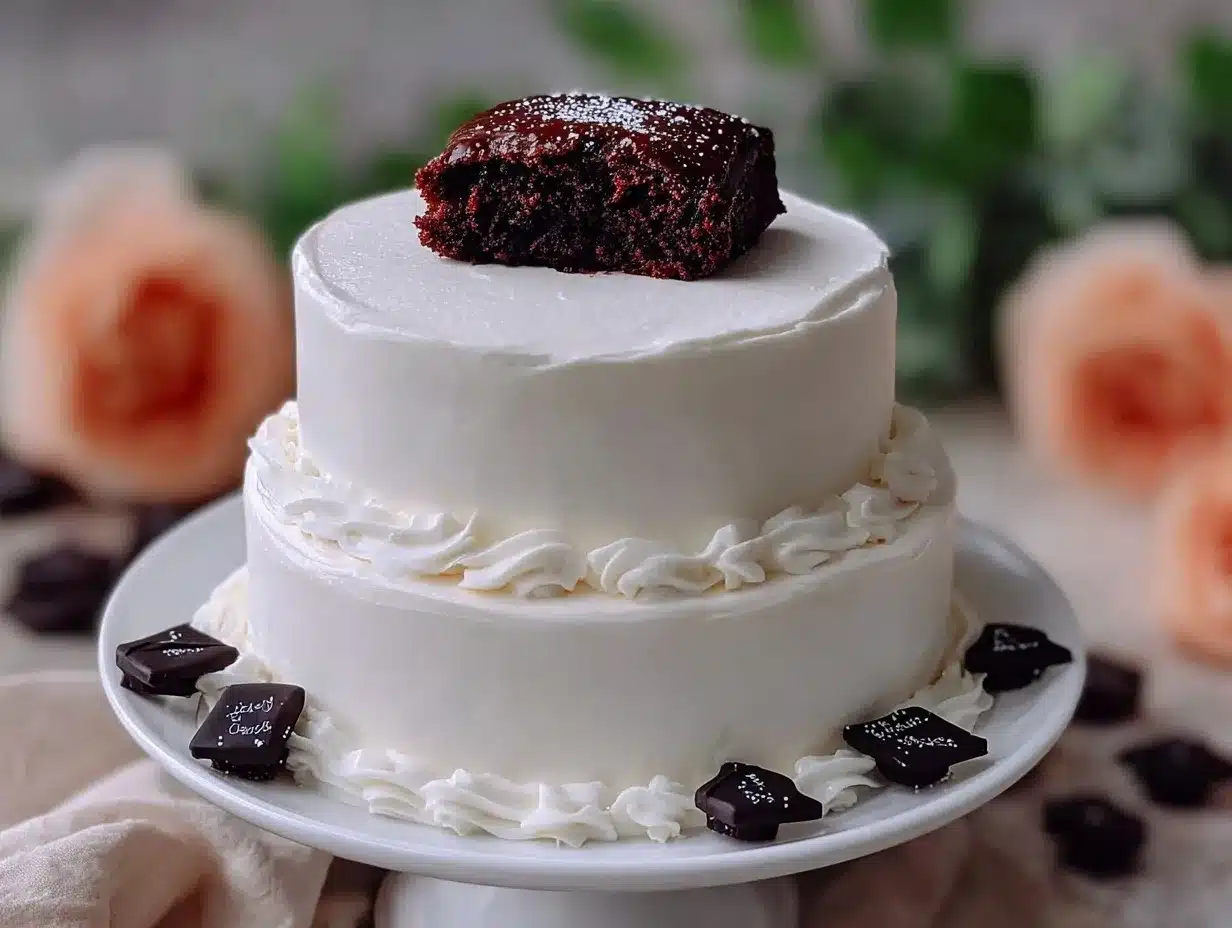
Perfect Two-Tier Graduation Cake Recipe with Easy Elegant Fondant Tassel Tutorial
A manageable yet impressive two-tier vanilla butter cake with smooth buttercream and an elegant fondant tassel, perfect for celebrating graduations and special milestones.
- Prep Time: 1 hour 15 minutes
- Cook Time: 30-35 minutes
- Total Time: 1 hour 45 minutes to 2 hours
- Yield: 12 servings
- Category: Dessert
- Cuisine: American
Ingredients
- All-purpose flour – 3 cups (375g), sifted
- Baking powder – 1 tablespoon (15g)
- Salt – ½ teaspoon (3g)
- Unsalted butter – 1 cup (227g), softened (for cake layers)
- Granulated sugar – 2 cups (400g)
- Large eggs – 4, room temperature
- Whole milk – 1 cup (240ml), room temperature
- Pure vanilla extract – 2 teaspoons (10ml)
- Unsalted butter – 1 cup (227g), softened (for buttercream)
- Powdered sugar – 4 cups (480g), sifted
- Heavy cream – 3-4 tablespoons (45-60ml)
- Vanilla extract – 1 teaspoon (5ml)
- Pinch of salt
- White fondant – 8 ounces (225g)
- Gel food coloring (optional) – black or school colors
- Cornstarch or powdered sugar – for dusting
- Edible glue or water – to help pieces stick
Instructions
- Preheat oven to 350°F (175°C). Grease and line 8-inch and 6-inch cake pans with parchment paper.
- Sift together flour, baking powder, and salt in a medium bowl; set aside.
- Using an electric mixer, beat 1 cup softened butter with granulated sugar until light and fluffy, about 3-5 minutes.
- Add eggs one at a time, beating well after each addition. Stir in vanilla extract.
- Alternate adding flour mixture and milk in three additions, starting and ending with flour. Mix gently until smooth.
- Divide batter evenly into prepared pans (about 3 cups per 8-inch pan, 2 cups per 6-inch pan). Smooth tops.
- Bake for 30-35 minutes or until a toothpick inserted comes out clean. Rotate pans halfway through baking.
- Cool cakes in pans for 10 minutes, then transfer to wire racks to cool completely.
- Prepare buttercream by beating 1 cup softened butter until creamy. Gradually add powdered sugar alternating with heavy cream until smooth. Add vanilla and salt.
- Level cake layers if needed. Place 8-inch bottom layer on serving plate, spread about ½ cup buttercream evenly. Repeat with second 8-inch layer and chill briefly. Repeat for 6-inch tier on separate board.
- Stack 6-inch tier atop 8-inch tier using a dollop of buttercream as glue. Apply thin crumb coat over entire cake and chill 20 minutes.
- Apply final smooth thick layer of buttercream using offset spatula and cake scraper. Chill 30 minutes to set.
- Knead fondant until pliable. Roll into ¼-inch thick rectangle. Cut thin strips about ½ inch wide, leaving one end intact to form tassel base. Fan out strips to mimic tassel threads. Attach strips to small fondant circle with edible glue or water. Color with gel food coloring if desired. Let dry 30-40 minutes.
- Attach fondant tassel to side of top tier using a dab of buttercream or edible glue, positioning it hanging naturally.
Notes
Use room temperature eggs and milk for smooth batter. Chill cake between frosting layers to firm buttercream for easier smoothing. Level domed cake layers before stacking. Dust rolling surface lightly with cornstarch to prevent fondant sticking. Use dowels or straws for extra tier support if adding more layers. Fondant tassel can be colored with gel food coloring. Refrigerate cake between steps to prevent frosting sliding.
Nutrition
- Serving Size: 1 slice (1/12 of cak
- Calories: 380
- Sugar: 30
- Fat: 20
- Saturated Fat: 12
- Carbohydrates: 45
- Protein: 4
Keywords: two-tier cake, graduation cake, fondant tassel, vanilla butter cake, buttercream frosting, celebration cake, easy cake recipe