“Are you serious? Cake pops in school colors?” my sister laughed the first time I mentioned the idea. She was skeptical, and honestly, so was I. But I had this late-night craving to create something festive yet simple for my nephew’s big game day, and the thought of a cake pop bouquet in his school colors just wouldn’t leave me alone. I grabbed a box of cake mix, some colorful sprinkles, and started experimenting in my tiny kitchen. The first batch looked a little wonky, a bit uneven, but the taste? Spot on. The mix of moist cake and creamy frosting rolled into bite-size treats was comforting in a way that made me pause – almost like those simpler moments when you’re just rooting for your favorite team, no pressure, just joy.
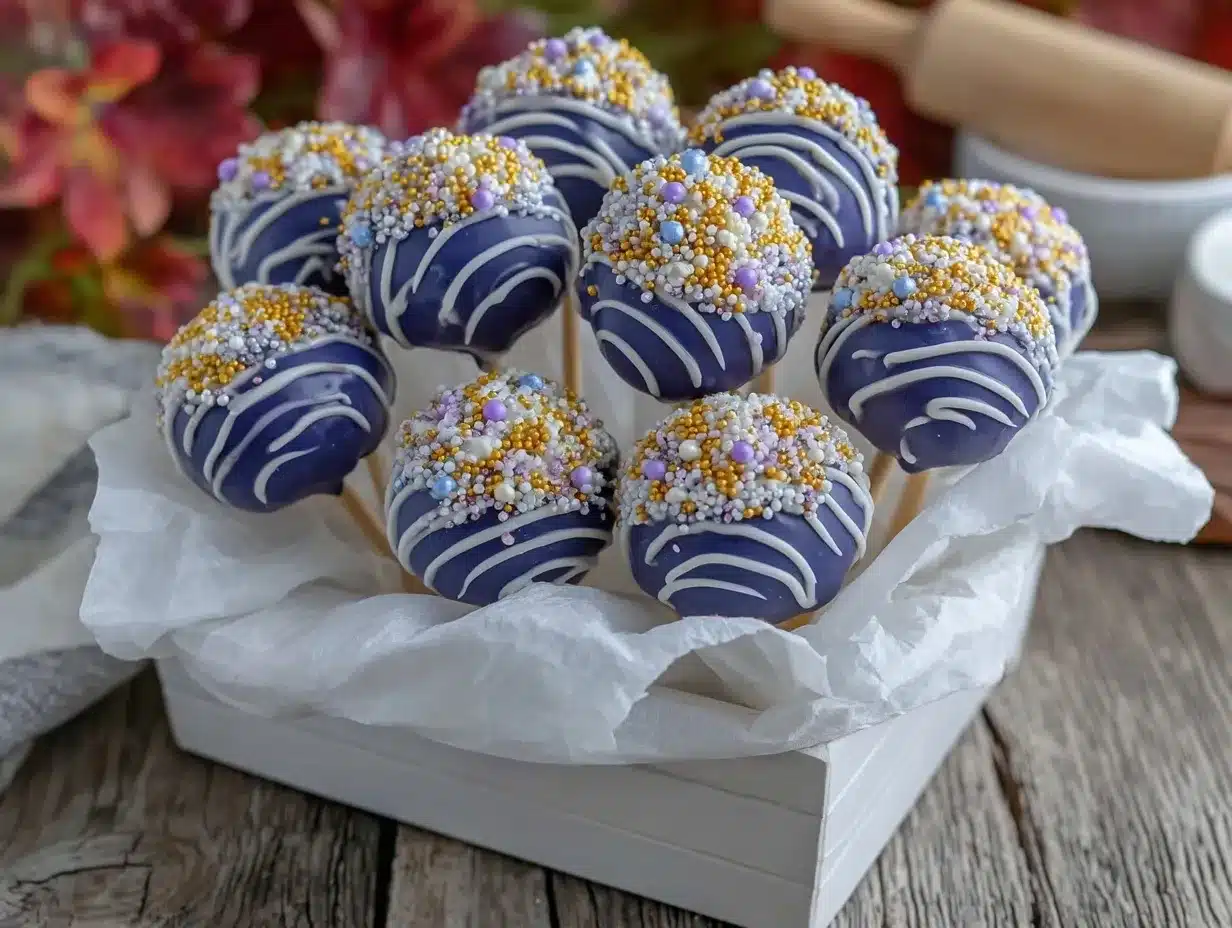
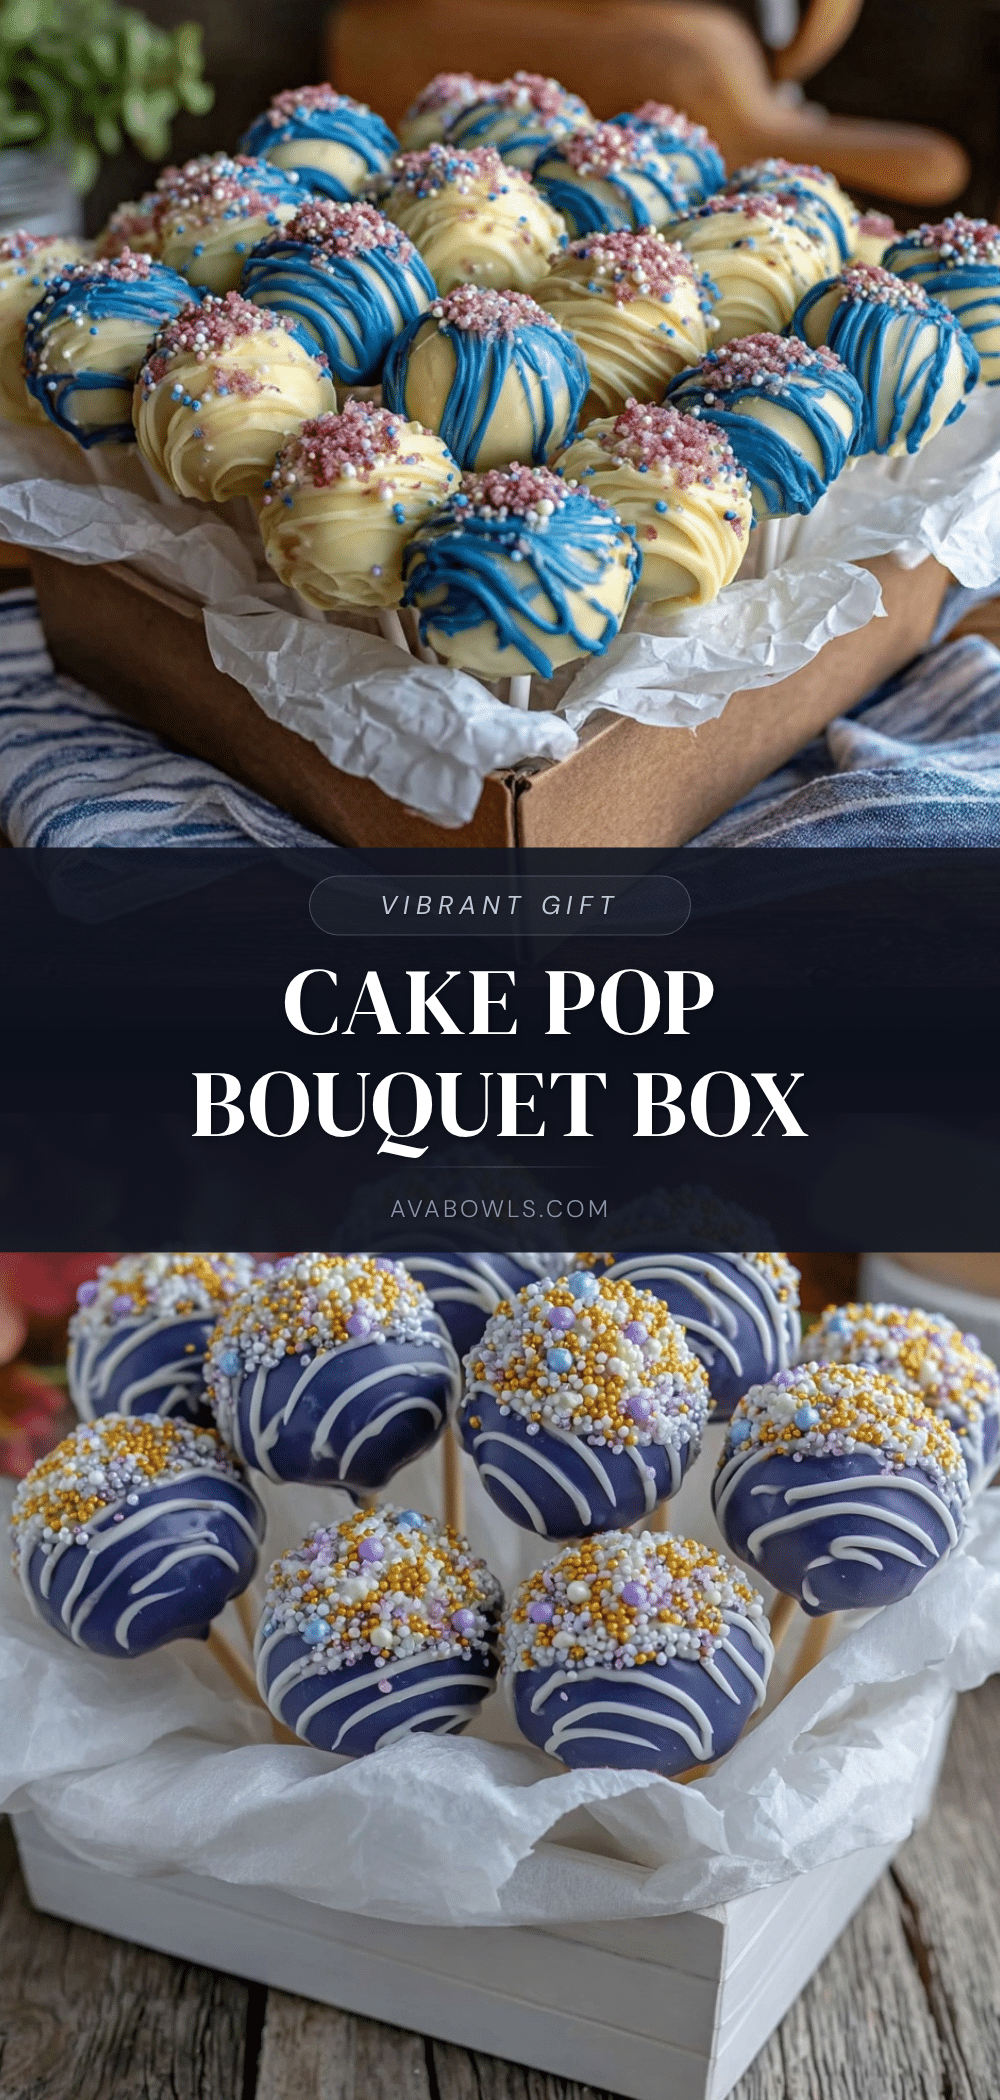
By the third try, I had a bouquet that not only tasted amazing but looked like a vibrant celebration of school spirit. The red and navy blue cake pops nestled perfectly in a gift box, ready to brighten someone’s day. It became a quiet ritual for me to make these before every game, every school event. And now, I want to share the magic of this perfect cake pop bouquet in a school colors gift box—not just as a snack, but as a cheerful, colorful statement you can craft at home, even if you’re not really a baker.
It’s funny how something so simple can bring out smiles and spark conversations. This recipe isn’t about perfection, it’s about that sweet little moment when you hand over a box of joy wrapped in your team’s colors. That’s why it stuck with me—and why it might just become your go-to for gifting or game day treats, too.
Why You’ll Love This Recipe
This perfect cake pop bouquet has become a favorite for so many reasons, and I’ve tested and tweaked it more times than I can count (yes, sometimes more than once a week!). Here’s why it stands out:
- Quick & Easy: You can have this bouquet ready in about 2 hours, making it perfect for last-minute school events or celebrations.
- Simple Ingredients: No fancy or hard-to-find items here. Most of these are pantry staples or easy to grab from any grocery store.
- Perfect for School Spirit: Whether it’s a pep rally, a graduation party, or just a fun classroom surprise, this bouquet screams team pride.
- Crowd-Pleaser: Kids and adults alike love these bite-sized treats. They’re festive, colorful, and fun to eat.
- Unbelievably Delicious: The moist cake combined with creamy frosting and a smooth candy coating hits that nostalgic comfort food note.
What makes this recipe different? Well, the secret is in the frosting-to-cake ratio and the way you chill the cake balls before dipping. It stops the crumb from falling apart and gives you that nice, smooth finish. Plus, using candy melts in your school colors (I recommend Wilton’s for consistent color and texture) makes the bouquet pop visually—literally.
Honestly, this isn’t just another cake pop recipe. It’s the one that makes you grin when you hand it off, the one that gets requests to “make it again,” and the one that turns simple cake into a colorful celebration. And if you’ve ever tried making cake pops before and ended up with crumbly messes, don’t worry—this recipe’s got you covered.
What Ingredients You Will Need
This recipe uses simple, wholesome ingredients to deliver bold flavor and satisfying texture without fuss. You’ll find most of these ingredients in your pantry or local store, with some easy substitutions if needed.
For the Cake Pops
- Boxed cake mix (any flavor you like; yellow or vanilla works beautifully for color vibrancy)
- Eggs, large (usually 3 for a standard cake mix)
- Vegetable oil or canola oil (1/3 cup or 80 ml)
- Water (1 cup or 240 ml, as directed on cake mix box)
- Buttercream frosting (about 1 cup or 240 g; store-bought or homemade)
For Decorating & Assembly
- Candy melts in school colors (around 12 oz or 340 g per color; Wilton brand recommended for smooth melting and vibrant color)
- Sprinkles or edible glitter in matching colors (optional, for extra flair)
- Lollipop sticks (50 sticks; 4.5 inches or 11.5 cm long)
- Styrofoam block or floral foam for bouquet base
- Gift box (size to fit your bouquet arrangement)
- Colored tissue paper in school colors (to line the gift box)
Ingredient tips: For frosting, I prefer a buttercream with a good balance of sweetness and creaminess. You can swap for cream cheese frosting if you want a tangier bite. If gluten-free is needed, choose a gluten-free cake mix. For dairy-free options, use vegan frosting and candy melts labeled dairy-free.
Equipment Needed
- Mixing bowls: A large bowl for cake batter and a medium one for frosting mixing if homemade.
- Electric mixer: Stand or hand mixer to make cake batter and frosting smooth.
- Baking pan: 9×13-inch (23×33 cm) pan for baking cake layers.
- Cooling rack: To let the cake cool completely before crumbling.
- Large spoon or cookie scoop: For portioning cake balls evenly (I like a 1-inch scoop).
- Microwave-safe bowls: For melting candy melts.
- Styrofoam block or floral foam: To hold cake pops upright while drying.
- Gift box: A sturdy box large enough to hold the bouquet arrangement.
If you don’t have a stand mixer, a strong hand mixer works just as well. For melting candy melts, a double boiler can help prevent scorching but the microwave method in short bursts works fine too. I’ve used disposable foam blocks from craft stores and floral foam with great results; just remember to cover the foam with tissue paper so it doesn’t stick to the cake pops.
Preparation Method
- Preheat the oven to 350°F (175°C). Grease and flour a 9×13-inch (23×33 cm) baking pan.
- Prepare the cake batter according to the boxed mix instructions, combining cake mix, eggs, oil, and water in a large bowl. Use an electric mixer on medium speed until smooth (about 2-3 minutes).
- Bake the cake for 30-35 minutes or until a toothpick inserted comes out clean. Let it cool completely on a wire rack (about 1 hour).
- Crumble the cooled cake into a large bowl using your hands or a fork, breaking it into fine crumbs.
- Add frosting gradually (about 1 cup or 240 g) and mix with hands or a spoon until the mixture holds together but isn’t too sticky.
- Scoop cake mixture into 1-inch (2.5 cm) balls using a cookie scoop or spoon. Place on parchment-lined baking sheet.
- Chill cake balls in the refrigerator for at least 2 hours or in the freezer for 30 minutes to firm up.
- Melt candy melts in microwave-safe bowls in 30-second intervals, stirring in between until smooth. Use separate bowls for each color.
- Dip lollipop sticks about 1 inch (2.5 cm) into melted candy, then insert into the chilled cake balls (about halfway in). This helps secure the stick.
- Coat each cake pop by dipping it fully into the melted candy melts. Gently tap off excess and immediately decorate with sprinkles if desired.
- Stick cake pops upright into foam to dry completely (about 15-20 minutes). If coating is too thick or uneven, warm the candy melts slightly and dip again for a smoother finish.
- Arrange cake pops in the gift box lined with colored tissue paper, alternating colors and heights to create a vibrant bouquet effect.
Pro tip: When mixing cake and frosting, stop adding frosting once the mixture sticks together without being overly wet. Too much frosting makes cake balls hard to shape. Also, working with chilled cake balls helps prevent cracks when dipping. If you notice cracking while dipping, the cake balls might be too cold or the candy melts too thick—let the candy cool slightly before dipping next ones.
Cooking Tips & Techniques
Making cake pops can feel tricky until you get the hang of a few key techniques. Here’s what I’ve learned the hard way:
- Chill is key: Cake balls must be firm before dipping to avoid crumbling or cracking. Don’t skip chilling, even if you’re in a rush.
- Thin your candy melts: If your candy melts are thick or clumpy, add a teaspoon of vegetable oil or shortening to thin them out. This helps with smooth coating.
- Use the right stick technique: Always dip the stick in melted candy before inserting it into the cake ball. This acts like glue and keeps the pop stable.
- Mind the temperature: Don’t let candy melts cool too much or they’ll harden and get clumpy. Warm gently if needed but avoid overheating.
- Decorate quickly: Add sprinkles or edible glitter immediately after dipping, before the coating sets.
- Storage matters: Cake pops stay fresh best in an airtight container at room temperature for up to 2 days or refrigerated up to 5 days.
I remember once rushing through the dipping step and ended up with cracked cake pops everywhere. Lesson learned: patience pays off. Also, multitasking helps—I usually melt candy melts in batches and prep sticks while cake balls chill. That way, I’m not scrambling at the last minute.
Variations & Adaptations
This cake pop bouquet is super adaptable depending on your school colors, dietary needs, or flavor preferences. Here are a few of my favorite twists:
- Flavor swaps: Use chocolate cake mix with chocolate frosting for a rich, indulgent pop. Or try red velvet with cream cheese frosting for a tangy twist.
- Dietary adjustments: Gluten-free cake mixes and dairy-free frosting are simple swaps for allergy-friendly options. Use dairy-free candy melts to keep it vegan.
- Seasonal flair: Add edible gold or silver glitter for a graduation bouquet or swap sprinkles for mini stars during holidays.
- Decorative tops: Instead of sprinkles, drizzle a contrasting candy color with a fork for a marbled look.
- Alternative coatings: Try melted white chocolate tinted with food coloring if you prefer a more natural ingredient list.
Personally, I once made a pastel bouquet for a spring birthday using lemon cake and pastel pink and blue candy melts—it was such a hit, and the colors were dreamy. Adjusting textures or flavors is part of the fun, and you can make this bouquet truly yours.
Serving & Storage Suggestions
Serve your perfect cake pop bouquet at room temperature to let the flavors shine and the candy coating stay crisp. Present the bouquet as a centerpiece or gift it in a colorful box lined with tissue paper for extra cheer.
These cake pops pair wonderfully with fresh fruit or a light punch. For a savory balance, consider serving alongside creamy dips like the fresh Greek yogurt veggie dip with herbs, which adds a refreshing contrast to the sweet bites.
For storage, keep the bouquet in an airtight container at room temperature for 2 days max to avoid condensation messing with the candy shell. Refrigerating extends freshness up to 5 days but may cause slight condensation upon removal—let pops come to room temperature before serving.
Leftovers can be frozen wrapped individually for up to a month. Thaw in the fridge overnight and serve within a day for best texture. The flavors mellow beautifully over time, making this a great make-ahead treat for busy event days.
Nutritional Information & Benefits
Each cake pop (about 1.5 oz / 43 g) contains approximately:
| Calories | 150-180 kcal |
|---|---|
| Total Fat | 7-9 g |
| Sugar | 18-22 g |
| Protein | 1-2 g |
While these cake pops are a sweet treat, the portion size keeps indulgence in check. Using simple ingredients means you avoid preservatives found in many store-bought treats. Choosing homemade frosting lets you control sugar levels, and swapping in gluten-free or dairy-free options makes this recipe accessible for many diets.
From a wellness perspective, enjoying these cake pops mindfully—like at a celebration or with friends—adds to their joy factor. They remind me of balancing treat time with nourishing meals, like a creamy pasta dish from my kitchen, similar to the creamy lemon ricotta pasta with fresh peas and mint, which is wholesome and satisfying.
Conclusion
The perfect cake pop bouquet in school colors gift box is more than just a dessert; it’s a way to celebrate spirit, color, and connection with a homemade touch. Whether you’re gifting it to a student, bringing it to a game day, or using it as a cheerful centerpiece, this recipe brings a smile with every bite.
Feel free to tweak flavors, colors, and decorations to suit your style or occasion. I love how this recipe allows for creativity while keeping things straightforward, even for those who don’t bake often. It’s become a quiet favorite in my kitchen, and I hope it finds a special place in yours, too.
If you try making this bouquet, I’d love to hear how it turned out or what variations you’ve explored. Sharing those little successes makes this journey even sweeter. Remember, the best gifts are made with a little love and a lot of color.
FAQs
How long do cake pops last once made?
They last about 2 days at room temperature in an airtight container or up to 5 days refrigerated. For longer storage, freeze them individually for up to a month.
Can I use homemade cake instead of boxed mix?
Absolutely! Use your favorite homemade cake recipe, just make sure it’s moist but not too crumbly for shaping cake balls.
What if my candy melts are too thick to dip?
Add a teaspoon of vegetable oil or shortening to the melts and stir gently to thin them out for a smoother coating.
Can I make cake pops without lollipop sticks?
Yes, but they’re trickier to handle. You can shape mini cake balls and serve on a plate or use sturdy straws as a substitute.
How do I prevent cake pops from falling off the sticks?
Dip the stick tip in melted candy before inserting into the cake ball to act as glue. Also, chilling the cake balls thoroughly helps them stay firm.
Pin This Recipe!
Perfect Cake Pop Bouquet How to Make a Colorful School Colors Gift Box Bouquet

Create a festive and colorful cake pop bouquet in your school colors, perfect for game days, school events, or gifting. This recipe combines moist cake, creamy frosting, and vibrant candy melts for a crowd-pleasing treat.
- Prep Time: 20 minutes
- Cook Time: 35 minutes
- Total Time: 2 hours 55 minutes
- Yield: 50 cake pops 1x
- Category: Dessert
- Cuisine: American
Ingredients
- Boxed cake mix (any flavor; yellow or vanilla recommended for color vibrancy)
- 3 large eggs
- 1/3 cup (80 ml) vegetable oil or canola oil
- 1 cup (240 ml) water (as directed on cake mix box)
- 1 cup (240 g) buttercream frosting (store-bought or homemade)
- 12 oz (340 g) candy melts in school colors (Wilton brand recommended)
- Sprinkles or edible glitter in matching colors (optional)
- 50 lollipop sticks (4.5 inches or 11.5 cm long)
- Styrofoam block or floral foam for bouquet base
- Gift box (size to fit bouquet arrangement)
- Colored tissue paper in school colors (to line gift box)
Instructions
- Preheat the oven to 350°F (175°C). Grease and flour a 9×13-inch (23×33 cm) baking pan.
- Prepare the cake batter according to the boxed mix instructions, combining cake mix, eggs, oil, and water in a large bowl. Use an electric mixer on medium speed until smooth (about 2-3 minutes).
- Bake the cake for 30-35 minutes or until a toothpick inserted comes out clean. Let it cool completely on a wire rack (about 1 hour).
- Crumble the cooled cake into a large bowl using your hands or a fork, breaking it into fine crumbs.
- Add frosting gradually (about 1 cup or 240 g) and mix with hands or a spoon until the mixture holds together but isn’t too sticky.
- Scoop cake mixture into 1-inch (2.5 cm) balls using a cookie scoop or spoon. Place on parchment-lined baking sheet.
- Chill cake balls in the refrigerator for at least 2 hours or in the freezer for 30 minutes to firm up.
- Melt candy melts in microwave-safe bowls in 30-second intervals, stirring in between until smooth. Use separate bowls for each color.
- Dip lollipop sticks about 1 inch (2.5 cm) into melted candy, then insert into the chilled cake balls (about halfway in) to secure the stick.
- Coat each cake pop by dipping it fully into the melted candy melts. Gently tap off excess and immediately decorate with sprinkles if desired.
- Stick cake pops upright into foam to dry completely (about 15-20 minutes). If coating is too thick or uneven, warm the candy melts slightly and dip again for a smoother finish.
- Arrange cake pops in the gift box lined with colored tissue paper, alternating colors and heights to create a vibrant bouquet effect.
Notes
Chill cake balls thoroughly before dipping to prevent crumbling or cracking. Dip the stick tip in melted candy before inserting into cake ball to secure it. Thin candy melts with a teaspoon of vegetable oil if too thick. Store cake pops in an airtight container at room temperature for up to 2 days or refrigerated up to 5 days. Freeze individually for up to a month.
Nutrition
- Serving Size: 1 cake pop (about 1.
- Calories: 150180
- Sugar: 1822
- Fat: 79
- Protein: 12
Keywords: cake pops, cake pop bouquet, school colors, gift box, party treats, colorful dessert, easy cake pops, game day snacks