“You really think ice cream can be healthy?” That’s what my sister said when I first told her I’d whipped up this so-called “Healthy Calorie Deficit Protein Ice Cream.” Honestly, I wasn’t sure either—especially when my freezer was nearly empty and I was just trying to satisfy a late-night craving without wrecking my diet. I had only four things on hand, and figured, why not give it a shot? Turns out, it was a total surprise. The texture was creamy, the sweetness just right, and the protein gave me a little boost without the guilt. What started as a kitchen experiment on a hectic weeknight became my go-to treat whenever I needed something cool, satisfying, and easy on calories.
It’s funny how sometimes the simplest combos can turn out to be the best. I’ve made this recipe a handful of times now—sometimes with a little tweak, sometimes as is—and each time it feels like a tiny win. What sticks with me is how it fills that ice cream void without the usual sugar crash or feeling heavy afterward. Plus, it’s so straightforward that even on my busiest days, I make it without a second thought. The quiet satisfaction of enjoying something indulgent yet “good for me” has made this little recipe a keeper in my kitchen.
So yeah, this healthy calorie deficit protein ice cream recipe with 4 simple ingredients might not look fancy, but it’s honest, reliable, and surprisingly delicious. It’s the kind of treat that doesn’t ask for much but gives a lot back—comfort, ease, and a bit of nutrition. If you’re curious about a sweet fix that fits your goals, this might just be the one to remember.
Why You’ll Love This Recipe
This healthy calorie deficit protein ice cream recipe isn’t just a random healthy swap. I’ve tested it multiple times, balancing flavor, texture, and nutrition to make sure it satisfies both cravings and calorie goals.
- Quick & Easy: Ready in just about 10 minutes, making it perfect for those evenings when you want to treat yourself without spending ages in the kitchen.
- Simple Ingredients: No need for specialty stores. You likely have everything in your pantry or fridge already.
- Perfect for Anytime: Whether it’s a post-workout snack or a guilt-free dessert after dinner, this recipe fits smoothly into your routine.
- Crowd-Pleaser: I’ve shared this with friends who were skeptical at first, but they always ask for the recipe afterward.
- Unbelievably Delicious: The creamy, smooth texture combined with a subtle sweetness makes it feel indulgent without the sugar overload.
What sets this recipe apart is the balance it strikes — the protein powder blends seamlessly with the creamy base, and the calorie count stays low without skimping on taste. I like to use a high-quality whey isolate (I usually go with Optimum Nutrition Gold Standard) because it dissolves nicely and keeps the ice cream silky. The simplicity means you can tweak it easily based on what you like or have—no complicated steps or hard-to-find ingredients. Honestly, once you try it, you might find yourself making it more than you expect, just like I did.
What Ingredients You Will Need
This recipe uses simple, wholesome ingredients to deliver bold flavor and satisfying texture without the fuss. Most are pantry staples or easy-to-find at any grocery store. Here’s what you’ll need:
- Protein powder: 1 cup (about 30g) – I recommend a vanilla or chocolate whey isolate for best texture and flavor. Plant-based proteins can work but might alter creaminess slightly.
- Greek yogurt: 1 cup (240 ml), plain and non-fat – adds creaminess and tang, plus extra protein. You can swap with dairy-free coconut yogurt if needed.
- Almond milk: ½ cup (120 ml), unsweetened – keeps it light and dairy-free friendly while blending everything smoothly.
- Natural sweetener: 2 tablespoons – I usually use honey or maple syrup, but stevia or monk fruit work well if you want fewer calories.
These ingredients come together to create a creamy, protein-packed ice cream that’s low in calories but high on satisfaction. If it’s summer, I sometimes toss in fresh strawberries or blueberries to add a fruity twist without extra sugar. And if you want a little crunch, a sprinkle of chopped nuts on top works wonders.
Equipment Needed
- Blender or Food Processor: To combine ingredients smoothly. I’ve tried this with both, and a high-speed blender makes the texture extra creamy.
- Freezer-Safe Container: For setting the ice cream. A shallow metal or glass dish works best for faster freezing and easier scooping.
- Mixing Bowl and Spoon: Useful if you want to fold in extras like nuts or berries after blending.
- Ice Cream Scoop or Spoon: For serving. A sturdy scoop helps keep those perfect rounded servings.
If you don’t have a blender, a whisk and a bit of elbow grease can manage the mix, but I won’t lie—it’s more of a workout than a chill time. I’ve also found that cleaning a blender right after use saves a lot of hassle later, especially if you’re making this on repeat (which I do). For budget-friendly options, a hand blender works fine, but pulse carefully to avoid lumps.
Preparation Method
- Gather your ingredients: Measure 1 cup (30g) of your protein powder, 1 cup (240 ml) plain Greek yogurt, ½ cup (120 ml) almond milk, and 2 tablespoons of your chosen natural sweetener.
- Blend the base: Add the Greek yogurt, almond milk, and sweetener into your blender. Start on a low speed to combine, then increase to medium-high for about 30 seconds until fully mixed. You want a smooth, creamy consistency here.
- Add protein powder: Slowly add the protein powder while blending on low. This helps prevent clumps. Blend for another 20-30 seconds until everything is well incorporated. The mixture should be thick but pourable.
- Transfer to container: Pour the mixture into your freezer-safe dish. Spread evenly with a spatula to about 1.5-inch thickness for quicker freezing.
- Freeze: Place in the freezer for at least 2 hours. For a softer texture, check around 90 minutes and stir gently with a fork to break up ice crystals. Freeze longer for firmer “scoopable” texture.
- Serve: Scoop into bowls or cones and enjoy immediately. If it’s too hard, let it sit at room temperature for 5 minutes before scooping.
Pro tip: If you want to mix in berries, nuts, or dark chocolate chips, fold them in after step 3 before freezing. This keeps mix-ins intact and evenly distributed. Also, if your protein powder has a strong flavor, taste the blend before freezing and add a bit more sweetener or vanilla extract to balance it out.
Cooking Tips & Techniques
Making protein ice cream isn’t rocket science, but a few tricks help it come out just right. One of the biggest mistakes I made early on was rushing the freezing stage. Letting the ice cream chill slowly and stirring once midway prevents icy chunks and keeps the texture creamy. You know that gritty feeling from some homemade ice creams? That’s the enemy here.
Another tip is choosing the right protein powder. Some plant-based powders can make the mixture gritty or chalky. I’ve found whey isolate blends tend to dissolve better, giving a smoother mouthfeel. If you must use plant protein, mix it thoroughly with the almond milk first to avoid lumps.
Finally, don’t skip the sweetener. Protein powders can be bitter or bland alone, so a touch of honey or maple syrup makes all the difference. I’ve tried sugar-free sweeteners, and while they work, they sometimes leave a weird aftertaste, so test what you prefer.
Multitasking while waiting for the ice cream to freeze is a lifesaver—maybe prep a quick meal like creamy spring vegetable fettuccine alfredo or a fresh smoothie bowl to keep things balanced.
Variations & Adaptations
This recipe is a great base for all sorts of creative spins. Here are a few I’ve enjoyed or thought about trying:
- Chocolate Peanut Butter: Swap half the protein powder for chocolate flavor, and add a tablespoon of natural peanut butter. It’s indulgent but still light.
- Berry Blast: Fold in fresh or frozen raspberries or blueberries before freezing. Adds natural sweetness and antioxidants.
- Dairy-Free Version: Use coconut yogurt and almond milk, plus a vegan protein powder. Texture might be slightly less creamy but still delicious.
- Low-Sugar Option: Replace sweetener with stevia or monk fruit, but add a splash of vanilla extract to keep it flavorful.
- Mint Chocolate Chip: Add a few drops of peppermint extract and mix in sugar-free chocolate chips after blending for a refreshing twist.
I once tried adding a tablespoon of espresso powder to the mix for a mocha flavor—surprisingly good for an afternoon pick-me-up! Adapting like this keeps the recipe exciting and prevents ice cream boredom.
Serving & Storage Suggestions
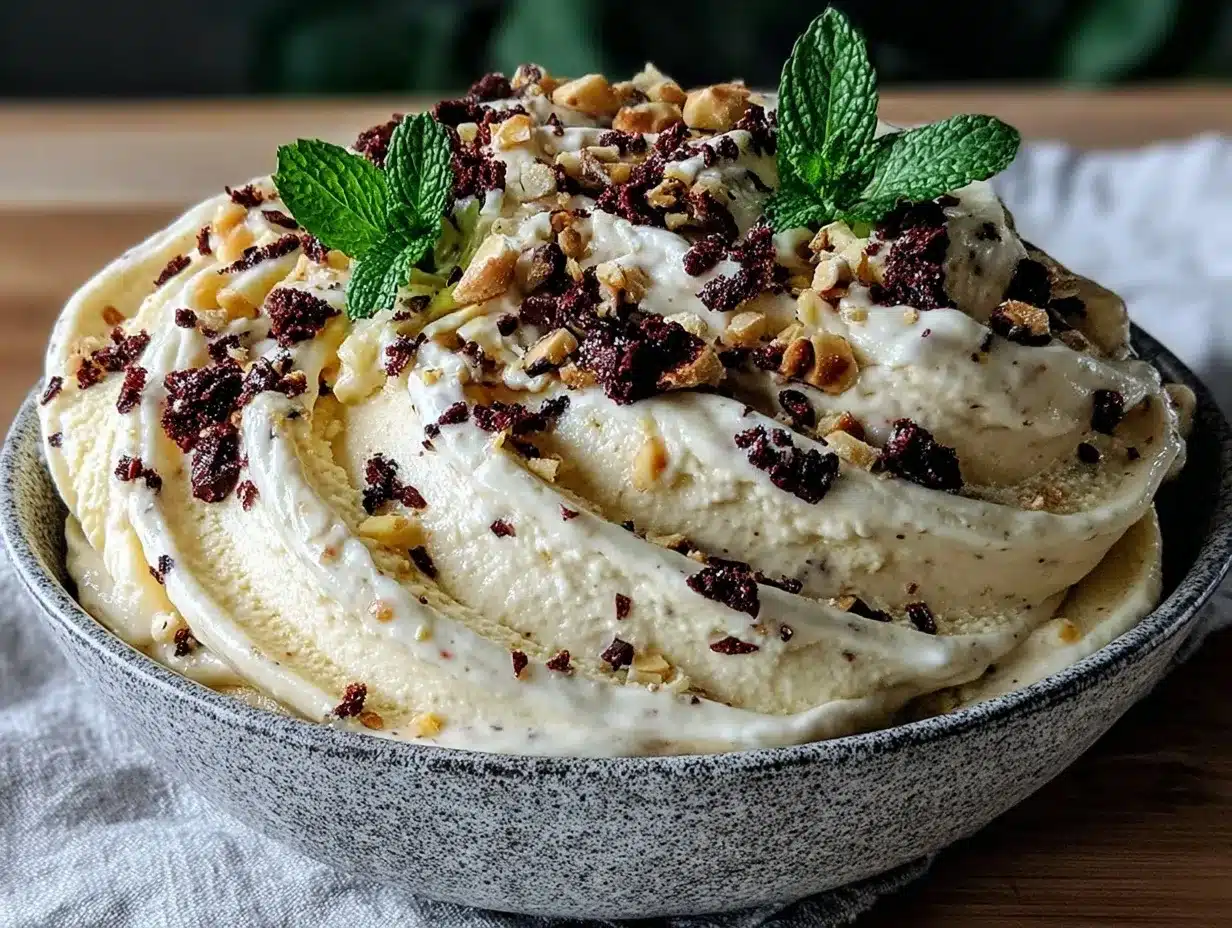
Serve this healthy calorie deficit protein ice cream straight from the freezer for a firm, refreshing treat. If you prefer it softer, let it rest on the counter for 5 to 10 minutes before scooping. Presentation-wise, a small bowl with a sprinkle of crushed nuts, a drizzle of sugar-free chocolate syrup, or fresh berries makes it look inviting without adding many calories.
It pairs wonderfully with light snacks or desserts, like a crisp fruit salad or even alongside the fresh pink smoothie bowl for a balanced, colorful spread.
Store leftovers in an airtight container in the freezer for up to a week. For best texture, thaw in the fridge for about 15 minutes before serving rather than microwaving, which can make it watery. Over time, flavors deepen, especially if you add mix-ins like nuts or spices.
Nutritional Information & Benefits
Each serving of this protein ice cream clocks in at roughly 150-180 calories, depending on your protein powder and sweetener choice. It offers approximately 20-25 grams of protein, which helps keep you full and supports muscle recovery. Low in fat and sugar, it fits nicely into a calorie deficit plan.
Greek yogurt provides probiotics for gut health, while almond milk keeps it dairy-light and low-calorie. The natural sweetener adds a touch of energy without the blood sugar spikes typical of regular ice cream.
This recipe works well for gluten-free diets and can be adapted for vegan needs. Just watch for allergens in protein powders and yogurt substitutes. Personally, I appreciate how this treat satisfies sweet cravings without throwing my nutrition goals off track.
Conclusion
This healthy calorie deficit protein ice cream recipe with 4 simple ingredients is proof that tasty and nutritious don’t have to be complicated. It’s a straightforward way to enjoy a creamy, satisfying treat that fits your goals and lifestyle. Whether you’re after a post-workout snack or a late-night dessert, it’s flexible enough to become your new favorite.
I love how easy it is to customize and how forgiving the recipe is if you want to experiment. It’s a little win that keeps coming back—comfort in a bowl with no regrets. Give it a try, tweak it to your taste, and see how it fits into your routine.
Feel free to share your favorite variations or thoughts—I always enjoy hearing how others make it their own.
FAQs About Healthy Calorie Deficit Protein Ice Cream
Can I use any protein powder for this recipe?
You can, but whey isolate powders tend to give the best texture and flavor. Plant-based powders work but might change the creaminess or leave a grainy feel.
How long does this protein ice cream keep in the freezer?
Stored in an airtight container, it stays good for up to one week. For best texture, thaw in the fridge before serving.
Can I make this recipe without a blender?
Yes, but you’ll need to whisk vigorously to combine everything smoothly. A blender makes it easier and creates a creamier texture.
Is this ice cream low in sugar?
Yes, especially if you use natural sweeteners like stevia or monk fruit. The recipe naturally keeps sugar low compared to traditional ice cream.
What are some good toppings for this protein ice cream?
Chopped nuts, fresh berries, sugar-free chocolate chips, or a drizzle of nut butter are delicious and keep it healthy.
Pin This Recipe!
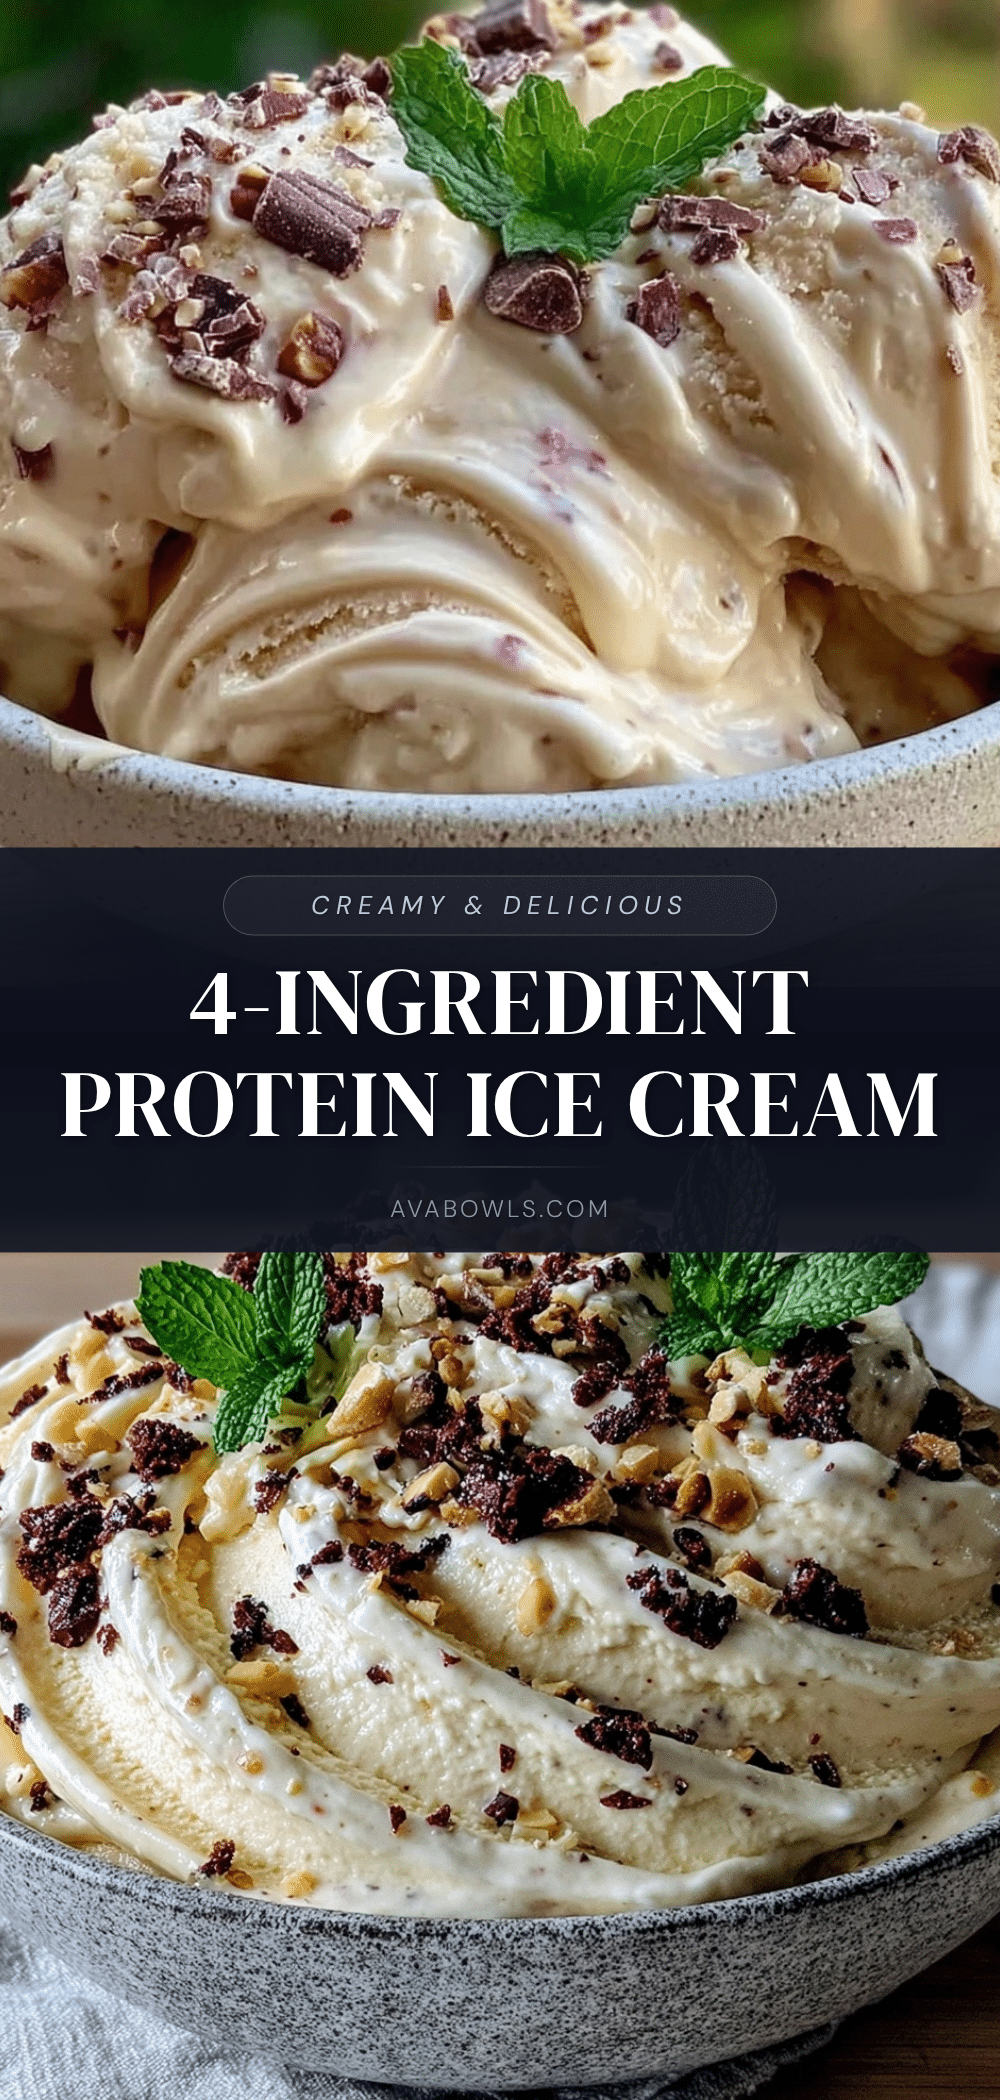
Healthy Calorie Deficit Protein Ice Cream Recipe with 4 Easy Ingredients

A creamy, protein-packed ice cream made with just four simple ingredients, perfect for a guilt-free treat that supports calorie deficit goals.
- Prep Time: 5 minutes
- Cook Time: 2 hours
- Total Time: 2 hours 5 minutes
- Yield: 4 servings 1x
- Category: Dessert
- Cuisine: American
Ingredients
- 1 cup (30g) vanilla or chocolate whey isolate protein powder
- 1 cup (240 ml) plain non-fat Greek yogurt (or dairy-free coconut yogurt)
- ½ cup (120 ml) unsweetened almond milk
- 2 tablespoons natural sweetener (honey, maple syrup, stevia, or monk fruit)
Instructions
- Measure 1 cup (30g) of protein powder, 1 cup (240 ml) plain Greek yogurt, ½ cup (120 ml) almond milk, and 2 tablespoons of natural sweetener.
- Add Greek yogurt, almond milk, and sweetener into a blender. Start on low speed, then increase to medium-high and blend for about 30 seconds until smooth and creamy.
- Slowly add protein powder while blending on low to prevent clumps. Blend for another 20-30 seconds until well incorporated and mixture is thick but pourable.
- Pour mixture into a freezer-safe container and spread evenly to about 1.5-inch thickness.
- Freeze for at least 2 hours. For softer texture, check at 90 minutes and stir gently to break up ice crystals. Freeze longer for firmer texture.
- Scoop into bowls or cones and serve immediately. Let sit at room temperature for 5 minutes if too hard.
Notes
For softer ice cream, stir gently after 90 minutes of freezing to prevent icy chunks. Use whey isolate protein powder for best texture. Plant-based protein powders may alter creaminess. Sweetener choice affects flavor; honey or maple syrup recommended for best taste. Mix-ins like berries or nuts can be folded in after blending before freezing.
Nutrition
- Serving Size: About ½ cup per serv
- Calories: 150180
- Sugar: 5
- Sodium: 100
- Fat: 2
- Saturated Fat: 0.5
- Carbohydrates: 10
- Fiber: 1
- Protein: 2025
Keywords: protein ice cream, healthy dessert, low calorie ice cream, whey protein recipe, easy ice cream, calorie deficit dessert