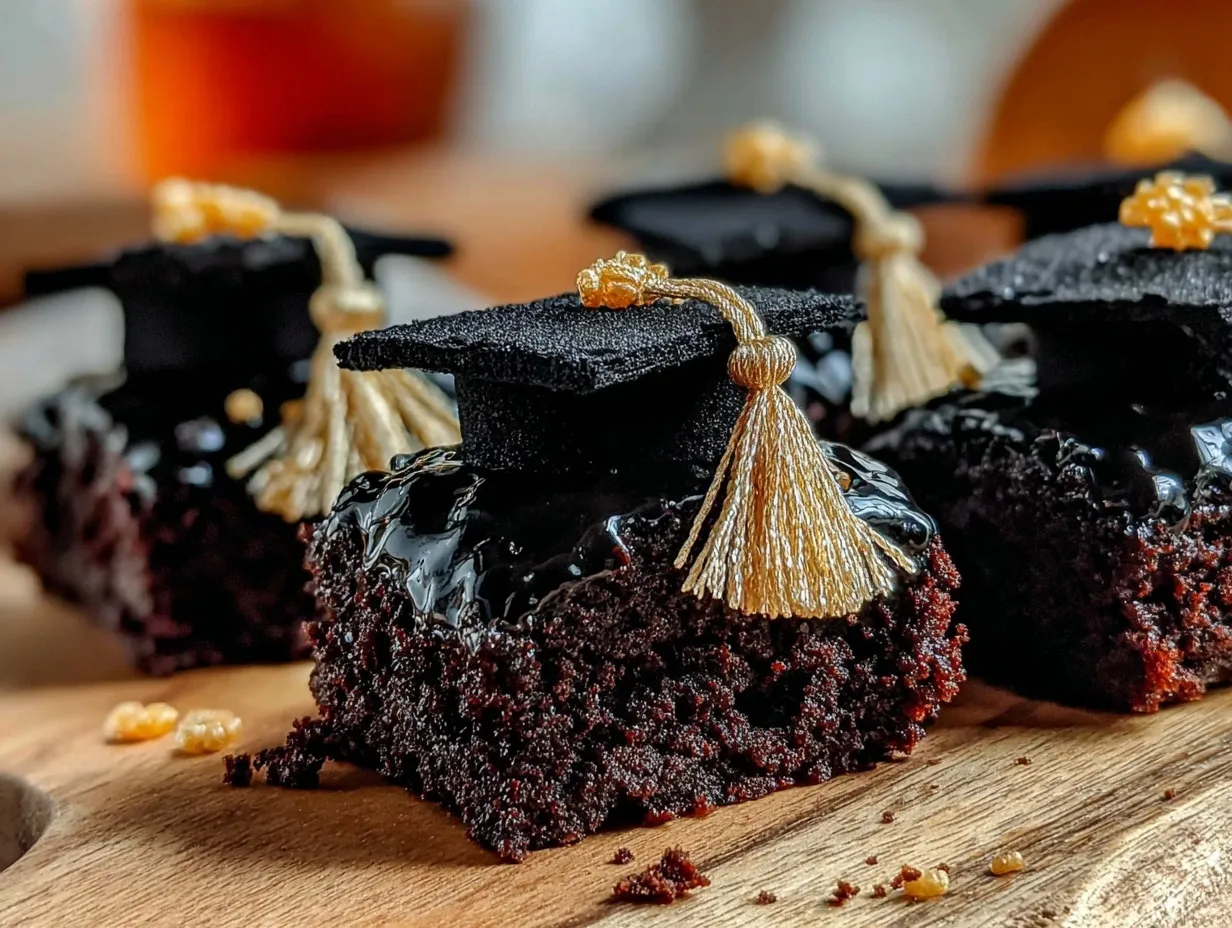
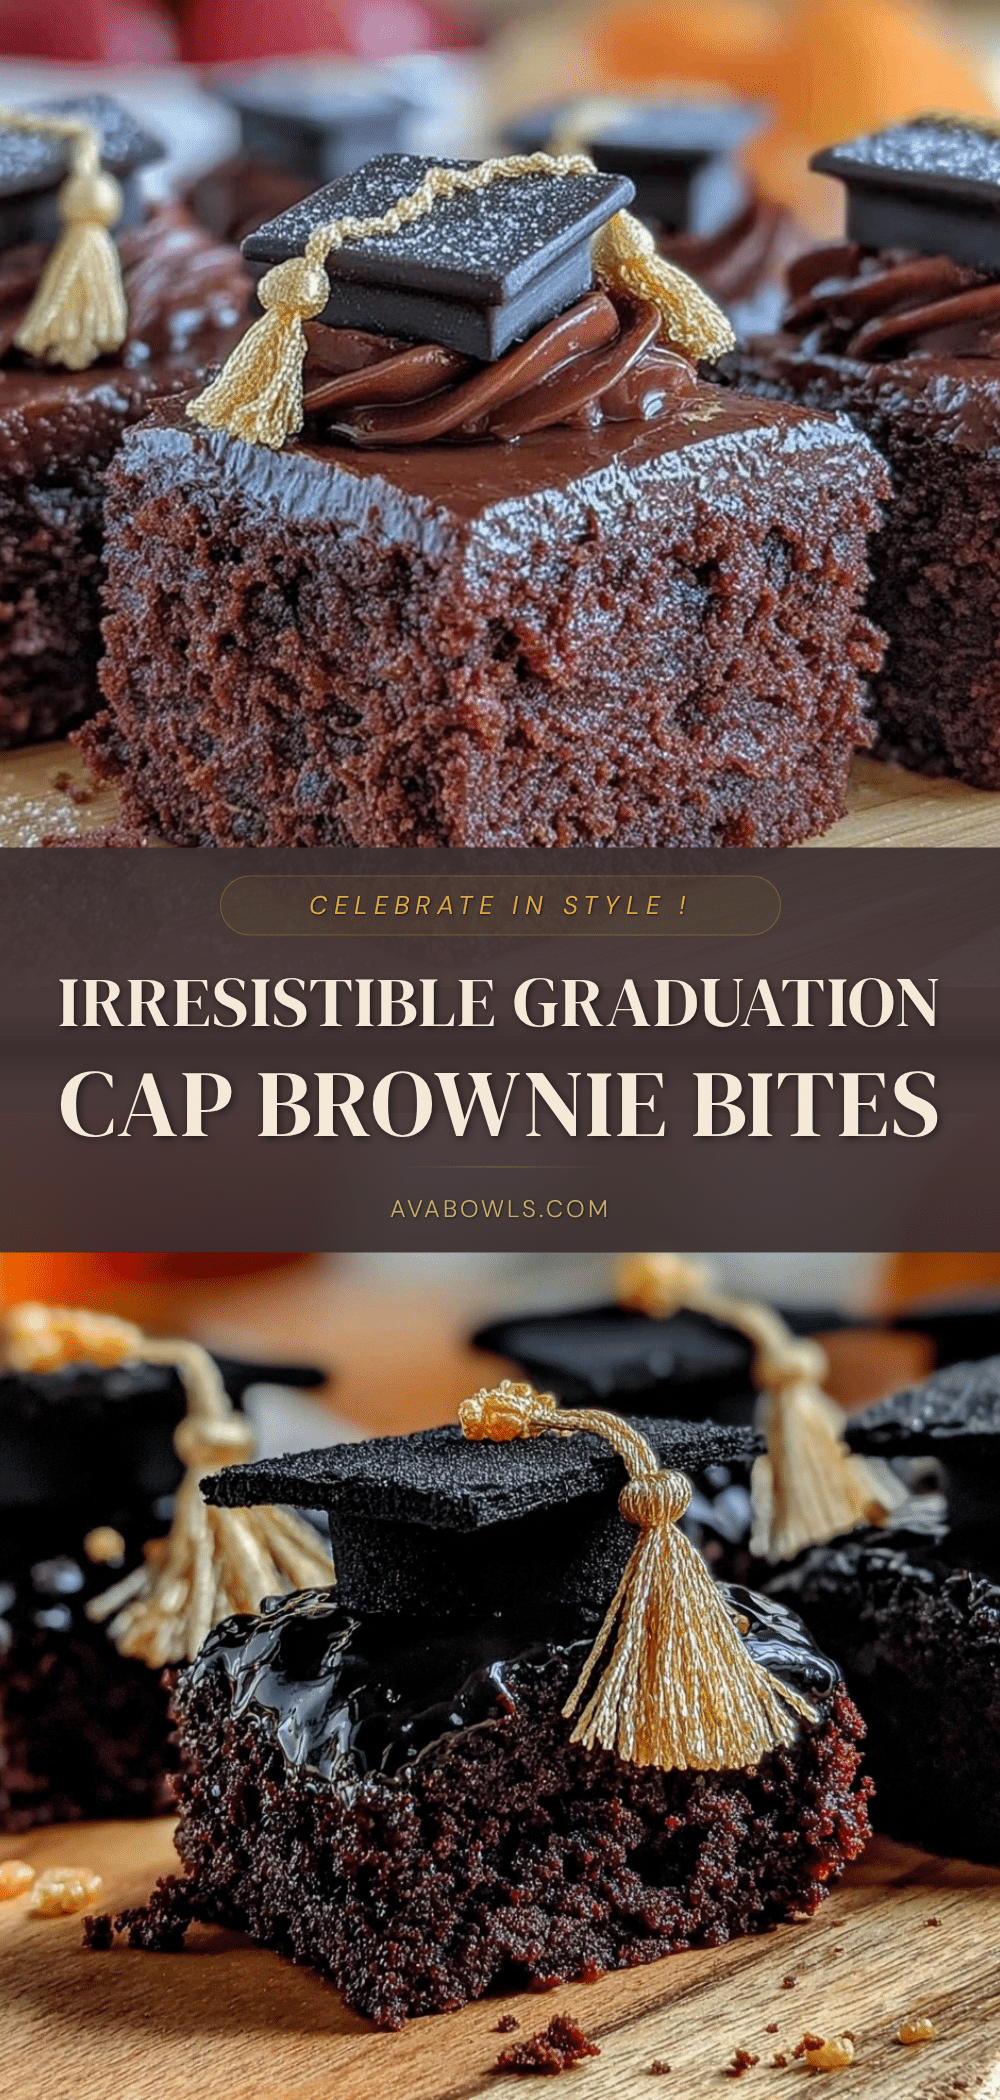
“Wait, you made those adorable graduation cap brownie bites yourself?” I heard that question more times than I could count at the party. Honestly, it wasn’t supposed to be a big deal at first. I was scrambling last minute, trying to whip up something sweet and festive for my niece’s graduation. The idea of perfect graduation cap brownie bites with gold tassel detail popped into my head when I spotted leftover brownie batter and a pack of gold icing pens tucked away in my drawer. I was skeptical—could such a simple, almost haphazard plan really work?
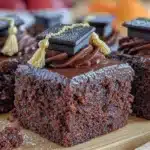
Turns out, it did. The brownies came out fudgy, rich, and just dense enough to hold their shape when cut into tiny squares. Decorating them was a little experiment in patience and precision, but the gold tassels? They gave these treats a playful yet elegant touch that had everyone smiling. It was a quiet moment of pride, watching a batch of humble ingredients turn into something that felt like a celebration on a plate—without any cake stand or fancy frosting fuss.
That’s probably why this recipe stuck with me. It’s not about perfection or elaborate techniques but about capturing a small, joyful moment with something homemade and heartfelt. Plus, it’s the kind of treat that makes you pause and savor the little wins, you know? Like the kind of comfort food that comes with a side of accomplishment.
Why You’ll Love This Recipe
Making these perfect graduation cap brownie bites is a little celebration in itself. After testing and tweaking this recipe several times (yeah, I couldn’t stop making these in the week leading up to graduation), I’m confident this one hits the sweet spot every time. Here’s why this recipe earns a permanent spot in my go-to list:
- Quick & Easy: These bites come together in under 45 minutes from start to finish, which means you can whip up a batch even when the clock’s ticking.
- Simple Ingredients: No need for specialty shops—most of the ingredients are pantry staples like cocoa powder, butter, and eggs. I usually use Ghirardelli cocoa for that deep chocolate flavor.
- Perfect for Graduation Parties: Whether you’re hosting a big bash or a cozy family gathering, these bite-sized treats add a fun, themed touch that’s always a hit.
- Crowd-Pleaser: I’ve served these to kids and adults alike, and the response is always enthusiastic—mostly because they’re rich but not too sweet.
- Unbelievably Delicious: The fudgy texture contrasted with the crisp edges is the kind of magic that brownie lovers swear by.
What sets this recipe apart is the gold tassel detail. Using edible gold paint or piping gel, the tassel transforms a simple brownie bite into a mini graduation cap that feels special without extra fuss. It’s not just another brownie; it’s a keepsake you can eat, and that’s pretty cool.
This recipe feels like a little tradition in the making. It’s all about celebrating milestones with something homemade that’s easy enough to make but special enough to impress without stress.
What Ingredients You Will Need
This recipe uses simple, wholesome ingredients to deliver bold chocolate flavor and a fudgy texture without complicated steps. Most of these should be hanging out in your pantry already, which is always a win.
- For the Brownies:
- 1/2 cup (115 g) unsalted butter, melted (adds richness)
- 1 cup (200 g) granulated sugar
- 2 large eggs, room temperature
- 1 teaspoon vanilla extract (I prefer Nielsen-Massey for true vanilla flavor)
- 1/3 cup (35 g) unsweetened cocoa powder (I use Dutch-processed for deeper chocolate notes)
- 1/2 cup (65 g) all-purpose flour (for gluten-free, try almond flour)
- 1/4 teaspoon salt
- 1/4 teaspoon baking powder (helps a bit with texture)
- For the Decoration:
- Gold edible paint or gold piping gel (available at specialty baking stores or online)
- Black fondant or black royal icing (for the cap top if you want a 3D effect)
- Toothpicks or small paintbrush (for applying the gold tassel detail)
Feel free to swap regular butter with vegan butter to make these dairy-free, or use coconut sugar if you want a more natural sweetener. Just remember, the texture may shift slightly, but the fudgy goodness will hold.
Equipment Needed
- 8×8 inch (20×20 cm) baking pan — perfect size for even brownie thickness
- Mixing bowls — one large for wet ingredients, another for dry
- Whisk or electric mixer (a hand whisk works fine, but an electric mixer speeds things up)
- Spatula — for folding ingredients and scraping the bowl
- Sharp knife or brownie cutter — a serrated knife helps with clean cuts
- Small paintbrush or toothpick — for applying the gold tassel details
- Parchment paper — to line the pan, making removal easy and clean
If you don’t have black fondant, royal icing is a great substitute for the cap tops. I’ve also used a silicone spatula to spread the batter evenly — it’s a small trick that helps avoid uneven cooking. For budget-friendly options, a simple metal baking pan works just as well as nonstick.
Preparation Method
- Preheat your oven to 350°F (175°C). Line your 8×8 inch pan with parchment paper, letting some overhang for easy brownie removal. This step saves you from sticky fingers later.
- Mix the wet ingredients: In a large bowl, whisk together the melted butter and granulated sugar until glossy and smooth. Add the eggs one at a time, whisking well after each addition. Stir in the vanilla extract. This mixture should look shiny and slightly thickened.
- Combine the dry ingredients: In a separate bowl, sift together the cocoa powder, flour, salt, and baking powder. Sifting helps avoid clumps and ensures a smooth batter.
- Fold dry into wet: Gradually add the dry ingredients to the wet, folding gently with a spatula until just combined. Don’t overmix — a few streaks of flour are okay. The batter will be thick and fudgy.
- Pour and spread the batter: Transfer the batter into the prepared pan. Use your spatula to smooth the surface evenly. The goal is a uniform thickness for even baking.
- Bake: Place the pan in the oven and bake for 20–25 minutes. Check at 20 minutes by inserting a toothpick in the center; it should come out with moist crumbs but not wet batter. The edges should pull away slightly from the pan.
- Cool completely: Let the brownies cool entirely in the pan on a wire rack. This can take about 1 hour but is key to clean slicing.
- Cut into squares: Using a sharp knife, cut the brownies into 1.5-inch (4 cm) squares. Clean your knife between cuts for neat edges.
- Create the cap tops: If using black fondant, roll it out thin and cut tiny squares matching your brownie bites. Press gently on top of each brownie to create the cap. Alternatively, pipe black royal icing in a square shape and let it dry.
- Add the gold tassel: Using a small paintbrush or toothpick dipped in edible gold paint or piping gel, carefully draw a tassel hanging from one corner of the cap. Practice on parchment paper first to get your hand steady.
- Let the decoration set: Allow the gold details to dry completely before stacking or serving, usually about 30 minutes.
One trick I learned is to chill the brownies before cutting if your kitchen is warm—that way, the cuts are cleaner, and the brownies hold their shape better.
Cooking Tips & Techniques
Making these perfect graduation cap brownie bites is about balancing fudginess with structure, and a few tips can save you from common pitfalls:
- Don’t overbake: Brownies can dry out quickly if left in too long. The toothpick test is your best friend—aim for moist crumbs, not a clean toothpick.
- Room temperature eggs: They mix more evenly, preventing a dense batter.
- Use parchment paper: It’s a game-changer for removing the brownies without breaking them into sad chunks.
- Fudgy texture: For extra fudginess, I sometimes swap 2 tablespoons of flour with an equal amount of cocoa powder. It deepens flavor while keeping them moist.
- Steady hands for decoration: When painting tassels, hold your breath and steady your arm on the table to avoid shaky lines—that little bit of patience goes a long way.
- Clean knife between cuts: Wipe the knife blade with a damp towel after every cut for clean squares without crumbs sticking.
I once tried piping tiny tassels directly without painting, but the gold paint has a shine and texture that looks just like real tassels—much better for photos and party wow factor.
Variations & Adaptations
Want to customize these brownie bites? Here are some fun ways I’ve played around with this recipe:
- Flavor twists: Add a teaspoon of espresso powder to the batter for a mocha kick, or swirl in peanut butter for a nutty surprise.
- Dietary swaps: Use almond flour to make these gluten-free, or swap butter for coconut oil for a dairy-free version. Just expect slightly different textures.
- Decoration alternatives: Instead of gold paint, try edible silver dust or white chocolate drizzle for a different tassel effect.
- Mini cupcake pans: Bake the batter in mini cupcake tins for naturally uniform shapes, then decorate as caps on top.
- Seasonal touches: For spring graduations, add a touch of lemon zest to the batter for freshness; in colder months, a pinch of cinnamon adds warmth.
I personally love trying a salted caramel drizzle over the finished brownie bites for a sweet-salty contrast that’s irresistible.
Serving & Storage Suggestions
These brownie bites are best served at room temperature, allowing the fudgy texture and chocolate flavor to shine. Arrange them on a pretty platter, maybe lined with a parchment doily, to make the graduation theme pop.
Pair them with a cup of coffee or iced tea for a perfect after-ceremony treat. I’ve also found they go surprisingly well alongside fresh fruit platters or even a creamy dip like the creamy spring vegetable fettuccine alfredo for a full graduation party spread.
Store leftover brownie bites in an airtight container at room temperature for up to 3 days. For longer storage, refrigerate for up to a week or freeze for up to 3 months—just thaw at room temperature before serving.
Reheating isn’t usually necessary, but if you want a warm bite, pop them in the microwave for 10 seconds (no more, or they dry out). The gold tassel detail may lose some shine, so it’s often better to serve cool.
Flavors tend to deepen after a day, so if you can wait, making these a day in advance is a smart move.
Nutritional Information & Benefits
Each brownie bite is a small indulgence, roughly 90 calories per piece, depending on size and decoration. Key ingredients like cocoa powder bring antioxidant benefits, while the moderate sugar and butter content keep it a treat rather than a health food.
This recipe is naturally gluten-free with almond flour swaps and can be made dairy-free with simple substitutions, making it accessible for many diets. Just watch for nut allergies if you choose gluten-free options.
I appreciate that this recipe allows for a special celebration without going overboard on sugar or complicated ingredients, making it a balanced choice for parties and gatherings.
Conclusion
These perfect graduation cap brownie bites with gold tassel detail have earned a sweet spot in my recipe rotation—not just because they look fantastic but because they’re genuinely delicious and easy to make. Whether you’re throwing a big graduation party or just want a meaningful, homemade treat, these bites bring a little magic to the table.
Feel free to customize the flavors or decorations to suit your style and celebrate your grad’s personality. I love how these brownies turn a simple dessert into a keepsake moment—because sometimes the best celebrations are the ones you can eat.
Give this recipe a try, experiment a bit, and share how your graduation treats turned out—I’d love to hear your stories and see your creative tassels!
Frequently Asked Questions
Can I make these brownie bites ahead of time?
Yes! They actually taste better after resting overnight. Store them in an airtight container at room temperature or in the fridge.
What if I don’t have edible gold paint?
You can use gold-colored edible dust mixed with a little clear alcohol or lemon extract, or try gold piping gel. If neither is available, a drizzle of white chocolate works too.
How do I prevent the brownie bites from crumbling when cutting?
Make sure the brownies are completely cooled before slicing. Chilling them in the fridge for 30 minutes helps firm them up for cleaner cuts.
Can I use a boxed brownie mix?
Absolutely! Use your favorite boxed mix, then add the tassel decoration to personalize them beautifully.
What’s the best way to get sharp edges on the brownie squares?
Use a sharp, serrated knife and wipe it clean between each cut to avoid crumbs sticking and ruining the edges.
Pin This Recipe!
Perfect Graduation Cap Brownie Bites Recipe Easy Homemade Gold Tassel Treats
These fudgy, rich brownie bites are decorated with a gold tassel detail to celebrate graduations with a fun and elegant touch. Quick and easy to make, they are perfect for parties and gatherings.
- Prep Time: 15 minutes
- Cook Time: 25 minutes
- Total Time: 1 hour 40 minutes
- Yield: 24 servings 1x
- Category: Dessert
- Cuisine: American
Ingredients
- 1/2 cup (115 g) unsalted butter, melted
- 1 cup (200 g) granulated sugar
- 2 large eggs, room temperature
- 1 teaspoon vanilla extract
- 1/3 cup (35 g) unsweetened cocoa powder
- 1/2 cup (65 g) all-purpose flour (or almond flour for gluten-free)
- 1/4 teaspoon salt
- 1/4 teaspoon baking powder
- Gold edible paint or gold piping gel
- Black fondant or black royal icing (for the cap top)
- Toothpicks or small paintbrush (for applying the gold tassel detail)
Instructions
- Preheat your oven to 350°F (175°C). Line an 8×8 inch baking pan with parchment paper, letting some overhang for easy removal.
- In a large bowl, whisk together the melted butter and granulated sugar until glossy and smooth. Add the eggs one at a time, whisking well after each addition. Stir in the vanilla extract.
- In a separate bowl, sift together the cocoa powder, flour, salt, and baking powder.
- Gradually fold the dry ingredients into the wet ingredients with a spatula until just combined. Do not overmix.
- Pour the batter into the prepared pan and smooth the surface evenly.
- Bake for 20–25 minutes, checking at 20 minutes with a toothpick. It should come out with moist crumbs but not wet batter.
- Cool the brownies completely in the pan on a wire rack, about 1 hour.
- Cut the brownies into 1.5-inch squares using a sharp knife, cleaning the knife between cuts.
- Roll out black fondant thinly and cut tiny squares to place on top of each brownie bite, or pipe black royal icing in a square shape and let dry.
- Using a small paintbrush or toothpick dipped in edible gold paint or piping gel, carefully draw a tassel hanging from one corner of each cap.
- Allow the gold decoration to dry completely, about 30 minutes, before serving or stacking.
Notes
Do not overbake to keep brownies fudgy. Use room temperature eggs for better mixing. Chill brownies before cutting for cleaner edges. Steady your hand when painting tassels for best results. Clean knife between cuts to avoid crumbs.
Nutrition
- Serving Size: 1 brownie bite (1.5-
- Calories: 90
- Sugar: 9
- Sodium: 50
- Fat: 4.5
- Saturated Fat: 2.7
- Carbohydrates: 12
- Fiber: 1
- Protein: 1
Keywords: graduation cap brownie bites, gold tassel brownies, fudgy brownies, easy brownie recipe, party treats, homemade graduation desserts