“Class of 2026” was scribbled hastily on a napkin as I mixed cookie dough for what was supposed to be just another quick treat. Honestly, I wasn’t planning anything fancy—just a little sweet pick-me-up after a long day of juggling schedules and last-minute homework help. But then my teenager peeked over my shoulder, eyes lighting up, “Can you put that on a cookie cake for my friends?” Suddenly, the idea of a perfect cookie cake with a heartfelt message wasn’t just a dessert; it became a celebration in itself.
That night, under the soft kitchen light, the smell of warm brown sugar and melting chocolate chips filled the air. I found myself adjusting the recipe, adding a little more vanilla here, a pinch of salt there, all for the sake of that ideal chewy-crisp texture. This cookie cake wasn’t just about sweetness—it was about marking a milestone, a quiet way of saying “we made it” without fuss or fanfare.
What stuck with me was how simple ingredients and a little patience could turn something ordinary into a sweet memory. It’s not about perfect piping or professional lettering; it’s about the joy that comes from sharing something homemade, something that says “Class of 2026” with a little extra love baked right in. This recipe became my go-to for birthdays, study breaks, and last-minute celebrations, always earning a second slice—and sometimes a third.
So here’s the story and method behind my perfect cookie cake with a “Class of 2026” message—easy, homemade, and just the right kind of special.
Why You’ll Love This Recipe
- Quick & Easy: You can whip up the cookie cake in just about 40 minutes, including baking time—ideal for those busy days when the celebration sneaks up on you.
- Simple Ingredients: No need for specialty stores or fancy add-ons; basic pantry staples like brown sugar, butter, and chocolate chips are all you need.
- Perfect for Celebrations: Whether it’s a graduation milestone, a school event, or a casual get-together, this cookie cake fits right in.
- Crowd-Pleaser: Kids, teens, adults—everyone loves it. The balance of chewy and crispy edges keeps everyone reaching for more.
- Unbelievably Delicious: The combination of brown sugar, vanilla, and melty chocolate chips creates that nostalgic, comforting flavor everyone craves.
This isn’t just another cookie cake recipe. The secret is in the texture—soft and chewy in the center, crisp around the edges—and the message icing that adds a personal touch without fuss. I’ve tweaked this recipe over several runs, learning when to hold back on flour and how to keep the butter temperature just right. The result? A homemade cookie cake that feels like a treat from a bakery but comes straight from your oven.
Honestly, it’s the kind of recipe that makes you want to close your eyes after that first bite, savoring the warmth and sweetness. It’s comfort food with a little extra meaning, perfect for those moments when you want to celebrate without the stress. If you’ve enjoyed the cozy vibes of my strawberry cream cheese stuffed french toast or the crowd-friendly fun of loaded nachos supreme, you’ll find this cookie cake hits that sweet spot between simple and special.
What Ingredients You Will Need
This recipe uses simple, wholesome ingredients to deliver bold flavor and satisfying texture without the fuss. Most items are pantry staples, and substitutions are easy if you’re catering to preferences or allergies.
- For the Cookie Cake Base:
- 1 cup (227g) unsalted butter, softened (I prefer Land O’ Lakes for consistent richness)
- 1 cup (200g) packed brown sugar (adds moisture and a hint of caramel)
- ½ cup (100g) granulated sugar (balances sweetness)
- 2 large eggs, room temperature (helps with structure and softness)
- 1 tablespoon pure vanilla extract (quality matters—Nielsen-Massey is my go-to)
- 2 ¼ cups (280g) all-purpose flour (spooned and leveled for accurate measurement)
- 1 teaspoon baking soda (for gentle rise)
- ½ teaspoon salt (balances sweetness and enhances flavor)
- 1 ½ cups (270g) semi-sweet chocolate chips (feel free to swap for dairy-free chips if needed)
- For the “Class of 2026” Message:
- 1 cup (125g) powdered sugar
- 2-3 tablespoons milk (adjust for consistency)
- ½ teaspoon vanilla extract
- Food coloring gel or natural coloring (optional, for vibrant lettering)
For substitutions, almond flour can replace all-purpose flour for a gluten-free version, though texture will be a bit different. You can also swap in coconut sugar for brown sugar to add a nutty note. If you’re short on chocolate chips, chopped nuts or white chocolate chunks work great. Seasonal tweaks? In summer, try folding in fresh berries or mix in some toasted coconut for an extra texture punch.
Equipment Needed
- Large mixing bowl and a smaller one for icing
- Electric mixer or sturdy whisk (an electric hand mixer makes creaming the butter and sugar effortless)
- Measuring cups and spoons (accurate measuring makes or breaks the texture!)
- 9-inch (23 cm) round cake pan or springform pan (non-stick preferred)
- Parchment paper for lining (prevents sticking and helps with cleanup)
- Spoon or offset spatula for spreading dough evenly
- Piping bag or zip-top bag with a tiny corner snipped for writing the message (a steady hand helps, but if you’re like me, a toothpick can fix little smudges)
If you don’t have a springform pan, a regular cake pan works fine—just be sure to grease and line it well. For piping, a simple plastic bag with a small tip cut off is a budget-friendly alternative. I’ve found that a silicone spatula is worth the investment for scraping every last bit of dough out of the bowl. Keeping your tools clean and dry, especially the piping bag, makes for smoother icing work.
Preparation Method
- Preheat your oven to 350°F (175°C). Line your 9-inch cake pan with parchment paper, then lightly grease the sides. This helps the cookie cake release cleanly after baking. (About 10 minutes prep)
- Cream the butter and sugars together in a large bowl using an electric mixer on medium speed. Beat until light and fluffy, roughly 3-4 minutes. You’ll notice the texture lighten and the mixture will smell sweet and buttery—this is your flavor base kicking in.
- Add the eggs one at a time, beating well after each addition. Then stir in the vanilla extract. The batter might look a bit loose here, but don’t worry—that’s expected.
- In a separate bowl, whisk together the flour, baking soda, and salt. Gradually add this dry mixture to the wet ingredients, mixing on low speed until just combined. Overmixing can toughen the cookie cake, so stop once you see no more flour streaks.
- Fold in the chocolate chips evenly with a spatula. The dough should feel soft and slightly sticky but manageable. If it feels too wet, a tablespoon of extra flour can help, but be cautious.
- Spread the dough evenly into your prepared pan. Use a spatula or your fingers (lightly greased) to smooth the top. The dough will be thick, so take your time to get it even—this ensures uniform baking.
- Bake for 25-30 minutes. The edges should be golden brown and the center set but still soft to the touch. A toothpick inserted in the middle should come out with a few moist crumbs but not wet batter. Oven temperatures vary, so start checking around 23 minutes.
- Cool the cookie cake in the pan for 15 minutes, then gently transfer it to a wire rack to cool completely before icing. This helps the cake firm up for easier decorating.
- Prepare the icing by whisking powdered sugar, milk, and vanilla in a small bowl until smooth. Adjust milk to get a thick but pipeable consistency. Add food coloring if desired.
- Write your “Class of 2026” message using a piping bag or a zip-top bag with a small corner snipped. Take your time—steady, slow piping works best. If you make a mistake, a toothpick dipped in warm water helps fix tiny smudges.
- Let the icing set at room temperature for at least 30 minutes before slicing and serving.
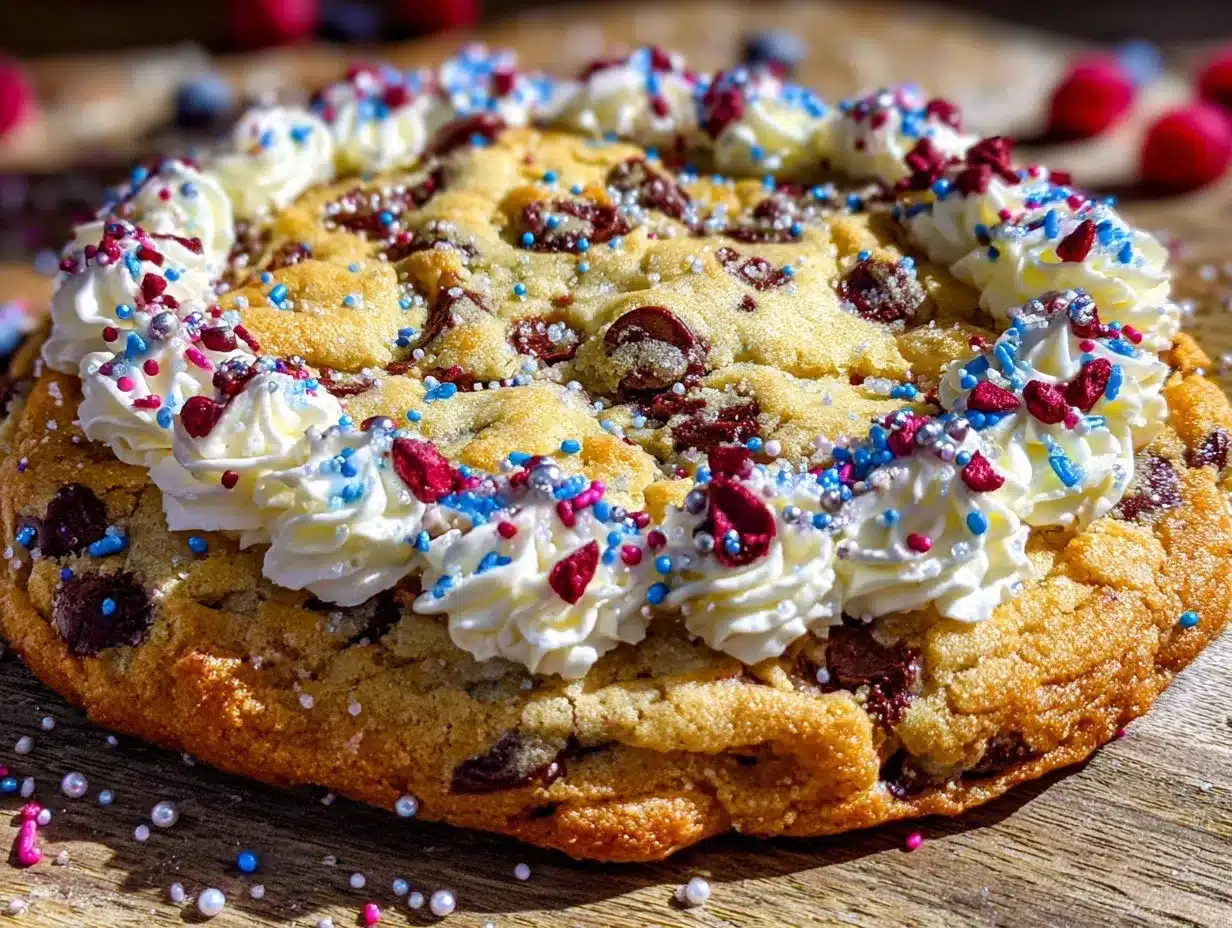
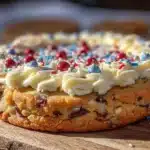
Tip: If you’re feeling adventurous, sprinkle just a few extra chocolate chips or colorful sprinkles around the edges before baking for a fun touch. I’ve learned that patience during cooling and careful piping make all the difference between a rushed cake and a beloved centerpiece.
Cooking Tips & Techniques
One key to this cookie cake’s success is the butter’s temperature. Too cold, and you’ll get a dense, crumbly texture; too warm, and the dough spreads too thin. I usually soften the butter by leaving it on the counter for about an hour or giving it a quick zap in the microwave for 10-15 seconds—just enough to make it pliable.
When mixing flour, measuring accurately is crucial. I’ve made the mistake of scooping directly with the measuring cup, which packs the flour and yields a dry, cakey cookie cake. Instead, spoon the flour gently into your cup and level it off with a knife.
Timing is another biggie. Everyone’s oven behaves differently, so watch the cookie cake closely after 20 minutes. The edges should be golden, but the center slightly soft to keep that chewy texture. Overbaking leads to a dry cake, and honestly, no one wants that.
For the icing, consistency is everything. I’ve found that a thicker glaze works better for piping neat letters—too runny, and it just drips off. If your icing thickens too much, a drop of milk helps loosen it back up.
Lastly, don’t rush cooling. Decorating a warm cookie cake is a recipe for a melted, messy message. If you want to prep ahead, make the cookie cake a day early and keep it wrapped airtight at room temperature. The flavors actually deepen overnight.
Variations & Adaptations
- Dietary: Swap all-purpose flour for a gluten-free blend like Bob’s Red Mill 1-to-1. Use dairy-free butter and chocolate chips for a vegan-friendly version.
- Flavor twists: Add ½ cup chopped nuts (pecans or walnuts) for crunch, or stir in 1 teaspoon cinnamon for a warm spice note. I once tried a sprinkle of sea salt on top before baking—game changer.
- Seasonal: Mix in fresh or frozen berries during spring and summer for bursts of tart sweetness. In fall, swap chocolate chips for butterscotch or caramel chips.
- Message options: Instead of “Class of 2026,” try fun sayings like “Congrats Grad” or names. For a colorful flair, use multiple icing colors or edible markers once the glaze sets.
- Cooking methods: If you lack an oven, a skillet cookie cake on the stovetop works in a pinch—cook on low heat with a lid until set, then decorate once cooled.
One personal favorite variation is adding a thin layer of peanut butter underneath the dough before baking—gives a subtle nutty richness that pairs perfectly with the chocolate chips. It’s a little extra, but honestly, worth it for special occasions.
Serving & Storage Suggestions
This cookie cake tastes best at room temperature, where the flavors and textures are at their prime. Serve it on a simple cake stand or a colorful platter for a festive vibe. It pairs beautifully with cold milk, coffee, or even a scoop of vanilla ice cream for a dreamy dessert.
Leftovers store well at room temperature for 2-3 days in an airtight container. For longer storage, wrap tightly and freeze for up to 2 months. When ready to eat, thaw overnight in the fridge and bring to room temperature before serving.
Reheating in a 300°F (150°C) oven for 5-7 minutes can refresh that fresh-baked warmth, just be careful not to dry it out. Over time, the cookie cake’s flavors meld and deepen, making it taste even better the next day.
This recipe’s versatility means you can plan ahead for celebrations, having a homemade treat ready for last-minute guests or study sessions. It’s a reliable crowd-pleaser that never feels like a compromise on flavor or style.
Nutritional Information & Benefits
Per serving (assuming 12 slices), this cookie cake provides approximately 280 calories, 14g fat, 35g carbohydrates, and 3g protein. The use of real butter and eggs adds richness and some essential nutrients like vitamin A and choline.
Chocolate chips contribute antioxidants from cocoa, while brown sugar adds moisture without overly refined sweetness. With options to swap ingredients, this recipe adapts well to gluten-free or dairy-free diets.
While it’s definitely a treat, the homemade nature means you avoid additives and preservatives found in many store-bought cookie cakes. Plus, you control the portion size, which is key during celebrations.
Conclusion
This perfect cookie cake with a “Class of 2026” message is more than just a dessert—it’s a simple way to mark milestones with homemade warmth and sweetness. Its ease and flexible ingredients make it approachable for cooks of all levels, while the personal message adds that extra touch of meaning.
Whether you follow the recipe as is or tweak it with your favorite mix-ins, this cookie cake invites creativity and sharing. It’s one of those recipes that feels both comforting and festive, ideal for everything from casual celebrations to special school moments.
Personally, I love how this cookie cake brings people together without stress, letting the moment—and the sweetness—shine. If you try it, I’d love to hear how you personalized your message or any fun variations you experimented with. Baking is always better when it’s a shared story.
FAQs
How do I prevent my cookie cake from overbaking?
Keep a close eye starting at 23 minutes. The edges should be golden but the center still soft with moist crumbs. Remove promptly to avoid drying out.
Can I make the cookie cake ahead of time?
Absolutely! Bake it a day in advance, store airtight at room temperature, and add the message icing just before serving for the freshest look.
What’s the best way to pipe the “Class of 2026” message?
Use a piping bag with a small round tip or a zip-top bag with a tiny corner cut. Keep the icing thick and steady your hand for neat lettering.
Can I use a different shape pan?
Yes, a square or rectangular pan works fine; just adjust baking time slightly and keep an eye on doneness.
Is there a vegan version of this cookie cake?
Yes, substitute vegan butter and egg replacers like flax eggs or commercial vegan egg substitutes. Use dairy-free chocolate chips as well.
Pin This Recipe!
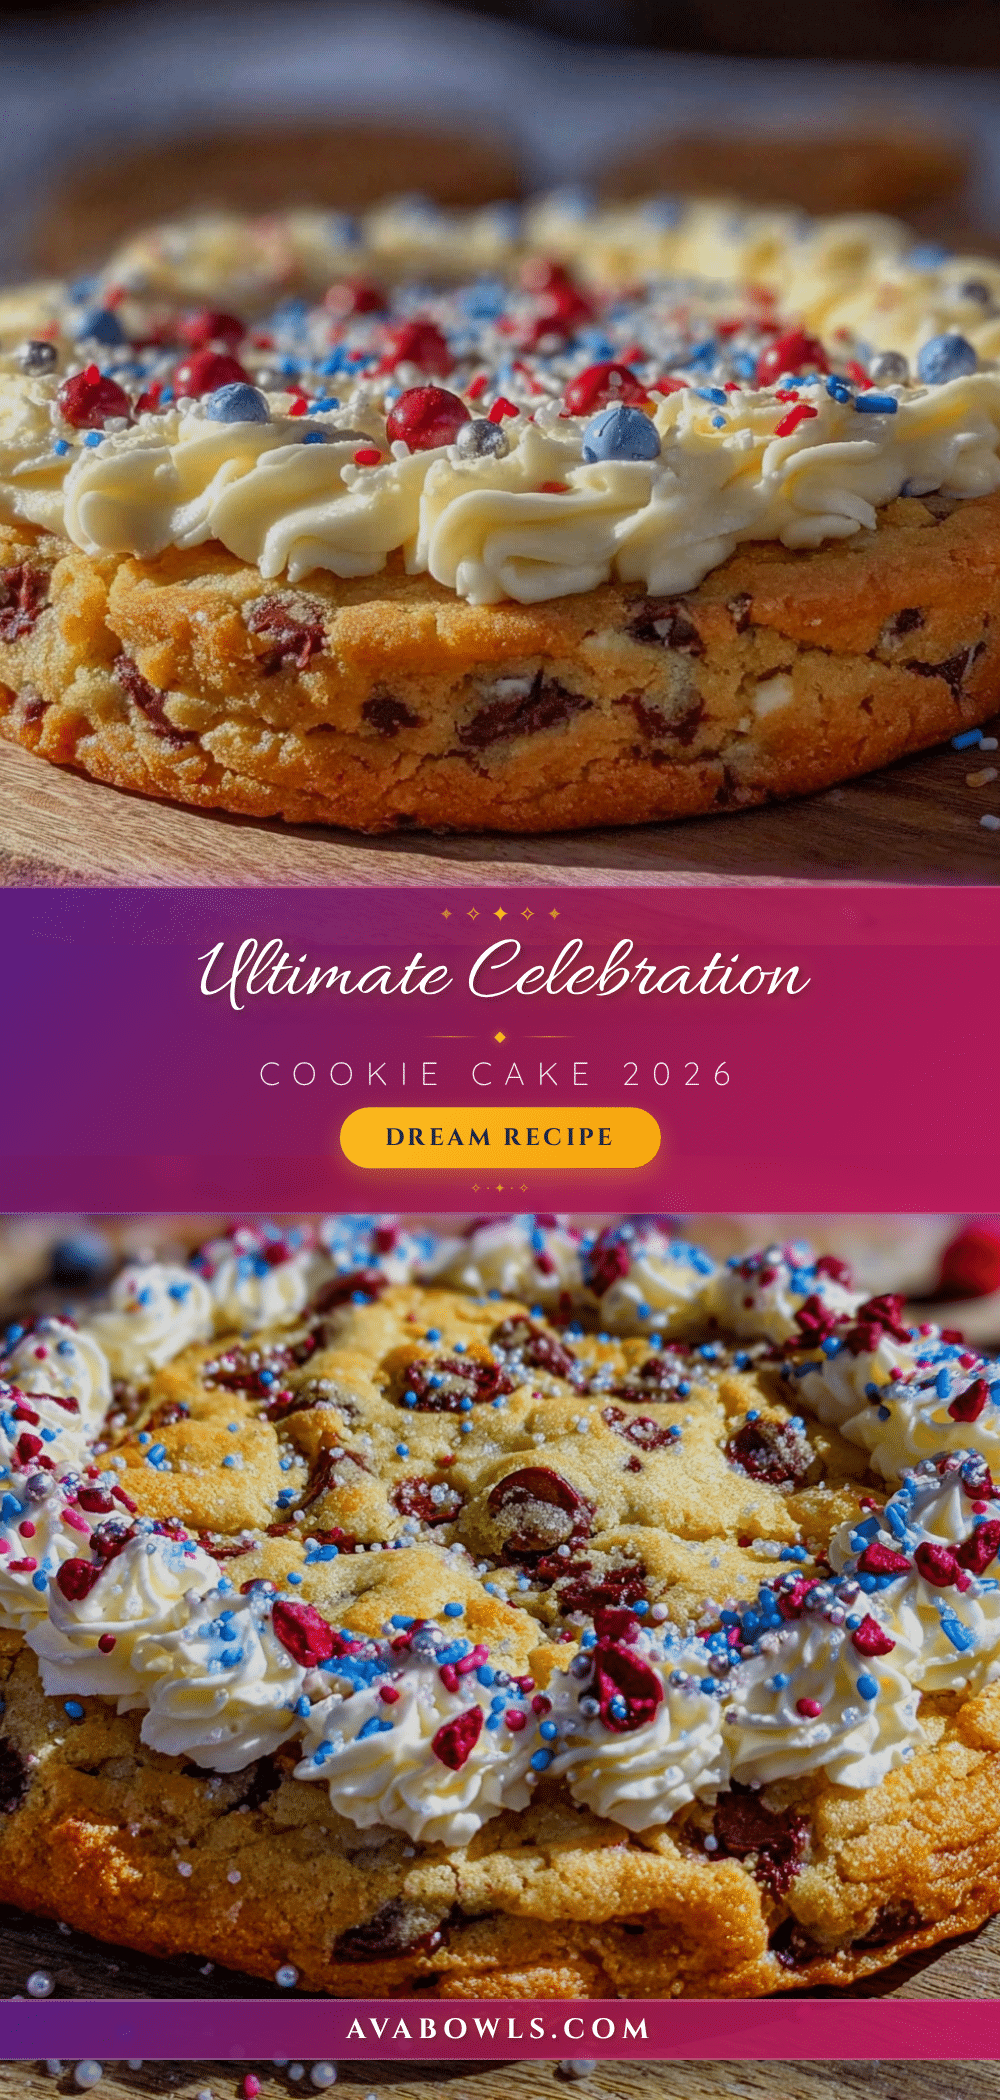
Perfect Cookie Cake Recipe for Class of 2026 Celebration Easy and Homemade
A quick and easy homemade cookie cake with a chewy center and crisp edges, perfect for celebrations like graduations. Made with simple pantry ingredients and customizable with a heartfelt message icing.
- Prep Time: 10 minutes
- Cook Time: 25-30 minutes
- Total Time: 40 minutes
- Yield: 12 servings 1x
- Category: Dessert
- Cuisine: American
Ingredients
- 1 cup (227g) unsalted butter, softened
- 1 cup (200g) packed brown sugar
- ½ cup (100g) granulated sugar
- 2 large eggs, room temperature
- 1 tablespoon pure vanilla extract
- 2 ¼ cups (280g) all-purpose flour
- 1 teaspoon baking soda
- ½ teaspoon salt
- 1 ½ cups (270g) semi-sweet chocolate chips
- For the message icing:
- 1 cup (125g) powdered sugar
- 2–3 tablespoons milk
- ½ teaspoon vanilla extract
- Food coloring gel or natural coloring (optional)
Instructions
- Preheat your oven to 350°F (175°C). Line a 9-inch cake pan with parchment paper and lightly grease the sides.
- Cream the butter and sugars together in a large bowl using an electric mixer on medium speed until light and fluffy, about 3-4 minutes.
- Add the eggs one at a time, beating well after each addition. Stir in the vanilla extract.
- In a separate bowl, whisk together the flour, baking soda, and salt.
- Gradually add the dry ingredients to the wet ingredients, mixing on low speed until just combined. Avoid overmixing.
- Fold in the chocolate chips evenly with a spatula.
- Spread the dough evenly into the prepared pan, smoothing the top with a spatula or lightly greased fingers.
- Bake for 25-30 minutes until edges are golden brown and the center is set but still soft. Check starting at 23 minutes with a toothpick.
- Cool the cookie cake in the pan for 15 minutes, then transfer to a wire rack to cool completely.
- Prepare the icing by whisking powdered sugar, milk, and vanilla until smooth. Adjust milk for a thick but pipeable consistency. Add food coloring if desired.
- Pipe the “Class of 2026” message using a piping bag or zip-top bag with a small corner snipped. Fix any smudges with a toothpick dipped in warm water.
- Let the icing set at room temperature for at least 30 minutes before slicing and serving.
Notes
Use softened butter at room temperature for best texture. Spoon and level flour for accurate measurement to avoid dry or cakey texture. Watch baking time closely to prevent overbaking. Let cookie cake cool completely before icing to avoid melting. For gluten-free, substitute all-purpose flour with a gluten-free blend. For vegan, use dairy-free butter, egg replacers, and dairy-free chocolate chips.
Nutrition
- Serving Size: 1 slice (1/12 of cak
- Calories: 280
- Fat: 14
- Carbohydrates: 35
- Protein: 3
Keywords: cookie cake, celebration dessert, graduation cake, easy cookie recipe, homemade cookie cake, chocolate chip cookie cake