My phone buzzed for the third time that afternoon. “Please tell me you have more of those chocolate protein balls,” the text read. It was my neighbor, who had stopped by the day before for a quick coffee and ended up eating six of them standing at my kitchen counter. I had to admit—I was a little surprised. Not because they weren’t good, but because they were so ridiculously simple to make that I almost felt guilty taking credit for them.
I’d been in a snack rut. You know the one—where you cycle through the same granola bars and yogurt cups, none of them hitting the spot, all of them leaving you hungry again in an hour. I wanted something that actually kept me full, something I could grab on the way out the door without feeling like I was eating cardboard. So I threw together some oats, cocoa powder, peanut butter, and a few other staples I had in the pantry, rolled them into balls, and tossed them in the fridge. Honestly, I didn’t expect much.
But then I ate one. And then another. And then I realized I’d accidentally made the perfect snack. It was fudgy without being heavy, sweet without being sugary, and filling without being dense. My husband asked if I could make a double batch next time. My kids started requesting them in their lunchboxes. Even my mom, who is notoriously skeptical of anything “healthy,” asked for the recipe.
That’s the thing about these easy no-bake chocolate protein balls with oats. They don’t look like much—just humble little spheres of brown goodness. But one bite, and you get it. They’re the kind of recipe that quietly becomes a staple, the one you make without thinking, the one you never run out of. And honestly? That’s exactly what I needed.
Why You’ll Love This Recipe
Let me tell you why these easy no-bake chocolate protein balls with oats have earned a permanent spot in my fridge—and probably will in yours too.
- Ready in 10 Minutes, No Baking Required. Seriously. Mix, roll, chill. That’s it. No oven, no mixer, no complicated steps. Perfect for those days when you need a snack now.
- Made with Simple, Wholesome Ingredients. Oats, peanut butter, cocoa powder, honey, and protein powder. Chances are, you already have most of these in your pantry. No weird science experiments here.
- Perfect for Meal Prep. Whip up a batch on Sunday, and you’ve got grab-and-go snacks for the entire week. They’re my secret weapon for avoiding the vending machine at 3 PM.
- A Crowd-Pleaser That Hides Its Virtue. Kids devour them without realizing they’re packed with protein and fiber. Adults love them because they taste like dessert but fuel like a meal.
- Incredibly Customizable. I’ve made versions with almond butter, added shredded coconut, rolled them in crushed nuts—the possibilities are endless. This recipe is a starting point, not a rulebook.
What makes these different from every other protein ball recipe out there? It’s the texture. I spent weeks testing ratios—too dry, too sticky, too crumbly—until I found the perfect balance. These balls are firm enough to hold their shape but soft enough to melt in your mouth. They’re not chalky or dense like some store-bought versions. They’re fudgy. And that makes all the difference.
This isn’t just another healthy snack recipe. It’s the one that makes you look forward to your afternoon pick-me-up. It’s comfort food that actually works for your body. And honestly? It’s the kind of recipe that makes you feel like you’ve got your life together—even on the chaos days.
What Ingredients You Will Need
This recipe uses simple, wholesome ingredients to deliver bold chocolate flavor and satisfying texture without any fuss. Most of these are pantry staples, which is exactly why I love it. Here’s what you’ll need:
For the Protein Balls
- 1 cup rolled oats (use certified gluten-free if needed; old-fashioned oats work best, not instant)
- 1/2 cup creamy peanut butter (natural, no-stir works great; just make sure it’s well-mixed. I prefer [Brand] for its smooth texture)
- 1/3 cup honey or maple syrup (honey gives a classic sweetness; maple syrup makes them vegan. Both work beautifully)
- 1/4 cup chocolate protein powder (I use [Brand] whey or plant-based; adjust amount if your powder is very absorbent)
- 2 tablespoons unsweetened cocoa powder (Dutch-processed gives a richer flavor, but regular works too)
- 1 teaspoon vanilla extract (pure, not imitation—trust me on this)
- Pinch of sea salt (enhances the chocolate flavor and balances sweetness)
- 2-3 tablespoons mini chocolate chips (optional but highly recommended for extra chocolatey texture)
For Rolling (Optional)
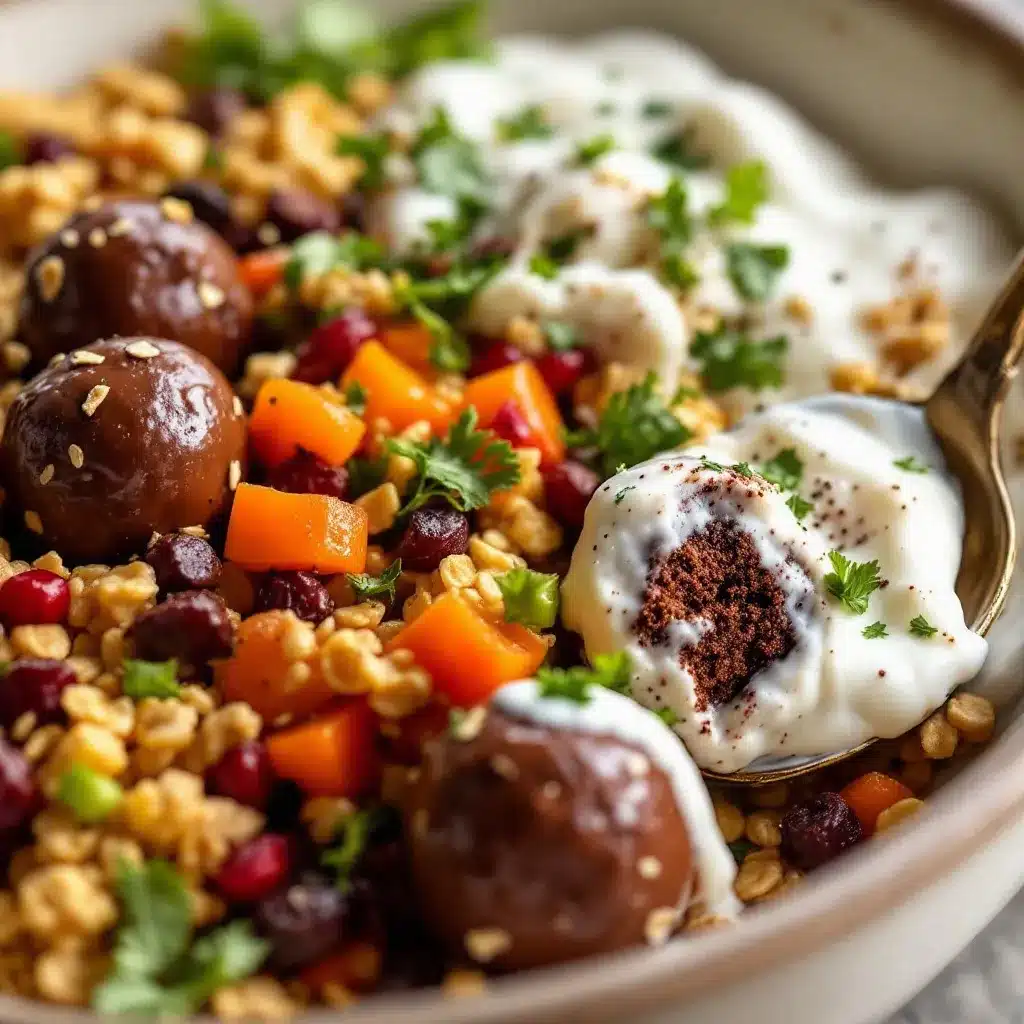
- Shredded coconut, crushed nuts, or extra cocoa powder for coating (adds texture and makes them look pretty)
Ingredient Selection Tips: For the best texture, use rolled oats rather than quick oats—they provide a better chew and hold up better in the fridge. If you’re using a plant-based protein powder, look for one that’s chocolate-flavored and not too gritty. I’ve found that pea protein blends tend to work well. For the peanut butter, avoid the super oily natural kinds that separate completely; they can make the mixture too loose. A good no-stir natural peanut butter is my go-to.
Substitution Guidance: No peanut butter? Swap in almond butter, cashew butter, or sunflower seed butter (for a nut-free version). Need it vegan? Use maple syrup instead of honey. Want a lower-carb option? Use a sugar-free protein powder and skip the honey—just add a tablespoon of water or milk to help it bind. If you’re out of protein powder entirely, you can use an extra 1/4 cup of oat flour (just grind oats in a blender) and a tablespoon of cocoa powder.
Equipment Needed
The beauty of this recipe is that you don’t need much. Here’s what I use:
- Large mixing bowl (any size works, but bigger is easier for mixing without spilling)
- Measuring cups and spoons (standard set; I prefer metal ones for accuracy)
- Spatula or wooden spoon (for initial mixing; a spatula is easier to scrape the bowl clean)
- Small cookie scoop or tablespoon (for portioning uniform balls—a 1.5-tablespoon scoop is perfect)
- Baking sheet or plate (lined with parchment paper for easy cleanup)
- Parchment paper or wax paper (keeps the balls from sticking while they chill)
- Airtight container (for storage; glass or BPA-free plastic works)
If you don’t have a cookie scoop, don’t worry. Just use a regular tablespoon and your hands to shape the balls. I actually prefer using my hands—it gives me better control over the size and shape. Plus, you get a feel for the texture, which helps you know if the mixture needs a little more moisture or a bit more oats.
A quick tip: if the mixture is too sticky to handle, wet your hands slightly with cold water before rolling. It makes the process so much less frustrating. I learned that after my first batch turned into a sticky mess all over my fingers.
Preparation Method
Ready to make the best easy no-bake chocolate protein balls with oats of your life? Let’s do this. The whole process takes about 10 minutes of active time, plus 30 minutes of chilling.
- Combine the dry ingredients. In a large mixing bowl, add 1 cup rolled oats, 1/4 cup chocolate protein powder, 2 tablespoons unsweetened cocoa powder, and a pinch of sea salt. Whisk them together with a fork to break up any clumps from the protein powder. This step is important—if you skip it, you’ll end up with pockets of dry powder in your balls. Not the end of the world, but not ideal.
- Add the wet ingredients. To the same bowl, add 1/2 cup creamy peanut butter, 1/3 cup honey (or maple syrup), and 1 teaspoon vanilla extract. At this point, the mixture will look a bit messy—like a chocolatey disaster zone. That’s totally normal. Don’t panic.
- Mix everything together. Using a spatula or wooden spoon, stir everything together until fully combined. Start slowly to avoid flinging peanut butter everywhere (speaking from experience here). The mixture will start to come together into a thick, fudgy dough. If it seems too dry and crumbly, add 1 tablespoon of water or milk and mix again. If it’s too sticky, add 1-2 tablespoons more oats. The texture should be similar to a soft cookie dough—firm enough to hold its shape when pressed, but still slightly tacky.
- Fold in the chocolate chips. If you’re using them, add 2-3 tablespoons of mini chocolate chips and fold them in gently. This is optional, but honestly? It takes these balls from “good” to “I can’t stop eating them.” The little pockets of melted chocolate as you bite in are pure magic.
- Chill the mixture (optional but recommended). Pop the bowl in the fridge for 15-20 minutes. This step isn’t strictly necessary, but it makes the mixture much easier to handle. The peanut butter and honey firm up slightly, so the balls hold their shape better. If you’re in a hurry, you can skip this—just be prepared for slightly stickier hands.
- Roll into balls. Line a baking sheet or plate with parchment paper. Using a cookie scoop or a tablespoon, portion out the mixture. I aim for about 1.5 tablespoons per ball, which gives me roughly 15-18 balls. Roll each portion between your palms to form a smooth ball. If the mixture sticks to your hands, lightly wet them with cold water. Place each ball on the parchment-lined sheet as you go.
- Optional: Roll in toppings. If you want to get fancy, roll each ball in shredded coconut, crushed almonds, or extra cocoa powder right after shaping. This adds a nice texture contrast and makes them look more polished. I like rolling half in coconut and leaving the other half plain—best of both worlds.
- Chill to set. Place the baking sheet in the refrigerator for at least 30 minutes. This allows the balls to firm up completely. They’ll be soft but hold their shape nicely. If you can’t wait that long (I don’t blame you), they’re still delicious right away—just a bit softer.
- Store and enjoy. Transfer the balls to an airtight container and keep them in the fridge. They’ll stay fresh for up to 2 weeks—if they last that long. Mine rarely make it past day three.
Sensory cues to watch for: At step 3, the mixture should look like a dark, fudgy dough that holds together when pinched. If it crumbles apart easily, add a little more honey or peanut butter. If it leaves a greasy residue on your hands, you might have used too much peanut butter. The final balls should be firm but slightly soft to the touch, like a chilled truffle.
Personal tip: I like to taste the mixture before rolling. If it’s not sweet enough for you, add a teaspoon more honey. If the chocolate flavor isn’t bold enough, add another tablespoon of cocoa powder. This is your snack—make it exactly how you like it.
Cooking Tips & Techniques
Over the many batches I’ve made (and the few that went wrong), I’ve picked up some tricks that make these easy no-bake chocolate protein balls with oats turn out perfect every time.
The Peanut Butter Matters More Than You Think. I learned this the hard way. One time I used a super oily natural peanut butter that had separated, and my balls were greasy and wouldn’t hold together. Another time I used a thick, no-stir kind, and they were perfect. The consistency of your peanut butter directly affects the final texture. If yours is too oily, stir it thoroughly before measuring, or blot some of the oil off the top.
Don’t Overmix. Once everything is combined, stop. Overmixing can make the oats break down too much, resulting in a gummy texture rather than a pleasant chew. Stir just until no dry spots remain, and you’re good.
Chill Before Rolling. I mentioned this in the method, but it’s worth repeating. Chilling the mixture for even 10 minutes makes a huge difference. The first time I made these, I skipped this step and ended up with sticky, misshapen balls. Now I always pop the bowl in the fridge while I clean up the kitchen. It’s a small step that saves a lot of frustration.
Use a Cookie Scoop for Uniform Size. This isn’t just about aesthetics—uniform balls chill and store more evenly. Plus, it makes portion control easier. I use a 1.5-tablespoon scoop, and it’s perfect for a satisfying snack that’s not too big.
If They’re Too Dry, Add a Little Liquid. Protein powders vary wildly in how much moisture they absorb. If your mixture is crumbly and won’t hold together, add water or milk one teaspoon at a time until it comes together. I’ve had to do this with certain plant-based protein powders that are extra thirsty.
Let Them Rest After Chilling. The flavor actually improves after a few hours in the fridge. The oats soften slightly, the flavors meld together, and the texture becomes more uniform. If you can resist eating them immediately, they’re even better the next day.
My biggest failure? I once tried to make a double batch and accidentally added double the protein powder but forgot to double the honey. The result was dry, chalky balls that tasted like disappointment. I learned to always double-check my measurements, especially when scaling up. Now I write down the scaled amounts before I start mixing.
Variations & Adaptations
One of the best things about this recipe is how easy it is to switch up. Here are some of my favorite variations:
Peanut Butter & Jelly
Swap the chocolate protein powder for vanilla, and fold in 2 tablespoons of freeze-dried raspberries or chopped dried strawberries. The tart fruit balances the sweet peanut butter beautifully. I made this version for my kids, and they asked for it every day for a week.
Almond Joy
Use almond butter instead of peanut butter, and add 1/4 cup shredded coconut to the mixture. Roll the finished balls in more shredded coconut for a tropical twist. It tastes just like the candy bar, but way healthier.
Double Chocolate Mint
Add 1/4 teaspoon peppermint extract along with the vanilla, and use dark chocolate chips instead of mini ones. The mint and chocolate combo is refreshing and decadent at the same time. Perfect for after-dinner cravings.
Vegan & Gluten-Free
Use certified gluten-free oats, maple syrup instead of honey, and a plant-based chocolate protein powder. That’s it—everything else stays the same. I’ve tested this version multiple times, and it works perfectly.
Nut-Free Option
Swap the peanut butter for sunflower seed butter or tahini. The flavor will be slightly different (more earthy), but the texture remains the same. Just note that sunflower seed butter can react with baking soda if you ever bake with it, but since this is no-bake, you’re in the clear.
My personal favorite variation? The one I keep coming back to is adding a tablespoon of chia seeds and a tablespoon of flaxseed meal to the base recipe. It adds extra fiber and omega-3s, plus a subtle nutty flavor. I call them my “power balls,” and they’re my go-to pre-workout snack.
Serving & Storage Suggestions
These easy no-bake chocolate protein balls with oats are incredibly versatile when it comes to serving. Here’s how I like to enjoy them:
Serving Temperature: I prefer them straight from the fridge—they’re firm, fudgy, and satisfyingly cold. But they’re also delicious at room temperature, especially if you’re packing them for a snack on the go. Just let them sit out for 5-10 minutes before eating if you want a softer texture.
Presentation Ideas: For parties or gifting, arrange them on a platter with fresh berries and a drizzle of melted dark chocolate. They look beautiful and feel special. I’ve also stacked them in a small mason jar tied with a ribbon for a homemade gift that’s always appreciated.
What to Serve With Them: These balls pair wonderfully with a hot cup of coffee or tea. For a more substantial snack, serve them alongside a fresh Greek yogurt bowl with pomegranate for a balanced combo of protein, fiber, and probiotics. They also work great crumbled over a nourish bowl for a touch of sweetness.
Storage Instructions: Keep the balls in an airtight container in the refrigerator. They’ll stay fresh for up to 2 weeks. I like to layer them between sheets of parchment paper to prevent them from sticking together. If you’re taking them on the go, they’ll hold up in a lunchbox or bag for several hours without refrigeration—just don’t leave them in a hot car.
Freezer Instructions: These freeze beautifully. Place the balls on a baking sheet lined with parchment paper and freeze until solid (about 1 hour). Then transfer them to a freezer-safe bag or container. They’ll keep for up to 3 months. To thaw, just leave them in the fridge overnight or at room temperature for 15-20 minutes. I always keep a stash in the freezer for busy weeks.
Flavor Development: The flavors actually deepen and meld together after a day or two in the fridge. The oats soften slightly, and the chocolate and peanut butter become more pronounced. If you can wait, they’re even better on day two.
Nutritional Information & Benefits
Here’s an estimated nutritional breakdown per ball (based on 16 balls using the base recipe without optional toppings):
| Nutrient | Amount per Ball |
|---|---|
| Calories | ~120-140 |
| Protein | 6-8g |
| Carbohydrates | 14-16g |
| Fiber | 2-3g |
| Sugar | 7-9g (mostly from honey) |
| Fat | 5-7g |
Health Benefits of Key Ingredients: Oats are packed with beta-glucan, a type of soluble fiber that helps lower cholesterol and keeps you full longer. Peanut butter provides healthy monounsaturated fats and plant-based protein. Cocoa powder is rich in antioxidants called flavonoids, which support heart health. Honey offers natural sweetness along with trace amounts of vitamins and minerals.
Dietary Considerations: This recipe is naturally vegetarian and can easily be made vegan (use maple syrup) and gluten-free (use certified gluten-free oats). It’s also dairy-free if you use dairy-free chocolate chips. The main allergens to note are peanuts and oats (which may contain gluten cross-contamination). For a nut-free version, use sunflower seed butter.
My personal wellness perspective: I love that these balls give me sustained energy without the crash that comes from processed snacks. They’re my go-to for afternoon slumps, pre-workout fuel, and even a quick breakfast on hectic mornings. They’re not a meal replacement, but they’re a heck of a lot better than a granola bar from the gas station.
Frequently Asked Questions
Can I make these without protein powder?
Absolutely. If you don’t have protein powder, substitute it with an extra 1/4 cup of oat flour (just grind rolled oats in a blender) and an extra tablespoon of cocoa powder. The texture will be slightly different—more oat-forward and less dense—but still delicious.
Why are my protein balls too dry or too sticky?
This usually comes down to the protein powder or peanut butter you’re using. If they’re too dry, add a teaspoon of water or milk at a time until the mixture comes together. If they’re too sticky, add a tablespoon more oats. Remember that different protein powders absorb moisture differently, so you might need to adjust slightly from the base recipe.
How long do these last at room temperature?
They’re best kept in the fridge, but they’ll hold up at room temperature for several hours—perfect for lunchboxes or road trips. I wouldn’t recommend leaving them out for more than 4-6 hours, especially if it’s warm, because of the peanut butter and honey.
Can I use quick oats instead of rolled oats?
You can, but the texture will be softer and less chewy. Rolled oats give a better structure and a more satisfying bite. If you only have quick oats, reduce the honey slightly since they absorb liquid faster.
Are these healthy enough for kids?
Yes, with a couple of caveats. They’re a great source of protein and fiber, and they’re much lower in sugar than most store-bought snacks. However, they are calorie-dense (about 120-140 calories each), so they’re best as a snack rather than a free-for-all. Also, if you have young kids, be mindful of the honey content (not recommended for children under 1 year old) and the peanut butter (choking hazard for very young children). For older kids, they’re a fantastic lunchbox addition or after-school treat.
Conclusion
These easy no-bake chocolate protein balls with oats have become a non-negotiable part of my weekly routine. They’re the snack I reach for when I need something quick, satisfying, and actually good for me. They’re the recipe I share with friends who say they don’t have time to eat healthy. They’re the proof that eating well doesn’t have to be complicated or time-consuming.
What I love most about this recipe is how forgiving it is. You can swap ingredients, adjust the sweetness, add mix-ins, or change the toppings—and it almost always works. It’s a recipe that adapts to you, not the other way around. And in a world where so many things feel rigid and demanding, that’s a beautiful thing.
So go ahead—make a batch. Experiment with your favorite add-ins. Eat one straight from the fridge at 10 PM (I won’t tell). And when you find your perfect combination, I’d love to hear about it. Drop a comment below and let me know what variations you tried. Did you add coconut? Swap in almond butter? Roll them in crushed pretzels for a salty-sweet twist? I’m genuinely curious.
Here’s to easy snacks, happy bellies, and recipes that make life just a little bit simpler. You’ve got this.
Pin This Recipe!
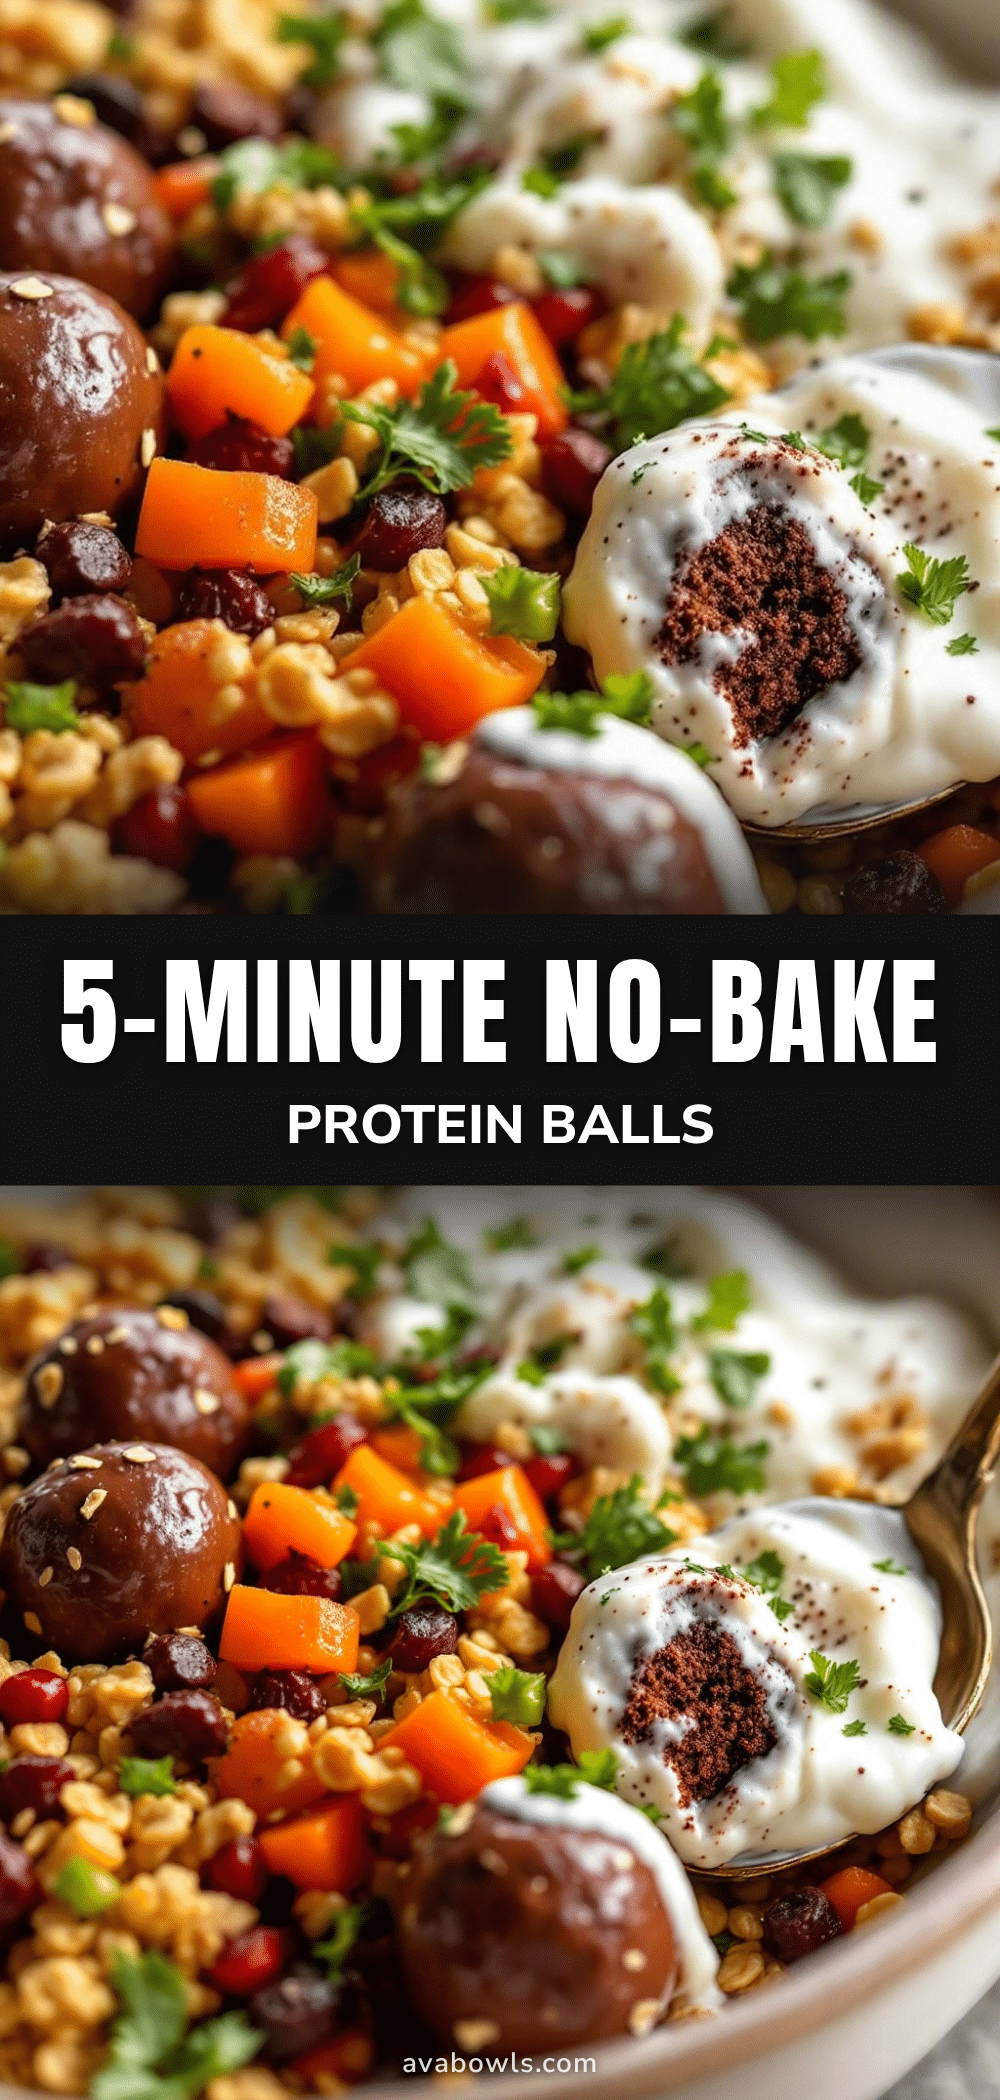
Easy No-Bake Chocolate Protein Balls (Best 10-Minute Recipe)

These easy no-bake chocolate protein balls with oats are fudgy, sweet, and filling. Ready in just 10 minutes, they’re the perfect grab-and-go snack for busy days.
- Prep Time: 10 minutes
- Cook Time: 0 minutes
- Total Time: 40 minutes (including 30 minutes chilling)
- Yield: 15-18 balls 1x
- Category: Snack
- Cuisine: American
Ingredients
- 1 cup rolled oats (use certified gluten-free if needed)
- 1/2 cup creamy peanut butter (natural, no-stir works great)
- 1/3 cup honey or maple syrup
- 1/4 cup chocolate protein powder
- 2 tablespoons unsweetened cocoa powder
- 1 teaspoon vanilla extract
- Pinch of sea salt
- 2–3 tablespoons mini chocolate chips (optional)
- Shredded coconut, crushed nuts, or extra cocoa powder for rolling (optional)
Instructions
- Combine the dry ingredients: In a large mixing bowl, add 1 cup rolled oats, 1/4 cup chocolate protein powder, 2 tablespoons unsweetened cocoa powder, and a pinch of sea salt. Whisk together with a fork to break up any clumps.
- Add the wet ingredients: To the same bowl, add 1/2 cup creamy peanut butter, 1/3 cup honey (or maple syrup), and 1 teaspoon vanilla extract.
- Mix everything together: Using a spatula or wooden spoon, stir until fully combined into a thick, fudgy dough. If too dry, add 1 tablespoon water or milk; if too sticky, add 1-2 tablespoons more oats.
- Fold in the chocolate chips: If using, add 2-3 tablespoons mini chocolate chips and fold gently.
- Chill the mixture (optional but recommended): Refrigerate the bowl for 15-20 minutes to make the mixture easier to handle.
- Roll into balls: Line a baking sheet with parchment paper. Using a cookie scoop or tablespoon, portion about 1.5 tablespoons per ball and roll between your palms to form smooth balls. Place on the prepared sheet.
- Optional: Roll in toppings: Roll each ball in shredded coconut, crushed nuts, or extra cocoa powder right after shaping.
- Chill to set: Refrigerate the baking sheet for at least 30 minutes until firm.
- Store and enjoy: Transfer to an airtight container and keep in the fridge for up to 2 weeks.
Notes
For best texture, use rolled oats rather than quick oats. If mixture is too sticky, wet hands with cold water before rolling. The flavor improves after a day in the fridge.
Nutrition
- Serving Size: 1 ball
- Calories: 130
- Sugar: 8
- Sodium: 80
- Fat: 6
- Saturated Fat: 1.5
- Carbohydrates: 15
- Fiber: 2.5
- Protein: 7
Keywords: no-bake chocolate protein balls, protein balls with oats, easy protein balls, healthy snack, no-bake snack


