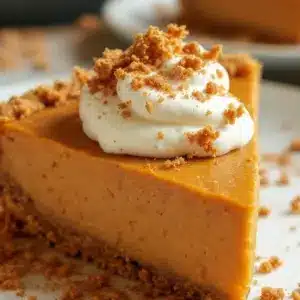
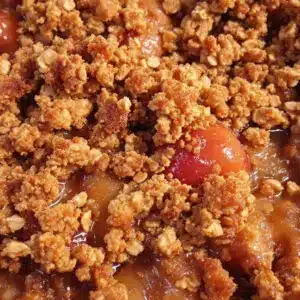
My neighbor, a woman named Carol who grows the most incredible Honeycrisp apples in her backyard, handed me a bag of them one October afternoon. She said, “Here, make something that actually tastes like fall.” I took them home and stared at the pile. I’d made plenty of apple desserts before, but most were either too fussy or too sweet. I wanted something that let the fruit do the talking, not the sugar. That’s when I landed on this Easy Homemade Apple Crisp with Oat Crumble Topping. No pie crust. No rolling pin. Just apples, a little cinnamon, and that buttery oat crumble that gets all golden and crunchy on top. It took three tries to get the crumble right—the first one was too dense, the second turned into a soggy mess. But that third batch? The oats stayed crisp, the apples softened into this jammy, spiced filling, and I finally understood what Carol meant by “tastes like fall.” This is the recipe I keep coming back to, not because it’s fancy, but because it works every single time. And honestly, that’s the kind of dessert I want in my life.
Why You’ll Love This Recipe
After testing this recipe about six times (yes, six), I can tell you exactly why it stands out from the crowd. It’s not just another apple crisp. It’s the one that disappears first at potlucks and makes people ask for the recipe before they finish their first bite.
- Quick & Easy: From start to oven in under 20 minutes. No fancy techniques or complicated steps.
- Simple Ingredients: You probably have everything in your pantry right now. Butter, oats, flour, brown sugar, apples, cinnamon. That’s it.
- Perfect for Fall Gatherings: Bring this to a Friendsgiving, a cozy dinner party, or just a Tuesday night when you need something warm and comforting.
- Crowd-Pleaser: Kids love the crunchy topping, adults love the not-too-sweet filling, and everyone goes back for seconds.
- Unbelievably Delicious: The contrast between the tender, spiced apples and the crisp, buttery oat topping is next-level comfort food.
What makes this version different? It’s the oat-to-apple ratio. Most recipes skimp on the crumble, leaving you with a sad, thin layer. Not this one. You get a thick, generous blanket of oats that stays crunchy even the next day (if there are leftovers, which is rare). Plus, I use a mix of tart and sweet apples for a more complex flavor. It’s not just another version—it’s the best version I’ve ever made.
What Ingredients You Will Need
This recipe uses simple, wholesome ingredients to deliver bold flavor and satisfying texture without the fuss. Most of these are pantry staples, so you can whip this up on a whim.
- Apples: 6 medium apples (about 2.5 pounds), peeled, cored, and sliced into ¼-inch thick pieces. I like using a mix of Granny Smith (for tartness) and Honeycrisp (for sweetness). (Adds balanced flavor)
- Granulated Sugar: ¼ cup. Just enough to sweeten the apples without making them syrupy.
- Brown Sugar: ¼ cup, packed. Adds a deeper, molasses-like sweetness to the filling.
- Lemon Juice: 1 tablespoon. Prevents the apples from browning and brightens the flavor.
- Cinnamon: 1 teaspoon. The backbone of any good apple dessert. I recommend McCormick for consistent quality.
- Nutmeg: ¼ teaspoon, freshly grated if possible. Adds warmth without overpowering.
- Cornstarch: 1 tablespoon. Helps thicken the apple juices into a luscious sauce.
- Old-Fashioned Rolled Oats: 1 cup. These give the crumble its signature texture. Don’t use quick oats—they turn mushy.
- All-Purpose Flour: ¾ cup. For structure. You can swap with gluten-free 1:1 flour if needed.
- Brown Sugar (for topping): ½ cup, packed. For that caramelized, crunchy top.
- Unsalted Butter: ½ cup (1 stick), cold and cut into small cubes. Cold butter is key for a crumbly texture.
- Salt: ¼ teaspoon. Balances the sweetness.
- Vanilla Extract: 1 teaspoon. Optional but highly recommended for the topping.
Substitution Guidance: If you’re out of lemons, use ½ teaspoon of apple cider vinegar. For a dairy-free version, swap the butter with cold coconut oil or a plant-based butter stick. I’ve tested both, and they work beautifully.
Equipment Needed
You don’t need a fancy kitchen for this one. Here’s what you’ll need:
- 9×13-inch Baking Dish: A glass or ceramic dish works best. I’ve used a metal pan before, and the apples cooked faster, so keep an eye on it.
- Large Mixing Bowls: One for the apples, one for the topping. I use stainless steel bowls because they’re lightweight and easy to clean.
- Sharp Knife or Apple Peeler: A good peeler makes the prep go so much faster. I have a simple OXO peeler that’s lasted years.
- Pastry Cutter or Fork: For cutting the butter into the oat mixture. If you don’t have a pastry cutter, two forks work, or you can use your fingertips (just work quickly so the butter stays cold).
- Measuring Cups and Spoons: For accuracy. Baking is a science, even for a crisp.
- Rubber Spatula: For scraping every last bit of crumble onto the apples.
Budget-Friendly Tip: Skip the apple peeler. A regular vegetable peeler and a bit of patience work just fine. I’ve done it both ways, and the effort is worth it.
Preparation Method
- Preheat your oven to 350°F (175°C). Position the rack in the center of the oven. While it heats, start prepping your apples. This takes about 10 minutes, so the oven will be ready when you are.
- Prepare the apple filling. In a large mixing bowl, combine the sliced apples, granulated sugar, ¼ cup brown sugar, lemon juice, cinnamon, nutmeg, and cornstarch. Toss everything together with your hands or a spatula until every slice is coated. The apples should look glossy and smell amazing. Let them sit for 5 minutes—this helps release some juice, which will turn into that perfect syrupy sauce.
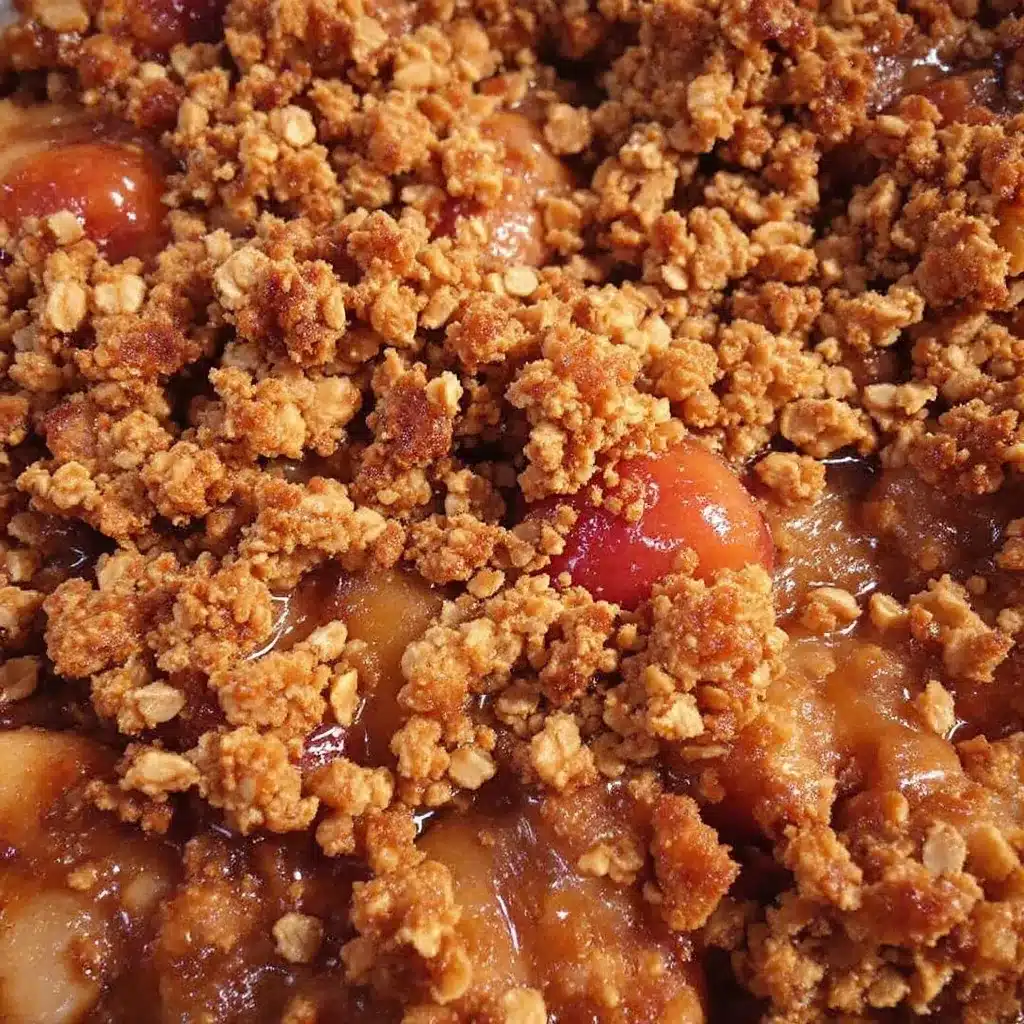
- Make the oat crumble topping. In a separate bowl, whisk together the rolled oats, flour, ½ cup brown sugar, and salt. Add the cold butter cubes and vanilla extract. Use a pastry cutter or your fingertips to work the butter into the dry ingredients. You want the mixture to look like coarse sand with some pea-sized butter chunks. Don’t overwork it—those butter pieces create the crispy bits. (If you’re using your hands, work quickly so the butter doesn’t warm up.)
- Assemble the crisp. Pour the apple mixture into your 9×13-inch baking dish and spread it into an even layer. Sprinkle the oat crumble evenly over the top. Don’t press it down—leave it loose so it bakes up crunchy. (I once pressed it down thinking it would stick better. It didn’t. It just turned into a dense, sad layer. Learn from my mistake.)
- Bake for 40-45 minutes. Place the dish on a baking sheet to catch any drips. Bake until the topping is golden brown and the apple filling is bubbling around the edges. If the topping is browning too fast (around the 30-minute mark), tent loosely with foil. The apples should be tender when pierced with a fork.
- Cool for at least 15 minutes. I know it’s hard to wait, but this step is crucial. The filling needs time to set, or it will be runny. The aroma will drive you crazy, but trust me—those 15 minutes make all the difference.
Cooking Tips & Techniques
I’ve made this recipe so many times that I’ve collected a few hard-earned lessons. Here are the ones that matter most:
- Don’t skip the cornstarch. I once thought I could leave it out. The filling was a watery mess. Cornstarch is non-negotiable for that thick, jammy texture.
- Use cold butter. Warm butter turns the crumble into a paste. Cold butter creates steam pockets as it melts in the oven, which gives you those crispy, crunchy bits. If your kitchen is warm, pop the butter in the freezer for 10 minutes before cutting.
- Slice apples evenly. Thicker slices take longer to soften, so aim for ¼-inch thickness. If you’re in a hurry, a mandoline slicer works great (watch your fingers!).
- Let it rest after baking. This is the hardest tip to follow, but it’s the most important. The filling needs time to thicken. If you scoop it hot, it will run all over your plate. Patience pays off.
- Toast the oats first (optional). For an even crunchier topping, toast the oats in a dry skillet for 2-3 minutes before mixing them into the crumble. It adds a nutty flavor that takes this to another level.
Variations & Adaptations
This recipe is incredibly flexible. Here are some ways to make it your own:
- Gluten-Free: Swap the all-purpose flour with a 1:1 gluten-free flour blend. Make sure your oats are certified gluten-free. I’ve used Bob’s Red Mill, and it works perfectly.
- Vegan: Use cold coconut oil or a plant-based butter stick. I’ve tried Miyoko’s, and the crumble came out just as crispy.
- Seasonal Twist: In the fall, add ½ cup of fresh cranberries to the apple mixture. In the summer, swap apples for ripe peaches or nectarines (reduce the sugar by 2 tablespoons).
- Spice It Up: Add ½ teaspoon of cardamom or ginger to the apple filling for a warming kick. I did this once on a whim, and it was incredible.
- Nutty Crumble: Add ½ cup of chopped pecans or walnuts to the topping. Toast them first for extra flavor. This is my go-to variation when I want something extra special.
- Individual Servings: Divide the mixture into 6-8 ramekins and bake for 20-25 minutes. Perfect for dinner parties—everyone gets their own little dish of happiness.
Serving & Storage Suggestions
This crisp is best served warm, straight from the oven. Here’s how to make it shine:
- Serving Temperature: Warm, with a generous scoop of vanilla ice cream (or whipped cream if that’s your thing). The contrast between the hot, jammy apples and cold, creamy ice cream is pure magic.
- Complementary Dishes: Pair it with a cup of coffee or a glass of cold milk. If you’re feeling fancy, drizzle some caramel sauce over the top. For a complete fall meal, serve it after a bowl of hearty Tuscan white bean soup with kale—the savory-sweet combo is unbeatable.
- Storage: Cover the dish with foil or transfer leftovers to an airtight container. Store in the refrigerator for up to 4 days. The topping will soften slightly, but it’s still delicious.
- Reheating: Reheat individual portions in the microwave for 30-45 seconds. For a crisper topping, reheat in a 350°F oven for 10-12 minutes. I usually do the oven method because it revives that crunchy texture.
- Freezing: You can freeze the assembled (unbaked) crisp. Wrap the dish tightly in plastic wrap and foil, then freeze for up to 3 months. Bake from frozen, adding 15-20 minutes to the baking time. The flavors actually get better after freezing!
Nutritional Information & Benefits
While this is definitely a treat, it’s not without its redeeming qualities. Here’s the breakdown per serving (based on 8 servings):
- Calories: Approximately 380
- Total Fat: 14g
- Saturated Fat: 8g
- Carbohydrates: 62g
- Fiber: 5g
- Sugar: 38g
- Protein: 4g
Health Benefits: Apples are packed with fiber and vitamin C, and oats are a great source of soluble fiber, which supports heart health. So while this isn’t health food, it’s certainly not junk food either. I like to think of it as a balanced indulgence—a dessert that feels good to eat and even better to share.
Dietary Considerations: This recipe is vegetarian and can be made gluten-free or vegan with simple swaps. It contains dairy (butter) and gluten (flour) in its standard form.
Conclusion
This Easy Homemade Apple Crisp with Oat Crumble Topping is the kind of recipe that becomes a tradition. It’s simple enough for a Tuesday night, special enough for a holiday gathering, and forgiving enough for a beginner baker. The apples bubble up into a spiced, jammy filling, while the oat crumble stays golden and crunchy—exactly what comfort food should be. I love this recipe because it reminds me of Carol’s apples and that first perfect batch I made in my tiny kitchen. It’s proof that you don’t need complicated techniques to create something memorable. So grab some apples, preheat your oven, and make this for someone you love (or just for yourself—no judgment here). When you do, come back and tell me how it turned out. Did you add nuts? Serve it with ice cream? Make it for a crowd? I’d love to hear your version of this cozy classic.
Frequently Asked Questions
Can I use quick oats instead of rolled oats?
You can, but I don’t recommend it. Quick oats are more finely chopped and will absorb too much moisture, making the topping mushy instead of crunchy. Stick with old-fashioned rolled oats for the best texture.
Do I have to peel the apples?
Not necessarily, but I recommend it. The peel can become tough and chewy during baking, which isn’t pleasant in a soft, tender crisp. If you’re in a hurry, you can leave the peel on, just make sure to wash the apples well.
Can I make this ahead of time?
Absolutely. You can assemble the entire crisp (without baking) up to 24 hours in advance. Cover it and store it in the refrigerator. When you’re ready to bake, add 10-15 minutes to the baking time since it starts cold.
Why is my apple crisp runny?
This usually happens for two reasons: either you skipped the cornstarch, or you didn’t let it cool long enough after baking. The cornstarch helps thicken the apple juices, and the resting time allows the filling to set. Give it at least 15-20 minutes before digging in.
Can I freeze leftover apple crisp?
Yes! Baked apple crisp freezes well for up to 3 months. Let it cool completely, then wrap it tightly in plastic wrap and foil. To reheat, thaw in the refrigerator overnight, then warm in a 350°F oven for 15-20 minutes. The topping won’t be as crunchy as fresh, but it’s still delicious.
Pin This Recipe!
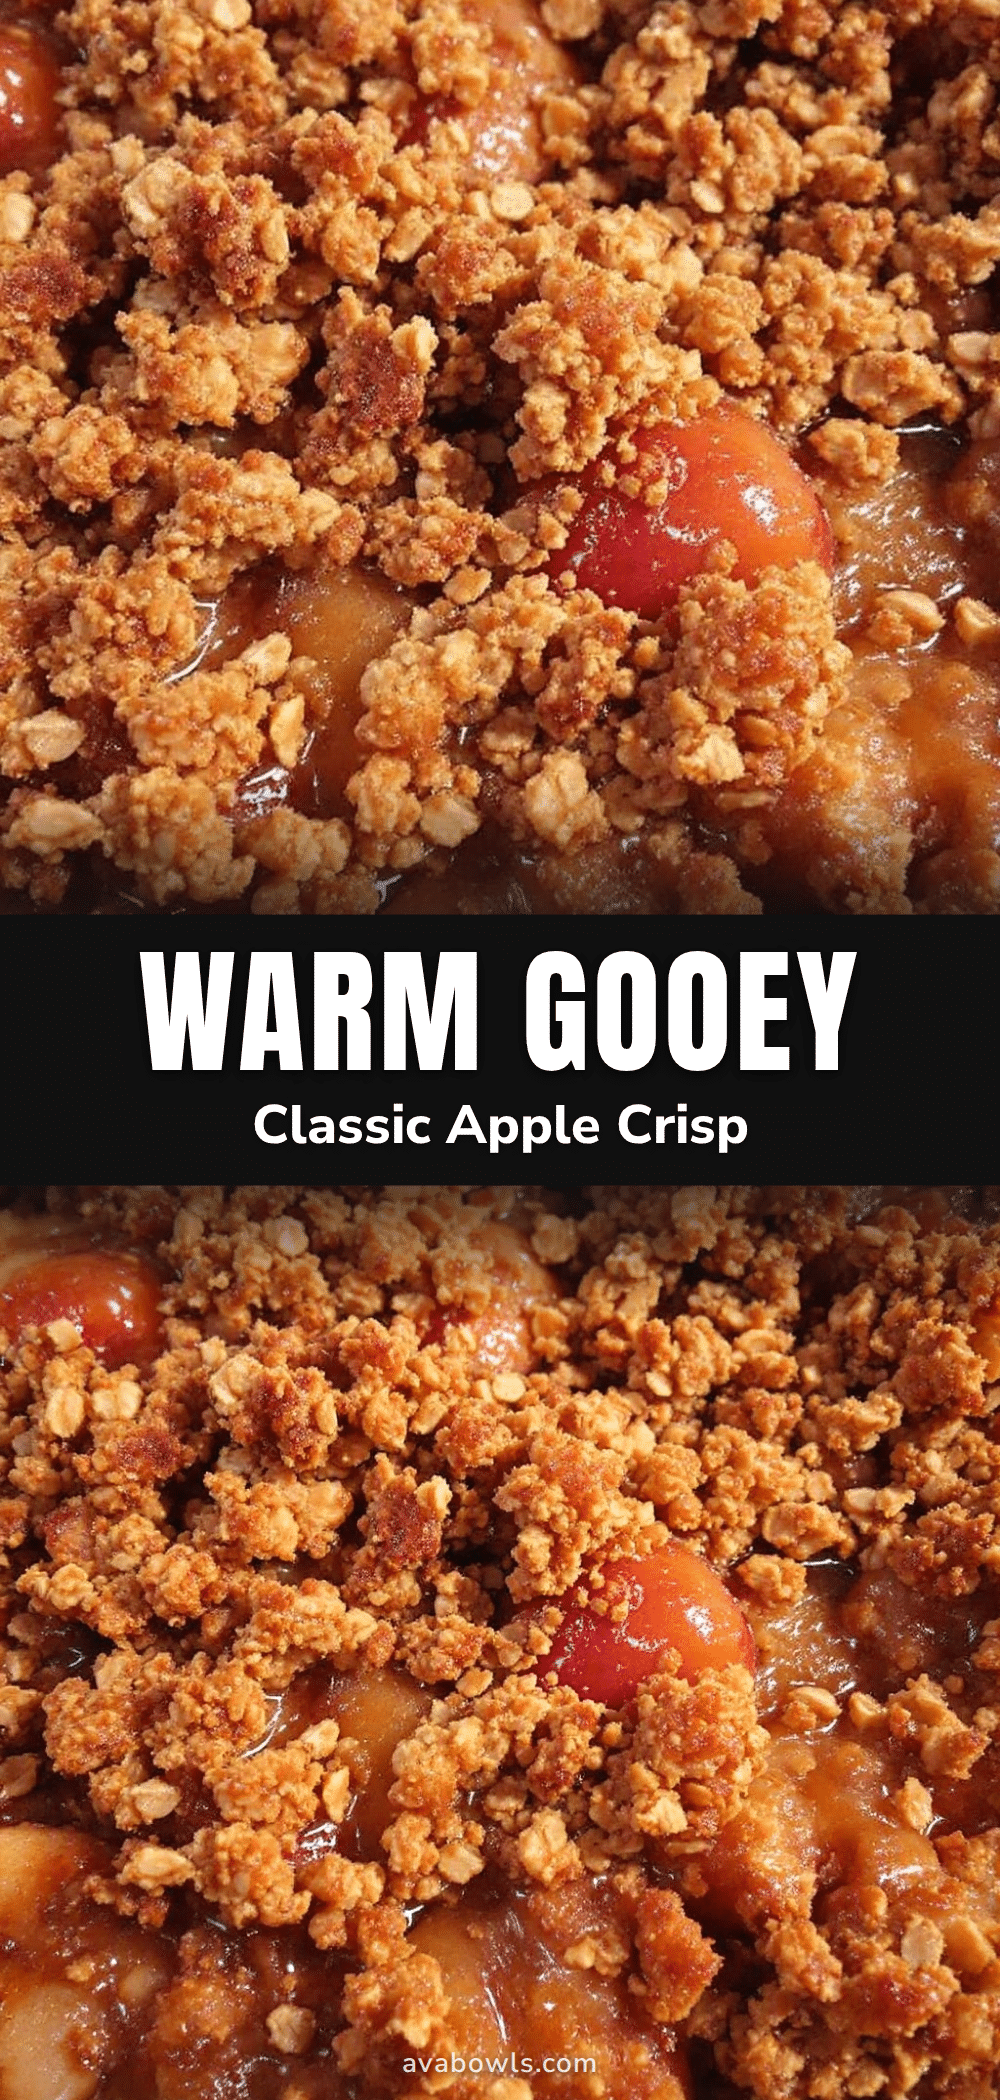
Easy Homemade Apple Crisp with Oat Crumble Topping

This Easy Homemade Apple Crisp features tender, spiced apples under a thick, buttery oat crumble topping. It’s a simple, crowd-pleasing dessert that tastes like fall in every bite.
- Prep Time: 20 minutes
- Cook Time: 45 minutes
- Total Time: 1 hour 5 minutes
- Yield: 8 servings 1x
- Category: Dessert
- Cuisine: American
Ingredients
- 6 medium apples (about 2.5 pounds), peeled, cored, and sliced into ¼-inch thick pieces (mix of Granny Smith and Honeycrisp recommended)
- ¼ cup granulated sugar
- ¼ cup brown sugar, packed
- 1 tablespoon lemon juice
- 1 teaspoon cinnamon
- ¼ teaspoon nutmeg, freshly grated if possible
- 1 tablespoon cornstarch
- 1 cup old-fashioned rolled oats
- ¾ cup all-purpose flour
- ½ cup brown sugar, packed (for topping)
- ½ cup unsalted butter (1 stick), cold and cut into small cubes
- ¼ teaspoon salt
- 1 teaspoon vanilla extract (optional)
Instructions
- Preheat your oven to 350°F (175°C). Position the rack in the center of the oven.
- In a large mixing bowl, combine the sliced apples, granulated sugar, ¼ cup brown sugar, lemon juice, cinnamon, nutmeg, and cornstarch. Toss until every slice is coated. Let sit for 5 minutes.
- In a separate bowl, whisk together the rolled oats, flour, ½ cup brown sugar, and salt. Add the cold butter cubes and vanilla extract. Use a pastry cutter or your fingertips to work the butter into the dry ingredients until the mixture looks like coarse sand with some pea-sized butter chunks.
- Pour the apple mixture into a 9×13-inch baking dish and spread into an even layer. Sprinkle the oat crumble evenly over the top. Do not press it down.
- Place the dish on a baking sheet. Bake for 40-45 minutes, until the topping is golden brown and the apple filling is bubbling around the edges. If the topping browns too fast, tent loosely with foil.
- Cool for at least 15 minutes before serving. The filling needs time to set.
Notes
For a crunchier topping, toast the oats in a dry skillet for 2-3 minutes before mixing. Let the crisp rest after baking to allow the filling to thicken. Use cold butter for a crumbly texture.
Nutrition
- Serving Size: 1 serving
- Calories: 380
- Sugar: 38
- Sodium: 150
- Fat: 14
- Saturated Fat: 8
- Carbohydrates: 62
- Fiber: 5
- Protein: 4
Keywords: apple crisp, oat crumble, easy dessert, fall dessert, apple recipe, homemade apple crisp