“You think you can’t make cute graduation treats on a tight timeline? Well, let me tell you about the night I whipped up these Perfect Mini Graduation Cap Brownie Bites after a last-minute invite to a celebration. Honestly, I was scrambling, half-expecting to settle for store-bought snacks. But there was something about those little squares of dense, fudgy brownie that just begged to be dressed up. I grabbed some leftover frosting, a handful of toothpicks, and some black candy melts, and before I knew it, I had a platter of tiny edible graduation caps that stole the show. It was one of those “wing it and it works” moments, you know?
At first, I was skeptical about whether these mini brownie caps would look polished enough. But as guests started picking them up, smiling, and asking for the recipe, I realized this simple idea had turned into a sweet hit. The best part? These bites are not just adorable — they pack the rich, chocolatey punch of a classic brownie but in a neat, handheld size perfect for celebrations. They became my quick go-to whenever someone’s graduating, whether it’s a friend, a coworker, or a family member.
What stuck with me was how these little brownie caps weren’t just a dessert; they felt like a celebration in themselves. You don’t have to fuss over fancy decorations or complicated steps to make something memorable. Sometimes, it’s the small, thoughtful touches that turn a simple recipe into a cherished tradition. And honestly, that’s why these Perfect Mini Graduation Cap Brownie Bites have a permanent spot in my recipe box.
Why You’ll Love This Recipe
After making and tweaking this recipe several times, I can confidently say it’s a winner for any graduation party or celebratory gathering. Here’s why it stands out:
- Quick & Easy: These brownie bites come together in under 45 minutes, making them perfect for those last-minute celebrations when you’re juggling a million things.
- Simple Ingredients: You likely have most ingredients on hand — no need to hunt down anything fancy or exotic.
- Perfect for Celebrations: Whether it’s a graduation party, an academic milestone, or even a farewell, these bites add a festive touch effortlessly.
- Crowd-Pleaser: Kids, adults, even the picky eaters — everyone loves the rich, fudgy texture paired with the playful graduation cap design.
- Unbelievably Delicious: The chewy brownie base combined with the smooth, slightly crunchy candy caps creates a texture combo that’s just next-level comfort food.
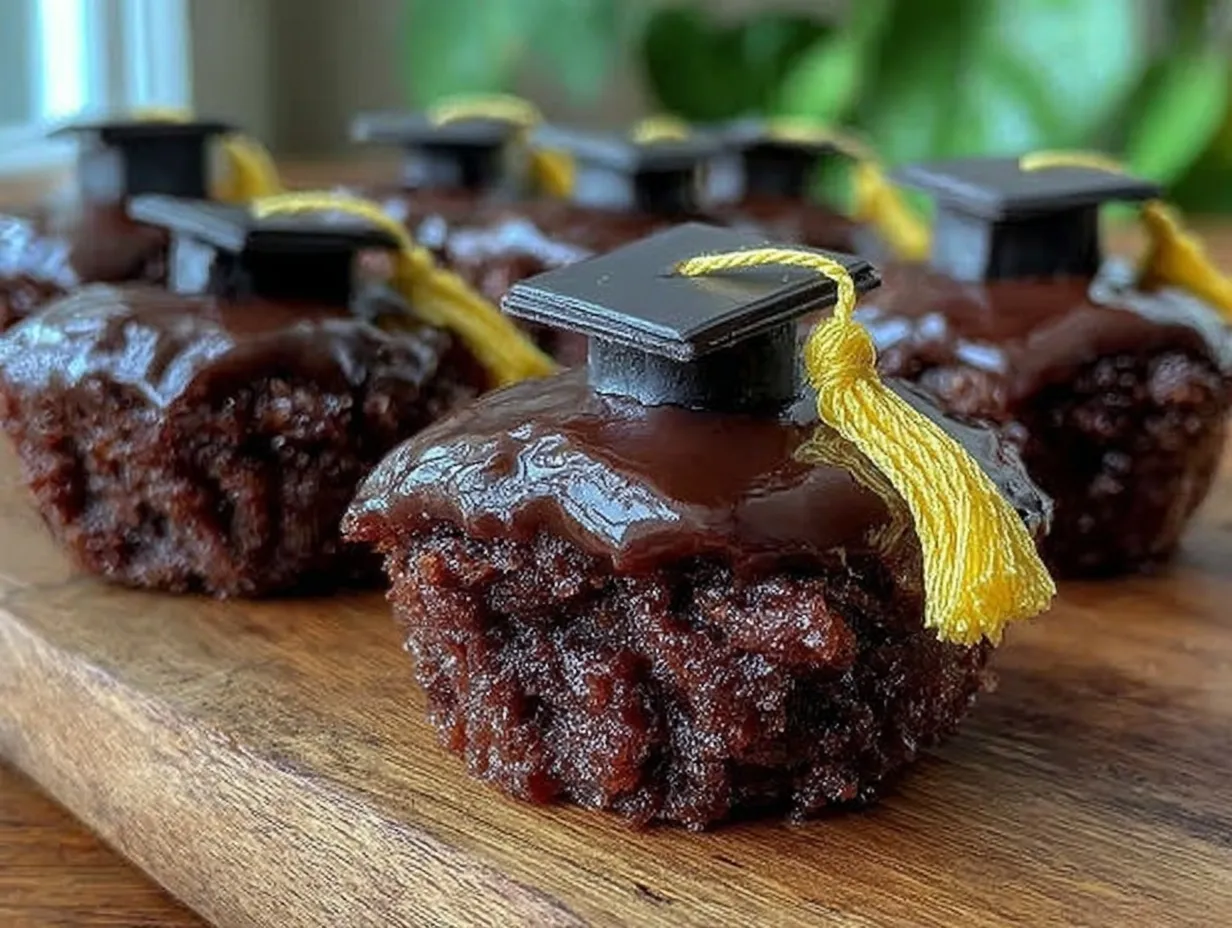
What makes these brownie bites different from your average brownies? It’s the little decorative twist — crafting mini graduation caps with black candy melts and a simple square of brownie. This recipe isn’t about complicated piping or fancy fondant. Instead, it’s approachable, fun, and surprisingly elegant. Plus, I’ve tested the brownie base to ensure it’s fudgy but not too dense, with just the right amount of sweetness to complement the subtle vanilla frosting “glue” holding the caps together.
If you’re someone who loves quick treats that still have that “wow” factor, this recipe hits all the right notes. It’s the kind of dessert that makes you pause and smile, savoring not just the flavor but also the moment — because celebrating achievements deserves a little extra sweetness.
What Ingredients You Will Need
This recipe uses simple, wholesome ingredients that deliver a rich, fudgy brownie bite topped with a charming graduation cap decoration. Most are pantry staples, and substitutions are easy if you need them.
- For the Brownie Base:
- Unsalted butter, 1/2 cup (113g), melted (adds richness and moistness)
- Granulated sugar, 1 cup (200g)
- Large eggs, 2, room temperature
- Pure vanilla extract, 1 tsp (use a quality brand like Nielsen-Massey for best flavor)
- All-purpose flour, 3/4 cup (95g)
- Cocoa powder, 1/3 cup (35g), unsweetened (look for Dutch-process for deeper flavor)
- Salt, 1/4 tsp (balances the sweetness)
- Baking powder, 1/4 tsp (optional, for slight lift)
- For the Decoration:
- Black candy melts, 1 cup (about 150g) (for creating the cap “mortarboards”)
- Vanilla frosting, about 1/2 cup (120g) (store-bought or homemade for “glue” to hold the tops)
- Toothpicks, cut in half (for the tassels)
- Optional:
- Edible gold or silver dust (to add a subtle shimmer to the caps)
- Colored sprinkles or edible stars (for a festive touch)
For a gluten-free option, swap the all-purpose flour with almond flour or a gluten-free blend. If you prefer a dairy-free brownie, substitute butter with coconut oil and use a dairy-free frosting alternative. I’ve found that the black candy melts from Wilton or Merckens work best as they melt smoothly and set quickly, making your mini caps look polished without much fuss.
Equipment Needed
- 8×8-inch (20×20 cm) baking pan — perfect size for these brownies, easy to cut into uniform mini squares.
- Mixing bowls — one large for wet ingredients and another for dry ingredients.
- Whisk and spatula — for combining ingredients smoothly and folding in flour without overmixing.
- Microwave-safe bowl or double boiler — essential for melting the candy melts gently without burning.
- Sharp knife — to cut the brownies into neat, even squares.
- Toothpicks — for assembling the tassels on the graduation caps.
- Baking parchment or silicone liner — to line your pan for easy removal and cleanup.
If you don’t have a double boiler, a microwave works just fine for melting candy melts. Just heat in short bursts, stirring between, so you don’t scorch the chocolate. Also, a serrated knife can help when cutting brownies if you want cleaner edges. I’ve tried baking these in glass and metal pans — metal tends to give a slightly crisper edge, which holds the brownie shape better when topped.
Preparation Method
- Preheat your oven: Set to 350°F (175°C). Line your 8×8-inch baking pan with parchment paper, leaving some overhang on the sides — this helps lift the brownies out easily later.
- Mix the wet ingredients: In a large bowl, whisk together the melted butter and granulated sugar until combined and glossy, about 1-2 minutes. Add the eggs one at a time, whisking well after each addition. Stir in the vanilla extract.
- Combine the dry ingredients: In a separate bowl, sift together the flour, cocoa powder, salt, and baking powder (if using). This step ensures no lumps and even distribution.
- Fold dry into wet: Gradually add the dry mixture to the wet ingredients. Use a spatula to gently fold until just combined. Be careful not to overmix — you want a thick, fudgy batter, not cakey.
- Bake the brownies: Pour the batter into the prepared pan, spreading it evenly. Bake for 20-25 minutes. Check for doneness by inserting a toothpick; it should come out with a few moist crumbs, not wet batter. The brownies will continue to set as they cool.
- Cool completely: Let the brownies cool in the pan on a wire rack for at least 30 minutes. This step is crucial — frosting and assembling the caps will be tricky if the brownies are warm.
- Cut into mini squares: Using a sharp knife, cut the cooled brownies into 1.5-inch (4 cm) squares. Try to keep them as uniform as possible; it makes the caps look neater.
- Melt the candy melts: In a microwave-safe bowl or double boiler, gently melt the black candy melts until smooth. Stir frequently to avoid burning. If the melts are too thick, add a tiny splash of vegetable oil for a smoother consistency.
- Create the mortarboard caps: Spoon small dollops of melted candy melts onto parchment paper, shaping them into flat squares slightly larger than the brownie tops. Let them set until firm (about 10 minutes in the fridge speeds this up).
- Assemble the brownie caps: Spread a thin layer of vanilla frosting on top of each brownie square. Press a hardened candy melt square gently on top.
- Add the tassels: Insert half a toothpick into the edge of each candy square, letting it stick out just enough to look like a tassel. Optionally, you can add a tiny dab of frosting to the toothpick end to hold a sprinkle or edible glitter for a festive touch.
- Serve or store: Arrange your mini graduation cap brownie bites on a platter. They’re best enjoyed the same day but can be stored in an airtight container at room temperature for up to 3 days.
Pro tip: When cutting brownies, wipe your knife clean between cuts for crisp edges. If frosting seems too thick, soften it slightly in the microwave for 10 seconds to spread easily. And don’t rush the candy melts — patience here makes the caps look polished and professional.
Cooking Tips & Techniques
Getting these mini graduation cap brownie bites just right involves a few little tricks I’ve picked up along the way:
- Don’t overbake the brownies: The fudgier, the better. Keep an eye around the 20-minute mark. Overbaked brownies dry out and crumble, making it harder to assemble the caps neatly.
- Cooling is key: Let the brownies cool completely before cutting or frosting. Warm brownies will cause the frosting to melt and the candy caps to slide off — trust me, I learned this the hard way once!
- Melting candy melts: Use short bursts in the microwave (15-20 seconds), stirring in between. Candy melts burn easily, and burnt chocolate is not the vibe here.
- Assembly station: Set up an assembly line — frosting, candy melt squares, and toothpicks ready — to work efficiently and keep everything neat.
- Storage considerations: If you need to make these a day ahead, store the brownie bites and candy caps separately and assemble just before serving to keep the caps crisp.
- Texture balance: The frosting acts as glue but also adds a sweet creaminess that balances the bittersweet brownie and the firm candy cap. Don’t skip it!
One time, I skipped the frosting “glue” and the caps just slid right off; lesson learned. Also, if your candy melts start to thicken as you work, pop them back in the microwave for a few seconds to keep them smooth for shaping. This recipe is forgiving but pays off when you handle each component with a little care.
Variations & Adaptations
Want to switch things up or cater to different dietary needs? Here are some tasty twists and options:
- Flavor variations: Add a teaspoon of espresso powder to the brownie batter for a mocha twist that intensifies the chocolate flavor. Or stir in 1/4 cup chopped nuts for some crunch.
- Frosting swaps: Use cream cheese frosting for a tangy contrast or peanut butter frosting for a rich, nutty note. Both pair beautifully with chocolate.
- Gluten-free option: Substitute all-purpose flour with a gluten-free blend or almond flour. The texture will be a bit different but still delicious.
- Decorative flair: Instead of black candy melts, try colored melts matching your school colors or edible markers to write initials or years on the caps.
- Vegan adaptation: Use a dairy-free brownie recipe (like one based on applesauce and coconut oil) and vegan frosting. Use vegan-friendly candy melts available in specialty stores.
Personally, I once added a hint of orange zest to the brownie batter for a subtle citrus surprise — it was a hit at a summer grad party! If you’re pressed for time, you can even use store-bought brownies cut into squares, then decorate as instructed. That’s how I made these in a pinch for a coworker’s farewell, and nobody guessed the shortcut.
Serving & Storage Suggestions
These mini graduation cap brownie bites are best served at room temperature so the flavors and textures shine. Arrange them on a festive platter or tiered dessert stand for easy grabbing during parties.
Pair them with a light beverage like iced tea, sparkling lemonade, or even a coffee bar for guests to customize their drinks. If you want to create a full dessert table, these bites complement creamy treats like the cream cheese stuffed French toast beautifully or savory snacks like the loaded nachos supreme for a fun sweet-savory balance.
Store leftover brownie bites in an airtight container at room temperature for up to 3 days. If you want to keep them longer, wrap tightly and freeze for up to 2 months. Thaw at room temperature before serving. When reheating, avoid microwaving directly with the candy caps as they can soften or melt; instead, warm only the brownie base if desired.
Over time, the flavors meld nicely, and the brownies stay moist. Just be mindful that humidity can soften the candy melts, so serving sooner rather than later keeps the caps crisp and photogenic.
Nutritional Information & Benefits
Each mini brownie bite (about 1.5 inches square) contains approximately:
| Nutrient | Amount |
|---|---|
| Calories | 110-130 kcal |
| Fat | 6-8g |
| Carbohydrates | 15-18g |
| Protein | 1-2g |
| Sugar | 12-14g |
While these treats are definitely on the indulgent side, they do provide a quick energy boost perfect for busy celebration days. Cocoa powder brings antioxidants, and using real butter and eggs adds some vitamins and minerals compared to processed snacks.
For those watching gluten, swapping to gluten-free flour makes these bites suitable for gluten-sensitive guests. The recipe contains dairy and eggs, so it’s not suitable for those with those allergies unless adapted as mentioned above.
From a personal wellness perspective, I find making treats from scratch like this helps me appreciate the ingredients and balance indulgence with mindful eating — especially when shared with loved ones marking important milestones.
Conclusion
The Perfect Mini Graduation Cap Brownie Bites are a sweet, fun way to mark any graduation celebration — simple enough to whip up last minute yet impressive enough to get noticed. I love how these little bites combine rich, fudgy brownies with a playful, festive design that brings smiles all around.
Feel free to make the recipe your own with different frosting flavors, colors, or add-ins. Whether you’re a seasoned baker or just trying to put together something quick, these bites are approachable and satisfying.
Next time you’re planning a graduation party or want to toast to someone’s success, give these mini brownie caps a try. I’d love to hear your variations or how they turned out — sharing those little moments of joy is what makes cooking so special.
Here’s to sweet celebrations and many more reasons to gather around the table!
FAQs
Can I make the brownie bites ahead of time?
Yes! You can bake and cut the brownies up to 2 days in advance. Store them airtight at room temperature and assemble the caps on the day of the party for best freshness.
What if I don’t have candy melts? Can I use chocolate chips?
Chocolate chips can work but are trickier to melt smoothly and harden into firm shapes. Candy melts are designed for molding and setting quickly, so they’re ideal for the caps.
How do I keep the candy caps from melting or getting sticky?
Store assembled bites in a cool, dry place away from heat and humidity. Avoid refrigerating as condensation can soften the candy melts.
Can I make larger graduation cap brownies?
Absolutely! Just scale up the brownie pan size and adjust baking time accordingly. You’ll need larger candy melt squares or to pipe the caps.
Are these suitable for a vegan diet?
Not as written because of butter, eggs, and frosting. But with vegan brownie and frosting substitutes plus vegan candy melts, you can create a similar version.
Pin This Recipe!
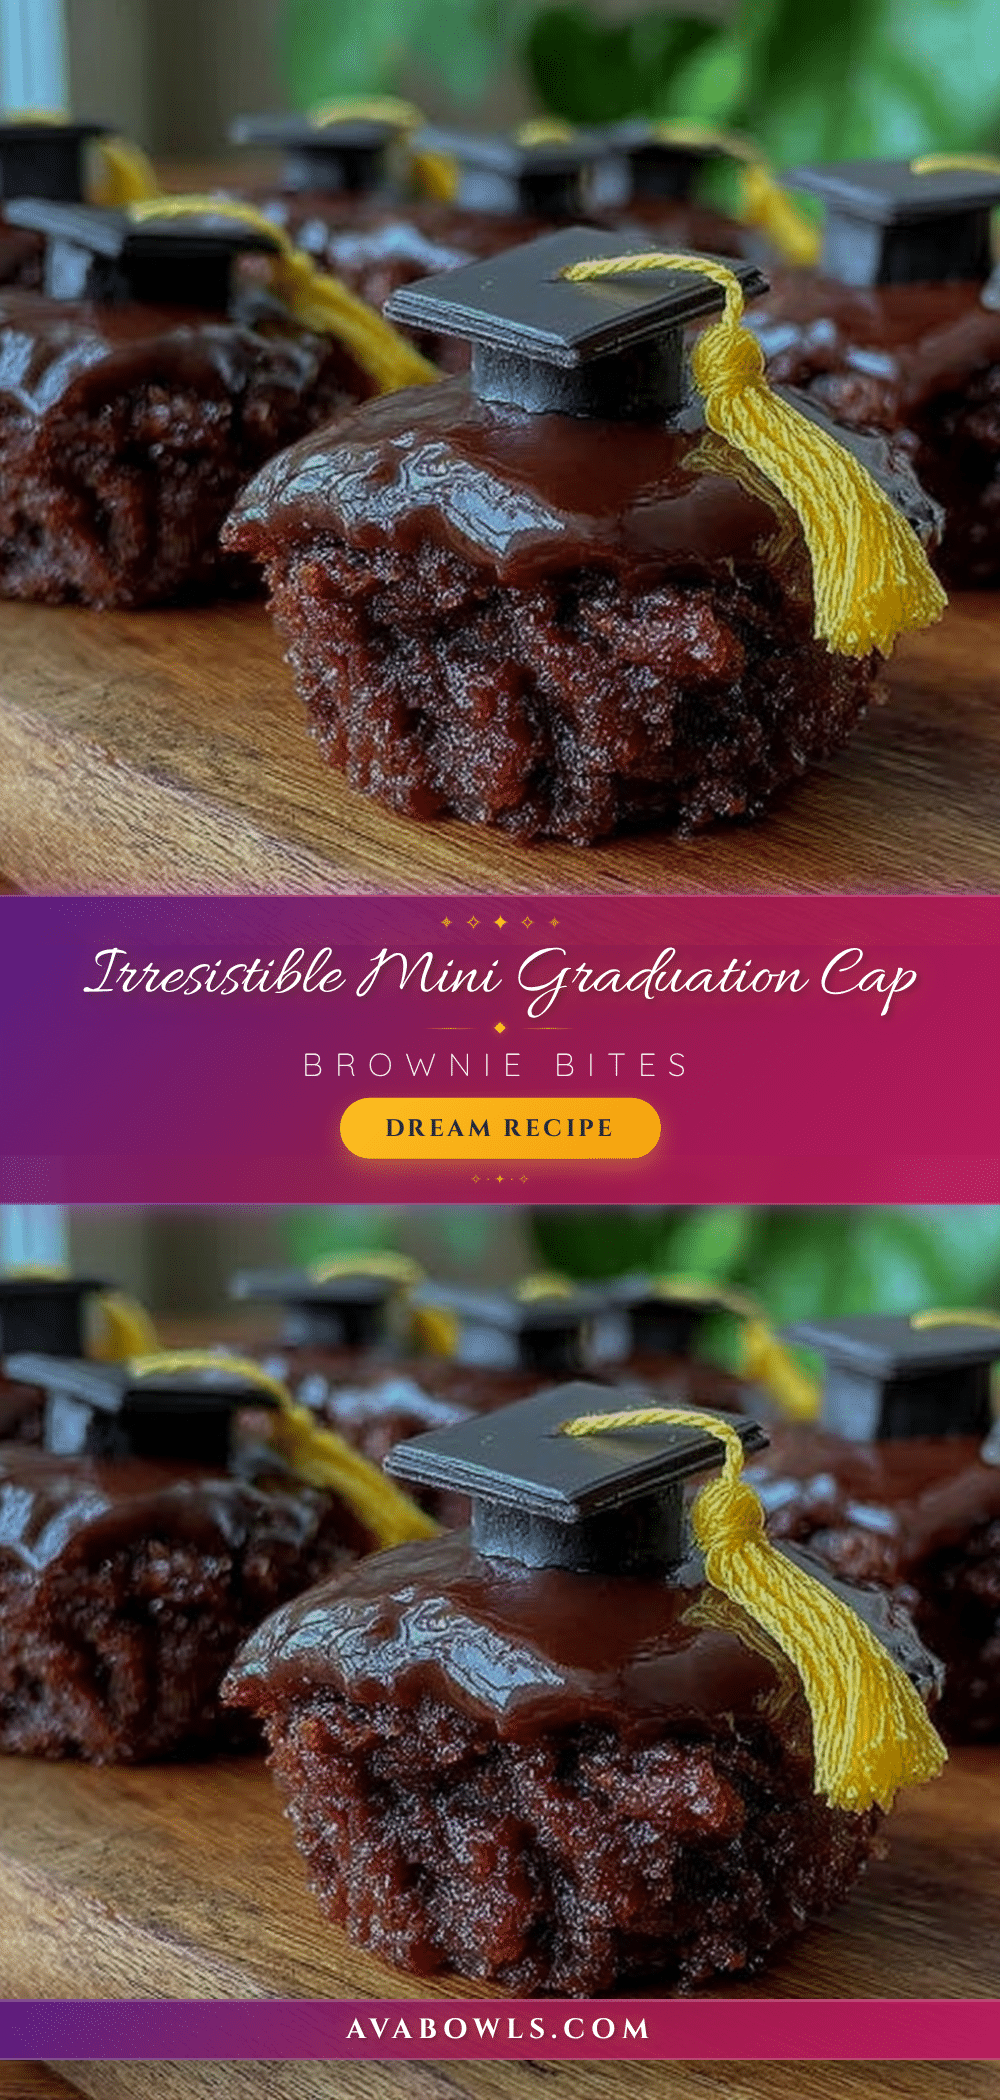
Perfect Mini Graduation Cap Brownie Bites
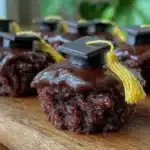
These mini brownie bites combine a rich, fudgy brownie base with playful graduation cap decorations made from black candy melts and vanilla frosting, perfect for celebrations and last-minute parties.
- Prep Time: 15 minutes
- Cook Time: 25 minutes
- Total Time: 45 minutes
- Yield: 24 mini brownie bites 1x
- Category: Dessert
- Cuisine: American
Ingredients
- 1/2 cup (113g) unsalted butter, melted
- 1 cup (200g) granulated sugar
- 2 large eggs, room temperature
- 1 tsp pure vanilla extract
- 3/4 cup (95g) all-purpose flour
- 1/3 cup (35g) unsweetened cocoa powder (preferably Dutch-process)
- 1/4 tsp salt
- 1/4 tsp baking powder (optional)
- 1 cup (about 150g) black candy melts
- 1/2 cup (120g) vanilla frosting (store-bought or homemade)
- Toothpicks, cut in half
- Optional: edible gold or silver dust
- Optional: colored sprinkles or edible stars
Instructions
- Preheat oven to 350°F (175°C). Line an 8×8-inch baking pan with parchment paper, leaving overhang for easy removal.
- In a large bowl, whisk melted butter and granulated sugar until combined and glossy, about 1-2 minutes. Add eggs one at a time, whisking well after each addition. Stir in vanilla extract.
- In a separate bowl, sift together flour, cocoa powder, salt, and baking powder (if using).
- Gradually fold dry ingredients into wet ingredients using a spatula until just combined. Avoid overmixing to keep batter fudgy.
- Pour batter into prepared pan and spread evenly. Bake for 20-25 minutes. Check doneness with a toothpick; it should come out with a few moist crumbs.
- Cool brownies completely in the pan on a wire rack for at least 30 minutes.
- Cut cooled brownies into 1.5-inch (4 cm) squares, keeping them uniform.
- Melt black candy melts gently in a microwave-safe bowl or double boiler, stirring frequently. Add a tiny splash of vegetable oil if too thick.
- Spoon small dollops of melted candy melts onto parchment paper, shaping into flat squares slightly larger than brownie tops. Let set until firm (about 10 minutes in fridge).
- Spread a thin layer of vanilla frosting on each brownie square. Press a hardened candy melt square on top.
- Insert half a toothpick into the edge of each candy square to create tassels. Optionally, add a dab of frosting and sprinkle edible glitter or decorations.
- Arrange brownie bites on a platter and serve. Store in an airtight container at room temperature for up to 3 days.
Notes
Do not overbake the brownies to keep them fudgy. Cool brownies completely before cutting and frosting to prevent melting. Use short bursts when melting candy melts to avoid burning. Store assembled bites in a cool, dry place away from humidity to keep candy caps crisp. For gluten-free, substitute flour with almond or gluten-free blend. For dairy-free, substitute butter with coconut oil and use dairy-free frosting.
Nutrition
- Serving Size: 1 mini brownie bite
- Calories: 120
- Sugar: 13
- Sodium: 50
- Fat: 7
- Saturated Fat: 4
- Carbohydrates: 16
- Fiber: 1
- Protein: 1.5
Keywords: graduation treats, mini brownies, brownie bites, celebration desserts, easy brownies, candy melts, party snacks