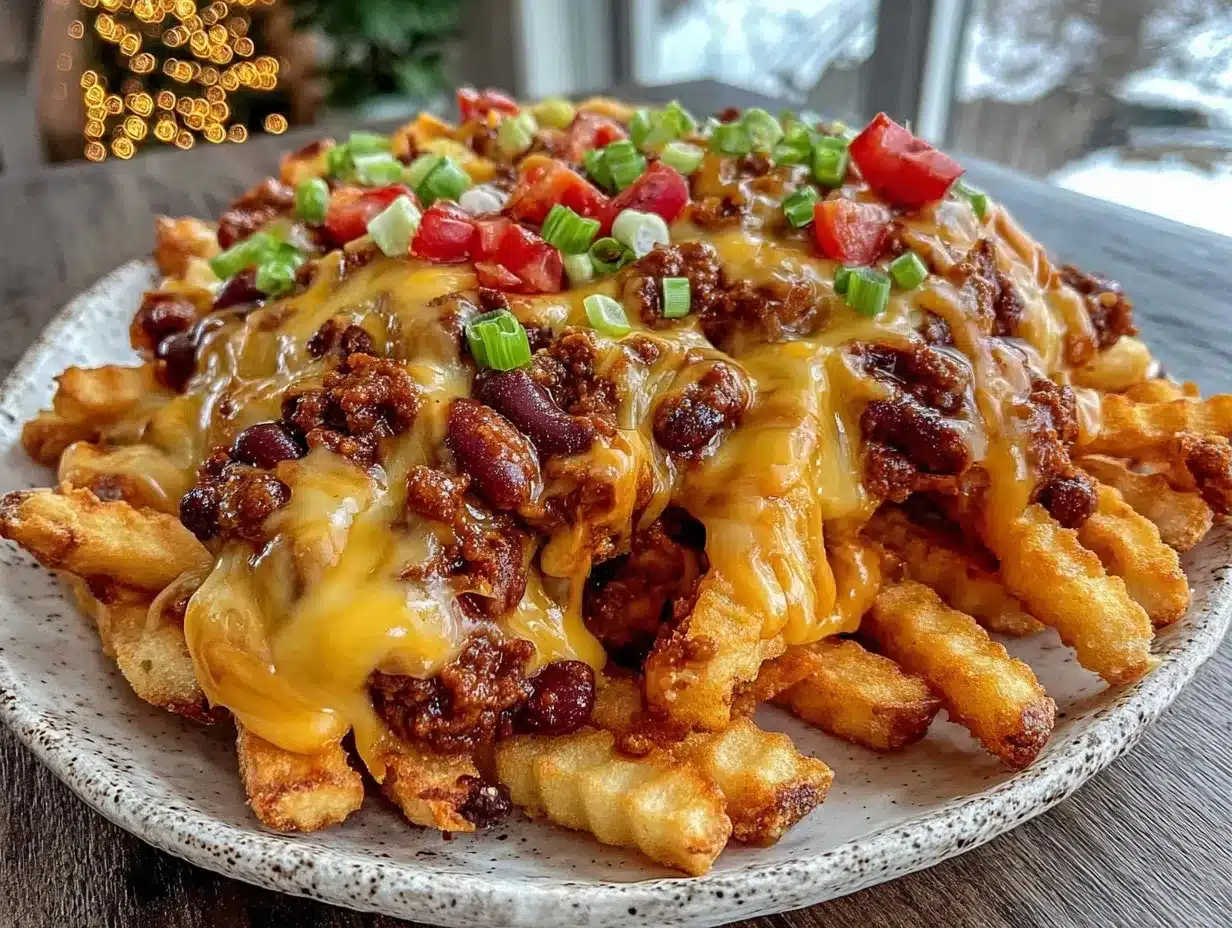
“Wait, are these fries *really* supposed to be this crispy under all that chili and cheese?” That was my first thought the night I threw together what’s now my go-to recipe for crispy loaded chili cheese fries. Honestly, it started as a last-minute fix after a long day when the idea of cooking felt like climbing a mountain. I had a bag of frozen fries, a can of chili that was about to expire, and a handful of shredded cheese—nothing fancy. I was skeptical, thinking it’d be a soggy mess, but as I bit into that perfect crunch combined with spicy chili and melty cheese, my doubts vanished.
That night turned into a small obsession. I found myself making these fries multiple times within a week, each time tweaking the toppings and textures just a bit. What I love about this crispy loaded chili cheese fries bar is how it feels like a party on your plate but without any fuss. It’s indulgent, satisfying, and hits that comfort food spot with a little extra flair. Plus, it’s a total crowd-pleaser—friends often ask for the recipe, and it’s become a staple when hosting casual hangouts.
There’s something about the way the crispy fries hold up under that rich chili and gooey cheese that keeps pulling me back. It’s not just about the flavors but that satisfying contrast in textures that feels like a little crispy rebellion against sogginess. This recipe stuck with me not only because it’s easy and comforting but because it’s one of those dishes that invites you to slow down, savor, and maybe share a laugh or two while you’re at it.
Why You’ll Love This Recipe
After testing this recipe more times than I can count (trust me, I’m not complaining), I’ve learned why it stands out among other loaded fries versions. Here’s what makes this crispy loaded chili cheese fries recipe a winner in my kitchen:
- Quick & Easy: You can have this ready in under 40 minutes, making it perfect for busy weeknights or those spontaneous snack attacks.
- Simple Ingredients: No need for exotic items—mostly pantry staples you probably already own.
- Perfect for Casual Gatherings: Whether it’s game night, a laid-back party, or just a craving for something hearty, this dish fits right in.
- Crowd-Pleaser: Kids, adults, picky eaters—you name it. These fries get devoured fast.
- Unbelievably Delicious: That crispy fry base paired with the spicy chili and melted cheese creates a texture and flavor combo that honestly feels like comfort food royalty.
What really sets this apart? The secret is in how you bake the fries so they stay crispy beneath all that chili—no limp, soggy bottoms here! Plus, the chili itself is seasoned just right to balance heat and savoriness, while the cheese melts perfectly over everything. This isn’t just your average chili cheese fries; it’s a carefully constructed indulgence that doesn’t take all day to pull off.
And if you want to make it extra special, pairing it with a creamy dip like the beer cheese pretzel dip works wonders. Honestly, it’s that kind of recipe you’ll want to share but also keep all to yourself sometimes.
What Ingredients You Will Need
This crispy loaded chili cheese fries recipe uses straightforward, hearty ingredients designed to deliver big flavor and satisfying textures without any fuss. Most are pantry staples, with a few fresh toppings to brighten things up.
- Frozen French Fries (about 1.5 pounds/680g) – I prefer shoestring or thin-cut fries for maximum crispiness. Brands like Ore-Ida or Alexia work well.
- Chili (2 cups/475ml) – Use your favorite canned chili or homemade if you have it. Ground beef or turkey chili with beans adds heartiness.
- Shredded Cheddar Cheese (1.5 cups/170g) – Sharp cheddar melts beautifully, but a blend with Monterey Jack adds creaminess.
- Green Onions, thinly sliced (3 stalks) – for fresh, mild onion flavor and color contrast.
- Jalapeños, sliced (optional, 1-2) – adds a spicy kick if you like heat.
- Sour Cream (½ cup/120ml) – for topping and balancing the richness.
- Olive Oil or cooking spray (for crisping fries) – a light coating helps keep fries extra crispy.
- Salt and Pepper – to season fries and chili as needed.
- Smoked Paprika (1 teaspoon) – optional, for a subtle smoky depth in the chili.
- Hot Sauce (optional) – a drizzle on top amps up the flavor for those who crave it.
If you want to swap options, feel free to try sweet potato fries for a slightly sweeter flavor or use dairy-free cheese and sour cream for a vegan-friendly twist. For a gluten-free chili, check your canned chili’s label or make your own to keep it clean.
This recipe’s flexibility with ingredients means you can customize it easily, whether you’re aiming for classic comfort or a bit of a twist. You can even pair it with a creamy pasta side like the creamy spring vegetable fettuccine alfredo to round out a casual meal.
Equipment Needed
- Baking Sheet – A rimmed baking sheet is perfect for crisping fries evenly in the oven. I use a heavy-duty one to avoid warping.
- Oven – Essential for baking fries to that perfect crunch.
- Medium Saucepan – For warming the chili gently.
- Mixing Bowls – For tossing fries with oil and seasoning.
- Slotted Spoon or ladle – Handy for spooning chili over fries without too much liquid.
- Grater – If shredding cheese fresh; pre-shredded works but fresh melts better.
If you don’t have a baking sheet, a cast iron skillet can do double duty—just keep an eye on the fries so they don’t burn. I find that investing in a good quality baking sheet saved me from scrubbing a million burnt spots later, and it’s worth it for how evenly it cooks everything.
Preparation Method
- Preheat your oven to 425°F (220°C). This high temperature is key for getting those fries crispy.
- Spread the frozen fries on the baking sheet. Lightly drizzle 1 tablespoon of olive oil over them and toss to coat evenly. Sprinkle with a pinch of salt and smoked paprika if using.
- Bake fries for 20-25 minutes. Flip them halfway through to ensure even crisping. You want golden edges and a firm texture—don’t rush this part!
- While fries bake, heat the chili. Pour 2 cups (475 ml) into a saucepan over medium heat. Stir occasionally and let it simmer gently for about 10 minutes. Taste and adjust seasoning with salt and pepper.
- Once fries are crispy, remove from oven. Spoon the warmed chili evenly over the fries, but avoid drowning them to keep that crunch.
- Sprinkle 1.5 cups (170g) of shredded cheddar cheese generously on top. Return the baking sheet to the oven for another 5-7 minutes until the cheese melts and bubbles.
- Remove from oven and top with sliced green onions, jalapeños (if using), and dollops of sour cream. For an extra kick, drizzle with hot sauce.
- Serve immediately. The contrast between the crispy fries, spicy chili, gooey cheese, and cool sour cream is what makes this dish irresistible.
Pro tip: If you notice any fries getting soggy early, spread them out more or use a wire rack on the baking sheet to help air circulate. And if you want melty cheese but don’t want to wait, broiling for 1-2 minutes works wonders—just watch closely!
Cooking Tips & Techniques
Getting the fries crispy underneath all that chili and cheese isn’t always straightforward—but here’s what I’ve learned:
- Don’t overcrowd the baking sheet. Give those fries some breathing room so they crisp instead of steam.
- Oil is your friend. A light coating of olive oil helps fries get golden and crunchy instead of limp.
- Use a slotted spoon to spoon chili. This minimizes excess liquid that leads to soggy fries.
- Timing is everything. Bake fries fully before adding chili and cheese to keep that crunch intact.
- Fresh cheese melts best. Pre-shredded can sometimes be coated with anti-caking agents that affect meltiness.
- Keep toppings fresh and light. Green onions and jalapeños add brightness and texture contrast to balance the richness.
- Don’t rush reheating. If making ahead, re-crisp fries briefly in a hot oven before adding chili and cheese.
I remember the first time I ignored the oil coating step—disaster. Fries came out soggy and sad-looking. Lesson learned the hard way. Also, multitasking by warming chili while fries cook saves time and keeps everything hot and ready to assemble.
Variations & Adaptations
This loaded chili cheese fries bar is a fantastic base that you can customize to your taste or dietary needs. Here are some ideas I’ve tried and loved:
- Vegetarian Version: Swap chili for a bean-based chili or a smoky lentil ragout. Add extra veggies like diced bell peppers or corn.
- Spicy Kick: Mix chipotle powder into the chili or add pickled jalapeños on top for an extra punch.
- Cheese Variety: Use pepper jack or a Mexican cheese blend for a melty twist. Alternatively, a crumbled queso fresco adds a tangy note.
- Alternative Fries: Sweet potato fries offer a lovely sweetness that contrasts with spicy chili. Just be mindful they crisp differently and may need a slightly longer bake.
- Slow Cooker Chili: Prep chili in your slow cooker ahead of time for deeper flavor and easy assembly on game day.
Once, I swapped the chili for a creamy queso blanco dip (inspired by the queso blanco recipe), topping the fries with bacon bits and scallions for a decadent twist. It was a hit! Feel free to experiment with your favorite dips or toppings to make this your own ultimate indulgence.
Serving & Storage Suggestions
These fries are best served immediately while the cheese is gooey and fries are still crisp. I like to plate them on a large platter so everyone can dig in family-style. The mix of textures and flavors really shines when hot.
Pairing them with a cold, crisp drink or a fresh salad helps cut through the richness. For something creamy, a side like the fresh Greek yogurt veggie dip complements the spice and heat beautifully.
If you have leftovers (which is rare!), store them in an airtight container in the refrigerator for up to 2 days. Reheat in a hot oven at 400°F (200°C) for 8-10 minutes to bring back some crispness. Avoid microwaving as fries tend to get soggy.
Flavors actually deepen if chili and fries sit together for a bit, but the trade-off is crispness, so balance based on your preference.
Nutritional Information & Benefits
Each serving of these crispy loaded chili cheese fries clocks in around 450-550 calories, depending on portion size and toppings. Key nutrients come from the protein-packed chili and calcium-rich cheese, making it a filling option when you need something hearty.
Potatoes provide potassium and fiber, especially if you choose fries with skin-on varieties. Adding fresh toppings like green onions and jalapeños contributes vitamins and antioxidants.
This recipe can be adapted for gluten-free diets by choosing certified gluten-free fries and chili. For lower-carb options, swap fries for baked cauliflower bites or roasted zucchini sticks.
From my experience, this dish is a great occasional indulgence that satisfies cravings without feeling too heavy when portioned reasonably. Balancing it with fresh sides or lighter meals during the day helps keep things enjoyable.
Conclusion
If you’re looking for a recipe that’s easy, indulgent, and downright satisfying, this crispy loaded chili cheese fries bar is a no-brainer. It strikes the perfect balance between crispy textures and rich, melty toppings that keep folks coming back for more.
Make it your own by mixing up the chili, cheese, or toppings to suit your mood or dietary needs. I’ve found it’s one of those dishes that feels like a warm, welcoming hug on a plate—comforting but never boring.
Honestly, I love this recipe because it reminds me that sometimes the simplest combinations can bring the most joy, especially when shared. So go ahead, try it out, and don’t be surprised if it quickly becomes your new favorite indulgence.
And hey, if you experiment with your own spins or want to share how it turned out, I’d love to hear about it in the comments!
FAQs
Can I make this recipe ahead of time?
You can prepare the chili in advance and reheat when ready. Fries are best cooked fresh, but if needed, reheat in the oven to regain crispness before topping.
What’s the best way to keep fries crispy under the chili?
Bake fries fully first, then add chili and cheese just before serving. Using a slotted spoon to remove excess liquid from chili helps too.
Can I use homemade fries instead of frozen?
Absolutely! Homemade fries work wonderfully. Just make sure they’re cooked until crispy before adding toppings.
What are good alternatives to cheddar cheese?
Monterey Jack, pepper jack, or a Mexican cheese blend melt well and add different flavor profiles. For a tangy touch, crumbled queso fresco is great.
Is this recipe suitable for vegetarians?
Yes! Simply swap the chili for a vegetarian version using beans or lentils to keep it hearty and delicious.
Pin This Recipe!
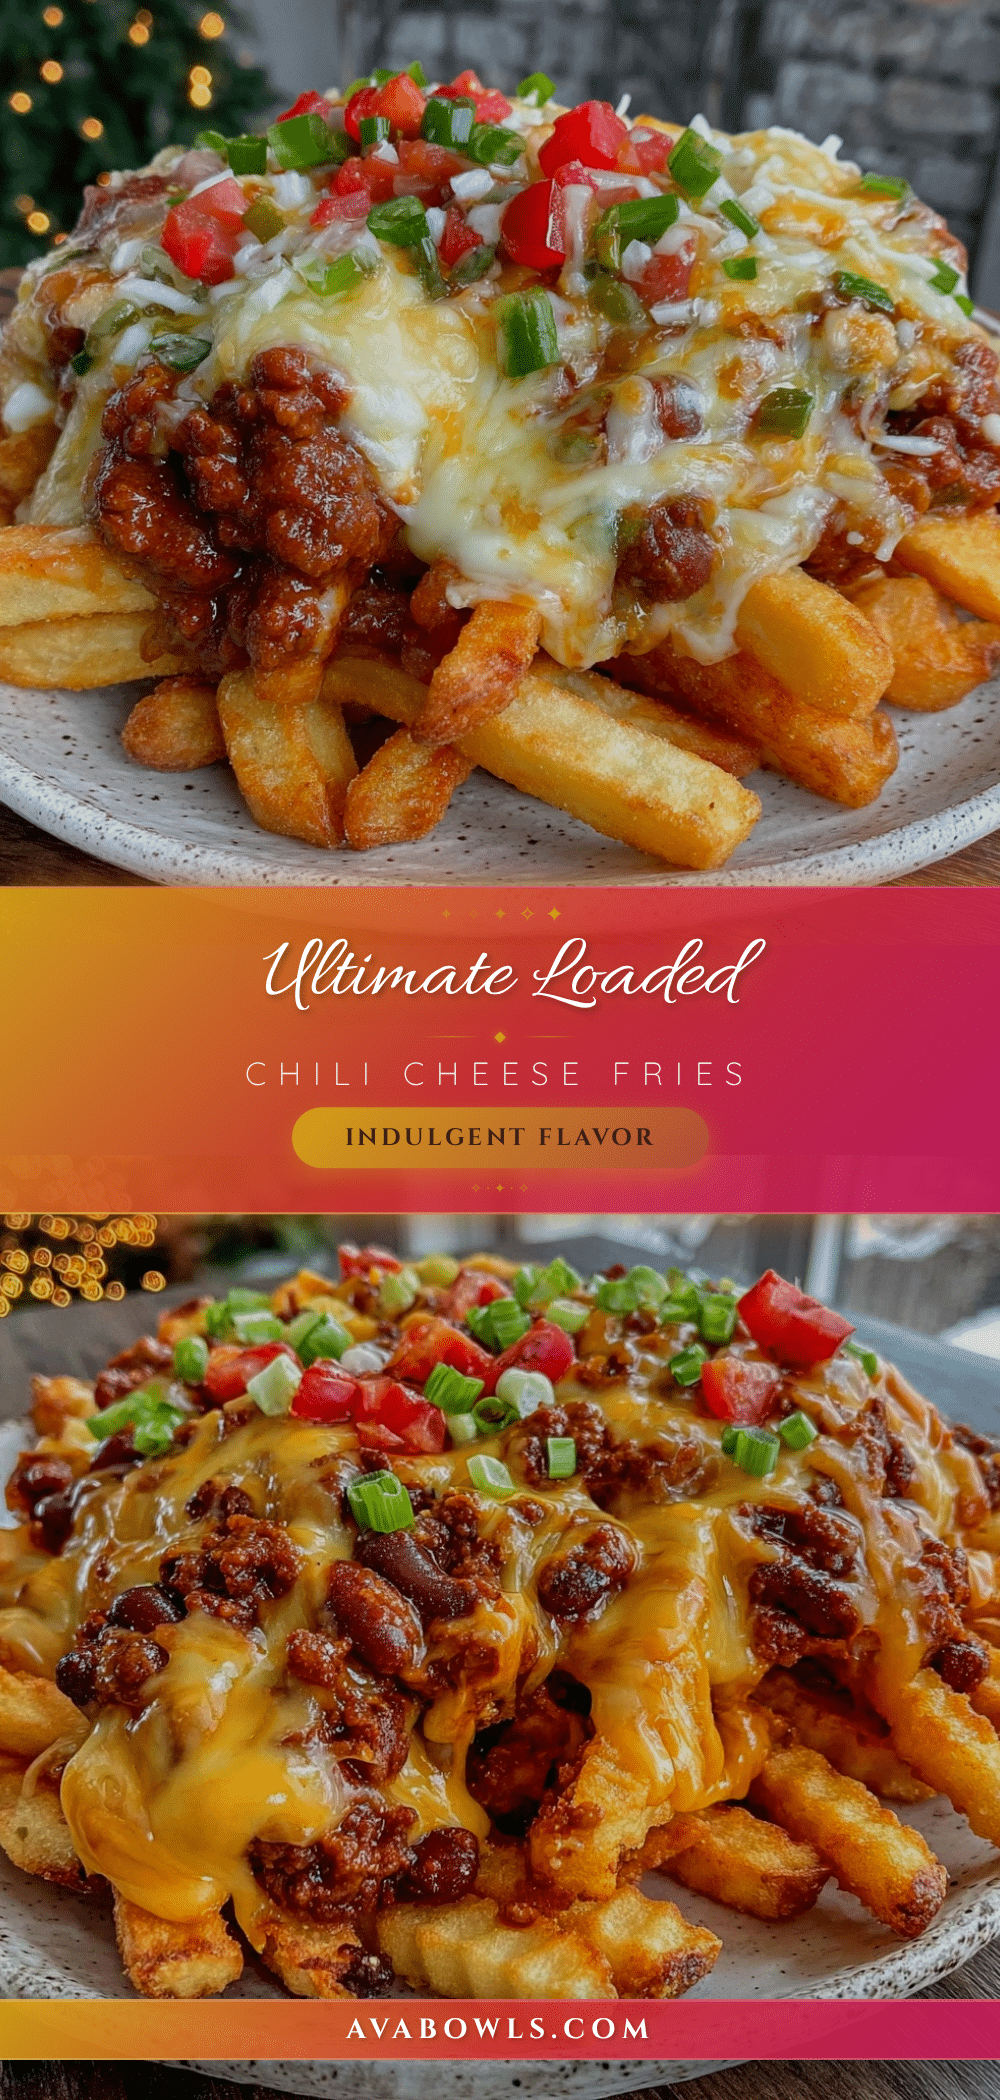
Crispy Loaded Chili Cheese Fries

A quick and easy recipe for crispy fries topped with hearty chili and melted cheese, perfect for casual gatherings and comfort food cravings.
- Prep Time: 10 minutes
- Cook Time: 30 minutes
- Total Time: 40 minutes
- Yield: 4 servings 1x
- Category: Main Course
- Cuisine: American
Ingredients
- 1.5 pounds (680g) frozen French fries (shoestring or thin-cut preferred)
- 2 cups (475ml) chili (canned or homemade, ground beef or turkey with beans)
- 1.5 cups (170g) shredded cheddar cheese (sharp or blend with Monterey Jack)
- 3 stalks green onions, thinly sliced
- 1–2 jalapeños, sliced (optional)
- ½ cup (120ml) sour cream
- 1 tablespoon olive oil or cooking spray
- Salt and pepper to taste
- 1 teaspoon smoked paprika (optional)
- Hot sauce (optional)
Instructions
- Preheat your oven to 425°F (220°C).
- Spread the frozen fries on a rimmed baking sheet. Lightly drizzle 1 tablespoon of olive oil over them and toss to coat evenly. Sprinkle with a pinch of salt and smoked paprika if using.
- Bake fries for 20-25 minutes, flipping halfway through to ensure even crisping. Fries should have golden edges and a firm texture.
- While fries bake, heat the chili in a medium saucepan over medium heat. Stir occasionally and let it simmer gently for about 10 minutes. Taste and adjust seasoning with salt and pepper.
- Once fries are crispy, remove from oven. Spoon the warmed chili evenly over the fries, avoiding excess liquid to keep fries crispy.
- Sprinkle 1.5 cups (170g) of shredded cheddar cheese generously on top. Return the baking sheet to the oven for another 5-7 minutes until the cheese melts and bubbles.
- Remove from oven and top with sliced green onions, jalapeños (if using), and dollops of sour cream. Drizzle with hot sauce if desired.
- Serve immediately.
Notes
Do not overcrowd the baking sheet to keep fries crispy. Use a slotted spoon to remove excess liquid from chili to avoid soggy fries. Fresh shredded cheese melts better than pre-shredded. For extra crispness, broil cheese for 1-2 minutes watching closely. Reheat leftovers in oven at 400°F for 8-10 minutes to regain crispness; avoid microwaving.
Nutrition
- Serving Size: About 1/4 of the rec
- Calories: 500
- Sugar: 4
- Sodium: 800
- Fat: 25
- Saturated Fat: 10
- Carbohydrates: 50
- Fiber: 5
- Protein: 20
Keywords: crispy fries, chili cheese fries, loaded fries, comfort food, easy recipe, party food, snack