Honestly, I thought making just four cookies sounded like a mistake until I actually needed a midnight snack and didn’t want to eat an entire pan of burnt edges. I’m a big believer in volume. If I’m going to turn on the oven, I want to fill the rack. It’s efficient, you know? It saves energy and gives me plenty of leftovers for the week. But there are nights when that logic fails.
Last Tuesday, I was up at 11:30 PM. The house was quiet. I had a craving for something sweet but didn’t want to commit to a full recipe. I remembered a technique for a tiny batch of cookies. I figured, what’s the worst that could happen? A sad, flat disc? Maybe a raw center? I grabbed a bowl and started mixing. I didn’t expect much.
I mixed the butter, sugars, and flour. I added the chocolate chips—lots of them. I scooped four mounds onto a small baking sheet. I watched them spread in the oven. They didn’t look like the perfect, golden cookies I see online. They looked… okay.
When I pulled them out, the smell hit me. That specific, warm vanilla and browned butter scent. I took a bite of one. It was crispy on the outside, chewy in the middle, and loaded with chocolate. I looked at the other three. I ate them all.
I didn’t trust the process because I thought quality required quantity. I was wrong. This quick small batch chocolate chip cookies recipe changed how I think about late-night treats. It’s not about making a lot. It’s about making the right amount for exactly when you need it. No waste. No guilt. Just four perfect cookies.
Why You’ll Love This Recipe
This isn’t just another cookie recipe you’ll find buried on page ten of a search result. This is the version I’ve tested dozens of times to get right. I’ve thrown out batches that were too cakey, too thin, and too bland. What you have here is the result of that trial and error. It’s designed for real life, not for a photoshoot.
Here is why this recipe stands out from the crowd:
- Quick & Easy: You can have these ready to eat in under 20 minutes. That includes prep and bake time. It’s perfect for those sudden cravings that hit after dinner or during a late-night work session.
- Simple Ingredients: You likely already have everything in your kitchen. Flour, butter, sugar, eggs, chocolate chips. No fancy pantry items you need to drive to the store for. It’s pantry-friendly cooking at its best.
- Perfect for Single Servings: If you live alone or with a partner, you don’t need a dozen cookies. This makes exactly four. It eliminates the “will I eat them all in one sitting?” dilemma. You control the portion.
- Crowd-Pleaser: Even though it’s small, the flavor profile is bold. Kids love the chocolate. Adults appreciate the texture contrast. It’s a reliable crowd-pleaser for two people or a solo treat.
- Unbelievably Delicious: The texture is next-level comfort food. Crisp edges that shatter slightly, with a center that is soft and gooey. It’s the kind of cookie that makes you close your eyes after the first bite.
What makes this different is the ratio. Most small batch recipes fail because they don’t account for the lack of volume in the oven. The heat distribution changes. This recipe adjusts for that. It uses a slightly higher ratio of brown sugar to white sugar to ensure moisture without spreading too thin. It’s my best version because it’s honest about what works.
It’s comfort food reimagined—faster, but with the same soul-soothing satisfaction. Perfect for when you want something sweet without the stress of baking a whole batch.
What Ingredients You Will Need
This recipe uses simple, wholesome ingredients to deliver bold flavor and satisfying texture without the fuss. The magic is in the balance. You don’t need specialty flours or expensive chocolates. You just need good basics.
Here is what you will need for this quick small batch chocolate chip cookies recipe:
- All-Purpose Flour (1/2 cup / 65g): The base of your cookie. Don’t use self-rising flour unless you adjust the leavening. All-purpose gives that classic chewy texture. Sift it if it’s clumpy, but measuring it lightly is key.
- Unsalted Butter (1/4 cup / 57g): Softened to room temperature. This is crucial. If the butter is cold, it won’t cream properly. If it’s melted, the cookies will spread too much. Look for a soft, pliable consistency. I prefer Kerrygold for its rich flavor.
- Brown Sugar (1/4 cup / 50g): Packed tightly. Brown sugar adds moisture and a hint of caramel flavor. It’s what keeps the center chewy. Dark brown sugar works too if you want a deeper molasses taste.
- Granulated White Sugar (2 tablespoons / 25g): This helps with the crisp edges. It balances the moisture from the brown sugar. Don’t skip it, or the cookies will be too cakey.
- Large Egg Yolk (1): Just the yolk. Using just a yolk adds richness and fat without the extra water content of the white. This makes the cookie denser and more flavorful. Save the white for an omelet.
- Vanilla Extract (1/2 teaspoon): Pure vanilla, not imitation. It enhances the chocolate and butter notes. A little goes a long way in small batches.
- Baking Soda (1/4 teaspoon): The leavening agent. It helps the cookies spread and rise slightly. Make sure it’s fresh; old baking soda won’t work well.
- Salt (1/4 teaspoon): Flaky sea salt is great for topping, but table salt works in the dough. Salt balances the sweetness. Don’t undersalt.
- Chocolate Chips (1/3 cup / 60g): Semi-sweet or dark chocolate chips. I recommend Ghirardelli for consistent melting. You can also chop up a chocolate bar for irregular, gourmet chunks.
You can swap the butter for a dairy-free alternative if needed, but the texture will change slightly. For a gluten-free option, use a 1:1 gluten-free flour blend. The flavor remains the same.
Equipment Needed
You don’t need fancy gear for this. Keep it simple.
- Small Mixing Bowl: A bowl that holds about 1-2 cups. A large bowl will make mixing harder for such a small amount.
- Fork or Small Whisk: To cream the butter and sugars together. A fork works perfectly fine here.
- Measuring Spoons and Cups: Precision matters in small batches. A little extra flour can ruin the texture.
- Small Baking Sheet: A quarter sheet pan or even a toaster oven tray works. Just ensure it’s lined.
- Parchment Paper: For easy cleanup and even baking. No sticking.
- Cooling Rack: To stop the cooking process once they come out of the oven.
If you don’t have a small bowl, a mug works too. Just be careful not to scratch it. For the baking sheet, if you don’t have parchment, use a light coat of butter or cooking spray. Budget-friendly options are key here—most of this equipment is already in your drawer.
Preparation Method
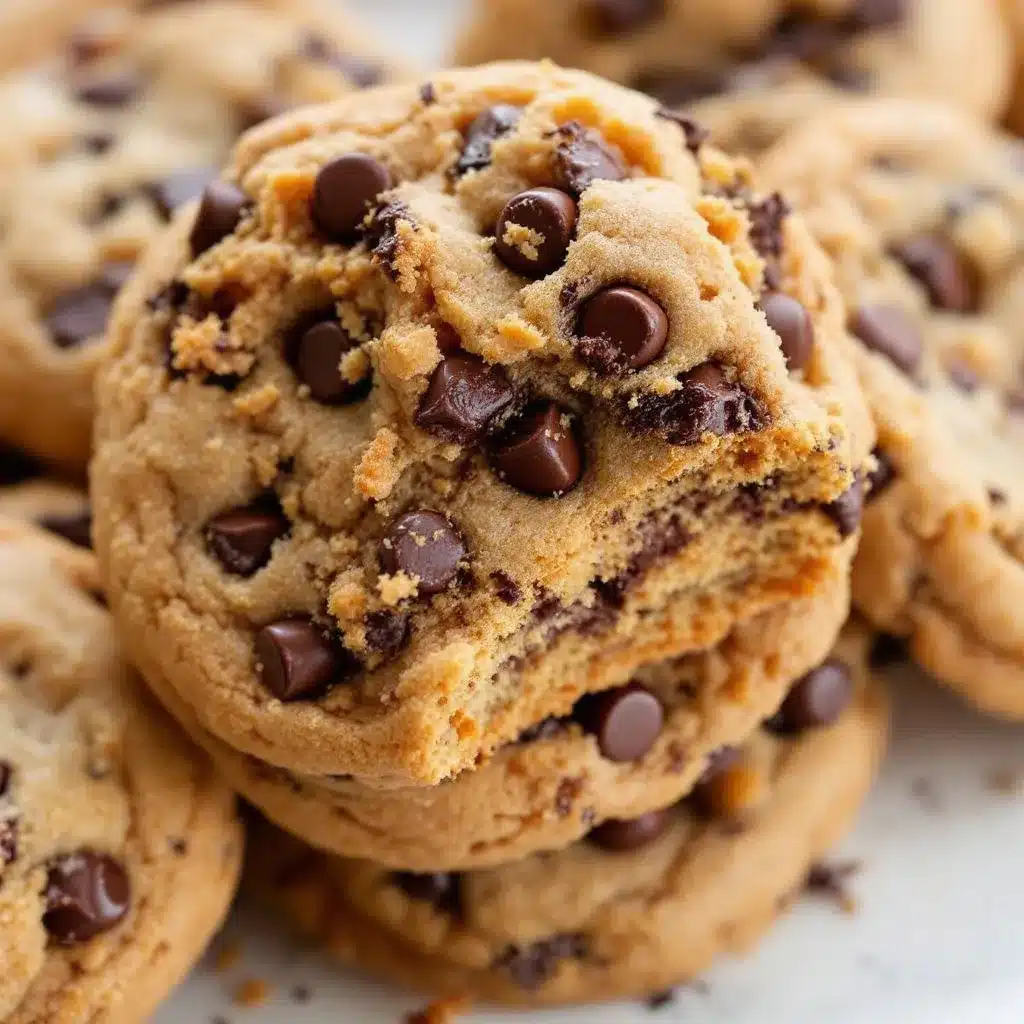
Follow these steps carefully. Small batches require attention to detail.
- Preheat and Prep (5 minutes): Preheat your oven to 350°F (175°C). Line your small baking sheet with parchment paper. This ensures even heat distribution and prevents sticking. Take your butter out of the fridge now so it softens.
- Cream Butter and Sugars (2 minutes): In your small mixing bowl, add the softened butter, brown sugar, and granulated sugar. Use a fork or whisk to mix them together. Press the butter against the side of the bowl to break it up. Mix until the mixture looks smooth and slightly creamy. This usually takes about two minutes of elbow grease. Don’t rush this step; it incorporates air.
- Add Wet Ingredients (1 minute): Add the egg yolk and vanilla extract to the butter mixture. Mix until fully combined. The mixture might look a bit curdled at first. That’s normal. Keep mixing until it comes together into a glossy paste.
- Combine Dry Ingredients (1 minute): Add the flour, baking soda, and salt to the wet mixture. Switch to a spatula or your fork. Mix gently. You want to combine everything just until no dry flour remains. Overmixing develops gluten, which makes cookies tough. Stop as soon as it looks uniform.
- Fold in Chocolate (1 minute): Add the chocolate chips. Fold them in gently. Ensure they are distributed evenly. You want a chip in every bite.
- Scoop and Shape (2 minutes): Use a small spoon or your hands to form four equal-sized balls of dough. Place them on the prepared baking sheet. Leave about two inches between each cookie because they will spread slightly. Gently press down on each ball with your palm to flatten them slightly. This helps them bake evenly.
- Bake (10-12 minutes): Place the baking sheet in the preheated oven. Bake for 10 to 12 minutes. Watch them closely. They are done when the edges are golden brown and the centers still look slightly soft and underbaked. They will firm up as they cool. Do not overbake, or they will be crisp throughout.
- Cool (5 minutes): Remove the cookies from the oven. Let them sit on the hot baking sheet for 5 minutes. This allows them to set. Then, transfer them to a cooling rack if you want to eat them faster. Enjoy warm.
Personal tip: If your dough feels too sticky, chill it for 10 minutes before scooping. If it feels too dry, add a teaspoon of milk.
Cooking Tips & Techniques
Getting the texture right takes a bit of practice. Here is what I’ve learned from burning a few batches.
- Butter Temperature is Key: Your butter should be cool to the touch but soft enough to leave a fingerprint. If it’s greasy, it’s too warm. If it’s hard, it’s too cold. This balance affects spread and chewiness.
- Don’t Overmix the Flour: Once you add the flour, mix just enough to combine. Overmixing leads to tough cookies. You want tender, not chewy like bread.
- Watch the Oven: Ovens vary. Your oven might run hot or cold. Check the cookies at the 9-minute mark. If they are browning too fast, lower the temperature by 25 degrees next time.
- Use the Right Chocolate: Chocolate chips are convenient, but chopped chocolate bars create pockets of melted chocolate. It’s a texture upgrade worth the extra minute.
- Let Them Rest: Don’t eat them immediately off the hot pan. They are fragile. Letting them rest allows the structure to set. This prevents crumbling.
I once tried to make these with melted butter. They spread into flat discs. Lesson learned. Stick to softened butter. Also, if you like sea salt on top, add it right after they come out of the oven. It melts slightly and adds a nice crunch.
Variations & Adaptations
This recipe is flexible. You can tweak it to fit your tastes or dietary needs.
- Gluten-Free: Substitute the all-purpose flour with a 1:1 gluten-free flour blend. The texture will be slightly more crumbly but still delicious.
- Dairy-Free: Use a high-quality dairy-free butter stick. Coconut oil can work but will change the flavor slightly. Add a teaspoon of milk or plant-based cream to compensate for the lack of dairy moisture.
- Double Chocolate: Add 1 tablespoon of cocoa powder to the dry ingredients. Use dark chocolate chips for a richer taste. It’s intense and great for chocolate lovers.
- White Chocolate Macadamia: Swap the chocolate chips for white chocolate chips and macadamia nuts. It’s a tropical twist that’s surprisingly good.
- Vegan: Use a flax egg (1 tablespoon ground flaxseed mixed with 3 tablespoons water) instead of the egg yolk. Use vegan butter and chocolate chips. The texture will be slightly different but still tasty.
I’ve tried adding a pinch of cinnamon to the dough. It adds a warm, spiced note that pairs well with chocolate. It’s a subtle change that makes the cookie feel more like a dessert.
Serving & Storage Suggestions
Serve these cookies warm with a cold glass of milk. It’s the classic pairing for a reason. You can also serve them with a scoop of vanilla ice cream for a mini dessert experience.
For storage, keep them in an airtight container at room temperature for up to 2 days. They might soften over time. To crisp them up, microwave for 10 seconds.
If you have extra dough (which you shouldn’t with this batch size), you can freeze the dough balls. Place them on a baking sheet and freeze until solid. Then transfer to a bag. Bake from frozen, adding 1-2 minutes to the bake time. This is great for future cravings.
The flavors develop over time. The brown sugar continues to moisten the cookie. They taste even better the next day, if you can wait that long.
Nutritional Information & Benefits
Each cookie contains approximately 150-180 calories, depending on the chocolate chips used. The recipe provides a good balance of carbohydrates from the flour and sugars, with some fat from the butter and chocolate.
The egg yolk adds protein and healthy fats. The chocolate offers antioxidants, especially if you use dark chocolate. While these are treats, they are made with simple ingredients. You know exactly what is in them.
For dietary considerations, this recipe is not gluten-free unless you use GF flour. It contains dairy and eggs. Always check your chocolate chip labels for hidden allergens.
From a wellness perspective, I believe in balance. Having a small, controlled portion allows you to enjoy a treat without overindulging. It’s about mindful eating.
Conclusion
This quick small batch chocolate chip cookies recipe is worth trying because it solves a real problem: the late-night craving without the waste. It’s simple, fast, and delicious. I love it because it respects my time and my appetite.
I encourage you to customize it. Add nuts, change the chocolate, or tweak the sugar. Make it your own. I’ve made this recipe dozens of times, and it never fails to satisfy.
Please share your results in the comments. Did you add sea salt? Did you use dark chocolate? I’d love to hear how you adapted it. Share this with a friend who needs a quick sweet fix.
Enjoy your cookies. They are best when shared, but I won’t judge if you eat them all yourself.
Frequently Asked Questions
Can I freeze the cookie dough?
Yes, you can. Scoop the dough into balls and freeze them on a baking sheet. Once solid, transfer to a bag. Bake from frozen, adding 1-2 minutes to the bake time.
Why did my cookies spread too much?
This usually happens if the butter was too warm or if the oven wasn’t preheated enough. Make sure your butter is softened but not melted. Also, ensure your oven is at the correct temperature before putting the cookies in.
Can I use margarine instead of butter?
You can, but the flavor and texture will be different. Butter provides the best taste and structure. Margarine has higher water content, which can lead to cakier cookies.
How do I store leftover cookies?
Store them in an airtight container at room temperature for up to 2 days. If they soften, you can crisp them in the microwave for 10 seconds.
Can I make this recipe larger?
Yes, simply double or triple the ingredients. Adjust the baking time slightly, as larger batches may take a minute or two longer. Keep an eye on them to prevent burning.
Pin This Recipe!
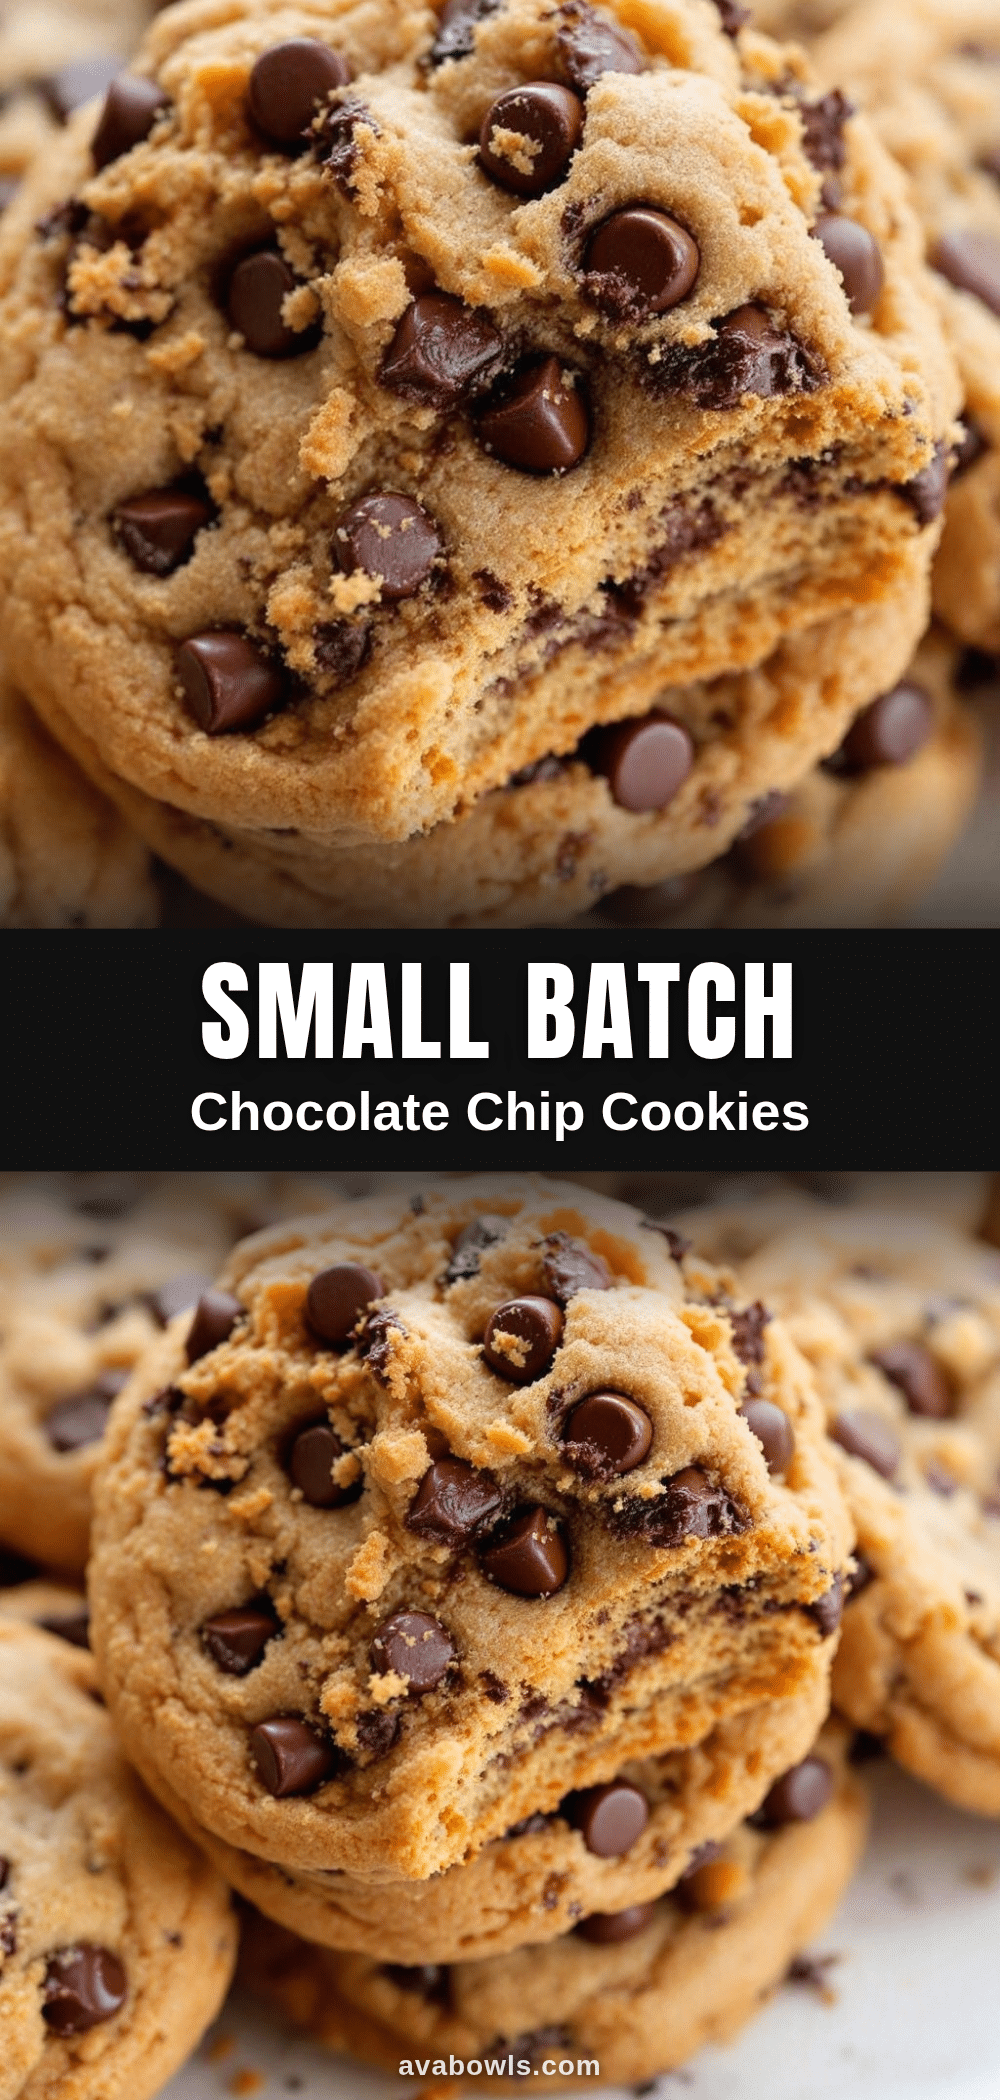
Quick Small Batch Chocolate Chip Cookies
A simple, fast recipe for four perfect chocolate chip cookies, designed for late-night cravings without the waste. Crispy on the outside and chewy in the middle.
- Prep Time: 10 minutes
- Cook Time: 10-12 minutes
- Total Time: 20 minutes
- Yield: 4 servings 1x
- Category: Dessert
- Cuisine: American
Ingredients
- 1/2 cup (65g) All-Purpose Flour
- 1/4 cup (57g) Unsalted Butter, softened to room temperature
- 1/4 cup (50g) Brown Sugar, packed tightly
- 2 tablespoons (25g) Granulated White Sugar
- 1 Large Egg Yolk
- 1/2 teaspoon Vanilla Extract
- 1/4 teaspoon Baking Soda
- 1/4 teaspoon Salt
- 1/3 cup (60g) Chocolate Chips (semi-sweet or dark)
Instructions
- Preheat oven to 350°F (175°C). Line a small baking sheet with parchment paper.
- In a small mixing bowl, cream the softened butter, brown sugar, and granulated sugar together using a fork or whisk until smooth and creamy (about 2 minutes).
- Add the egg yolk and vanilla extract to the butter mixture. Mix until fully combined and glossy.
- Add the flour, baking soda, and salt to the wet mixture. Mix gently with a spatula or fork just until no dry flour remains.
- Fold in the chocolate chips until evenly distributed.
- Form four equal-sized balls of dough and place them on the prepared baking sheet, leaving about two inches between each. Gently press down on each ball to flatten slightly.
- Bake for 10-12 minutes, or until edges are golden brown and centers look slightly soft.
- Let cookies sit on the hot baking sheet for 5 minutes to set before transferring to a cooling rack or eating.
Notes
Butter must be softened but not melted. Do not overmix the flour to avoid tough cookies. If dough is too sticky, chill for 10 minutes. If too dry, add a teaspoon of milk. For gluten-free, use a 1:1 GF flour blend. For dairy-free, use dairy-free butter. Store in an airtight container at room temperature for up to 2 days.
Nutrition
- Serving Size: 1 cookie
- Calories: 165
- Sugar: 15
- Sodium: 120
- Fat: 9
- Saturated Fat: 5
- Carbohydrates: 22
- Fiber: 1
- Protein: 2
Keywords: small batch cookies, chocolate chip cookies, quick dessert, late night snack, easy baking, single serving dessert


