It’s not the smell of pumpkin spice or roasting squash that defines the season for me. It’s the sweet, almost chemical tang of marshmallows turning into a gooey, stretchy mess over low heat. I remember being twelve, standing on a stool, watching my dad stir that pot with the intensity of a bomb disposal expert. He’d whisper, “Don’t let it burn, kiddo. White chocolate is finicky.”
Now, I’m the one standing there, stirring with a wooden spoon, while the house fills with that sugary haze. The kids are already picking out black icing pens from the craft drawer. The dogs are circling, hoping for a dropped marshmallow. It’s chaotic. It’s messy. It’s perfect.
These Easy Halloween Ghost Rice Krispie Treat Pops aren’t just a snack. They are a ritual. A tiny, edible ghost that floats on a stick, staring at you with wide, terrified eyes. I’ve made hundreds of batches over the years, from clumsy first attempts where the ghosts collapsed into sad, soggy puddles, to the current version that holds its shape perfectly in the fridge.
There’s something deeply satisfying about taking a simple, nostalgic cereal treat and turning it into something spooky and shareable. It’s not about being fancy. It’s about the joy of making something silly with the people you love. And honestly? These pops are easier than you think. You don’t need to be a pastry chef. You just need patience, a little chocolate, and a willingness to embrace the mess.
I started making these because I wanted a treat that felt special but didn’t involve baking for hours in the heat. The result is a treat that feels like magic but tastes like comfort. That’s the secret. It’s not just sugar and rice cereal. It’s a memory in the making.
Why You’ll Love This Recipe
Let’s face it, Halloween treats usually fall into two camps: either they are incredibly complicated to make, or they taste like cardboard. This recipe sits firmly in the “delicious and doable” camp. I’ve tested this method dozens of times, adjusting the ratios of butter to marshmallows to ensure the ghosts don’t crumble when you bite into them.
- Quick & Easy: These come together in under 15 minutes of active time. You don’t need to preheat an oven or wait for dough to rise. It’s a no-bake wonder that fits perfectly into busy weeknights or last-minute party prep.
- Simple Ingredients: You likely already have everything in your kitchen. Rice cereal, marshmallows, butter, and white chocolate. No fancy grocery trips needed. It’s pantry-friendly perfection.
- Perfect for Halloween Parties: Whether it’s a classroom swap, a trick-or-treat host gift, or a spooky dinner party dessert, these pops are always a hit. They are portable, mess-free (mostly), and visually striking.
- Crowd-Pleaser: Kids love the ghost shape, and adults love the nostalgic flavor. They get rave reviews from everyone, from toddlers to grandparents. It’s a universal crowd-pleaser.
- Unbelievably Delicious: The texture is key here. Crispy on the outside, chewy on the inside, with a snap of white chocolate. It’s next-level comfort food that feels elevated without being pretentious.
What makes this version different from the rest? It’s the addition of the lollipop stick and the specific dipping technique. Most recipes just press the mixture into a pan. Ours uses individual pops, which allows for a better chocolate coating that seals in the freshness. It also makes them easier to handle. Plus, I use a touch of vanilla in the chocolate to give it a richer flavor profile than plain white chocolate chips.
This recipe isn’t just good—it’s the kind that makes you close your eyes after the first bite. It’s comfort food reimagined for the spooky season. Perfect for impressing guests without stress, or turning a simple Tuesday night into a memorable Halloween celebration.
What Ingredients You Will Need
This recipe uses simple, wholesome ingredients to deliver bold flavor and satisfying texture without the fuss. The beauty of Easy Halloween Ghost Rice Krispie Treat Pops lies in the quality of the basics. You don’t need exotic spices or hard-to-find items. Just good, honest ingredients that play well together.
For the Rice Krispie Base:
- Unsalted Butter: I recommend using real butter, not margarine. It provides the necessary fat to bind the cereal and adds a rich flavor. Use about 3 tablespoons for a standard batch.
- Mini Marshmallows: These melt more evenly than large marshmallows. You’ll need about 10 ounces (one standard bag). Look for fresh, fluffy bags; old marshmallows can get tough and hard to melt.
- Rice Cereal: Standard puffed rice cereal works best. Avoid “crispy rice” or larger flakes, as they won’t bind as well. You need about 6 cups. The ratio of cereal to marshmallow is crucial for the right texture.
- Vanilla Extract: Just a teaspoon. It rounds out the sweetness and adds depth. Don’t skip it.
For the Ghost Coating:
- White Chocolate Chips: I prefer high-quality white chocolate chips over bars because they melt more consistently. Brands like Ghirardelli or Lindt work well. Avoid “white chocolate baking bars” unless you temper them, as they can seize easily.
- Coconut Oil (Optional): Adding a teaspoon of coconut oil to the melted chocolate makes it thinner and easier to dip. It also helps the chocolate set with a nice shine.
- Black Gel Food Coloring: Use gel, not liquid. Liquid coloring will thin out the chocolate and make it runny. Gel gives you that stark, spooky black for the eyes.
- Lollipop Sticks: Wooden or plastic sticks. Ensure they are food-safe. You’ll need one per ghost.
Substitution Tips:
If you are allergic to dairy, you can use vegan butter and dairy-free white chocolate chips. However, note that vegan chocolate often has a different melting point and may require more careful heating. For a gluten-free option, ensure your rice cereal is certified gluten-free, as cross-contamination is common in cereal factories.
Equipment Needed
You don’t need a fancy kitchen to make these, but having the right tools makes the process much smoother. A large, heavy-bottomed saucepan is essential for melting the marshmallows evenly without burning. I use a 4-quart pot because it gives the mixture room to expand.
A silicone spatula is your best friend here. Wooden spoons can get stuck in the sticky marshmallow mess, but a silicone spatula scrapes the sides of the pot effortlessly. You’ll also need a large baking sheet lined with parchment paper. Parchment is non-negotiable; wax paper can stick, and foil will ruin your ghosts.
For the dipping process, I recommend using a small microwave-safe bowl or a double boiler. A double boiler gives you more control, but the microwave is faster if you go in short bursts. Tweezers are helpful for handling the sticks and placing the eyes without getting chocolate on your fingers. If you don’t have tweezers, chopsticks work too.
Budget-friendly tip: You don’t need to buy expensive molds. The free-form shape of the ghost is part of its charm. Just a simple spoon or your hands (greased with butter) will work to shape the marshmallow mixture. Keep a bowl of warm water nearby to dip your hands in if the mixture gets too sticky.
Preparation Method
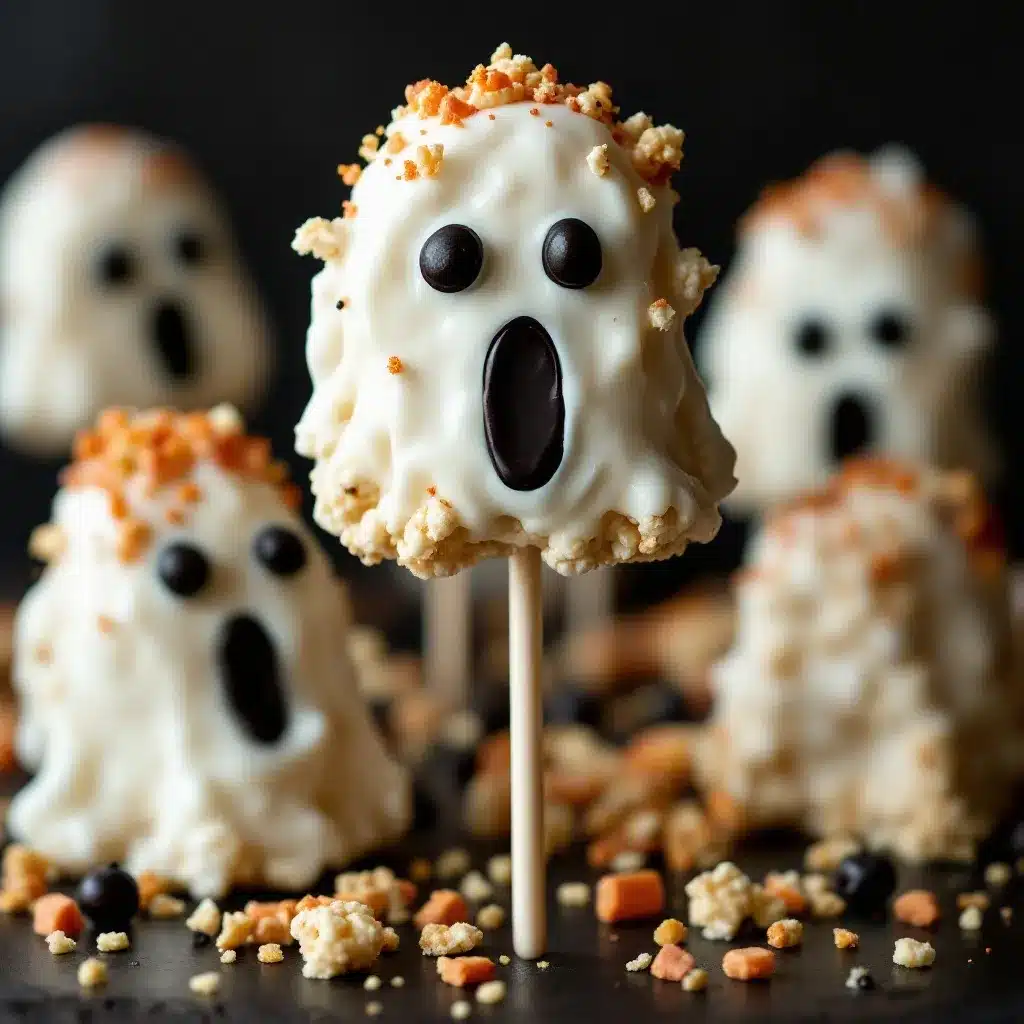
Making these ghosts is a process of layers. First, you create the base. Then, you shape it. Finally, you dress it in its white coat. Let’s walk through it step-by-step.
Step 1: Melt the Base
In your large saucepan, melt the butter over low heat. Once melted, add the marshmallows. Stir constantly. This takes about 3-5 minutes. Do not rush this step. If the heat is too high, the bottom will burn while the top remains unmelted. Once smooth and glossy, remove from heat. Stir in the vanilla extract.
Step 2: Combine with Cereal
Add the rice cereal all at once. Fold it in gently but quickly. You want every piece coated. If you stir too much, you’ll break the cereal and create crumbs. The mixture should look like a sticky, uniform mass. Work fast because it starts to set as it cools.
Step 3: Shape the Ghosts
Grease your hands with a little butter or cooking spray. Scoop out a portion of the mixture (about 2-3 tablespoons). Roll it into a ball, then press one side to flatten it slightly. Use your fingers to create a rounded top and a tapered bottom. It should look like a simple ghost silhouette. Place it on the parchment-lined baking sheet. Repeat with the rest of the mixture. You should get about 12-15 ghosts depending on size.
Step 4: Chill and Insert Sticks
Place the baking sheet in the refrigerator for at least 30 minutes. This firms up the base so it doesn’t fall apart when you dip it. Once firm, insert a lollipop stick into the bottom tapered end of each ghost. Push it in about halfway. If the base is too soft, the stick will slide out. If it’s too hard, it might crack. The 30-minute chill is perfect.
Step 5: Melt the Chocolate
In a microwave-safe bowl, combine the white chocolate chips and coconut oil. Microwave in 30-second intervals, stirring in between, until smooth. Be careful not to overheat. If the chocolate gets too hot, it will seize and become grainy. If it’s too thick, add a tiny bit more oil. If it’s too thin, add a few more chips.
Step 6: Dip and Decorate
Hold a ghost by the stick and lower it into the melted chocolate. Tilt the bowl to coat the ghost completely. Lift it out and let the excess chocolate drip off. Tap the stick gently against the side of the bowl to remove drips. Place it back on the parchment paper. Immediately, before the chocolate sets, use a toothpick dipped in black gel food coloring to add two eyes. You can also add a tiny mouth if you’re feeling fancy.
Step 7: Set
Place the tray in the refrigerator for another 15-20 minutes until the chocolate is completely hardened. Once set, they are ready to eat or wrap for gifts.
Cooking Tips & Techniques
I’ve learned a few things the hard way so you don’t have to. The biggest mistake people make is using high heat to melt the marshmallows. This creates a hard, crunchy texture instead of a chewy one. Keep the heat low and slow.
Another common issue is the chocolate seizing. This happens when even a drop of water gets into the melted chocolate. Make sure your bowl and utensils are completely dry. If your chocolate does seize, you can sometimes save it by adding a tablespoon of warm cream or oil and stirring vigorously. But prevention is better.
For the eyes, use a toothpick or a fine-tip brush. If you use too much gel coloring, the eyes will bleed into the white chocolate. Apply just a tiny dot. If you make a mistake, you can wipe it off with a paper towel before the chocolate sets.
Timing is everything. Once you dip the ghost, you have about 2-3 minutes before the chocolate starts to set. Work in batches if you have many to make. Keep the chocolate bowl warm by placing it in a larger bowl of hot water (a makeshift double boiler). This keeps the chocolate fluid and easy to dip.
Don’t rush the chilling step. If the base is too warm, the chocolate coating will slide off. Patience yields the best results. Also, if your kitchen is very warm, you might need to chill the ghosts for longer. Cold ghosts dip better.
Variations & Adaptations
While the classic white ghost is iconic, you can easily adapt this recipe to suit different tastes or dietary needs.
Pumpkin Spice Ghosts: Add a teaspoon of pumpkin pie spice to the melted marshmallow mixture. It gives a subtle fall flavor that pairs well with the sweetness.
Orange Chocolate Coating: Add a drop of orange gel food coloring to the white chocolate for a Halloween orange hue. It looks like a mini pumpkin or a spooky sunset.
Dark Chocolate Ghosts: For a less sweet option, use dark chocolate for the coating. The contrast between the dark chocolate and the white marshmallow is striking. You can still use black gel for the eyes, or use white chocolate for the eyes for a pop of contrast.
Gluten-Free: As mentioned, use certified gluten-free rice cereal. The rest of the ingredients are naturally gluten-free, but always check labels for cross-contamination warnings.
Vegan: Use vegan butter and dairy-free white chocolate. Note that some vegan chocolates melt differently, so you may need to adjust the heating method. Coconut oil helps with the consistency.
I once tried adding crushed red velvet cookies to the base for a “blood splatter” effect. It was fun, but it changed the texture too much. Stick to the basics for the best result, then get creative with the coating.
Serving & Storage Suggestions
These treats are best served chilled. The cold chocolate has a satisfying snap, and the marshmallow inside is cool and chewy. They are perfect for Halloween parties, school treats, or spooky movie nights.
For presentation, place them in a clear cellophane bag tied with a black ribbon. They look like little floating spirits. You can also arrange them on a platter with some fake spiderwebs for a dramatic effect.
Storage: Store the ghosts in an airtight container in the refrigerator for up to one week. The cold keeps the chocolate from melting and the marshmallow from getting stale. Do not store them at room temperature for long periods, especially in warm weather.
Freezing: You can freeze these treats for up to three months. Place them in a single layer on a baking sheet to freeze, then transfer to a freezer bag. Thaw in the refrigerator before serving. The texture remains good after freezing.
Reheating: No need to reheat. These are best eaten cold. If the chocolate does get soft, just pop them back in the fridge for 10 minutes.
The flavors develop nicely over the first day. The marshmallow absorbs a bit of the chocolate, creating a harmonious blend. They don’t last long in my house, so I usually make a double batch.
Nutritional Information & Benefits
These treats are definitely a indulgence. They are high in sugar and carbohydrates, which is expected for a Rice Krispie treat. However, they are also gluten-free (if using GF cereal) and dairy-free (if using vegan alternatives), making them accessible for many dietary restrictions.
One ghost contains approximately 150-200 calories, depending on the size and chocolate coating. They provide a quick energy boost, which is great for kids playing outside. While not a health food, they are a fun, occasional treat that brings joy.
From a wellness perspective, I try to balance these treats with more nutritious meals throughout the day. Halloween is about fun, and these pops are a safe, fun way to participate in the holiday without going overboard. Moderation is key.
They are also a great way to involve kids in the kitchen. Letting them help with the shaping and decorating is a sensory experience that can be more valuable than the calories they consume.
Conclusion
Making Easy Halloween Ghost Rice Krispie Treat Pops is more than just baking. It’s a chance to slow down and enjoy the simple pleasures of cooking with loved ones. These treats are easy, delicious, and visually stunning. They capture the spirit of Halloween without the stress.
I encourage you to try this recipe and make it your own. Experiment with different colors, shapes, and decorations. The possibilities are endless. Whether you stick to the classic white ghost or go wild with orange and green, the joy is in the making.
If you make these, I’d love to see them! Share your creations in the comments below. Did you add any unique twists? How did the kids like them? Your feedback helps me improve and inspires others to try these spooky snacks.
Happy Halloween! May your treats be plentiful and your ghosts be cute. Let’s make this season memorable, one sweet bite at a time.
FAQs
Can I make these treats ahead of time?
Yes, you can make them up to a week in advance. Store them in the refrigerator in an airtight container. They hold their shape well and stay fresh. You can also freeze them for longer storage.
Why did my chocolate seize?
Chocolate seizes when water gets into it. Make sure your bowl and utensils are completely dry. Also, avoid overheating the chocolate. Melt it slowly in short intervals.
Can I use regular marshmallows instead of mini?
Mini marshmallows melt more evenly and quickly. If you use regular marshmallows, chop them up first and melt them slowly. It will take longer and may result in a less smooth texture.
How do I store the leftover rice cereal mixture?
If you have leftover mixture, press it into a greased pan and chill it. Cut into squares and store in an airtight container. They will stay fresh for a few days.
Can I use dark chocolate for the coating?
Absolutely. Dark chocolate provides a nice contrast to the white marshmallow. You can still use black gel for the eyes, or use white chocolate for the eyes for a different look.
Pin This Recipe!
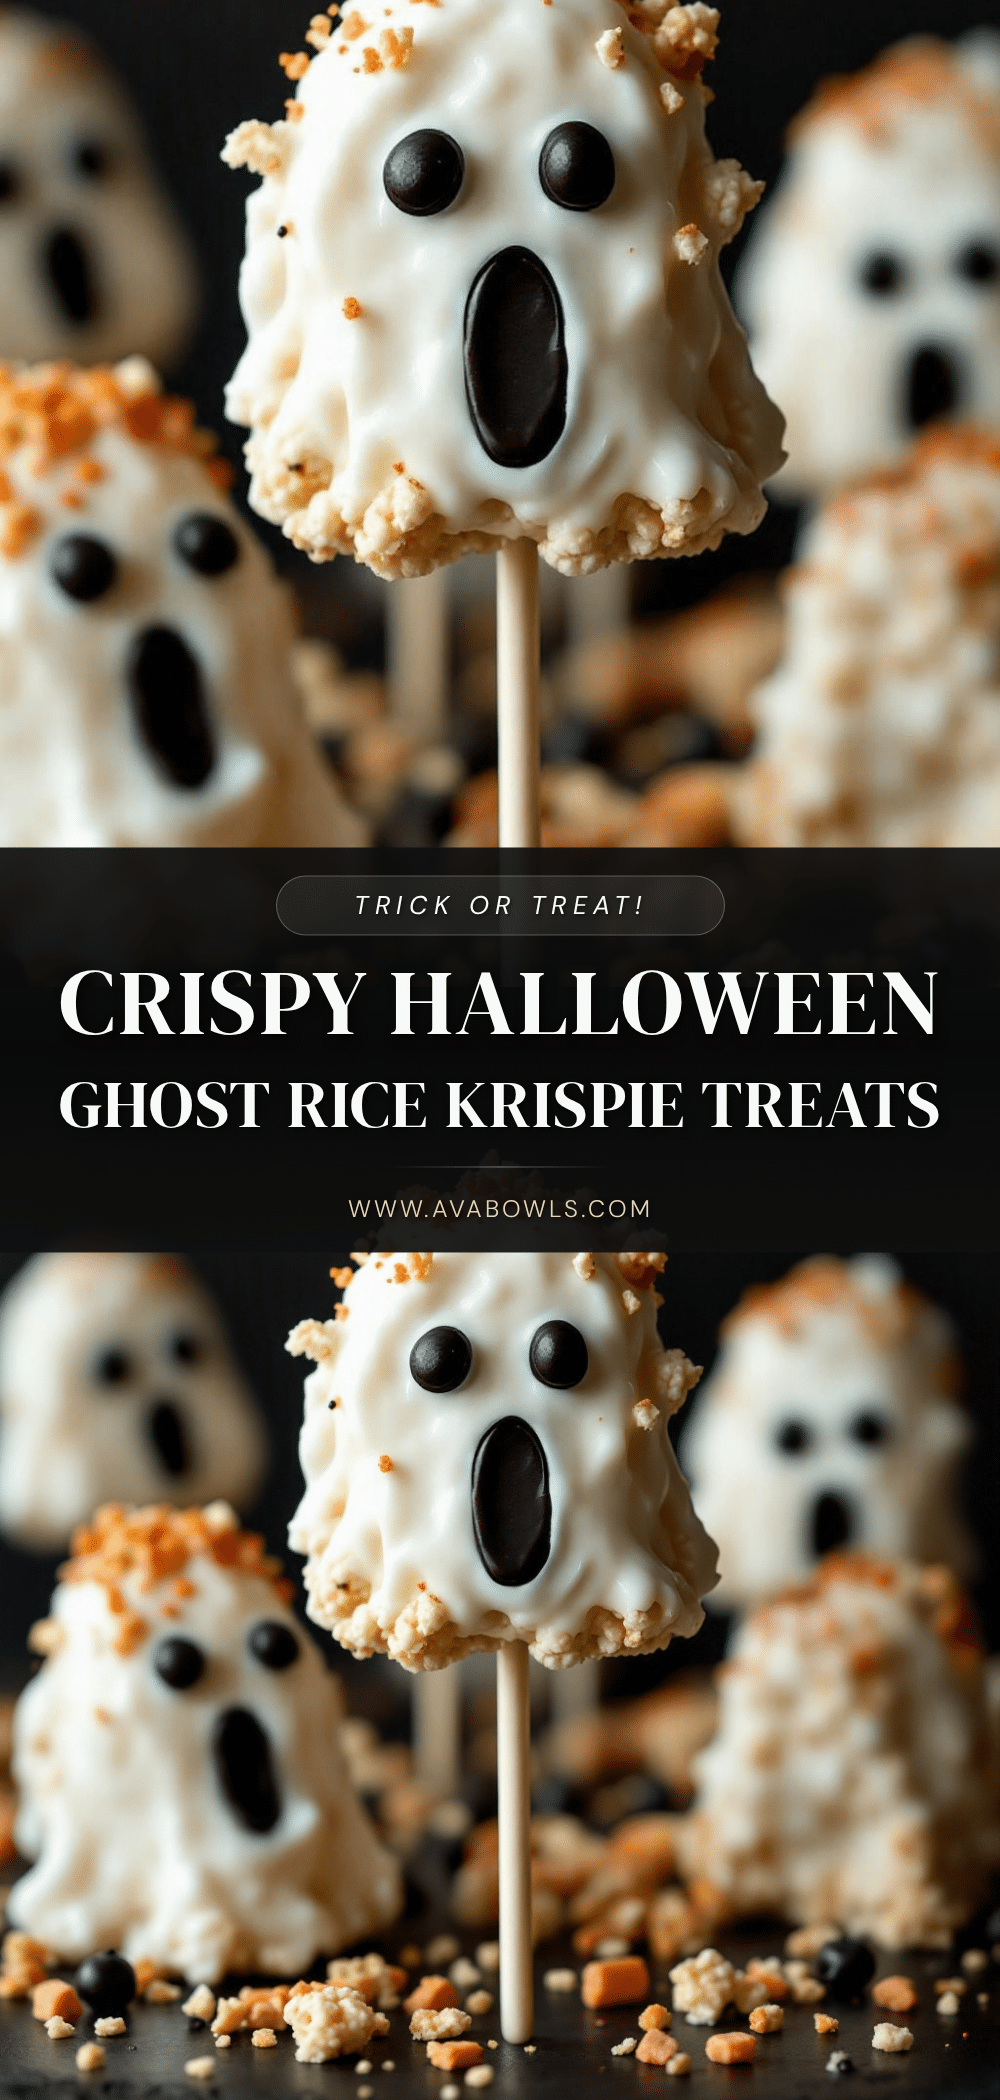
Easy Halloween Ghost Rice Krispie Treats: 5 Min Pops

These no-bake Halloween treats are simple, nostalgic, and spooky. Made with a chewy marshmallow and rice cereal base dipped in white chocolate and decorated with black gel eyes, they are perfect for parties or quick snacks.
- Prep Time: 15 minutes
- Cook Time: 10 minutes
- Total Time: 25 minutes
- Yield: 12-15 servings 1x
- Category: Dessert
- Cuisine: American
Ingredients
- 3 tablespoons unsalted butter
- 10 ounces mini marshmallows (one standard bag)
- 6 cups puffed rice cereal
- 1 teaspoon vanilla extract
- White chocolate chips (high quality)
- 1 teaspoon coconut oil (optional, for dipping consistency)
- Black gel food coloring
- Lollipop sticks (wooden or plastic, food-safe)
Instructions
- In a large saucepan, melt butter over low heat. Add marshmallows and stir constantly for 3-5 minutes until smooth and glossy. Remove from heat and stir in vanilla extract.
- Add rice cereal all at once and fold gently but quickly until every piece is coated. Work fast as the mixture sets as it cools.
- Grease hands with butter or cooking spray. Scoop 2-3 tablespoons of mixture, roll into a ball, and shape into a ghost silhouette (rounded top, tapered bottom). Place on a parchment-lined baking sheet.
- Refrigerate the shaped ghosts for at least 30 minutes to firm up.
- Insert a lollipop stick into the bottom tapered end of each ghost, pushing it in about halfway.
- Melt white chocolate chips and coconut oil in a microwave-safe bowl in 30-second intervals, stirring between intervals, until smooth.
- Hold a ghost by the stick and dip it into the melted chocolate, coating completely. Lift out and let excess drip off.
- Immediately before the chocolate sets, use a toothpick dipped in black gel food coloring to add two eyes (and optionally a mouth).
- Place back on parchment paper and refrigerate for another 15-20 minutes until the chocolate is completely hardened.
Notes
Keep heat low when melting marshmallows to prevent burning and ensure a chewy texture. Ensure all utensils are completely dry when melting chocolate to prevent seizing. Mini marshmallows melt more evenly than large ones. Store in the refrigerator for up to one week or freeze for up to three months.
Nutrition
- Serving Size: 1 ghost pop
- Calories: 175
- Sugar: 18
- Sodium: 120
- Fat: 8
- Saturated Fat: 5
- Carbohydrates: 24
- Protein: 2
Keywords: Halloween treats, Rice Krispie treats, no-bake dessert, ghost pops, easy Halloween snacks, kids cooking, party food


