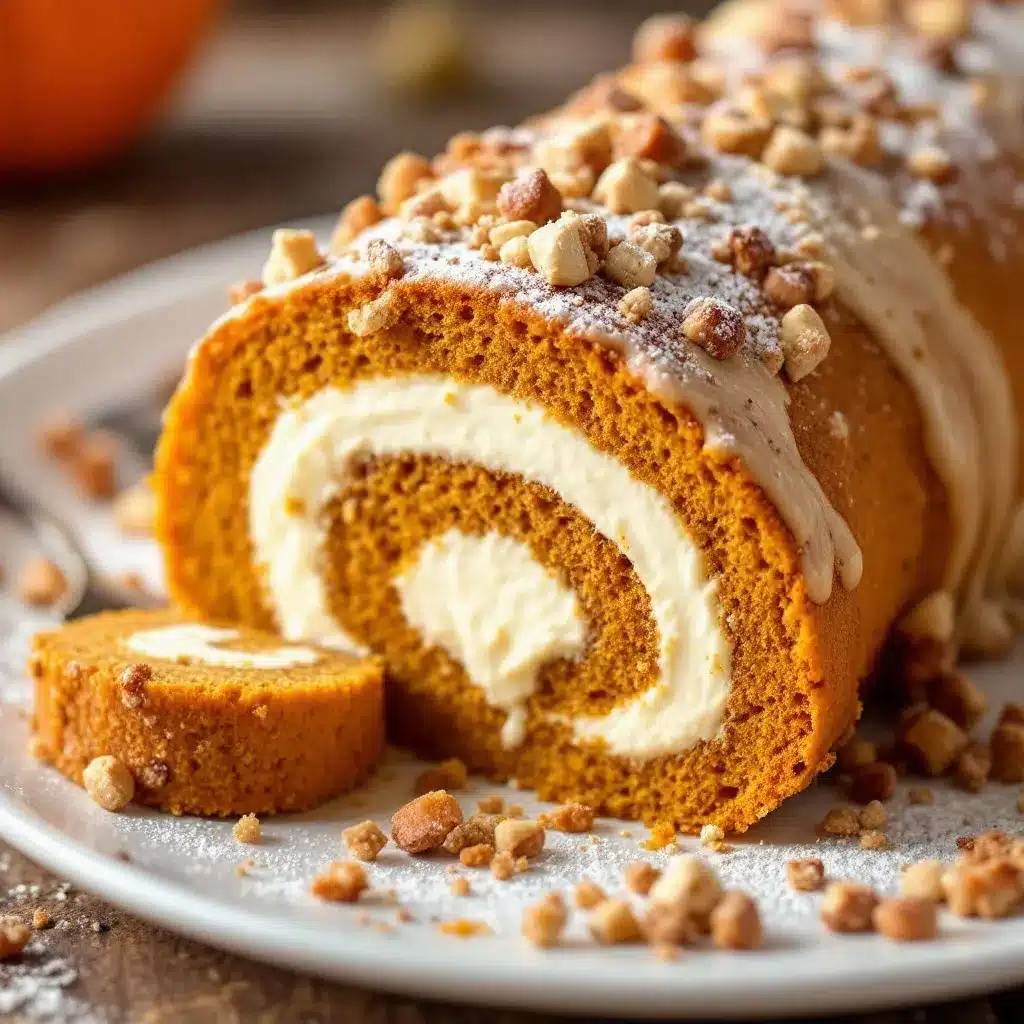
The way that first spiral of cream cheese filling peeks out from the cut end — that tight, pale curl against the deep orange crumb — is what I made this pumpkin roll for. Everything else is secondary.
I spent three autumns trying to get a pumpkin roll that didn’t crack, that rolled without fighting me, that tasted like actual pumpkin instead of spiced cake mix. The first one I ever made looked like a geological fault line had run through it. The second one tasted fine but the filling oozed out the sides like it was trying to escape. The third one? That one made me understand why some recipes just work and others don’t.
This version is the one I landed on after all those failures. It’s the one I bring to Thanksgiving when I want to show up with something that looks like I spent hours on it (I didn’t, honestly — the active time is maybe 20 minutes). It’s the one my neighbor, who doesn’t even like pumpkin desserts, asked for the recipe after I left a few slices on her porch.
There’s something about that first perfect slice — the way the cake spirals around the filling, the way the cream cheese holds its shape without being stiff, the way it tastes like fall without trying too hard. That’s the whole point.
Why You’ll Love This Recipe
After testing this pumpkin roll more times than I care to admit, here’s what makes it worth your time:
- No Cracks, No Stress : The technique here is tested — roll it while it’s warm, and it bends instead of breaks. I’ve taught this to friends who’d never made a rolled cake before, and every single one worked on the first try.
- Simple Pantry Ingredients : You likely have everything except maybe the cream cheese. No fancy extracts, no hard-to-find spices. Just real pumpkin, basic baking staples, and good cream cheese.
- Perfect for Fall Gatherings : This is the dessert that disappears first at Thanksgiving, Friendsgiving, or any cozy dinner. It slices clean, travels well, and looks impressive without requiring a pastry degree.
- Crowd-Pleaser Status : I’ve watched people who swear they “don’t like pumpkin desserts” go back for seconds. The cream cheese filling balances the pumpkin flavor in a way that wins over skeptics.
- Make-Ahead Friendly : Actually gets better after a day in the fridge. The filling sets up, the flavors meld, and slicing becomes even cleaner. Perfect for holiday prep when you need one less thing on your plate.
What makes this version different from the rest? It’s the rolling method. Most recipes tell you to roll the cake in a kitchen towel dusted with powdered sugar. That works, but the towel can stick, the sugar can clump, and you’re left peeling fabric off your cake. Here, you’ll roll it in parchment paper — it releases cleanly, the cake stays intact, and you don’t lose half the powdered sugar to the towel.
What Ingredients You Will Need
This recipe uses simple, wholesome ingredients to deliver that signature pumpkin roll texture and flavor. Most of these are pantry staples, especially if you bake during the fall season.
For the Cake
- ¾ cup all-purpose flour — spooned and leveled. Too much flour makes the cake dense and prone to cracking.
- 1 teaspoon baking powder — fresh is important here. Check your can’s date.
- ½ teaspoon baking soda — helps the cake rise and gives it that tender crumb.
- 2 teaspoons pumpkin pie spice — I use store-bought for convenience, but you can mix your own (1 teaspoon cinnamon, ½ teaspoon ginger, ¼ teaspoon nutmeg, ¼ teaspoon allspice).
- 1 teaspoon ground cinnamon — adds warmth and depth. I prefer Saigon cinnamon for its bold flavor.
- ½ teaspoon salt — balances sweetness and enhances the pumpkin flavor.
- 3 large eggs — room temperature. Cold eggs don’t incorporate as smoothly into the batter.
- 1 cup granulated sugar — standard white sugar works perfectly here. No need for specialty sugars.
- ⅔ cup pumpkin puree — not pumpkin pie filling. Canned pumpkin is fine; I use Libby’s because it’s consistently thick and not watery.
- 1 teaspoon vanilla extract — pure vanilla, not imitation. It makes a difference in the overall flavor.
- Powdered sugar — for dusting the parchment and the finished roll. You’ll need about ¼ cup for dusting.
For the Cream Cheese Filling
- 8 ounces cream cheese — full-fat, softened to room temperature. Low-fat cream cheese can make the filling runny. I prefer Philadelphia brand for its consistent texture.
- ¼ cup unsalted butter — softened. Salted butter works if you reduce the added salt slightly, but unsalted gives you more control.
- 1 teaspoon vanilla extract — again, pure vanilla.
- 1 cup powdered sugar — sifted if it’s lumpy. Lumps in the filling create streaks in your beautiful spiral.
- Pinch of salt — optional, but it balances the sweetness.
Ingredient Selection Tips
For the pumpkin puree, look for cans that say “100% pure pumpkin” on the label. Don’t grab the pumpkin pie filling by accident — I’ve done that, and the added sugar and spices throw off the entire recipe. If you’re using homemade pumpkin puree, strain it through cheesecloth or a fine-mesh strainer overnight to remove excess water. Wet pumpkin makes the cake gummy and more likely to crack.
The cream cheese needs to be genuinely softened — not cold, not melted. Leave it on the counter for at least an hour before you start. Cold cream cheese creates lumpy filling that won’t spread evenly, and melted cream cheese makes a runny mess that leaks out of your roll.
Equipment Needed
You don’t need much for this recipe, which is part of its charm.
- 15×10-inch jelly roll pan — the standard size for sheet cakes. If you don’t have one, a half-sheet pan works, but the cake will be thinner and may bake faster.
- Parchment paper — essential for lining the pan and for rolling the cake. Don’t skip this. Wax paper will melt in the oven.
- Electric mixer — hand mixer or stand mixer both work. You need it for the eggs and for the filling.
- Rubber spatula — for spreading the batter evenly in the pan and for folding ingredients.
- Cooling rack — lets air circulate around the cake so it cools evenly.
- Sharp knife — for clean slices. A serrated knife works best, but a sharp chef’s knife is fine.
I’ve made this with a cheap hand mixer I bought for $15, and it worked perfectly. The only non-negotiable is the parchment paper — I learned that lesson the hard way when I tried to use wax paper and ended up with melted wax fused to the bottom of my cake.
Preparation Method
Let me walk you through this step by step. I’ve included the sensory cues that tell you you’re on the right track.
Step 1: Preheat and Prepare the Pan
Preheat your oven to 350°F (175°C). Line your jelly roll pan with parchment paper, leaving about an inch of overhang on the short sides — this gives you handles to lift the cake out later. Lightly spray the parchment with non-stick cooking spray. Don’t skip this spray; the cake will stick to the parchment without it.
Step 2: Mix the Dry Ingredients
In a medium bowl, whisk together the flour, baking powder, baking soda, pumpkin pie spice, cinnamon, and salt. Whisk until everything is evenly distributed — about 15 seconds. Set this aside.
Step 3: Beat the Eggs and Sugar
In a large bowl, beat the eggs and granulated sugar with your electric mixer on medium-high speed for 2-3 minutes. The mixture should become thick, pale, and fluffy — it should look like a light caramel color and fall from the beaters in a ribbon when you lift them. This step is important because it incorporates air that helps the cake rise without being heavy.
Step 4: Add the Pumpkin and Vanilla
Add the pumpkin puree and vanilla extract to the egg mixture. Beat on low speed until just combined. The batter will deflate slightly — that’s normal. Scrape down the sides and bottom of the bowl with your spatula.
Step 5: Fold in the Dry Ingredients
Add the dry ingredients to the wet mixture in two additions, folding gently with your rubber spatula after each addition. Don’t overmix — stop as soon as you no longer see streaks of flour. Overmixing develops gluten, which makes the cake tough and more likely to crack when you roll it. The batter will be thick and smooth, with a slight sheen.
Step 6: Bake
Pour the batter into the prepared pan and spread it evenly with your spatula — get it into the corners and make sure the thickness is uniform. Bake for 13-15 minutes. The cake is done when the top springs back when lightly touched and the edges just start to pull away from the pan. A toothpick inserted in the center should come out clean or with a few moist crumbs. Don’t overbake — even 2 extra minutes can make the cake dry and prone to cracking.
Step 7: The First Roll
This is the most important step. As soon as the cake comes out of the oven, run a knife around the edges to loosen it. Lay a clean kitchen towel on your counter and place a large sheet of parchment paper on top of it. Dust the parchment generously with powdered sugar. Invert the cake onto the parchment — the bottom of the cake should be facing up. Carefully peel off the parchment that was used for baking. Starting at one short end, roll the cake up in the parchment paper and towel together. Roll it tightly but gently — think of rolling a sleeping bag, not a cigar. Let it cool completely in this rolled position, about 45-60 minutes. Rolling it while it’s warm trains the cake to hold the spiral shape without cracking.
Step 8: Make the Filling
While the cake cools, make the filling. In a medium bowl, beat the softened cream cheese and butter together until smooth and fluffy — about 2 minutes. Add the vanilla and salt, then gradually beat in the powdered sugar. Continue beating until the filling is smooth, creamy, and spreadable. If it seems too soft, refrigerate it for 15 minutes while the cake finishes cooling.
Step 9: Fill and Roll Again
Once the cake is completely cool, carefully unroll it. The edges will have a slight curl — that’s perfect. Spread the cream cheese filling evenly over the cake, leaving a ½-inch border on all sides. The border prevents the filling from squishing out when you roll it. Starting at the same short end you started with before, roll the cake back up — this time without the towel or parchment, just the cake and filling. Roll it gently but firmly, using the parchment to help guide it. Wrap the finished roll tightly in plastic wrap and refrigerate for at least 2 hours before slicing. This chilling time is non-negotiable — it sets the filling and makes clean slicing possible.
Step 10: Slice and Serve
When you’re ready to serve, unwrap the roll and place it on a cutting board. Use a sharp serrated knife to trim off the ragged ends (the baker’s treat). Slice the roll into 1-inch pieces, wiping the knife clean between cuts for the prettiest spirals. Dust with powdered sugar just before serving.
Cooking Tips & Techniques
After making this pumpkin roll more times than I can count, here are the things I wish someone had told me:
Don’t skip the parchment. I tried using a kitchen towel alone once, and the cake stuck to the fabric fibers. Parchment paper between the cake and the towel is the secret to a clean release. It’s also easier to roll — the paper glides against the towel without snagging.
Cool it completely. I know you’ll be tempted to rush this step. Don’t. If the cake is even slightly warm when you add the filling, the cream cheese will melt and turn into a runny mess. I learned this when I tried to speed things up for a dinner party — the filling leaked out the sides, and my beautiful roll looked like a sad, deflated log.
Wipe your knife between slices. This is the trick for those gorgeous Instagram-worthy slices. Each cut drags a little filling across the cut surface. Wipe it clean with a damp paper towel between slices, and every piece will have a perfect spiral.
Let it rest in the fridge overnight. The flavor actually improves after 24 hours. The pumpkin spice mellows and blends with the cream cheese, and the texture becomes more cohesive. I always make this a day ahead when I’m serving it for Thanksgiving.
If it cracks, don’t panic. Even experienced bakers get cracks sometimes. The cream cheese filling acts like glue — spread it generously over any cracks, and they’ll disappear when you roll it. A little powdered sugar on top hides almost everything.
Variations & Adaptations
This pumpkin roll is forgiving enough to adapt in several ways. Here are some I’ve tried:
Gluten-Free Version : Substitute the all-purpose flour with a 1:1 gluten-free baking flour blend. I’ve used Bob’s Red Mill 1-to-1 Baking Flour with good results. The texture is slightly more delicate, so be extra gentle when rolling.
Dairy-Free Version : Use dairy-free cream cheese and vegan butter for the filling. Miyoko’s and Violife both make cream cheese that behaves similarly to the real thing. The cake itself can use the same dairy-free butter, though the texture may be slightly less tender.
Spice It Up : Add ¼ teaspoon of cayenne pepper or chipotle powder to the dry ingredients for a subtle heat that pairs beautifully with the pumpkin and cream cheese. I tried this on a whim last fall, and it was surprisingly good — the warmth lingers after the sweetness fades.
Chocolate Swirl Version : Before baking, drizzle 2 tablespoons of melted chocolate over the batter and swirl it with a knife. The chocolate creates a marbled effect that looks stunning when sliced.
Pecan Praline Filling : Add ½ cup of finely chopped toasted pecans and 2 tablespoons of caramel sauce to the cream cheese filling. The crunch adds texture, and the caramel deepens the fall flavor profile.
Mini Pumpkin Rolls : Divide the batter between two smaller pans (about 8×6 inches each) and reduce the baking time to 10-12 minutes. These are perfect for gifting or for when you want individual servings.
Serving & Storage Suggestions
This pumpkin roll is best served cold, straight from the refrigerator. The filling firms up beautifully, and the cake stays moist without being soggy. Slice it on a cutting board and arrange the pieces on a serving platter. A light dusting of powdered sugar right before serving adds that bakery-finished look.
For presentation, I like to place the slices in a slight fan pattern on a white platter — the orange spiral against the white background is striking. Garnish with a few fresh cranberries and a sprig of rosemary for a holiday tablescape that looks intentional.
Storage : Wrap the unsliced roll tightly in plastic wrap and store it in the refrigerator for up to 5 days. The flavor actually improves after the first day. If you’ve already sliced it, place a piece of parchment paper between each slice to prevent sticking.
Freezing : This pumpkin roll freezes beautifully. Wrap it tightly in plastic wrap, then in a layer of aluminum foil, and freeze for up to 3 months. Thaw it overnight in the refrigerator before slicing and serving. I always make two — one for now and one for the freezer. It’s a lifesaver when unexpected guests show up during the holidays.
Reheating : I don’t recommend reheating this dessert — it’s meant to be served cold. If you prefer it at room temperature, let the slices sit out for about 15 minutes before serving. The filling will soften slightly, and the cake will feel more tender.
Nutritional Information & Benefits
Per slice (based on 10 slices per roll):
- Calories: 285
- Fat: 14g
- Carbohydrates: 37g
- Protein: 5g
- Fiber: 1g
- Sugar: 28g
While this is definitely a treat, pumpkin brings some surprising benefits. Pumpkin is rich in vitamin A (from beta-carotene), which supports eye health and immune function. It’s also a good source of fiber and potassium. The cream cheese adds calcium and protein, though it’s also where most of the fat comes from.
For a lighter version, you can reduce the sugar in the filling by ¼ cup or use a sugar substitute like monk fruit. The texture will be slightly different, but the flavor will still be satisfying. If you’re watching your carb intake, this recipe can fit into a moderate-carb lifestyle — just keep the portion to one slice.
This dessert is not gluten-free, dairy-free, or vegan in its standard form, but the variations section above offers adaptations for those dietary needs.
Conclusion
This pumpkin roll is the dessert I turn to when I want to impress without stress. It looks like you spent hours in the kitchen, but the active time is barely 20 minutes. The technique is straightforward — roll it warm, fill it cold, slice it chilled — and the result is consistently beautiful.
What I love most about this recipe is how it brings people together. I’ve made it for Thanksgiving dinners, Friendsgiving potlucks, and casual Sunday gatherings with friends. Every time, someone asks for the recipe. Every time, someone who thought they didn’t like pumpkin desserts goes back for seconds. It’s that kind of recipe — the one that changes minds and creates moments.
I’d love to hear how yours turns out. Leave a comment below and let me know if you tried any of the variations, or if you came up with your own twist. And if you’re looking for more fall-inspired desserts, you might enjoy this creamy butternut squash soup with maple cream swirl or these red velvet pancakes with cream cheese glaze for another take on that cream cheese magic.
Happy baking, friends. And remember — the first slice is always the baker’s treat.
Frequently Asked Questions
Why did my pumpkin roll crack when I rolled it?
This usually happens for one of three reasons: the cake was overbaked (making it dry and brittle), it wasn’t rolled while still warm (the cake sets as it cools and loses flexibility), or too much flour was used. Next time, check your oven temperature with an oven thermometer and pull the cake out at the 13-minute mark.
Can I use fresh pumpkin instead of canned?
Yes, but you need to strain it first. Fresh pumpkin puree contains more water than canned. Spread the puree on a paper towel-lined plate, cover with another paper towel, and let it sit for 10 minutes to absorb excess moisture. Too much water in the batter makes the cake gummy and increases the chance of cracking.
How far in advance can I make this pumpkin roll?
You can make it up to 5 days ahead and store it tightly wrapped in the refrigerator. The flavor actually improves after a day or two as the pumpkin and cream cheese flavors meld. You can also freeze it for up to 3 months — just thaw it overnight in the fridge before serving.
Can I use a different size pan?
A standard 15×10-inch jelly roll pan is ideal because it creates a cake that’s thin enough to roll easily. If you use a larger pan, the cake will be too thin and may dry out. If you use a smaller pan, the cake will be too thick and may crack when you try to roll it. Stick with the recommended size for best results.
My filling came out runny. What went wrong?
Most likely, the cream cheese or butter wasn’t properly softened, or the cake was still warm when you added the filling. Cold cream cheese creates lumps that melt unevenly, and warm cake causes the filling to liquefy. Make sure both the cream cheese and butter are at genuine room temperature, and let the cake cool completely — at least 45 minutes — before filling.
Pin This Recipe!
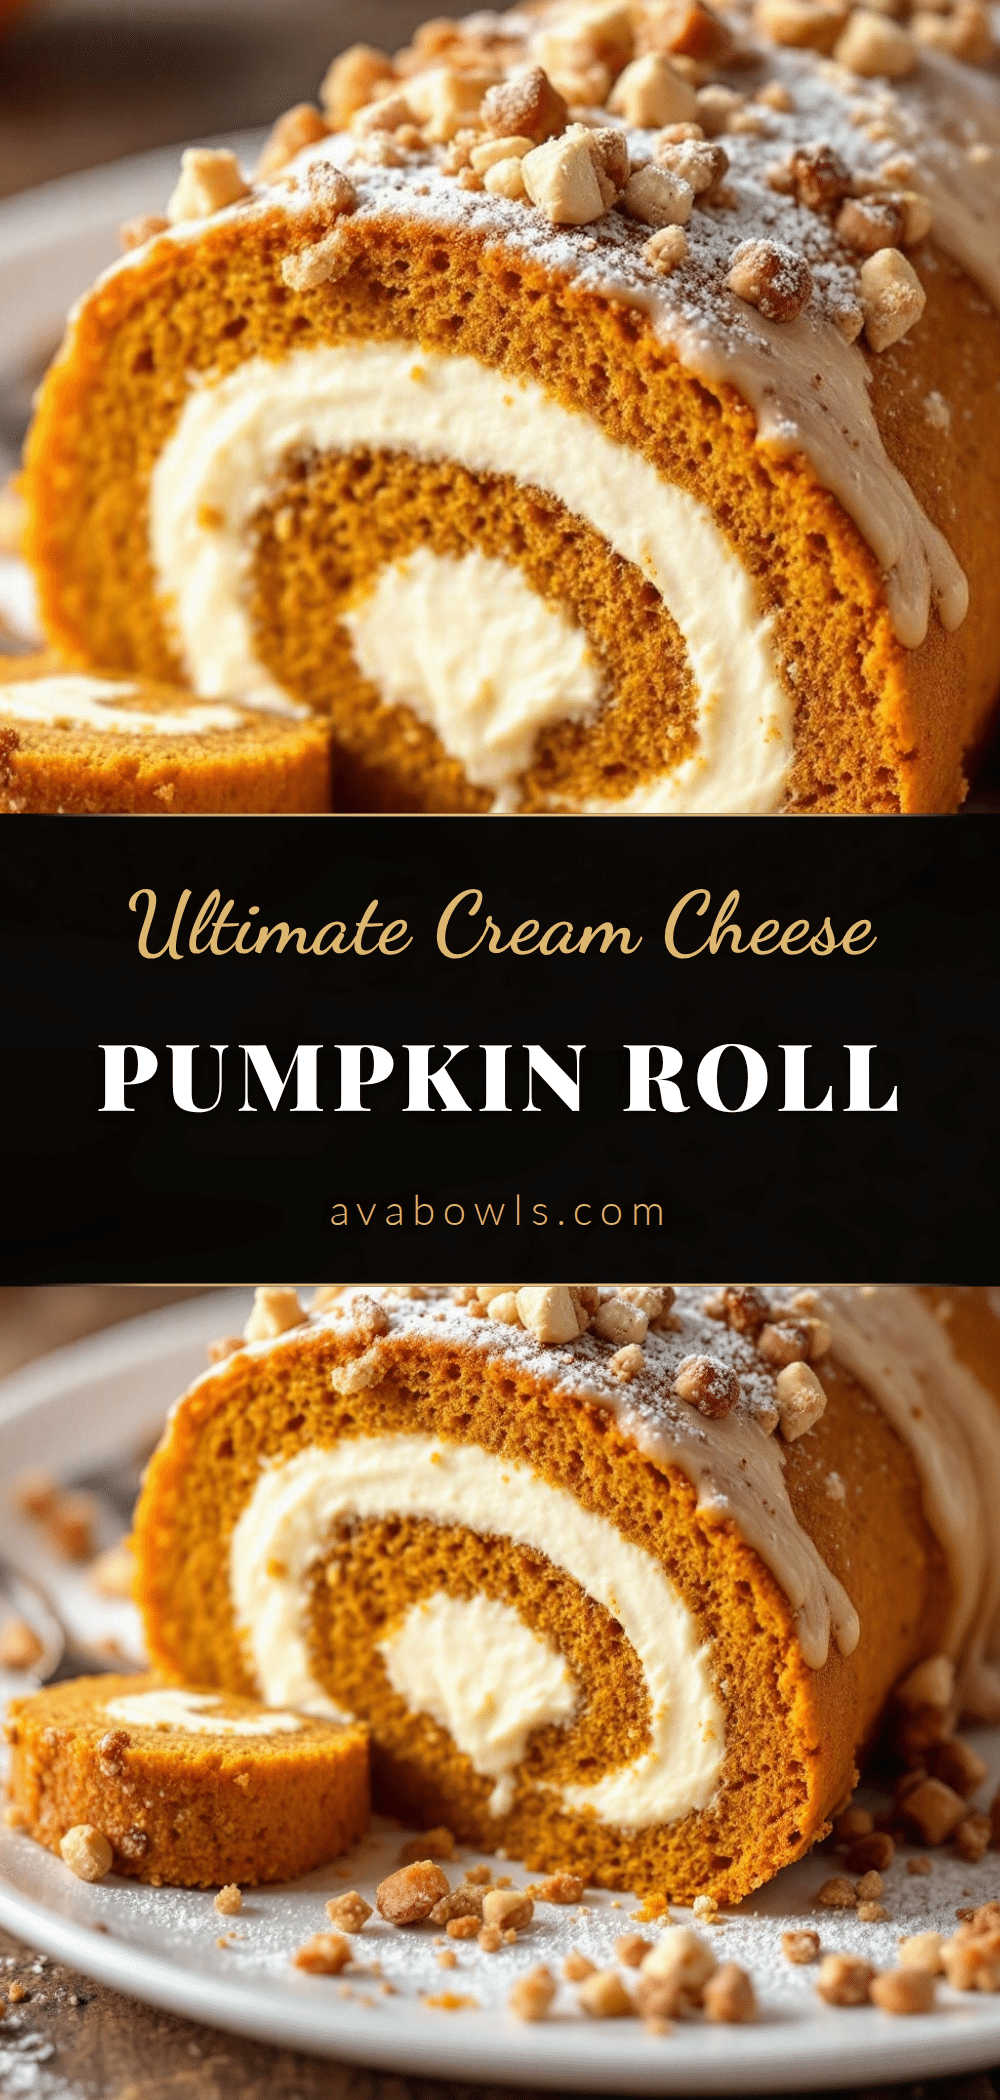
Perfect Pumpkin Roll with Cream Cheese Filling
A foolproof pumpkin roll with a creamy, tangy filling that rolls without cracking. This tested recipe uses a parchment paper rolling method for a clean release and a beautiful spiral every time.
- Prep Time: 20 minutes
- Cook Time: 15 minutes
- Total Time: 2 hours 35 minutes (includes cooling and chilling)
- Yield: 10 servings 1x
- Category: Dessert
- Cuisine: American
Ingredients
- ¾ cup all-purpose flour
- 1 teaspoon baking powder
- ½ teaspoon baking soda
- 2 teaspoons pumpkin pie spice
- 1 teaspoon ground cinnamon
- ½ teaspoon salt
- 3 large eggs, room temperature
- 1 cup granulated sugar
- ⅔ cup pumpkin puree (not pumpkin pie filling)
- 1 teaspoon vanilla extract
- ¼ cup powdered sugar (for dusting)
- 8 ounces cream cheese, softened
- ¼ cup unsalted butter, softened
- 1 teaspoon vanilla extract
- 1 cup powdered sugar
- Pinch of salt (optional)
Instructions
- Preheat oven to 350°F (175°C). Line a 15×10-inch jelly roll pan with parchment paper, leaving overhang on the short sides. Lightly spray parchment with non-stick cooking spray.
- In a medium bowl, whisk together flour, baking powder, baking soda, pumpkin pie spice, cinnamon, and salt until evenly distributed.
- In a large bowl, beat eggs and granulated sugar with an electric mixer on medium-high speed for 2-3 minutes until thick, pale, and fluffy (ribbon stage).
- Add pumpkin puree and vanilla extract to the egg mixture. Beat on low speed until just combined. Scrape down the bowl.
- Fold dry ingredients into wet mixture in two additions using a rubber spatula, mixing until no streaks of flour remain. Do not overmix.
- Pour batter into prepared pan and spread evenly. Bake for 13-15 minutes until the top springs back when lightly touched and edges pull away from the pan.
- Immediately run a knife around the edges. Lay a clean kitchen towel on the counter with a large sheet of parchment paper on top. Dust parchment generously with powdered sugar. Invert cake onto parchment, peel off baking parchment. Starting at a short end, roll cake up in parchment and towel together. Cool completely in rolled position (45-60 minutes).
- While cake cools, beat softened cream cheese and butter together until smooth and fluffy (about 2 minutes). Add vanilla and salt, then gradually beat in powdered sugar until smooth. Refrigerate if too soft.
- Once cake is completely cool, carefully unroll. Spread cream cheese filling evenly over cake, leaving a ½-inch border on all sides. Roll cake back up (without towel or parchment) gently but firmly. Wrap tightly in plastic wrap and refrigerate for at least 2 hours before slicing.
- To serve, unwrap roll, trim ends, and slice into 1-inch pieces using a sharp serrated knife, wiping knife clean between cuts. Dust with powdered sugar just before serving.
Notes
Roll the cake while it’s warm to prevent cracking. Cool completely before filling to avoid melting the cream cheese. For best results, refrigerate overnight before slicing. If cracks appear, spread filling generously over them—they’ll disappear when rolled. Wipe knife clean between slices for perfect spirals.
Nutrition
- Serving Size: 1 slice (1/10 of rol
- Calories: 285
- Sugar: 28
- Sodium: 220
- Fat: 14
- Saturated Fat: 8
- Carbohydrates: 37
- Fiber: 1
- Protein: 5
Keywords: pumpkin roll, pumpkin dessert, cream cheese filling, fall dessert, Thanksgiving dessert, rolled cake, pumpkin cake


