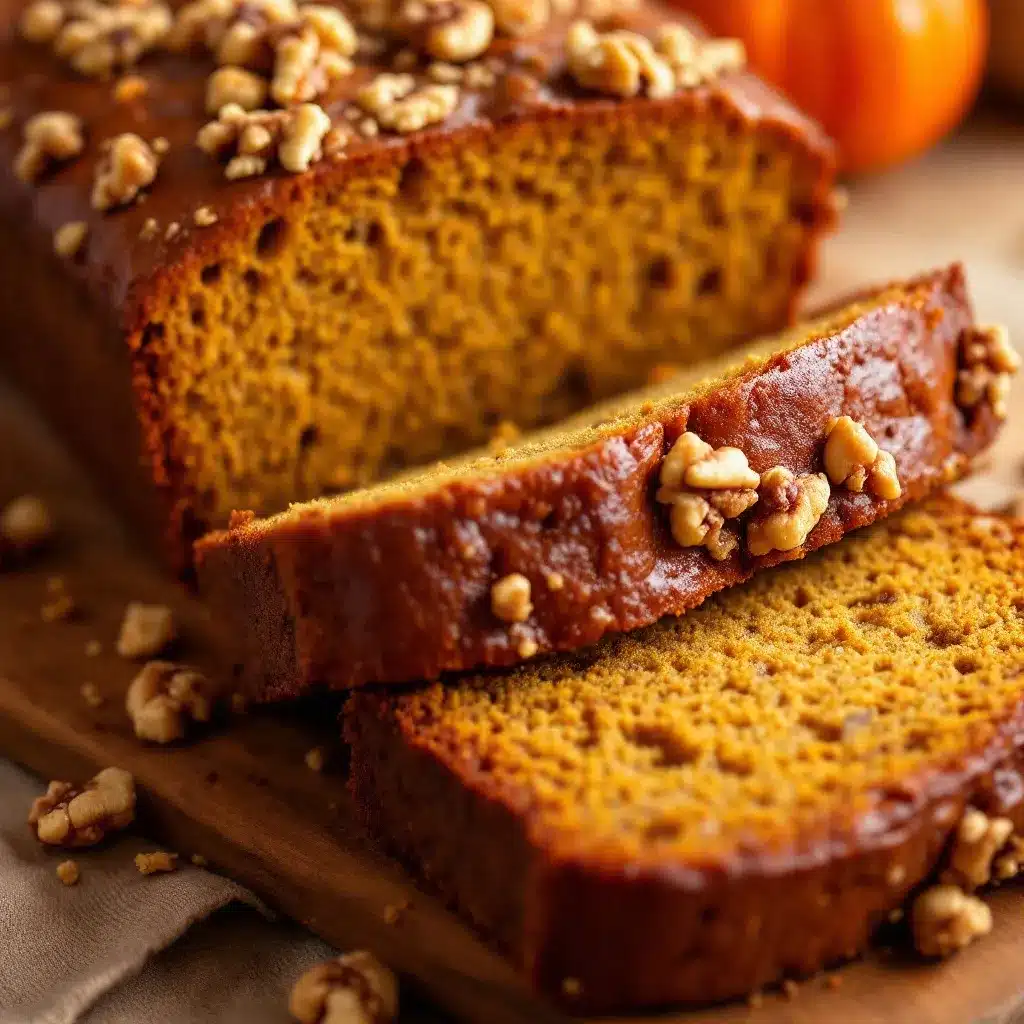
Third time this week I pulled that loaf pan out of the cabinet, and this time I finally remembered to set a timer before I started digging into the cream cheese frosting. The first loaf came out a little dry around the edges. The second one sank slightly in the middle because I opened the oven door to peek. But this third one? It rose into a perfect golden dome, cracked right down the center in that way that tells you the baking soda did its job, and the whole kitchen smelled like fall had moved in permanently.
I didn’t set out to make pumpkin banana bread three times in one week. But after the first slice, I couldn’t stop thinking about it. There is something about the way pumpkin puree keeps the crumb tender while overripe bananas add that sticky sweetness you can’t get from sugar alone. And the walnuts? They toast up right inside the batter, getting all warm and aromatic.
This Moist Pumpkin Banana Walnut Bread started as a way to use up two sad bananas on my counter and half a can of pumpkin left over from another project. Now it’s the recipe I keep coming back to, not because it’s fancy, but because it actually works. Every single time. Well, except for that second one.
Let me show you how to make it.
Why You’ll Love This Recipe
This isn’t just another pumpkin bread recipe. I tested this one until the texture felt exactly right. Here is why you will actually want to make it again:
- One Bowl, No Fuss : You mix the wet ingredients, stir in the dry, fold in the walnuts, and pour. That is it. No stand mixer required, no separating eggs, no sifting flour like some kind of pastry chef.
- Perfectly Moist Every Time : The combination of pumpkin puree and mashed banana creates a crumb that stays soft for days. I kept a slice on the counter for three days just to see, and it was still tender on day three.
- Pantry-Friendly Ingredients : Canned pumpkin, ripe bananas, flour, sugar, eggs, oil, and walnuts. You probably have most of this already, which is dangerous because now you have no excuse not to bake.
- Freezes Like a Dream : This bread actually gets better after a night in the freezer. I wrap individual slices and pull them out for breakfast when I need something quick.
- Crowd-Pleasing Flavor : My neighbor, who claims she doesn’t like pumpkin anything, ate three slices. Three. She asked for the recipe, and I sent her a link to this exact post.
Honestly, the best part about this recipe is that it feels like comfort food, but it is not loaded with complicated steps or weird ingredients. You get that cozy pumpkin spice vibe, the natural sweetness from the banana, and a little crunch from the walnuts. It is the kind of bread that makes you close your eyes after the first bite, and that is not an exaggeration.
What Ingredients You Will Need
This recipe relies on simple, everyday ingredients that work together to create a loaf that is tender, flavorful, and just sweet enough. I have included notes on what to look for and what to swap if you need to.
- All-Purpose Flour – 1 ¾ cups (210 grams). Spoon and level it into your measuring cup. Scooping directly from the bag packs in too much flour and makes the bread dry.
- Baking Soda – 1 teaspoon. This gives the bread its rise. Make sure yours is fresh, or the loaf will be dense.
- Baking Powder – ½ teaspoon. Adds a little extra lift. I use aluminum-free for a cleaner taste.
- Salt – ½ teaspoon. Balances the sweetness and brings out the pumpkin flavor.
- Pumpkin Pie Spice – 2 teaspoons. You can use store-bought or mix your own cinnamon, nutmeg, ginger, and cloves. I prefer the blend from this homemade pumpkin pie spice blend.
- Cinnamon – 1 teaspoon. Adds warmth. I use Ceylon cinnamon when I have it, but regular works fine.
- Granulated Sugar – ½ cup (100 grams). Just enough to sweeten without overpowering the fruit.
- Brown Sugar – ½ cup (100 grams), packed. Light or dark both work. Dark brown sugar adds more molasses flavor, which I love with the pumpkin.
- Vegetable Oil – ½ cup (120 ml). Keeps the bread moist. You can use melted coconut oil or melted butter instead, but oil gives the softest crumb.
- Eggs – 2 large, at room temperature. If you forget to take them out of the fridge, place them in a bowl of warm water for five minutes.
- Vanilla Extract – 1 teaspoon. Pure vanilla, not imitation. It makes a difference.
- Pumpkin Puree – 1 cup (240 grams). Not pumpkin pie filling. Make sure you grab the plain stuff. Libby’s is my go-to because it is consistent and not too watery.
- Ripe Bananas – 2 medium, mashed (about 1 cup). The riper the better. You want them spotty brown and soft. Green bananas will not give you the same sweetness or moisture.
- Walnuts – 1 cup (120 grams), roughly chopped. Toast them first if you have time. It takes five minutes and makes them taste nuttier and more aromatic.
Substitution Notes: If you need a gluten-free version, use a 1:1 gluten-free baking flour blend. For a nut-free option, swap the walnuts with pepitas or sunflower seeds. You can also reduce the sugar to ¾ cup total if you prefer a less sweet loaf, but do not go lower than that or the texture changes.
Equipment Needed
You do not need anything fancy here. That is part of why I love this recipe.
- 9×5-inch Loaf Pan – Standard size. If you use an 8×4 pan, the bread will take longer to bake and might dome too much.
- Mixing Bowls – One large bowl for the wet ingredients and one small bowl for the dry. Or just use one bowl and mix the dry ingredients first, then add the wet. I do that all the time.
- Whisk and Rubber Spatula – A whisk for the dry ingredients and a spatula for folding everything together.
- Parchment Paper – Line the pan with a sling of parchment paper. It makes lifting the bread out so much easier, and cleanup is a breeze.
- Cooling Rack – Let the bread cool in the pan for ten minutes, then transfer it to a rack. If you leave it in the pan too long, the bottom gets soggy.
- Measuring Cups and Spoons – For accuracy, especially with the baking soda and spices.
If you do not have parchment paper, you can grease the pan well with butter or cooking spray. Just run a knife around the edges before you try to turn the bread out. I learned that the hard way after losing half a loaf to the bottom of the pan.
Preparation Method
Preheat your oven to 350°F (175°C). Line your loaf pan with parchment paper, leaving some overhang on the long sides. Lightly grease the exposed ends.
- Mix the dry ingredients. In a large bowl, whisk together the flour, baking soda, baking powder, salt, pumpkin pie spice, and cinnamon. Set this aside while you work on the wet ingredients.
- Combine the sugars and oil. In a separate bowl, whisk the granulated sugar, brown sugar, and vegetable oil together until smooth. It will look like wet sand, and that is normal.
- Add the eggs and vanilla. Whisk in the eggs one at a time, making sure each one is fully incorporated before adding the next. Stir in the vanilla extract.
- Add the pumpkin and banana. Fold in the pumpkin puree and mashed bananas using a rubber spatula. Do not overmix here. Just stir until the batter looks uniform. A few small streaks of banana are fine.
- Combine wet and dry. Pour the wet mixture into the bowl with the dry ingredients. Fold gently with the spatula, scraping the bottom and sides, until no streaks of flour remain. A few lumps are okay. Overmixing makes the bread tough.
- Fold in the walnuts. Add the chopped walnuts and fold them in with just a few strokes. Reserve a handful to sprinkle on top if you want a prettier loaf.
- Pour and spread. Transfer the batter to the prepared loaf pan. Spread it into an even layer. If you reserved some walnuts, sprinkle them on top now.
- Bake. Place the pan in the center of the oven and bake for 55 to 65 minutes. The bread is done when a toothpick inserted into the center comes out clean or with just a few moist crumbs. If the top is browning too quickly after 40 minutes, tent it loosely with aluminum foil.
- Cool. Let the bread rest in the pan for 10 minutes. Then lift it out using the parchment sling and transfer it to a wire rack to cool completely. Do not slice it while it is still warm, or it will crumble. I know it is tempting, but wait at least an hour.
Sensory Cues: The batter should be thick but scoopable, like a muffin batter. When the bread is done, the top will be golden brown and cracked, and the kitchen will smell like a pumpkin spice candle exploded. If you tap the top gently, it should feel firm and spring back slightly.
Cooking Tips & Techniques
I have made this bread enough times to know exactly where things can go wrong. Here is what I learned so you do not have to learn the hard way.
- Use room temperature ingredients. Cold eggs and cold banana will seize the oil and make the batter lumpy. Set everything out thirty minutes before you start, or warm the eggs in a bowl of water and microwave the banana for ten seconds.
- Do not overmix. I cannot say this enough. Overmixing develops gluten, and too much gluten makes bread tough and rubbery. Fold until the flour disappears, then stop.
- Check your baking soda. If it is older than six months, it might not have enough oomph to lift the bread. Drop a pinch into a bowl of vinegar. If it fizzes vigorously, it is good. If not, buy a new box.
- Toast the walnuts. Spread them on a baking sheet and toast at 350°F for 5 to 7 minutes. They become fragrant and crunchy instead of soft and bitter. I forgot to toast them once, and the bread was still good, but the walnuts tasted raw and mealy.
- Let it cool completely. I know you want to eat it right away. But slicing warm bread compresses the crumb and makes it gummy. Give it a full hour on the cooling rack. Trust me.
- Use a digital scale. If you have one, weigh your flour. It is the single most accurate way to measure, and it eliminates the guesswork. I use 210 grams of flour every time, and the texture is always consistent.
One time I forgot the baking soda entirely. The bread came out flat and dense like a hockey puck. I still ate it, but I felt personally betrayed by my own forgetfulness. So check your ingredients before you start.
Variations & Adaptations
This recipe is flexible, and I have tried several versions depending on what I have in the pantry.
- Chocolate Chip Version : Swap the walnuts for ¾ cup of semi-sweet chocolate chips. The chocolate melts into little pockets of gooeyness. I did this for a friend who hates nuts, and she asked for the recipe immediately.
- Dairy-Free Option : The recipe is already dairy-free if you use vegetable oil. Just double-check that your chocolate chips are dairy-free if you go that route.
- Gluten-Free Version : Use a 1:1 gluten-free baking flour blend. I have tested this with Bob’s Red Mill, and it works beautifully. Add an extra tablespoon of milk or water if the batter looks too thick.
- Spice It Up : Add ¼ teaspoon of ground ginger or a pinch of cardamom. I tried cardamom once, and it gave the bread a floral, almost citrusy note that I really liked.
- Muffin Version : Divide the batter into a 12-cup muffin tin lined with paper cups. Bake at 350°F for 18 to 22 minutes. Great for breakfast on the go.
- Low-Sugar Option : Reduce the total sugar to ¾ cup. The banana and pumpkin add enough sweetness that you will not miss the extra sugar much. I made this version for my dad, who is watching his sugar intake, and he ate the whole loaf in two days.
If you are in the mood for something savory to balance out all this sweetness, try making a batch of hearty Tuscan white bean soup for lunch and save this bread for dessert.
Serving & Storage Suggestions
This bread is good at any temperature, but here is how I like to serve it.
Serving: Slice it thick, about an inch wide. Toast the slices lightly in a buttered skillet or under the broiler for a minute or two. The edges get crisp, and the inside stays soft. Spread a little salted butter or cream cheese on top. Or, if you are feeling fancy, drizzle it with a simple glaze made from powdered sugar and milk.
It pairs beautifully with a hot cup of coffee or a creamy iced lavender oat milk latte. The floral notes of the lavender complement the pumpkin spice without overpowering it.
Storage: Wrap the cooled bread tightly in plastic wrap or aluminum foil. Keep it at room temperature for up to four days. Do not refrigerate it, because the fridge dries out baked goods faster than the counter.
Freezing: This bread freezes beautifully. Wrap individual slices in plastic wrap, then place them in a freezer bag. They keep for up to three months. To thaw, leave a slice on the counter for thirty minutes, or pop it in the microwave for twenty seconds. I keep a stash in my freezer for mornings when I need breakfast in a hurry.
Reheating: For the best texture, reheat slices in a toaster oven or under the broiler for two to three minutes. The exterior gets slightly crunchy while the inside stays tender. The microwave works in a pinch, but the bread will be softer and less structured.
One thing I noticed is that the flavors deepen after the first day. The pumpkin and banana meld together, and the spices become more pronounced. So if you can wait a day before slicing, you will be rewarded with an even better loaf.
Nutritional Information & Benefits
Here is the estimated nutrition for one slice, assuming the loaf is cut into 10 slices.
Per slice: Approximately 290 calories, 14 grams fat, 38 grams carbohydrates, 3 grams fiber, 18 grams sugar, 5 grams protein.
This bread has some redeeming qualities if you are thinking about nutrition. Pumpkin is packed with vitamin A and fiber, and bananas provide potassium and natural sweetness. Walnuts add healthy omega-3 fats and a little protein, which helps keep you full longer.
It is not exactly health food, but it is not a sugar bomb either. I feel good about eating a slice for breakfast or an afternoon snack. If you want to make it even more nutrient-dense, swap half the all-purpose flour for whole wheat flour. The texture will be slightly denser, but it still tastes great.
For those with dietary restrictions, this recipe is naturally dairy-free and can be made gluten-free with a simple flour swap. It contains nuts unless you leave them out or substitute seeds.
Conclusion
This Moist Pumpkin Banana Walnut Bread is the kind of recipe that becomes a staple. It is forgiving, flexible, and consistently delicious. Whether you bake it for a holiday brunch, a weekday breakfast, or just because you have two sad bananas and half a can of pumpkin staring at you from the fridge, it delivers every single time.
I have made this bread for neighbors, for my family, and for myself on a quiet Sunday afternoon. Every time, someone asks for the recipe. And now you have it. Play with the add-ins, adjust the spices, make it your own. That is the beauty of a good base recipe.
If you try this recipe, I would love to hear how it turned out. Leave a comment below and let me know if you added chocolate chips, swapped the walnuts for pecans, or ate the entire loaf in one sitting. No judgment here. I have done that too.
Happy baking, friend.
Frequently Asked Questions
Can I use fresh pumpkin instead of canned?
Yes, you can. Just make sure you roast or steam the pumpkin first, then puree it until smooth. Drain any excess liquid through a fine mesh strainer or cheesecloth. Fresh pumpkin puree tends to be more watery than canned, so you might need to reduce the banana slightly to balance the moisture.
Why did my bread sink in the middle?
This usually happens when the oven door is opened too early, or the batter was overmixed. Opening the oven door during the first 30 minutes lets cold air rush in and causes the bread to collapse. Also, overmixing creates too much air, which then deflates. Be gentle with the batter and patient with the oven.
Can I make this without walnuts?
Absolutely. The bread is just as good without them. You can leave them out entirely, swap them for pecans or chocolate chips, or use pepitas for a nut-free crunch. I have made a walnut-free version for my niece, and it turned out perfectly.
How do I know when the bread is done?
Insert a toothpick or a thin skewer into the center of the loaf. If it comes out clean or with just a few moist crumbs, it is done. If the toothpick has wet batter on it, bake for another five minutes and test again. The top should also feel firm and spring back when lightly pressed.
Can I double this recipe?
Yes, you can double it easily. Use two loaf pans instead of one, and bake them side by side. The baking time might increase by five to ten minutes, so start checking at the 55-minute mark. If you only have one loaf pan, bake the batter in batches. The second batch will be fine sitting on the counter while the first one bakes.
Pin This Recipe!
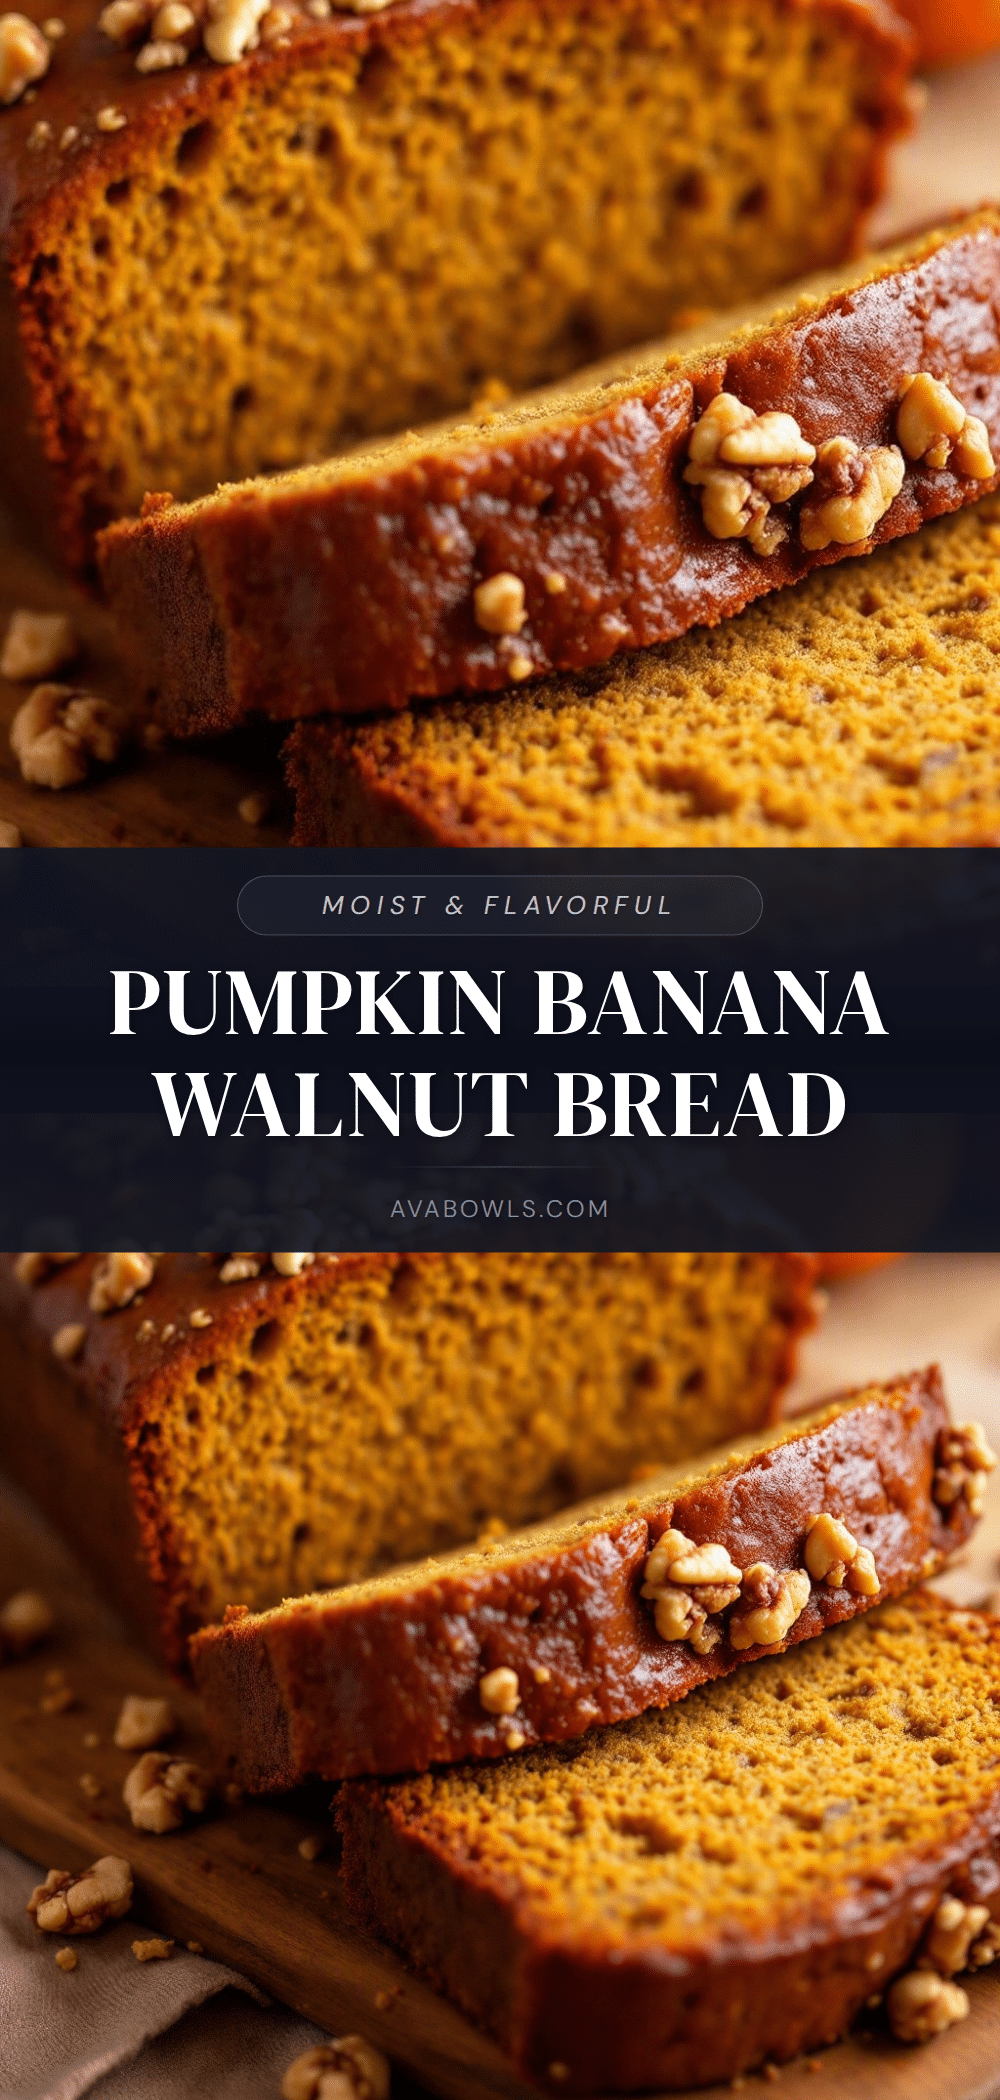
Moist Pumpkin Banana Walnut Bread
This easy one-bowl pumpkin banana walnut bread is perfectly moist, tender, and full of warm fall spices. Made with simple pantry ingredients, it’s a crowd-pleasing recipe that freezes beautifully and tastes even better the next day.
- Prep Time: 15 minutes
- Cook Time: 55 minutes
- Total Time: 1 hour 10 minutes
- Yield: 10 servings 1x
- Category: Dessert
- Cuisine: American
Ingredients
- 1 ¾ cups (210 grams) all-purpose flour
- 1 teaspoon baking soda
- ½ teaspoon baking powder
- ½ teaspoon salt
- 2 teaspoons pumpkin pie spice
- 1 teaspoon cinnamon
- ½ cup (100 grams) granulated sugar
- ½ cup (100 grams) packed brown sugar (light or dark)
- ½ cup (120 ml) vegetable oil (or melted coconut oil/butter)
- 2 large eggs, at room temperature
- 1 teaspoon vanilla extract
- 1 cup (240 grams) pumpkin puree (not pumpkin pie filling)
- 2 medium ripe bananas, mashed (about 1 cup)
- 1 cup (120 grams) walnuts, roughly chopped
Instructions
- Preheat oven to 350°F (175°C). Line a 9×5-inch loaf pan with parchment paper, leaving overhang on the long sides. Lightly grease exposed ends.
- In a large bowl, whisk together flour, baking soda, baking powder, salt, pumpkin pie spice, and cinnamon. Set aside.
- In a separate bowl, whisk granulated sugar, brown sugar, and vegetable oil until smooth.
- Whisk in eggs one at a time, fully incorporating each. Stir in vanilla extract.
- Fold in pumpkin puree and mashed bananas with a rubber spatula until just combined. Do not overmix.
- Pour wet mixture into dry ingredients. Fold gently until no streaks of flour remain. A few lumps are okay.
- Fold in chopped walnuts, reserving a handful for topping if desired.
- Pour batter into prepared loaf pan and spread evenly. Sprinkle reserved walnuts on top if using.
- Bake for 55 to 65 minutes, until a toothpick inserted in center comes out clean or with a few moist crumbs. If top browns too quickly after 40 minutes, tent loosely with foil.
- Let bread rest in pan for 10 minutes, then lift out using parchment sling and transfer to a wire rack to cool completely. Wait at least 1 hour before slicing.
Notes
Use room temperature ingredients for best results. Do not overmix the batter. Toast walnuts for 5-7 minutes at 350°F for enhanced flavor. Let bread cool completely before slicing to avoid crumbling. Bread can be stored at room temperature for up to 4 days or frozen for up to 3 months.
Nutrition
- Serving Size: 1 slice (1/10 of loa
- Calories: 290
- Sugar: 18
- Sodium: 280
- Fat: 14
- Saturated Fat: 2
- Carbohydrates: 38
- Fiber: 3
- Protein: 5
Keywords: pumpkin banana bread, moist pumpkin bread, walnut bread, fall baking, one bowl recipe, easy pumpkin bread


