For a while, I just accepted that banana bread meant a full loaf, a dirty stand mixer, and more bananas than a single person could reasonably let go brown. The math never worked out. You’d wait for three or four bananas to get spotty, then you’d bake a loaf that took a week to finish. By day three, you were wrapping slices in napkins and handing them to neighbors just to clear the counter. It felt wasteful in a quiet way.
I had been looking for a version that actually made sense for small households. Something that didn’t require pulling out the heavy mixer or washing a separate bowl for dry ingredients. Something that produced exactly four or five generous slices—enough for breakfast and a snack, but not so much that you’d grow tired of it by Tuesday.
The answer turned out to be simpler than I expected. One bowl. A fork. And a single overripe banana that you’d otherwise toss into the freezer and forget about. (Honestly, we’ve all done that.)
This easy small-batch banana bread is the kind of recipe that feels almost too straightforward to write down. But the first time I pulled that mini loaf out of the oven—golden on top, steam rising from the crack down the center—I knew I wasn’t going back. It’s moist. It’s tender. And it tastes exactly like the full-size version, without the leftovers guilt.
It’s the recipe that finally made banana bread practical for me. And I think it might do the same for you.
Why You’ll Love This Recipe
This isn’t just another banana bread recipe. It’s the one you’ll actually make on a Tuesday afternoon when you spot that single brown banana on the counter. Here’s why it works so well.
- One Bowl, No Mixer – You mash, stir, and pour all in the same bowl. No electric mixer required. Less cleanup, more baking.
- Perfect for Small Households – This recipe makes exactly one mini loaf. No more wondering what to do with half a loaf going stale on day four.
- Simple Ingredients – You probably already have everything in your pantry. Butter, sugar, an egg, flour, baking soda, salt, and that lonely banana.
- Ready in Under an Hour – From craving to warm slice in about 45 minutes. That’s faster than a trip to the bakery.
- Customizable Without Fuss – Add chocolate chips, walnuts, or a swirl of peanut butter. The base recipe handles additions beautifully.
- Unbelievably Moist – The trick is using a really ripe banana and melted butter. The texture comes out tender and soft every single time.
I’ve tested this recipe at least a dozen times, tweaking the flour ratio and baking time until it felt right. What you get here is the version that disappeared fastest in my kitchen. It’s the kind of bread that makes you close your eyes after the first bite—simple, familiar, and exactly what you wanted.
This is comfort food scaled down to fit a quiet morning or a lazy afternoon. No fuss. No waste. Just good banana bread.
What Ingredients You Will Need
This recipe uses simple, everyday ingredients to create something genuinely satisfying. No specialty items, no long grocery list. Just the basics done right.
- 1 very ripe medium banana (about 120g peeled) – The darker and spottier, the better. A ripe banana is naturally sweeter and mashes more easily, which means better flavor and texture in the final bread. If your banana isn’t quite there yet, you can speed things up by roasting it in the oven at 300°F for 15 minutes.
- 3 tablespoons unsalted butter, melted (42g) – Melted butter gives this bread a rich, tender crumb without needing a mixer. I use unsalted so I can control the salt level. If you only have salted butter on hand, just reduce the added salt to a tiny pinch.
- ¼ cup granulated sugar (50g) – Regular white sugar keeps things simple. You could substitute coconut sugar or light brown sugar for a deeper flavor, but the texture may be slightly denser.
- 1 large egg, room temperature – The egg binds everything together and adds structure. Let it sit out for 10 minutes if you forgot to plan ahead—it really does make a difference in how evenly the batter comes together.
- ½ teaspoon vanilla extract – Pure vanilla adds warmth and rounds out the banana flavor. Imitation vanilla works fine too, but pure is noticeably nicer here.
- ¾ cup all-purpose flour (95g) – Spoon and level your flour for the most accurate measurement. Scooping directly with the measuring cup can pack in too much flour and make the bread dry. I use Gold Medal or King Arthur Flour for consistent results.
- ½ teaspoon baking soda – This is the only leavening agent you need. Make sure it’s fresh—old baking soda won’t give you that nice rise.
- ¼ teaspoon salt – Salt balances the sweetness and enhances the banana flavor. Don’t skip it, even if you’re using salted butter.
- Optional add-ins: ¼ cup chocolate chips, chopped walnuts, or pecans – Fold these in gently at the end. Chocolate chips are my go-to, but toasted walnuts add a lovely crunch.
Equipment Needed
You don’t need a fancy kitchen to make this bread. Here’s what you’ll actually use.
- One medium mixing bowl – Any bowl will do. I use a ceramic one because it feels sturdy, but glass or metal works just as well.
- A fork or potato masher – For mashing the banana. A fork is perfectly fine, though a masher gets the job done in half the time.
- A whisk or wooden spoon – For stirring the batter. A whisk helps break up any flour lumps, but a spoon works too.
- A 5.75 x 3.25-inch mini loaf pan – This is the standard size for small-batch baking. If you don’t have one, you can bake the batter in a greased 6-inch cast iron skillet or even a couple of large muffin cups (bake time will be shorter).
- Parchment paper (optional but helpful) – Lining the pan with a sling of parchment makes lifting the loaf out effortless. I do this every time now.
- Cooling rack – Helps the bread cool evenly without getting soggy on the bottom. A wire rack is ideal, but you can use a plate if that’s all you have.
I bought my mini loaf pan at a thrift store for two dollars, and it’s become one of my most-used pans. You really don’t need anything fancy here.
Preparation Method
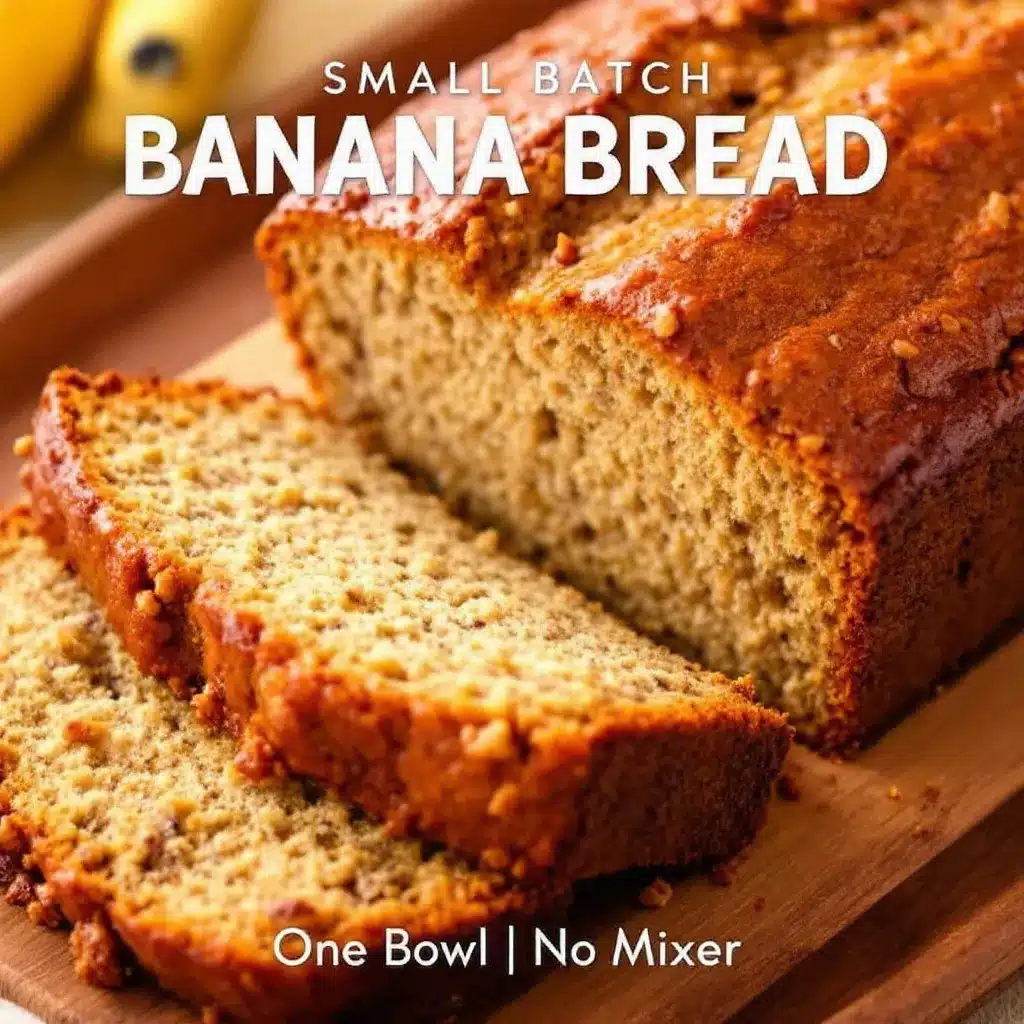
This recipe comes together in about 10 minutes of active work. The rest is just waiting for the oven to do its thing.
- Preheat your oven to 350°F (175°C). Position the rack in the center of the oven. Lightly grease your mini loaf pan with butter or nonstick spray, or line it with a strip of parchment paper that hangs over the two long sides.
- Mash the banana. Peel the banana and place it in your mixing bowl. Use a fork or potato masher to mash it until it’s mostly smooth with just a few small lumps left. You want it to look like a thick puree—over-mashing is fine, but leaving big chunks means uneven texture in the baked bread.
- Add the melted butter and sugar. Pour the melted butter and sugar into the bowl with the mashed banana. Stir with a whisk or wooden spoon until everything is well combined. The mixture will look a little grainy from the sugar, and that’s okay.
- Add the egg and vanilla. Crack the egg into the bowl and add the vanilla extract. Stir until the egg is fully incorporated and the batter looks smooth and glossy. Take your time here—you want the egg to be completely mixed in so the bread bakes evenly.
- Add the dry ingredients. Sprinkle the flour, baking soda, and salt over the wet mixture. Stir gently with a spatula or spoon until just combined. A few streaks of flour are fine—over-mixing will make the bread tough. Stop as soon as you don’t see any more dry flour.
- Fold in any add-ins. If you’re using chocolate chips, nuts, or anything else, gently fold them in now. Don’t over-stir. Just a few turns of the spatula to distribute them evenly.
- Pour the batter into the prepared pan. Scrape every last bit out of the bowl—this is small-batch, after all. Smooth the top gently with the back of a spoon. The pan will be about two-thirds full.
- Bake for 30 to 35 minutes. Start checking at 30 minutes. The bread is done when a toothpick inserted into the center comes out clean or with just a few moist crumbs. The top should be golden brown and slightly domed. If the top is browning too quickly but the center isn’t done yet, tent the pan loosely with foil for the last 5 minutes.
- Cool in the pan for 10 minutes. Set the pan on a wire rack or a folded kitchen towel. Let it sit for exactly 10 minutes—this helps the bread set so it doesn’t fall apart when you remove it.
- Transfer to a wire rack to cool completely. Run a knife around the edges if needed, then lift the loaf out using the parchment sling. Let it cool fully before slicing, about 20 more minutes. I know it’s hard to wait, but slicing too early can make the bread crumble.
Your kitchen will smell incredible by this point. That warm banana-vanilla aroma is honestly half the reason I make this bread.
Cooking Tips & Techniques
After making this recipe more times than I can count, I’ve picked up a few tricks that make a real difference.
Use the ripest banana you have. This is the single most important tip. A banana that’s mostly brown on the outside will be soft, sweet, and easy to mash. If your banana is still yellow, the bread will be less sweet and more starchy. I’ve made that mistake before, and the result was edible but not memorable.
Measure your flour correctly. The easiest way to ruin banana bread is with too much flour. Spoon the flour into your measuring cup, then level it off with a knife. Don’t scoop directly from the bag—that packs the flour down and adds extra ounces you don’t want.
Don’t overmix the batter. Stir just until the flour disappears. Overmixing develops gluten, which makes the bread tough and dense. A few lumps are fine. The batter should look thick but not stiff.
Let the bread cool before slicing. I know it’s tempting to cut into it while it’s still warm, but the crumb needs time to set. If you slice too soon, the bread will be gummy and fall apart. Trust me, I’ve learned this the hard way more than once.
Check for doneness with a toothpick. If the toothpick comes out wet with batter, give it another 3 to 5 minutes. If it comes out clean or with a few crumbs, it’s done. Every oven runs a little differently, so use your eyes and the toothpick test together.
One more thing—if you’re baking at high altitude (above 3,500 feet), reduce the sugar by one tablespoon and add an extra tablespoon of flour. The bread should bake up just fine with that small adjustment.
Variations & Adaptations
This small-batch banana bread is a great base for experimenting. Here are a few variations I’ve tried and loved.
- Chocolate Chip Banana Bread – Fold in ¼ cup of semi-sweet or dark chocolate chips. The melted pockets of chocolate pair beautifully with the banana. I use Ghirardelli chips, but any brand works.
- Nutty Banana Bread – Add ¼ cup of toasted walnuts or pecans, roughly chopped. Toast them in a dry skillet for 3 minutes first—it brings out their flavor and keeps them crunchy inside the bread.
- Gluten-Free Version – Substitute the all-purpose flour with a 1:1 gluten-free baking flour blend. I’ve tested this with Bob’s Red Mill 1-to-1 Baking Flour, and the texture was very close to the original.
- Vegan Adaptation – Replace the egg with a flax egg (1 tablespoon ground flaxseed mixed with 3 tablespoons water, let sit for 5 minutes) and use melted coconut oil or vegan butter instead of regular butter. The bread will be slightly denser but still delicious.
- Spiced Banana Bread – Add ½ teaspoon of cinnamon and a pinch of nutmeg to the dry ingredients. It gives the bread a warm, cozy flavor that’s perfect for fall mornings.
I once made a version with a tablespoon of peanut butter swirled into the batter before baking. It created little ribbons of peanut butter throughout the loaf, and honestly, it might be my favorite variation yet. Don’t be afraid to play around—this recipe is forgiving.
Serving & Storage Suggestions
This banana bread is best served slightly warm or at room temperature. A slice with a pat of butter melting into it is hard to beat. You can also toast a slice lightly and drizzle it with honey or maple syrup for extra sweetness.
For a more indulgent treat, serve it alongside a creamy matcha latte or a creamy iced lavender oat milk latte. The mild sweetness of the bread balances beautifully with those floral, earthy drinks.
Storage: Wrap the cooled loaf tightly in plastic wrap or store it in an airtight container at room temperature. It will stay fresh for up to 3 days. After that, the texture starts to dry out a little.
Freezing: This bread freezes wonderfully. Wrap the whole loaf or individual slices in plastic wrap, then place them in a zip-top freezer bag. They’ll keep for up to 3 months. To thaw, leave a slice on the counter for 30 minutes or pop it in the toaster straight from frozen.
Reheating: The microwave works in a pinch (about 15 seconds), but toasting brings back that fresh-baked texture best. A slice in the toaster oven at 350°F for 5 minutes tastes almost as good as the day you baked it.
The flavors actually deepen a bit on the second day, so don’t feel like you have to eat it all immediately. Though, let’s be honest—with a loaf this small, that’s rarely a problem.
Nutritional Information & Benefits
Here’s an approximate breakdown for one slice of this banana bread (based on 5 slices per loaf, without add-ins).
| Nutrient | Amount per Slice |
|---|---|
| Calories | 195 |
| Total Fat | 9g |
| Saturated Fat | 5g |
| Cholesterol | 55mg |
| Sodium | 210mg |
| Total Carbohydrates | 26g |
| Dietary Fiber | 1g |
| Sugars | 13g |
| Protein | 3g |
Bananas are a good source of potassium and vitamin B6, which support heart health and energy metabolism. The egg adds a small amount of high-quality protein, and the butter provides vitamin A. This isn’t a health food by any stretch, but it’s a reasonable treat when you’re craving something homemade.
If you’re looking for a lighter option, you can replace half the butter with unsweetened applesauce. The texture will be slightly less tender, but it works well enough.
Conclusion
This easy small-batch banana bread is proof that you don’t need a lot of ingredients, time, or equipment to bake something worth eating. One bowl. One banana. No mixer. And in less than an hour, you’ve got a warm, golden loaf that smells like comfort and tastes even better.
What I love most about this recipe is how unfussy it is. It doesn’t demand precision or planning. It meets you where you are—maybe with a brown banana on the counter and a quiet afternoon ahead. That’s enough.
I’d love to hear how yours turns out. Did you add chocolate chips? Try it with walnuts? Swirl in some peanut butter? Drop a comment below and let me know what variation you made. And if you found this helpful, share it with a friend who also needs a smaller loaf in their life.
Happy baking, friend. You’ve got this.
Frequently Asked Questions
Can I use two bananas instead of one?
This recipe is designed for a single banana. Adding a second banana will throw off the liquid-to-dry ratio and may result in a dense, underbaked loaf. If you have two ripe bananas, I’d recommend doubling the entire recipe and baking in a standard 8×4-inch loaf pan for about 50-55 minutes.
Can I make this recipe without an egg?
Yes. You can substitute the egg with a flax egg (1 tablespoon ground flaxseed mixed with 3 tablespoons water, let sit for 5 minutes). The bread will be slightly denser, but it still tastes great. Applesauce (¼ cup) also works as an egg replacement, though the texture will be a bit softer.
Why did my banana bread turn out dry?
The most common reason is over-measuring the flour. Make sure you spoon the flour into your measuring cup and level it off rather than scooping directly. Over-baking can also cause dryness—check the bread at 30 minutes and pull it as soon as a toothpick comes out clean.
Can I bake this in a muffin tin instead?
Absolutely. Grease two cups of a standard muffin tin and divide the batter evenly between them. Bake at 350°F for about 18-22 minutes, or until a toothpick comes out clean. You’ll get two generous banana muffins instead of a loaf.
How do I ripen a banana quickly?
Place the unpeeled banana on a baking sheet and bake at 300°F for 15-20 minutes. The skin will turn black, but the inside will soften and sweeten. Let it cool before peeling and mashing. It’s not quite the same as naturally ripened, but it works in a pinch.
Pin This Recipe!
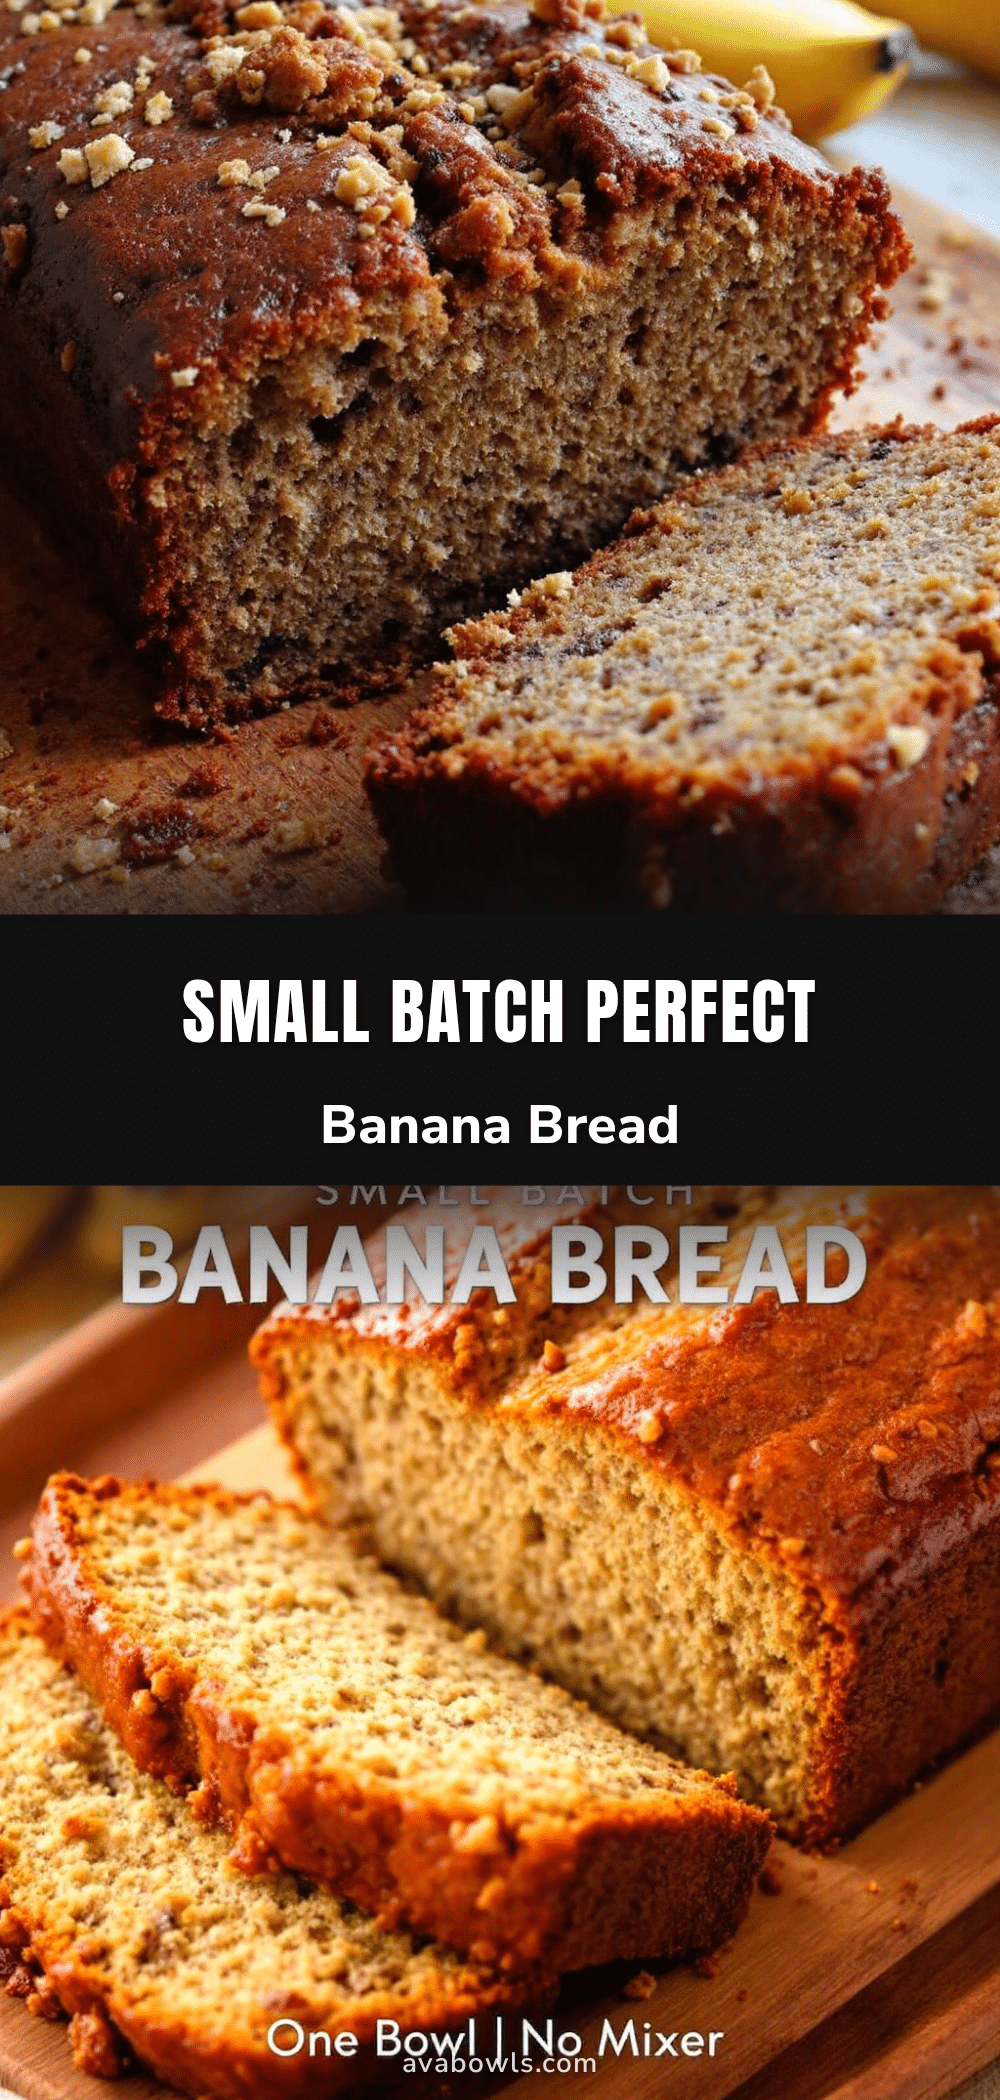
Easy Small-Batch Banana Bread – One Bowl, No Mixer
This easy small-batch banana bread is made in one bowl with no mixer, using a single overripe banana. It produces a moist, tender mini loaf that’s perfect for small households, ready in under an hour.
- Prep Time: 10 minutes
- Cook Time: 30 minutes
- Total Time: 45 minutes
- Yield: 5 servings 1x
- Category: Dessert
- Cuisine: American
Ingredients
- 1 very ripe medium banana (about 120g peeled)
- 3 tablespoons unsalted butter, melted (42g)
- ¼ cup granulated sugar (50g)
- 1 large egg, room temperature
- ½ teaspoon vanilla extract
- ¾ cup all-purpose flour (95g)
- ½ teaspoon baking soda
- ¼ teaspoon salt
- Optional add-ins: ¼ cup chocolate chips, chopped walnuts, or pecans
Instructions
- Preheat your oven to 350°F (175°C). Position the rack in the center of the oven. Lightly grease your mini loaf pan with butter or nonstick spray, or line it with a strip of parchment paper that hangs over the two long sides.
- Mash the banana. Peel the banana and place it in your mixing bowl. Use a fork or potato masher to mash it until it’s mostly smooth with just a few small lumps left.
- Add the melted butter and sugar. Pour the melted butter and sugar into the bowl with the mashed banana. Stir with a whisk or wooden spoon until everything is well combined.
- Add the egg and vanilla. Crack the egg into the bowl and add the vanilla extract. Stir until the egg is fully incorporated and the batter looks smooth and glossy.
- Add the dry ingredients. Sprinkle the flour, baking soda, and salt over the wet mixture. Stir gently with a spatula or spoon until just combined. A few streaks of flour are fine.
- Fold in any add-ins. If you’re using chocolate chips, nuts, or anything else, gently fold them in now.
- Pour the batter into the prepared pan. Scrape every last bit out of the bowl. Smooth the top gently with the back of a spoon.
- Bake for 30 to 35 minutes. Start checking at 30 minutes. The bread is done when a toothpick inserted into the center comes out clean or with just a few moist crumbs.
- Cool in the pan for 10 minutes. Set the pan on a wire rack or a folded kitchen towel.
- Transfer to a wire rack to cool completely. Run a knife around the edges if needed, then lift the loaf out using the parchment sling. Let it cool fully before slicing, about 20 more minutes.
Notes
Use the ripest banana you have for best flavor. Measure flour correctly by spooning and leveling. Don’t overmix the batter. Let the bread cool before slicing to avoid crumbling. For high altitude (above 3,500 feet), reduce sugar by 1 tablespoon and add an extra tablespoon of flour.
Nutrition
- Serving Size: 1 slice
- Calories: 195
- Sugar: 13
- Sodium: 210
- Fat: 9
- Saturated Fat: 5
- Carbohydrates: 26
- Fiber: 1
- Protein: 3
Keywords: small-batch banana bread, one bowl banana bread, mini banana bread, easy banana bread, single banana recipe


