The last weekend of September hit, and my kitchen counter disappeared under a pile of candy corn, black gel icing, and a bag of Oreos I’d been hiding from myself. I had promised my niece I’d bring “something spooky” to her Halloween party, but I’d forgotten until the night before. Standing there at 10 PM, I stared at the ingredients and realized I didn’t have time to bake anything. That’s when I remembered the no-bake chocolate peanut butter balls my grandma used to make, and I thought—what if I gave them a creepy makeover?
So I crushed the Oreos, mixed them with cream cheese, and started rolling. The first few looked like sad little lumps. But then I stuck some pretzel sticks in the sides for legs, added a dollop of icing for eyes, and suddenly I had a platter of the cutest, creepiest little spiders you’ve ever seen. I honestly didn’t expect them to work that well. But by the time I finished, I was already planning to make another batch for myself.
These Easy No-Bake Halloween Oreo Spider Cookies are the kind of recipe that saves you when you need something festive fast. They don’t require an oven, they come together in under 30 minutes, and they look way more impressive than they actually are. That’s my favorite kind of cooking trick, honestly. The kind where you look like a hero but you barely tried.
Why You’ll Love This Recipe
I’ve tested a lot of Halloween treats over the years, and most of them fall into one of two categories: they taste amazing but take forever, or they’re quick to make but taste like cardboard. These spider cookies break that rule entirely. They’re rich, fudgy, and have that perfect Oreo-cream-cheese texture that melts in your mouth, but they’re also ready to serve in about 20 minutes of active work.
- No Oven Required: This is a true no-bake recipe. No turning on the oven, no waiting for things to cool. Just mix, roll, decorate, and serve.
- Simple Ingredients: You only need six ingredients, and most of them are probably already in your pantry. No specialty baking supplies needed.
- Perfect for Halloween Parties: These little guys are the star of any Halloween spread. Kids love them, adults sneak them when they think no one’s looking, and they photograph beautifully for social media.
- Crowd-Pleaser: I brought these to that Halloween party, and they were gone before the cupcakes. Someone actually asked me if I’d gone to culinary school. I just smiled.
- Unbelievably Delicious: The combination of crushed Oreos and cream cheese creates a texture that’s almost like a truffle. It’s rich without being too sweet, and the saltiness of the pretzel legs balances everything perfectly.
What makes this recipe different from all the other spider cookies out there is the ratio. I spent a few batches figuring out the right amount of cream cheese so the balls hold their shape but don’t get soggy. And the trick of using black gel icing for the eyes instead of candy eyes? Game changer. They stay put, they don’t slide off, and they give the spiders that perfect glossy look.
This isn’t just another Halloween treat. It’s the kind that makes you close your eyes after the first bite, even if you’re surrounded by screaming kids in costume.
What Ingredients You Will Need
This recipe uses simple, everyday ingredients to create something that tastes way more complicated than it is. No fancy baking chocolate, no obscure extracts. Just good old-fashioned pantry staples with a Halloween twist.
- Oreo cookies (regular, not Double Stuf): You’ll need one standard 14.3-ounce package. I recommend using regular Oreos rather than Double Stuf because the filling-to-cookie ratio is better for the texture. If you use Double Stuf, the balls will be a little softer and harder to shape. Trust me on this one—I learned the hard way.
- Cream cheese (softened): 8 ounces, full-fat. Let it sit on the counter for about 30 minutes before you start. Cold cream cheese will leave you with lumpy, uneven balls. I use Philadelphia brand because it’s consistent, but any full-fat block cream cheese will work. Do not use whipped cream cheese or the spreadable kind in a tub—it has too much air and water.
- Powdered sugar: ¼ cup. This helps bind the mixture and adds a touch of sweetness without making it grainy. Sift it if you’re feeling fancy, but honestly, I never do and it turns out fine.
- Pretzel sticks: For the spider legs. You’ll need about 8 per spider, so plan accordingly. I use the standard thin pretzel sticks, but you can also use the thicker ones if you want chunkier legs. Just break them in half first so they’re easier to insert.
- Black gel icing: For the eyes. This is the secret weapon. Regular black frosting is too thick and will squish the cookie when you try to pipe it. Gel icing comes in a squeeze tube and gives you perfect control. Wilton brand is my go-to, but any brand works.
- Red decorating gel (optional): For the mouths. If you want your spiders to look extra spooky, add a tiny red smile. Totally optional, but it makes them look a little mischievous.
For ingredient substitutions, you can use gluten-free chocolate sandwich cookies if you’re serving a gluten-sensitive crowd. Just check the label to make sure they’re certified gluten-free. The texture will be slightly different, but they still taste great. If you need a dairy-free option, use dairy-free cream cheese (like Kite Hill or Tofutti) and dairy-free chocolate sandwich cookies. The flavor changes a bit, but the structure holds up.
Equipment Needed
You don’t need a lot of fancy tools for this recipe, which is part of the beauty of it. Here’s what you’ll need:
- Food processor or rolling pin: You need to crush the Oreos into fine crumbs. A food processor does this in about 30 seconds. If you don’t have one, put the cookies in a zip-top bag and crush them with a rolling pin. It’s a little more work, but it’s also oddly satisfying.
- Large mixing bowl: For combining the Oreo crumbs, cream cheese, and powdered sugar. Use a bowl big enough that you can mix without flinging crumbs everywhere.
- Hand mixer or sturdy spatula: A hand mixer makes the blending process much faster and gives you a smoother texture. But if you don’t have one, a good old-fashioned spatula and some elbow grease will work. Just make sure the cream cheese is really soft first.
- Small cookie scoop or tablespoon: For portioning the dough into equal-sized balls. I use a #70 cookie scoop (about 1 tablespoon), which gives me perfectly uniform spiders. If you don’t have a scoop, just eyeball it—they don’t have to be perfect.
- Baking sheet lined with parchment paper: For holding the finished spiders while they chill. The parchment prevents them from sticking.
- Piping tip or toothpick: For applying the eyes. If you don’t have a piping tip, a toothpick works great for dotting on the gel icing.
- Refrigerator: The spiders need to chill for at least 30 minutes to firm up. Don’t skip this step—it’s what makes them easy to handle and serve.
If you don’t have a food processor, I actually prefer using a rolling pin sometimes. It’s messier, sure, but it feels more like cooking and less like science. Plus, you can control the crumb size better. For the cream cheese, a hand mixer is worth the investment if you make a lot of no-bake desserts. I bought mine for $15 and it’s lasted five years.
Preparation Method
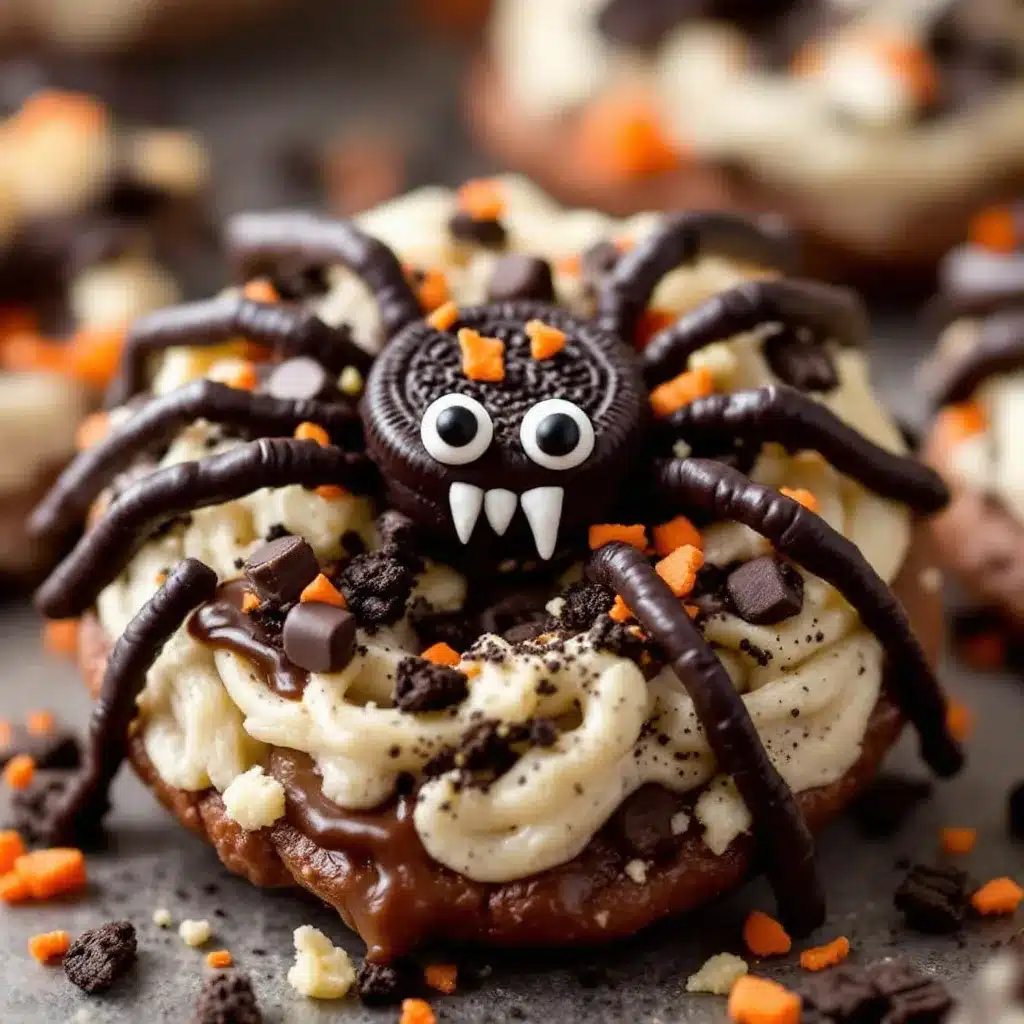
This recipe comes together fast, so I recommend having all your ingredients measured and ready before you start. Trust me, once your hands are covered in Oreo dust, you won’t want to stop and wash them to open a package of cream cheese.
- Crush the Oreos: Place the entire package of Oreos (filling and all) in your food processor. Pulse until you have fine, uniform crumbs. If you’re using the bag-and-rolling-pin method, seal the bag tightly and crush until no large pieces remain. You should have about 2 cups of crumbs. Don’t overprocess—you want crumbs, not dust.
- Soften the cream cheese: Take the cream cheese out of the fridge about 30 minutes before you start. If you forgot (I do this all the time), microwave it in 10-second bursts until it’s soft but not melted. Cut it into cubes first for even softening.
- Mix the base: In a large bowl, combine the Oreo crumbs, softened cream cheese, and powdered sugar. Beat with a hand mixer on medium speed until everything is fully combined and the mixture forms a thick, fudgy dough. It should hold together when you squeeze a bit in your hand. If it’s too crumbly, add a tablespoon more cream cheese. If it’s too sticky, add a tablespoon more powdered sugar.
- Chill the dough: Cover the bowl with plastic wrap and refrigerate for 15 minutes. This makes the dough easier to handle and roll. Don’t skip this step—warm dough will stick to your hands and make a mess.
- Form the spider bodies: Scoop out about 1 tablespoon of dough and roll it between your palms into a smooth ball. Place it on the parchment-lined baking sheet. Repeat with the remaining dough. You should get about 20-24 balls, depending on size. Work quickly so the dough doesn’t warm up too much.
- Add the legs: Take 4 pretzel sticks and break each one in half. You should have 8 short pieces per spider. Gently insert 4 pieces into each side of the ball, angling them slightly so they look like spider legs. Press them in about halfway—you don’t want them poking all the way through. The legs should curve outward and slightly upward.
- Add the eyes: Using the black gel icing, pipe two small dots on the front of each spider. If you want a creepier look, make one eye slightly larger than the other. For the mouths, use the red decorating gel to pipe a tiny curved line below the eyes. Don’t make it too big—you want them to look cute-spooky, not terrifying.
- Chill to set: Place the baking sheet in the refrigerator for at least 30 minutes, or until the spiders are firm. This step is crucial—it helps the legs stay in place and the texture becomes perfectly fudgy.
- Serve: Arrange the spiders on a platter and watch them disappear. They’re best served cold or at room temperature, but don’t leave them out for more than 2 hours if you’re serving them at a party.
If the dough starts sticking to your hands while rolling, dust your palms with a little powdered sugar. It works like a charm. And if a spider leg falls out, just push it back in and give it a little twist—the cream cheese acts like glue.
Cooking Tips & Techniques
I’ve made these spiders about a dozen times now, and I’ve learned a few things the hard way. Here are my best tips for getting perfect results every time.
Don’t overmix the dough. I know it’s tempting to keep beating until it’s completely smooth, but overmixing can make the cream cheese break down and the texture will become greasy. Mix just until everything comes together—a few small streaks of cream cheese are fine.
Use cold hands for rolling. If your hands are warm, the dough will start to soften and stick. Run your hands under cold water for a few seconds before rolling, or keep a bowl of ice water nearby to dip your fingers in. Dry them thoroughly before touching the dough.
Break the pretzels in advance. I learned this after trying to break pretzels while holding a sticky spider body in one hand. It’s messy. Break all your pretzel sticks in half before you start forming the balls, and keep them in a bowl nearby.
Chill between batches if needed. If you’re making a large batch, the dough can warm up as you work. If it starts getting too sticky, pop the bowl back in the fridge for 10 minutes. It’s better to work in small batches than to fight with warm, sticky dough.
Make the eyes the right size. If you pipe the eyes too big, they’ll look like googly eyes instead of spider eyes. Keep them small and close together. I use the tip of a toothpick to apply the gel icing—it gives me more control than the tube itself.
Don’t skip the chill time. I know you’ll be excited to eat them, but the spiders really need that 30 minutes in the fridge to firm up. Without it, the legs will slide out and the texture will be too soft. Patience pays off here.
One time I forgot to chill the dough before rolling, and the balls came out flat and misshapen. They still tasted good, but they looked more like squashed bugs than spiders. Lesson learned.
Variations & Adaptations
This recipe is incredibly flexible, and I’ve tried several variations over the years. Here are some of my favorites:
- Peanut Butter Spider Cookies: Add ¼ cup of creamy peanut butter to the dough along with the cream cheese. It gives the cookies a Reese’s-like flavor that pairs beautifully with the chocolate Oreos. Just reduce the cream cheese by 2 tablespoons to keep the texture right.
- White Chocolate Spiders: Melt ½ cup of white chocolate chips and drizzle it over the finished spiders before adding the eyes. It makes them look like they’ve been caught in a web, which is a fun Halloween effect. Plus, white chocolate and Oreo is a killer combo.
- Mint Chocolate Spiders: Use Mint Oreos instead of regular ones. The mint flavor adds a refreshing twist that’s perfect for fall. You can also add a drop of peppermint extract to the dough for extra punch.
- Vegan Version: Use dairy-free cream cheese and vegan chocolate sandwich cookies. The texture will be slightly softer, so you might need to add an extra tablespoon of powdered sugar to firm it up. Chill the dough for at least 20 minutes before rolling.
- Gluten-Free Version: Use gluten-free chocolate sandwich cookies. I’ve tested this with several brands, and they all work. Just make sure the pretzels are also gluten-free, or use gluten-free pretzel sticks.
- Spider Web Effect: Instead of plain black eyes, use white gel icing to pipe a tiny web pattern on the back of each spider. It’s a little extra work, but it looks incredible on a platter.
I personally love the peanut butter version. I made it for a friend who claims she doesn’t like Oreos (I know, right?), and she ate four of them before admitting she was wrong. The peanut butter mellows out the chocolate and makes them taste almost like a buckeye.
Serving & Storage Suggestions
These spider cookies are best served cold, straight from the fridge. The texture is firm but fudgy, and the pretzel legs stay crunchy. If you’re serving them at a party, arrange them on a black or orange platter for maximum Halloween vibes. I like to scatter a few candy eyeballs or fake spider webs around the platter for decoration.
For serving temperature, they’re also good at room temperature if you let them sit for about 10 minutes. The cream cheese softens slightly and the texture becomes almost truffle-like. Just don’t leave them out for more than 2 hours, especially if you’re serving them outdoors.
These spiders pair beautifully with other Halloween treats. I often serve them alongside a batch of creamy slow cooker queso blanco dip for a sweet-and-savory Halloween spread. The contrast between the rich, chocolatey spiders and the warm, cheesy dip is surprisingly perfect. If you’re hosting a Halloween party, you can also serve them with creamy beer cheese pretzel dip for a fun, indulgent snack table.
Storage Instructions:
- Refrigerator: Store the spiders in an airtight container in the refrigerator for up to 5 days. Place them in a single layer with parchment paper between layers to prevent sticking. The pretzel legs will soften slightly over time, but they’ll still be delicious.
- Freezer: You can freeze the undecorated spider bodies (without legs and eyes) for up to 3 months. Roll them into balls, place them on a baking sheet, and freeze until solid. Then transfer to a freezer-safe bag. When you’re ready to serve, thaw them in the refrigerator for about 30 minutes, then add the legs and eyes.
- Reheating: These are meant to be served cold, so no reheating is needed. If you’ve frozen them, just let them thaw in the fridge for an hour before decorating.
The flavors actually develop over time. I think they taste even better on day two, after the Oreo crumbs have had a chance to fully absorb the cream cheese. The texture becomes more uniform and the fudgy richness intensifies.
Nutritional Information & Benefits
Let’s be real—these are a treat, not a health food. But here’s the estimated nutritional breakdown per spider (based on 24 servings):
- Calories: Approximately 140
- Total Fat: 7g
- Saturated Fat: 3.5g
- Carbohydrates: 18g
- Sugar: 12g
- Protein: 2g
- Sodium: 115mg
These numbers are estimates and will vary based on the specific brands you use.
While this isn’t a health-conscious recipe, there are a few redeeming qualities. The cream cheese provides a small amount of calcium and protein. The Oreos contain a tiny bit of iron from the enriched flour. And the pretzels add a little salt that helps balance the sweetness.
For dietary considerations, this recipe is not gluten-free unless you use gluten-free cookies and pretzels. It contains dairy from the cream cheese, but you can easily make it dairy-free with substitutions. It’s also nut-free if you use standard Oreos and pretzels, making it a good option for school parties where nut allergies are a concern.
I personally believe that treats like this have a place in a balanced lifestyle. They’re for celebrations, for making memories, for the pure joy of eating something ridiculous and delicious. Life’s too short to skip the spider cookies.
Conclusion
These Easy No-Bake Halloween Oreo Spider Cookies are the kind of recipe that makes you look like a kitchen wizard without any of the actual wizardry. They’re quick, they’re fun, and they taste incredible. Whether you’re making them for a Halloween party, a classroom celebration, or just because you want something spooky and sweet, they deliver every single time.
I love that this recipe is forgiving. You can mess up the sizes, use different decorations, or swap in different fillings, and they still come out great. That’s the mark of a good recipe—it works with you, not against you. And honestly, the look on people’s faces when they see a platter of these little guys is worth every second of effort.
So go ahead, grab a package of Oreos and some cream cheese, and make a batch tonight. Customize them however you like—add peanut butter, drizzle with white chocolate, or make them extra creepy with red icing mouths. Then snap a photo, share it with me in the comments, and let me know how they turned out. I’d love to hear about your spider cookie adventures.
Happy Halloween, and happy snacking!
Frequently Asked Questions
Can I use Double Stuf Oreos for this recipe?
You can, but I don’t recommend it. Double Stuf Oreos have more filling, which makes the dough softer and harder to shape. If you only have Double Stuf, reduce the cream cheese by 2 tablespoons to compensate. The texture won’t be exactly the same, but it’ll still taste good.
How far in advance can I make these spider cookies?
You can make the undecorated bodies up to 3 days in advance and store them in the refrigerator. Add the legs and eyes the day you plan to serve them for the best presentation. The pretzel legs will soften over time, so it’s best to add them within a few hours of serving.
Can I use something other than pretzel sticks for the legs?
Absolutely. You can use thin breadsticks, licorice strings (cut into pieces), or even chow mein noodles for a different look. Just keep in mind that different materials have different textures and will affect the overall crunch factor. Pretzel sticks give the best balance of crunch and saltiness.
Why did my spider cookies turn out too soft?
This usually happens if the cream cheese was too warm or if you used too much of it. Make sure your cream cheese is softened but not warm, and measure it accurately. If your dough is too soft, add a tablespoon of powdered sugar and chill the dough for 15 minutes before rolling.
Can I make these spider cookies with kids?
Yes, and it’s a blast! Kids love rolling the dough into balls and sticking in the pretzel legs. Just supervise the pretzel breaking if you’re working with younger children, as the pieces can be sharp. The decorating part is especially fun—let them get creative with the eye placement and make each spider unique.
Pin This Recipe!
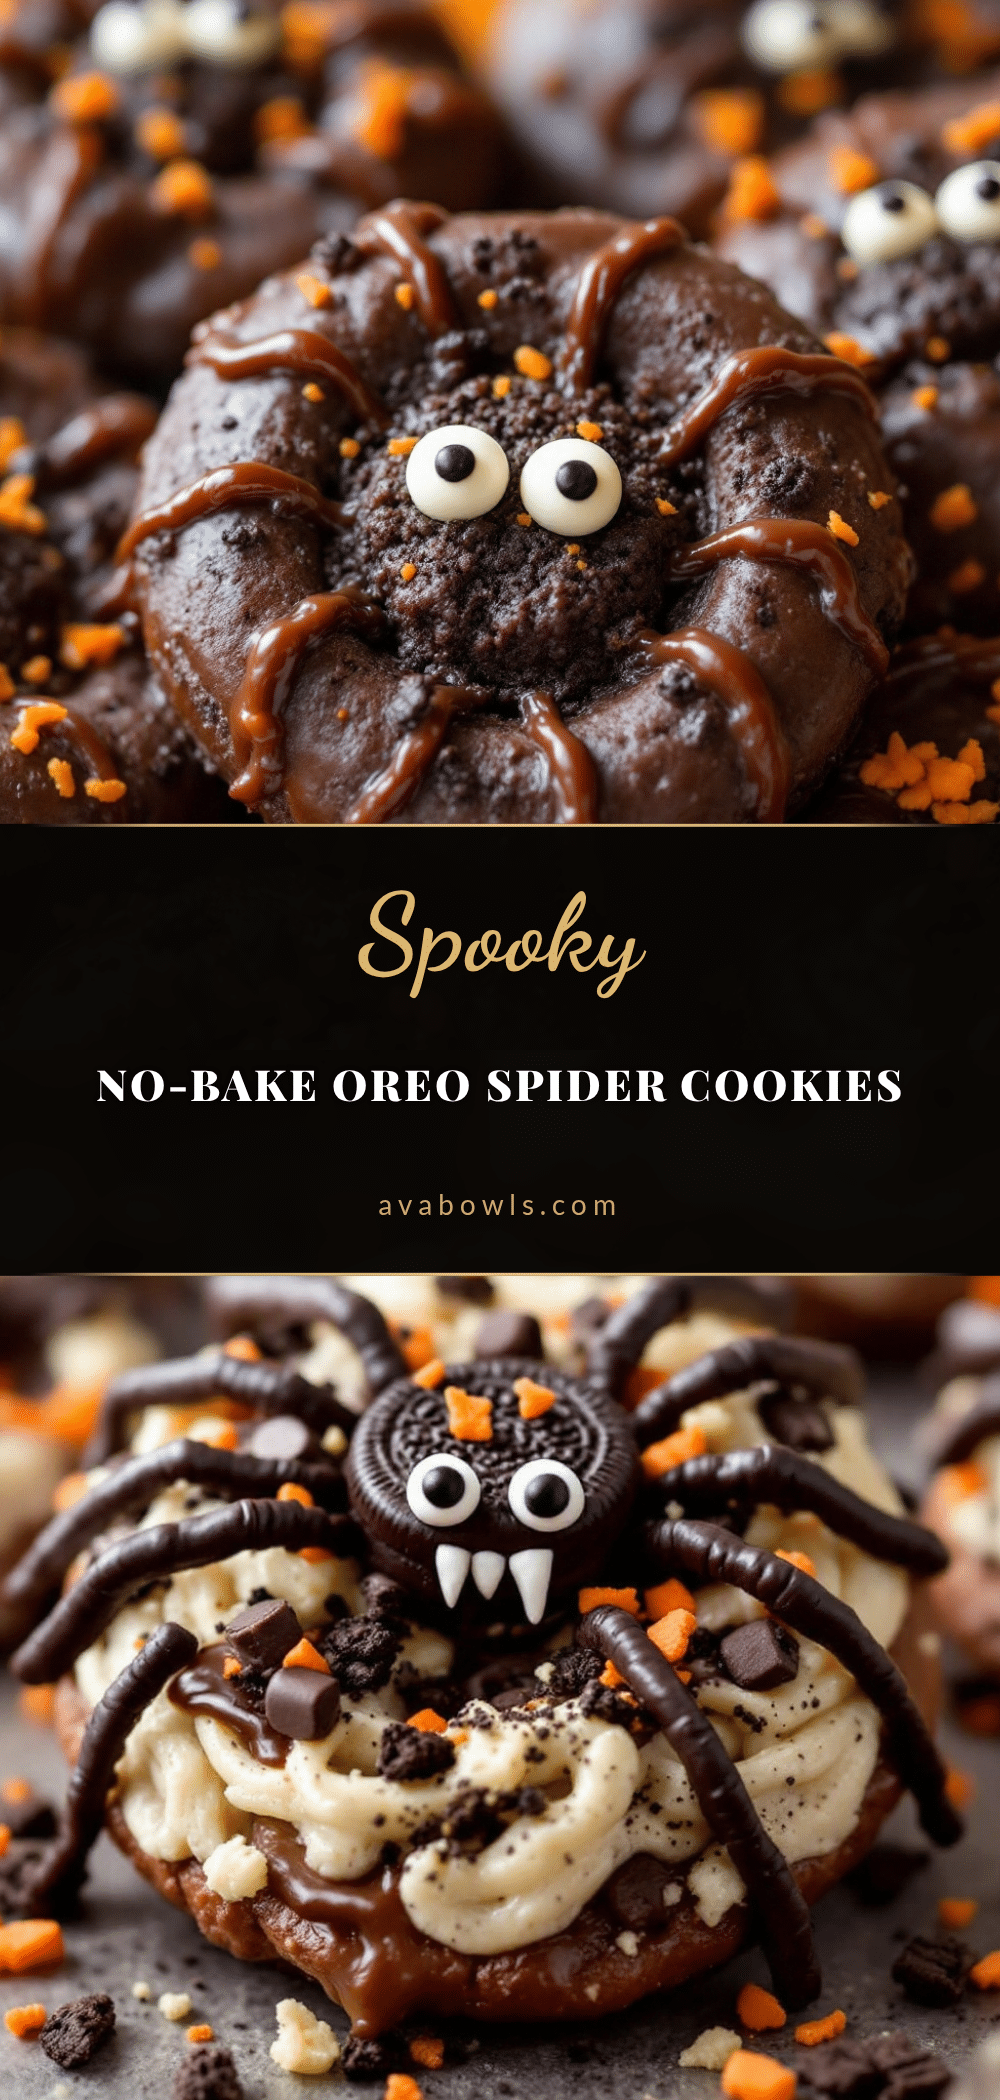
Easy No-Bake Halloween Oreo Spider Cookies: Best Treat

These no-bake Oreo spider cookies are rich, fudgy, and come together in under 30 minutes. Perfect for Halloween parties, they look impressive but are incredibly easy to make with just six simple ingredients.
- Prep Time: 20 minutes
- Cook Time: 0 minutes
- Total Time: 50 minutes (includes chilling)
- Yield: 20-24 servings 1x
- Category: Dessert
- Cuisine: American
Ingredients
- 1 (14.3-ounce) package regular Oreo cookies (not Double Stuf)
- 8 ounces cream cheese, softened
- 1/4 cup powdered sugar
- Pretzel sticks (about 8 per spider)
- Black gel icing (for eyes)
- Red decorating gel (optional, for mouths)
Instructions
- Crush the Oreos: Place the entire package of Oreos (filling and all) in a food processor. Pulse until you have fine, uniform crumbs. Alternatively, place cookies in a zip-top bag and crush with a rolling pin. You should have about 2 cups of crumbs.
- Soften the cream cheese: Take the cream cheese out of the fridge about 30 minutes before starting. If forgotten, microwave in 10-second bursts until soft but not melted.
- Mix the base: In a large bowl, combine the Oreo crumbs, softened cream cheese, and powdered sugar. Beat with a hand mixer on medium speed until fully combined and the mixture forms a thick, fudgy dough. If too crumbly, add a tablespoon more cream cheese; if too sticky, add a tablespoon more powdered sugar.
- Chill the dough: Cover the bowl with plastic wrap and refrigerate for 15 minutes to make the dough easier to handle.
- Form the spider bodies: Scoop out about 1 tablespoon of dough and roll it between your palms into a smooth ball. Place on a parchment-lined baking sheet. Repeat with remaining dough to make 20-24 balls.
- Add the legs: Break 4 pretzel sticks in half to get 8 short pieces per spider. Gently insert 4 pieces into each side of the ball, angling them slightly outward and upward. Press them in about halfway.
- Add the eyes: Using black gel icing, pipe two small dots on the front of each spider. For mouths, use red decorating gel to pipe a tiny curved line below the eyes (optional).
- Chill to set: Place the baking sheet in the refrigerator for at least 30 minutes, or until the spiders are firm.
- Serve: Arrange the spiders on a platter and serve cold or at room temperature. Do not leave out for more than 2 hours.
Notes
For best results, use regular Oreos (not Double Stuf) and full-fat cream cheese. Chill the dough before rolling to prevent sticking. If dough becomes too sticky, dust hands with powdered sugar. Pretzel legs can be added within a few hours of serving to maintain crunch. Store in an airtight container in the refrigerator for up to 5 days. Undecorated bodies can be frozen for up to 3 months.
Nutrition
- Serving Size: 1 spider cookie
- Calories: 140
- Sugar: 12
- Sodium: 115
- Fat: 7
- Saturated Fat: 3.5
- Carbohydrates: 18
- Protein: 2
Keywords: Halloween cookies, no-bake cookies, Oreo spider cookies, easy Halloween treats, no-bake dessert


