The frosting bowl was nearly empty, and my three-year-old niece had a smudge of black icing on her nose. She was holding up a slightly lopsided cookie with a crooked little grin drawn on its face, and she announced, “This one is mine. He’s my friend.” That’s when I knew these weren’t just Halloween cookies anymore. They were tiny edible characters with their own personalities, and honestly, I hadn’t planned on that happening.
I started making these black cat sugar cookies a few years ago for a small Halloween get-together. I wanted something that looked impressive but didn’t require piping intricate spiderwebs or spending hours on royal icing details. The first batch came out looking more like grumpy potatoes than cats, but the kids didn’t care. They ate them anyway, and I took notes. Now, after a few rounds of trial and error (and one particularly memorable batch that looked like melted raccoons), I’ve got a version that actually looks like a cat. A cute one, even.
These aren’t the kind of cookies that sit on a platter looking perfect and untouched. They get grabbed, admired for a second, and then devoured. There’s something about that little cat face with its pointed ears and tiny whiskers that makes people smile before they take a bite. It’s a simple joy, really. And that’s why this recipe stuck with me. It’s not fancy or fussy. It’s just a good, reliable sugar cookie that happens to look like a black cat. And honestly, that’s all it needs to be.
Why You’ll Love This Recipe
Let me tell you why these cookies have become my go-to for Halloween parties, school bake sales, and even just a fun weekend baking project with the kids.
- No Special Cutters Needed : You can use a simple round cutter and shape the ears by hand. No need to hunt down a cat-shaped cookie cutter at the last minute.
- Kid-Friendly and Fun : This is the perfect recipe for getting little hands involved. They can help roll the dough, press the cutter, and definitely help with the decorating.
- Simple Ingredients : You probably already have everything you need in your pantry. Butter, sugar, flour, eggs, and vanilla. Nothing weird or hard to find.
- Perfect for Halloween Parties : These cookies look adorable on a dessert table alongside other spooky treats. They’re a guaranteed crowd-pleaser for both kids and adults.
- Easy to Decorate : The black frosting is forgiving, and you can keep the decorations as simple or as detailed as you want. A few dots for eyes and a little smile, and you’re done.
What makes these different from other Halloween sugar cookies is the texture. This dough stays soft in the center with just a slight crisp on the edges. It’s the kind of cookie that doesn’t crumble into a million pieces when you bite into it. I’ve tested this recipe five times to get the bake time just right, and I can tell you, it works. Plus, the black cocoa powder in the frosting gives it a deep, rich color without needing a ton of food coloring. It’s a win-win.
These cookies are the kind of thing you make when you want to bring a little bit of joy to a Halloween gathering without spending all day in the kitchen. They’re simple, they’re cute, and they taste like a warm hug. Honestly, what more could you want from a cookie?
What Ingredients You Will Need
This recipe uses simple, straightforward ingredients to create a soft, buttery sugar cookie that holds its shape beautifully. Here’s what you’ll need for both the cookies and the frosting.
For the Sugar Cookies
- 1 cup (226g) unsalted butter, softened to room temperature. I prefer using Land O’Lakes for consistent results.
- 1 cup (200g) granulated sugar. Regular white sugar works perfectly here.
- 1 large egg, at room temperature. A cold egg can make the dough stiff and harder to roll.
- 1 teaspoon vanilla extract. Pure vanilla extract gives the best flavor, but imitation works in a pinch.
- 2 ½ cups (312g) all-purpose flour. Spoon and level it for accuracy. Too much flour makes the cookies dry.
- ½ teaspoon baking powder. This helps the cookies spread just the right amount without puffing up too much.
- ¼ teaspoon salt. A little salt balances the sweetness.
For the Black Frosting
- 1 ½ cups (180g) powdered sugar, sifted to remove lumps.
- 3 tablespoons unsalted butter, softened.
- 2 tablespoons black cocoa powder. This is the secret to a deep, dark color without using a ton of black food coloring. I recommend Rodelle brand for the richest flavor.
- 2-3 tablespoons milk, as needed to reach a spreadable consistency.
- ½ teaspoon vanilla extract.
- Black gel food coloring, optional, for a deeper shade.
For the Decorations
- Mini chocolate chips, for the eyes. You can also use candy eyes if you prefer.
- Pink or white frosting, for the nose and whiskers. A small tube of store-bought decorating icing works great.
- Pretzel sticks, optional, for whiskers if you want a crunchy element.
If you don’t have black cocoa powder, you can use regular unsweetened cocoa powder and add extra black gel food coloring. Just know the color might be more of a dark brown than true black. For a dairy-free version, swap the butter with a plant-based alternative and use oat milk in the frosting. The texture will be slightly different, but it still works.
Equipment Needed
You don’t need a lot of fancy equipment for these cookies, which is part of why I love this recipe so much.
- Mixing bowls – A large one for the dough and a medium one for the frosting.
- Electric hand mixer or stand mixer – Creaming the butter and sugar by hand is possible, but a mixer makes it much easier.
- Rolling pin – A standard rolling pin works fine. If you have one with thickness rings, it helps keep the dough even.
- 2 ½ to 3-inch round cookie cutter – Any round cutter works. I’ve even used a drinking glass in a pinch.
- Spatula – A thin metal spatula is best for transferring the cut dough to the baking sheet.
- Baking sheets – I use light-colored aluminum sheets for even baking. Dark sheets can cause the bottoms to brown too quickly.
- Parchment paper or silicone baking mat – This prevents sticking and makes cleanup a breeze.
- Wire cooling rack – Essential for letting the cookies cool completely before frosting.
- Piping bag or small zip-top bag – For the frosting. A small round tip works well, but snipping the corner of a bag works too.
If you don’t have a rolling pin, a clean wine bottle works in a pinch. I’ve done it before, and honestly, it’s not ideal, but it gets the job done. Also, a bench scraper is helpful for lifting the dough if it sticks a little.
Preparation Method
Now, let’s get to the fun part. I’ve broken this down into clear steps so you can follow along easily.
- Make the cookie dough. In a large mixing bowl, beat the softened butter and granulated sugar together until light and fluffy, about 2-3 minutes. Scrape down the sides of the bowl. Add the egg and vanilla extract, and beat until well combined.
- Mix the dry ingredients. In a separate bowl, whisk together the all-purpose flour, baking powder, and salt. Gradually add the dry mixture to the wet mixture, mixing on low speed until a soft dough forms. Don’t overmix, or the cookies will be tough. The dough should be slightly sticky but hold together when pressed.
- Chill the dough. Divide the dough in half, flatten each half into a disc, and wrap them tightly in plastic wrap. Refrigerate for at least 1 hour, or up to 3 days. Chilling is non-negotiable here. It prevents the cookies from spreading too much in the oven and helps them hold their shape. I learned this the hard way after making a batch of flat, shapeless blobs that looked more like pancakes than cookies.
- Preheat and prepare. When you’re ready to bake, preheat your oven to 350°F (175°C). Line two baking sheets with parchment paper or silicone mats.
- Roll and cut the dough. Lightly flour your work surface and rolling pin. Roll one disc of dough to about ¼-inch thickness. Use your round cookie cutter to cut out circles. Gather the scraps, re-roll, and cut again. Repeat with the second disc.
- Shape the cat ears. Here’s the trick. Take each round cookie and pinch the top two sides gently to form little pointed ears. Don’t worry if they’re not perfect. Slightly uneven ears give each cat its own personality. Place the shaped cookies on the prepared baking sheets, leaving about 2 inches of space between each one.
- Bake. Bake for 8-10 minutes, or until the edges are just barely golden. The centers will look slightly underdone, but that’s okay. They’ll continue to set as they cool. Let the cookies cool on the baking sheet for 5 minutes, then transfer them to a wire rack to cool completely. Do not frost them while they’re still warm, or the frosting will melt into a mess.
- Make the frosting. While the cookies are cooling, make the black frosting. In a medium bowl, beat the softened butter until smooth. Add the sifted powdered sugar and black cocoa powder, and mix on low speed until combined. Add the vanilla extract and 2 tablespoons of milk, and beat on medium speed until smooth and spreadable. If the frosting is too thick, add another tablespoon of milk. If it’s too thin, add a little more powdered sugar. Stir in a small amount of black gel food coloring if you want a deeper shade.
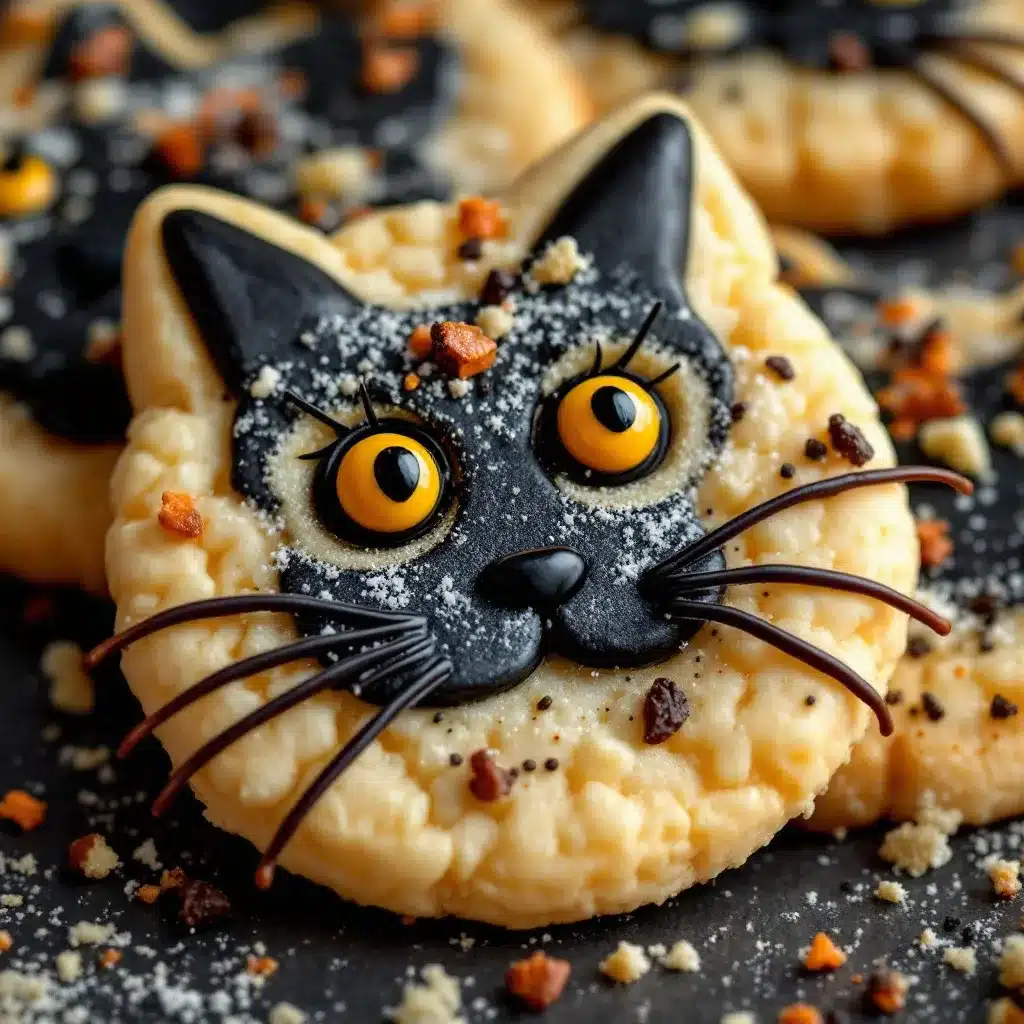
- Decorate the cookies. Once the cookies are completely cool, it’s time to decorate. Spoon the frosting into a piping bag or a small zip-top bag with the corner snipped off. Pipe a thin layer of frosting over each cookie, spreading it gently with a small offset spatula if needed. While the frosting is still wet, press two mini chocolate chips into the cookie for the eyes. Use a toothpick or the tip of a knife to draw a small pink or white nose in the center of the face. Add a little smile below the nose. For the whiskers, you can either pipe thin lines of white frosting or press two small pieces of pretzel stick on each side of the face.
- Let the frosting set. Let the decorated cookies sit at room temperature for about 30 minutes to allow the frosting to firm up. Then, they’re ready to serve or store.
The cookies should look like little black cat faces when you’re done. Some will look more like grumpy cats, some will look like happy cats, and a few might look like they’re plotting something. That’s the charm of this recipe.
Cooking Tips & Techniques
Over the years, I’ve made a lot of mistakes with sugar cookies. Here are the things I wish someone had told me when I started.
Don’t skip the chill time. I know it’s tempting to rush, but the dough needs to be cold. If you try to roll it while it’s still warm, it will stick to everything and lose its shape in the oven. I once tried to speed things up by only chilling the dough for 20 minutes, and the cookies spread into weird, amorphous blobs. They still tasted good, but they didn’t look like cats.
Use a light hand with the flour. When you’re rolling out the dough, use just enough flour to prevent sticking. Too much flour will make the cookies dry and crumbly. If the dough feels sticky, chill it a little longer instead of adding more flour.
Bake one sheet at a time. If you try to bake two sheets at once, the heat won’t circulate evenly, and the cookies on the bottom rack might burn. I know it takes longer, but it’s worth it for consistent results.
Let the cookies cool completely before frosting. This is the most important rule. If the cookies are even slightly warm, the frosting will turn into a runny mess. I’ve made this mistake more times than I care to admit. Patience is key here.
Use black cocoa powder for the frosting. Regular cocoa powder will give you a brownish-gray color, and you’ll need a ton of food coloring to make it truly black. Black cocoa powder is darker, richer, and has a subtle Oreo-like flavor that pairs perfectly with the sweet sugar cookie base. It’s a game-changer.
Don’t overmix the dough. Overmixing develops the gluten in the flour, which makes the cookies tough and dense. Mix just until the flour disappears into the dough. A few streaks of flour are okay; they’ll disappear as you roll the dough.
If the dough cracks while rolling, let it sit for a few minutes. Cold dough can sometimes crack at the edges. Let it sit at room temperature for 2-3 minutes to soften slightly before rolling again.
Variations & Adaptations
One of the best things about this recipe is how easy it is to adapt. Here are a few variations I’ve tried and loved.
Gluten-Free Version : Swap the all-purpose flour with a 1:1 gluten-free baking flour blend. I’ve used Bob’s Red Mill with good results. The dough might be a little more fragile, but the cookies still taste great.
Vegan Version : Use plant-based butter and a flax egg (1 tablespoon ground flaxseed mixed with 3 tablespoons water, let sit for 5 minutes). The cookies will be slightly less tender, but they still work well.
Spooky Spider Variation : Instead of cat faces, shape the cookies into rounds and decorate them as spiders. Use black frosting, add eight pretzel stick legs (four on each side), and two candy eyes on top. It’s a fun twist that kids love.
Pumpkin Spice Version : Add 1 teaspoon of pumpkin pie spice to the dry ingredients for a fall-flavored cookie. The warm spices pair beautifully with the black cocoa frosting.
White Cat Version : Use white frosting instead of black, and add pink noses and ears. These look adorable for a non-spooky Halloween option or even for a cat-themed birthday party.
Chocolate Cookie Base : Replace ¼ cup of the all-purpose flour with ¼ cup of unsweetened cocoa powder for a chocolate sugar cookie. The flavor is richer, and the dark color makes the white frosting decorations pop.
I once made a batch of these for a Halloween party and used orange frosting instead of black for a few of them. They looked like little pumpkin cats, and honestly, they were a hit. Don’t be afraid to experiment.
Serving & Storage Suggestions
These cookies are best served at room temperature. The frosting should be set but still soft enough to give when you bite into it. I like to arrange them on a platter with a few other Halloween treats, like creamy beer cheese pretzel dip for a savory contrast, or alongside a batch of slow cooker queso blanco dip for a full party spread.
For a fun presentation, place the cookies on a cake stand or a decorative tray lined with orange or black napkins. You can also stack them in a clear cellophane bag tied with a twist tie for a cute party favor.
Storage : Store the decorated cookies in an airtight container at room temperature for up to 5 days. Place a sheet of wax paper between the layers to prevent the frosting from smudging. Do not refrigerate them, as the cold can make the cookies dry and the frosting can become sticky.
Freezing : You can freeze the unbaked cookie dough discs for up to 3 months. Wrap them tightly in plastic wrap and then in foil. When you’re ready to bake, thaw the dough in the refrigerator overnight, then roll, cut, and bake as directed. You can also freeze the baked, unfrosted cookies for up to 2 months. Thaw them at room temperature, then decorate as usual.
Reheating : These cookies are best enjoyed at room temperature, but if you want a warm cookie, pop one in the microwave for 5-7 seconds. Just don’t overdo it, or the frosting will melt.
The cookies actually taste better the next day. The flavors meld together, and the cookie softens slightly. So if you can resist eating them all on day one, you’re in for a treat on day two.
Nutritional Information & Benefits
Let’s be real, these are sugar cookies. They’re a treat, not a health food. But here’s a rough estimate of what you’re looking at per cookie, assuming you get about 24 cookies from the recipe.
| Nutrient | Amount Per Cookie |
|---|---|
| Calories | 175 |
| Total Fat | 9g |
| Saturated Fat | 5g |
| Cholesterol | 25mg |
| Sodium | 85mg |
| Total Carbohydrates | 23g |
| Sugars | 13g |
| Protein | 2g |
On the bright side, the butter provides a small amount of vitamin A, and the black cocoa powder contains antioxidants. The cookies are also free of high-fructose corn syrup and artificial preservatives, which is more than you can say for a lot of store-bought Halloween treats.
If you’re looking for a slightly healthier option, you can reduce the sugar in the dough by ¼ cup without affecting the texture too much. The cookies won’t be as sweet, but they’ll still be delicious. For a lower-calorie frosting, use a cream cheese-based frosting instead of buttercream.
As always, these cookies contain dairy, eggs, and gluten. If you have allergies, please check the ingredient substitutions section above for alternatives.
Conclusion
These Adorable Black Cat Halloween Sugar Cookies are more than just a pretty face. They’re soft, buttery, and just sweet enough without being overwhelming. The black cocoa frosting adds a rich, almost Oreo-like flavor that makes these cookies feel special without requiring a lot of effort.
I love that this recipe is forgiving enough for beginners but still fun for experienced bakers. You can keep the decorations simple or go all out with detailed cat faces. Either way, you’ll end up with a batch of cookies that people will actually want to eat, not just look at.
So go ahead and give these a try. Get the kids involved, make a mess in the kitchen, and don’t worry if the ears aren’t perfectly even. That’s what makes each cat unique. And if you come up with a fun variation or a new way to decorate them, I’d love to hear about it. Drop a comment below and let me know how your black cats turned out!
Frequently Asked Questions
Can I use a different cookie cutter shape?
Absolutely. If you don’t want to shape the ears by hand, you can use a cat-shaped cookie cutter. Just make sure the dough is well-chilled before cutting, and adjust the bake time if the cutter is a different size.
Why did my cookies spread too much?
This usually happens when the dough isn’t chilled long enough, or the butter was too soft when you mixed it. Make sure to chill the dough for at least 1 hour, and if your kitchen is warm, pop the shaped cookies in the fridge for 10 minutes before baking.
Can I make the dough ahead of time?
Yes. The dough can be refrigerated for up to 3 days or frozen for up to 3 months. Just wrap it tightly in plastic wrap to prevent it from drying out. Let it sit at room temperature for 5-10 minutes before rolling if it’s too firm.
How do I get the frosting to be really black?
Use black cocoa powder instead of regular cocoa powder. It’s darker and has a deeper flavor. You can also add a small amount of black gel food coloring to intensify the color. Avoid liquid food coloring, as it can make the frosting too thin.
Can I use royal icing instead of buttercream?
Yes, royal icing works great for these cookies if you want a harder, glossier finish. It’s also easier to pipe detailed designs. Just keep in mind that royal icing takes longer to set, and the cookies won’t be as soft.
Pin This Recipe!
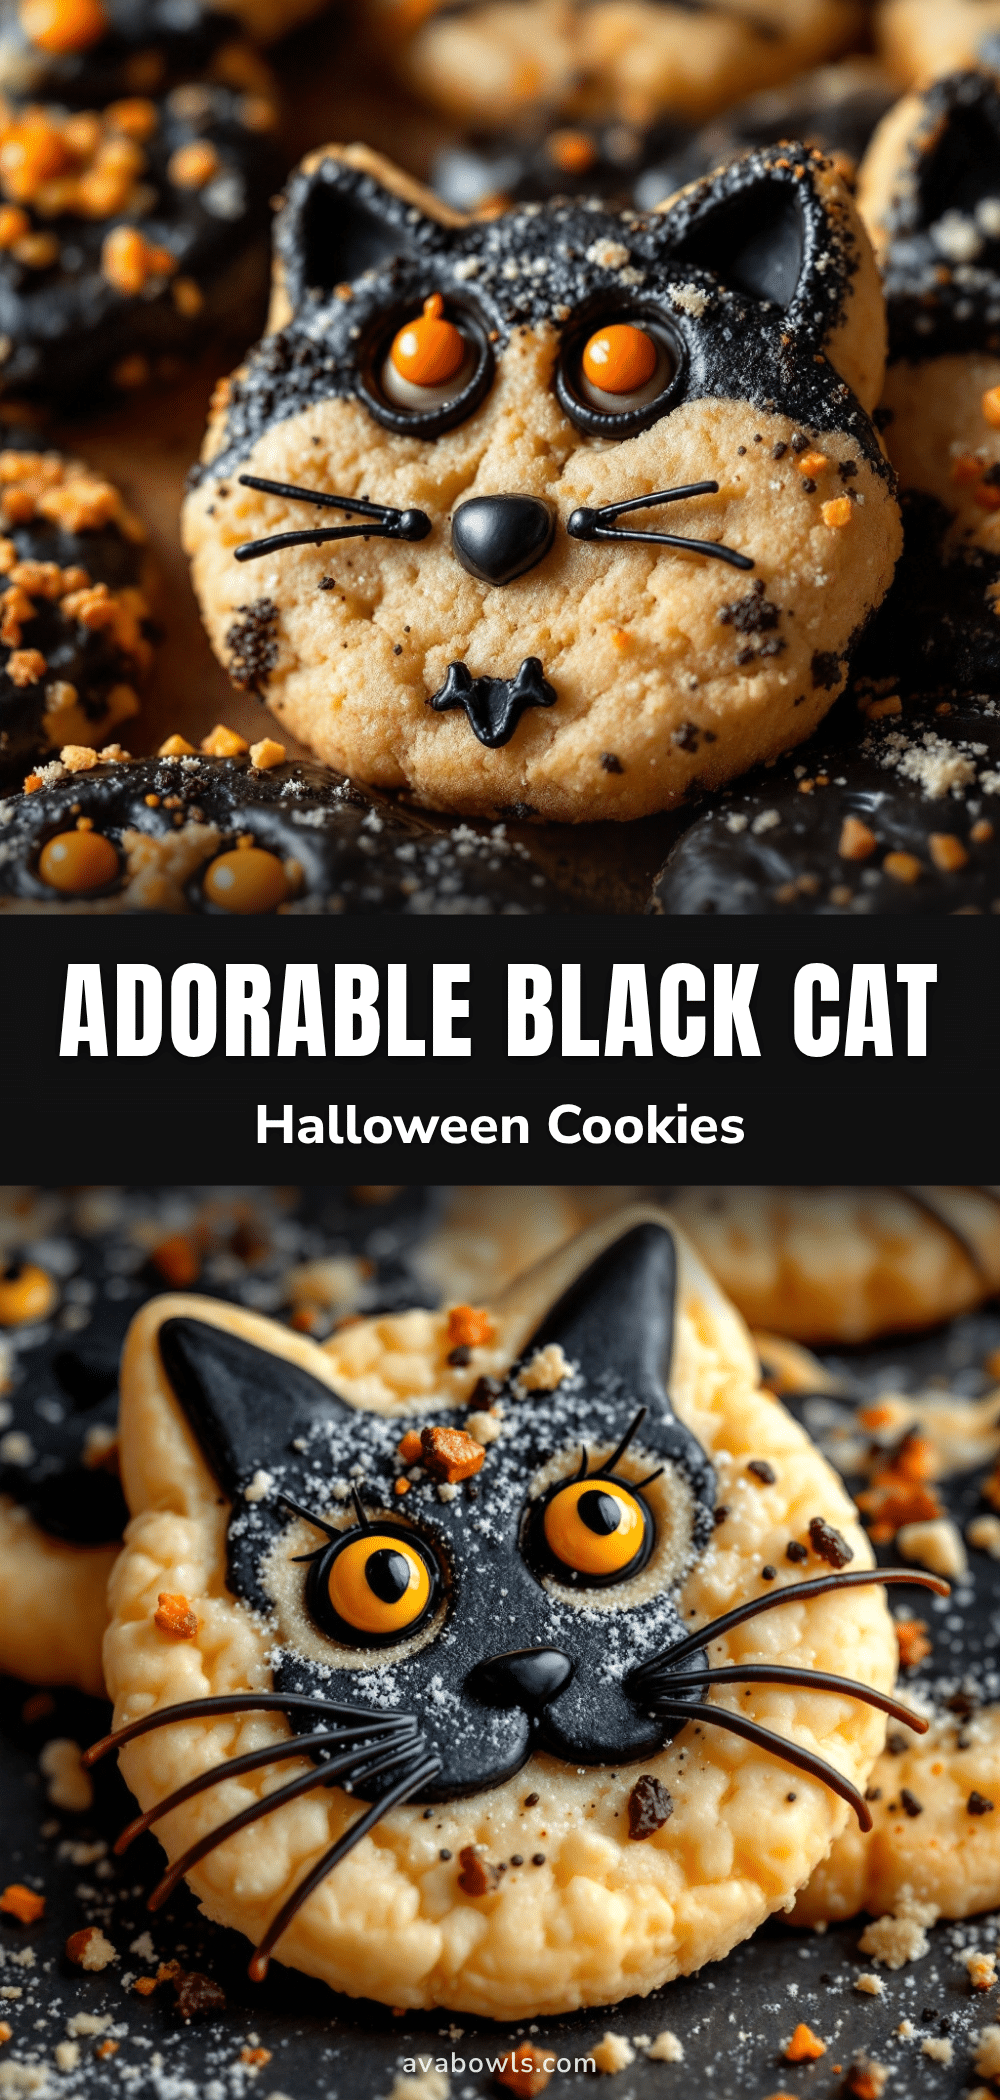
Adorable Black Cat Halloween Sugar Cookies: Easy Recipe

These soft, buttery sugar cookies are shaped like adorable black cats with pointed ears and decorated with rich black cocoa frosting. They’re a fun, kid-friendly Halloween treat that’s easy to make and perfect for parties.
- Prep Time: 20 minutes
- Cook Time: 10 minutes
- Total Time: 1 hour 30 minutes (includes chilling time)
- Yield: 24 cookies 1x
- Category: Dessert
- Cuisine: American
Ingredients
- 1 cup (226g) unsalted butter, softened
- 1 cup (200g) granulated sugar
- 1 large egg, at room temperature
- 1 teaspoon vanilla extract
- 2 ½ cups (312g) all-purpose flour
- ½ teaspoon baking powder
- ¼ teaspoon salt
- 1 ½ cups (180g) powdered sugar, sifted
- 3 tablespoons unsalted butter, softened
- 2 tablespoons black cocoa powder
- 2–3 tablespoons milk
- ½ teaspoon vanilla extract
- Black gel food coloring (optional)
- Mini chocolate chips (for eyes)
- Pink or white frosting (for nose and whiskers)
- Pretzel sticks (optional, for whiskers)
Instructions
- Make the cookie dough: In a large mixing bowl, beat the softened butter and granulated sugar together until light and fluffy, about 2-3 minutes. Scrape down the sides of the bowl. Add the egg and vanilla extract, and beat until well combined.
- Mix the dry ingredients: In a separate bowl, whisk together the all-purpose flour, baking powder, and salt. Gradually add the dry mixture to the wet mixture, mixing on low speed until a soft dough forms. Don’t overmix.
- Chill the dough: Divide the dough in half, flatten each half into a disc, and wrap them tightly in plastic wrap. Refrigerate for at least 1 hour, or up to 3 days.
- Preheat and prepare: When ready to bake, preheat your oven to 350°F (175°C). Line two baking sheets with parchment paper or silicone mats.
- Roll and cut the dough: Lightly flour your work surface and rolling pin. Roll one disc of dough to about ¼-inch thickness. Use a round cookie cutter to cut out circles. Gather scraps, re-roll, and cut again. Repeat with the second disc.
- Shape the cat ears: Take each round cookie and pinch the top two sides gently to form little pointed ears. Place the shaped cookies on the prepared baking sheets, leaving about 2 inches of space between each one.
- Bake: Bake for 8-10 minutes, or until the edges are just barely golden. Let the cookies cool on the baking sheet for 5 minutes, then transfer to a wire rack to cool completely.
- Make the frosting: In a medium bowl, beat the softened butter until smooth. Add the sifted powdered sugar and black cocoa powder, and mix on low speed until combined. Add the vanilla extract and 2 tablespoons of milk, and beat on medium speed until smooth and spreadable. Add more milk if needed. Stir in black gel food coloring if desired.
- Decorate the cookies: Once the cookies are completely cool, spoon the frosting into a piping bag or small zip-top bag with the corner snipped off. Pipe a thin layer of frosting over each cookie. While the frosting is still wet, press two mini chocolate chips into the cookie for the eyes. Use a toothpick or knife to draw a small pink or white nose and a smile. For whiskers, pipe thin lines of white frosting or press two small pieces of pretzel stick on each side of the face.
- Let the frosting set: Let the decorated cookies sit at room temperature for about 30 minutes to allow the frosting to firm up.
Notes
Chill the dough for at least 1 hour to prevent spreading. Use black cocoa powder for a deep black color without excessive food coloring. Let cookies cool completely before frosting.
Nutrition
- Serving Size: 1 cookie
- Calories: 175
- Sugar: 13
- Sodium: 85
- Fat: 9
- Saturated Fat: 5
- Carbohydrates: 23
- Protein: 2
Keywords: Halloween cookies, black cat cookies, sugar cookies, easy Halloween recipe, kid-friendly cookies


