I want crispy, cheesy quesadillas right now, but I don’t want to stand at the stove flipping them one by one while the kids hang off my legs. That’s the honest thought that started this whole thing. It was a regular Tuesday, I had a block of cheddar, some flour tortillas that were about to hit their expiration date, and absolutely zero patience for standing over a hot skillet. So I looked at my oven, looked at my ingredients, and thought—why not just bake the whole batch at once?
Turns out, it works better than you’d think. The tortillas get evenly golden, the cheese melts into that perfect stretchy layer, and you don’t have to babysit a single wedge. I cut them into triangles after they come out of the oven, and suddenly I have a plate of these perfect little snacks that disappear faster than I can make them. Honestly, I haven’t made quesadillas on the stovetop since. This method just makes sense for anyone who wants good food without the hassle.
These Easy Baked Cheese Quesadilla Wedges have become my go-to for everything from after-school snacks to game-day platters. They’re simple enough for a Tuesday but impressive enough to share. And the best part? You can load them up with whatever you have in the fridge. Let me show you how it’s done.
Why You’ll Love This Recipe
I’ve tested this method about a dozen times to get the timing and temperature just right. Here’s why this recipe earns a permanent spot in your rotation:
- Oven-Baked, Not Fried : No standing over a hot skillet, no flipping, no grease splatters. The oven does all the work while you prep the dipping sauce or set the table.
- Crispy Every Time : Baking at the right temperature gives you that shatteringly crisp exterior without the uneven browning you sometimes get on the stovetop.
- Perfect for a Crowd : You can bake four to six quesadillas at once on a single sheet pan. That’s a game-changer when you’re feeding hungry kids or hosting a party.
- Simple Pantry Ingredients : Tortillas, cheese, and a little oil are all you really need. Everything else is optional and totally flexible.
- Kid-Friendly and Customizable : My kids love the plain cheese version, but I can add black beans, leftover chicken, or sautéed peppers to mine without making extra batches.
This isn’t just another quesadilla recipe. The oven method creates a more consistent texture than stovetop cooking, and you avoid the common problem of burnt tortillas with unmelted cheese. It’s the kind of reliable recipe you’ll come back to again and again. The first time I served these at a family gathering, my sister-in-law asked for the recipe before she finished her first wedge. That’s when I knew I had something worth sharing.
What Ingredients You Will Need
This recipe uses simple, everyday ingredients to create something genuinely satisfying. You probably have most of these in your kitchen right now.
- Flour tortillas (8-inch) : I prefer medium-sized flour tortillas for the best cheese-to-tortilla ratio. Burrito-sized ones work too, but you’ll need more filling. Corn tortillas are not recommended for this method—they don’t crisp up the same way.
- Shredded cheddar cheese (2 cups) : Sharp cheddar gives you the most flavor, but mild cheddar works fine too. Shred your own if you can—pre-shredded cheese has anti-caking agents that prevent it from melting as smoothly.
- Mozzarella cheese (1 cup, shredded) : This adds that beautiful stretchy texture. Low-moisture mozzarella works best here.
- Olive oil or avocado oil (2 tablespoons) : You need a light coating of oil on the outside of the tortillas to get that golden, crispy finish. Avocado oil has a higher smoke point, but olive oil works great at 400°F.
- Salt (½ teaspoon) : A light sprinkle on the outside of the tortillas enhances the overall flavor.
- Garlic powder (½ teaspoon) : Optional, but I never skip it. It adds a subtle savory note that makes the quesadillas taste more complex.
Optional add-ins (pick 1-2):
- Cooked black beans (½ cup, drained and rinsed)
- Shredded cooked chicken (½ cup)
- Sliced jalapeños (fresh or pickled)
- Sautéed bell peppers and onions
- Chopped fresh cilantro
For the cheese blend, I’ve tested this with Monterey Jack, pepper jack, and even a Mexican blend from the store. They all work, but the cheddar-mozzarella combo gives you the best balance of flavor and melt. If you’re dairy-free, there are some decent plant-based shreds now, but I’ll be honest—the texture won’t be quite the same. Look for one that specifically says it melts well.
I usually grab Mission or Guerrero tortillas from my local grocery store. They hold up well to baking and don’t get brittle. If you have a local tortillería, even better—fresh tortillas take this to another level.
Equipment Needed
You don’t need much for this recipe, which is part of the appeal.
- Large baking sheet (half-sheet pan) : A 13×18-inch sheet pan fits four 8-inch quesadillas perfectly. If you only have a smaller pan, bake in batches.
- Parchment paper or silicone baking mat : This prevents sticking and makes cleanup effortless. I’ve forgotten the parchment before, and the cheese that leaked out bonded permanently to my pan. Learn from my mistake.
- Pastry brush : For brushing oil onto the tortillas. A silicone brush works best and is easier to clean.
- Sharp knife or pizza cutter : For cutting the baked quesadillas into wedges. A pizza cutter gives you cleaner edges.
- Spatula : For transferring the hot quesadillas from the baking sheet to the cutting board.
If you don’t have a pastry brush, you can use a paper towel dipped in oil and rub it over the tortillas. It’s not as even, but it works in a pinch. A silicone baking mat is one of those kitchen tools I resisted buying for years, and now I use it for everything from cookies to roasted vegetables. Worth the investment if you bake often.
Preparation Method
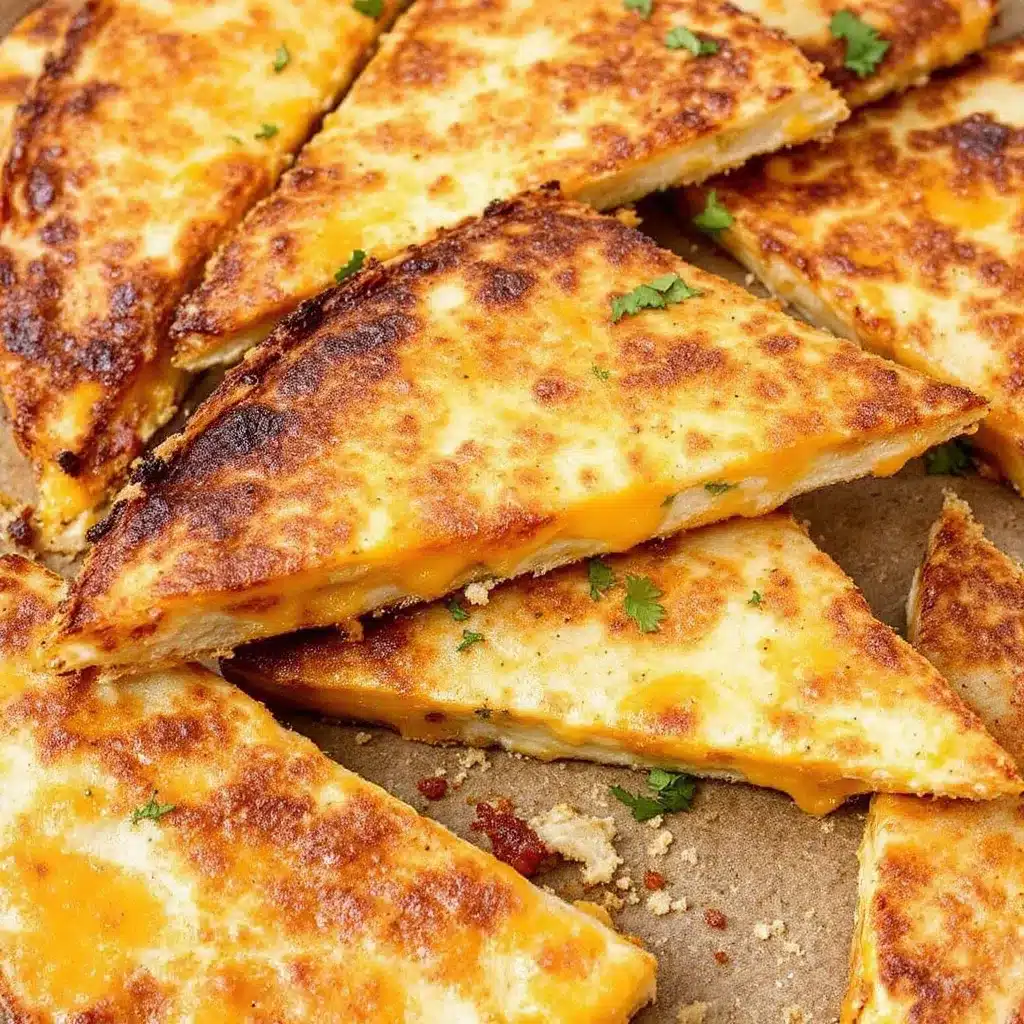
- Preheat your oven to 400°F (200°C). Position the rack in the center of the oven. While it’s heating, line your baking sheet with parchment paper or a silicone mat. This step takes about 10 minutes, so use that time to prep your ingredients.
- Prepare your cheese blend. In a medium bowl, combine 2 cups of shredded cheddar and 1 cup of shredded mozzarella. Toss them together with your hands or a fork so the cheeses are evenly distributed. If you’re adding any seasonings like garlic powder or chili flakes, mix them into the cheese now.
- Assemble the quesadillas. Lay four tortillas flat on your work surface. Sprinkle about ¾ cup of the cheese mixture evenly over each tortilla, leaving a ½-inch border around the edge. This border is important—it prevents the cheese from leaking out during baking. If you’re adding any fillings like black beans or chicken, scatter them over the cheese now.
- Top with the second tortilla. Place a second tortilla on top of each filled one and press down gently to help everything stick together. Don’t press too hard or the cheese will squish out the sides.
- Brush with oil. Using your pastry brush, lightly coat the top tortilla of each quesadilla with olive or avocado oil. Be thorough but not excessive—a thin, even layer is all you need. Sprinkle a tiny pinch of salt and a dusting of garlic powder over the oiled surface.
- Flip and repeat. Carefully flip each quesadilla over using a spatula. Brush the other side with oil and season the same way. This step ensures both sides get equally crispy. Yes, it’s a little extra work, but the result is worth it.
- Bake for 10 minutes. Place the baking sheet in the preheated oven and set a timer for 10 minutes. At this point, the bottoms should be golden brown and crispy, and the cheese should be mostly melted.
- Flip and bake again. Remove the sheet from the oven and carefully flip each quesadilla using a spatula. Return the sheet to the oven and bake for another 8-10 minutes, until the second side is golden brown and crispy. The cheese should be fully melted and starting to bubble at the edges.
- Rest before cutting. Transfer the baked quesadillas to a cutting board and let them rest for 2-3 minutes. This allows the cheese to set slightly so it doesn’t all ooze out when you cut. I know it’s hard to wait, but trust me on this one.
- Cut into wedges. Use a sharp knife or pizza cutter to slice each quesadilla into 6 wedges. I like to cut them like a pizza—first in half, then each half into thirds. Arrange on a serving platter and serve immediately while the cheese is still warm and stretchy.
Pro tip from my kitchen: If you’re making a big batch for a party, keep the baked quesadillas warm in a 200°F oven while you finish the rest. Place them on a wire rack set over a baking sheet so they stay crispy instead of getting soggy.
Cooking Tips & Techniques
I’ve made this recipe enough times to know where things can go wrong. Here’s what I’ve learned the hard way so you don’t have to.
Don’t overfill the quesadillas. I know it’s tempting to pile on the cheese and fillings, but too much filling leads to leaks and uneven cooking. Stick to about ¾ cup of cheese per quesadilla, and if you’re adding extras, keep it to a ¼ cup total. Less really is more here.
Use room-temperature tortillas. Cold tortillas straight from the fridge are stiff and prone to cracking when you flip them. Let them sit on the counter for 10-15 minutes before assembling. If you’re in a hurry, you can microwave the stack for 15 seconds to soften them up.
Oil both sides evenly. This is the most common mistake I see. People brush only the top, and the bottom ends up pale and soft. Take the extra 30 seconds to flip and brush the other side. Your future self will thank you when you bite into that perfectly crispy wedge.
Watch the edges. The edges of the tortillas tend to brown faster than the center. If you notice them getting too dark before the center is crispy, you can tent the edges with small pieces of foil. I’ve only needed to do this once or twice, but it’s good to know.
Let them rest. I cannot stress this enough. If you cut into a quesadilla right out of the oven, the molten cheese will pour out like lava and you’ll be left with sad, empty tortilla shells. Two minutes of patience saves the whole dish.
I once tried to rush the flipping step and ended up with a quesadilla that folded in half and spilled cheese all over the oven floor. The smoke alarm went off, the dog started barking, and I ate my dinner standing by the open window. Learn from my chaos—take your time with the flip.
Variations & Adaptations
This recipe is endlessly adaptable. Here are some of my favorite variations:
Southwest Black Bean : Add ¼ cup of drained black beans and 2 tablespoons of corn kernels to each quesadilla. Use pepper jack cheese instead of cheddar for a spicy kick. Serve with a side of creamy slow cooker queso blanco dip for dipping—trust me on this combo.
Buffalo Chicken : Mix ½ cup of shredded cooked chicken with 2 tablespoons of buffalo sauce. Spread it over the cheese before adding the top tortilla. Serve with ranch or blue cheese dressing on the side. This version pairs perfectly with a plate of crispy baked buffalo cauliflower bites for a full game-day spread.
Veggie Lover’s : Sauté ½ cup each of diced bell peppers and onions in a little oil until softened. Let them cool slightly, then scatter them over the cheese. Add a handful of fresh spinach leaves for extra nutrition. This version is surprisingly hearty and works well as a meatless dinner option.
Breakfast Quesadilla : Swap the cheddar for Monterey Jack and add scrambled eggs, crumbled breakfast sausage, and a sprinkle of chives. Bake as directed, then serve with salsa verde. This has saved many a lazy Sunday morning in my house.
Gluten-Free Option : Use gluten-free tortillas (I like the Cassava flour ones from Siete) and check that your cheese is gluten-free. The baking time stays the same, though gluten-free tortillas can brown a little faster, so keep an eye on them around the 8-minute mark.
For a fun party presentation, try making mini quesadillas using 6-inch tortillas. Cut them into quarters instead of sixths and serve them as appetizers alongside a fresh Greek yogurt veggie dip with herbs for a colorful spread.
Serving & Storage Suggestions
These quesadilla wedges are best served warm, straight from the oven. The cheese is at its stretchiest and the tortillas are at their crispiest within the first 10 minutes. Arrange them on a large platter in a circular pattern with a bowl of dipping sauce in the center.
What to serve with them:
- Sour cream mixed with lime juice and a pinch of cumin
- Store-bought or homemade salsa
- Guacamole or sliced avocado
- Pico de gallo
- Hot sauce (I’m partial to Cholula or Valentina)
For a complete meal, serve these wedges alongside a simple fresh nourish bowl with black bean corn mix or a side salad with cilantro-lime dressing. It’s an easy weeknight dinner that comes together in under 30 minutes.
Storage: Leftover quesadilla wedges can be stored in an airtight container in the refrigerator for up to 3 days. Layer them between sheets of parchment paper to prevent sticking. The texture will soften over time, but they’re still delicious.
Reheating: The oven is your best friend here. Place the wedges on a baking sheet and reheat at 375°F for 5-7 minutes, flipping once halfway through. This restores most of the original crispiness. The microwave works in a pinch (30-45 seconds), but the tortillas will be soft rather than crispy. An air fryer at 350°F for 3-4 minutes is my preferred method for single servings.
Freezing: You can freeze unbaked assembled quesadillas for up to 2 months. Wrap each one tightly in plastic wrap, then place them in a freezer bag. When you’re ready to bake, add 5-8 minutes to the cooking time—no need to thaw first. Baked and cooled wedges also freeze well; just reheat directly from frozen in a 375°F oven for 8-10 minutes.
The flavor actually develops nicely overnight. I sometimes make a double batch on purpose so I can have leftover wedges for lunch the next day. They’re not quite as crispy as fresh, but the flavors meld together in a way that’s honestly just as satisfying.
Nutritional Information & Benefits
Here’s the estimated nutritional breakdown for one serving (3 wedges, based on a recipe that yields 4 servings total):
| Nutrient | Amount Per Serving |
|---|---|
| Calories | 385 |
| Total Fat | 22g |
| Saturated Fat | 11g |
| Cholesterol | 55mg |
| Sodium | 620mg |
| Total Carbohydrates | 28g |
| Dietary Fiber | 2g |
| Sugars | 2g |
| Protein | 18g |
| Calcium | 380mg |
These wedges are a good source of calcium and protein, thanks to the cheese. If you use whole wheat tortillas, you’ll get an extra boost of fiber. The optional add-ins like black beans and chicken increase the protein content and add vitamins and minerals.
For a lighter version, use reduced-fat cheese and whole wheat tortillas. You can also cut the portion size to 2 wedges per serving and pair them with a big salad for a balanced meal. This recipe is naturally vegetarian if you stick with the cheese-only version, and it’s easy to adapt for gluten-free diets with the right tortillas.
One thing I appreciate about this recipe is that it feels indulgent without being overly heavy. The baked method uses less oil than stovetop cooking, and you control exactly what goes into it. No mystery ingredients or preservatives here.
Conclusion
These Easy Baked Cheese Quesadilla Wedges have saved me on countless busy weeknights, lazy weekends, and everything in between. They’re the kind of recipe that proves simple ingredients, prepared well, can be genuinely special. No fancy techniques, no hard-to-find ingredients—just good food that makes everyone happy.
I love that this method lets me make a whole batch at once without standing over the stove. It frees me up to toss together a creamy roasted tomato basil soup for dipping or just sit down and relax while dinner practically makes itself. That’s real weeknight magic right there.
Now I want to hear from you. What’s your favorite filling combination? Have you tried baking your quesadillas before? Drop a comment below and let me know how these turned out for you. And if you loved this recipe, share it with a friend who could use an easy dinner win. Happy cooking!
Frequently Asked Questions
Can I use corn tortillas instead of flour?
I don’t recommend it for this recipe. Corn tortillas are more brittle and don’t crisp up the same way in the oven. They also have a stronger flavor that can overpower the cheese. Stick with flour tortillas for the best results.
Why did my quesadillas come out soggy?
Sogginess usually happens for one of three reasons: too much filling, not enough oil, or not baking long enough. Make sure you’re using the full 10 minutes per side and that your oil is evenly distributed. If you’re using wet ingredients like salsa or cooked vegetables, pat them dry with a paper towel first.
Can I make these ahead of time for a party?
Absolutely. You can assemble the quesadillas up to 24 hours in advance and keep them in the refrigerator, wrapped tightly in plastic wrap. Bake them just before serving for the best texture. You can also bake them fully, let them cool, and reheat in a 375°F oven for 5-7 minutes right before your guests arrive.
What’s the best cheese for melting?
For the stretchiest, most satisfying melt, use a combination of cheddar and low-moisture mozzarella. Monterey Jack, provolone, and Oaxaca cheese are also excellent melters. Avoid pre-shredded cheese if you can—it contains cellulose and starches that prevent smooth melting.
How do I prevent the cheese from leaking out?
Leave a ½-inch border around the edge of the tortilla when you add the cheese. Don’t overfill—stick to about ¾ cup of cheese per quesadilla. And let the baked quesadillas rest for 2-3 minutes before cutting so the cheese has time to set slightly. These three things make a huge difference.
Pin This Recipe!
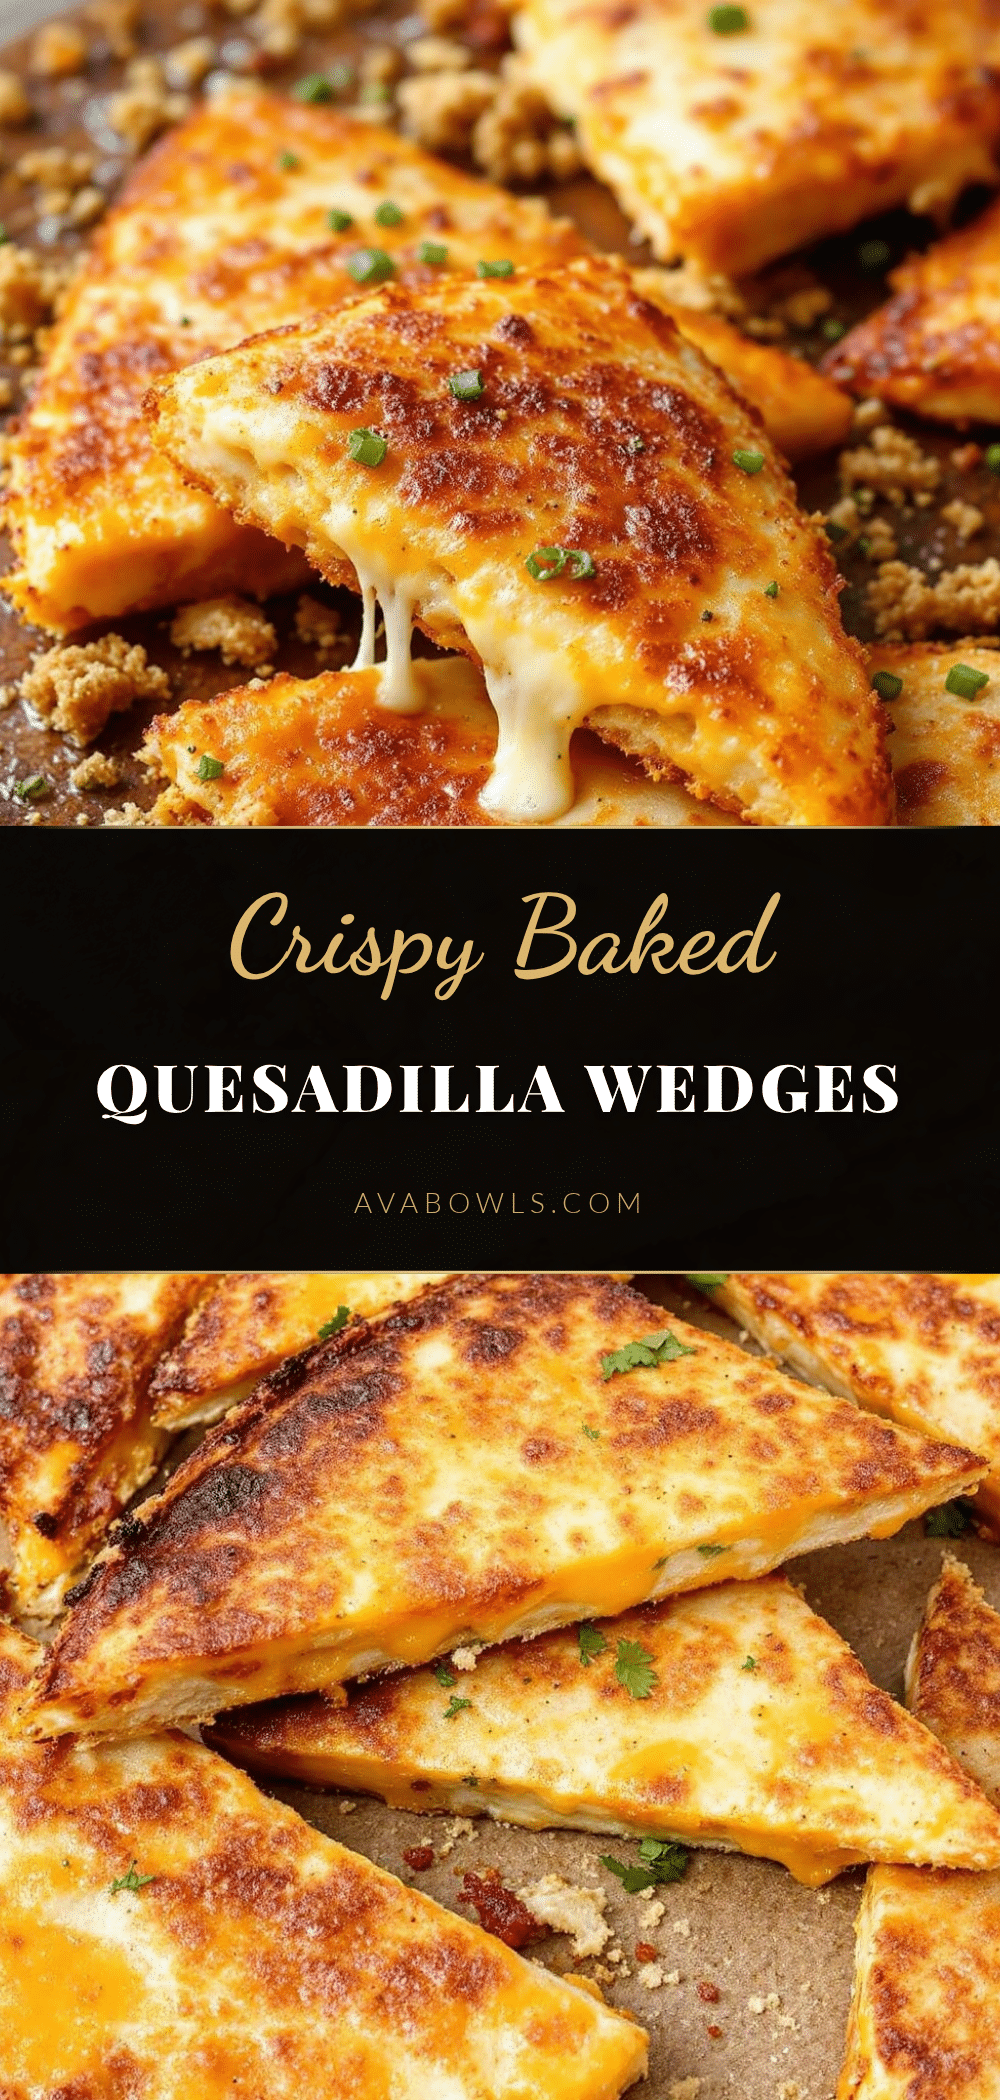
Easy Baked Cheese Quesadilla Wedges: Perfect Family Snack

Crispy, cheesy quesadillas baked in the oven for an even golden finish without standing over a hot skillet. Perfect for busy weeknights, after-school snacks, or game-day platters.
- Prep Time: 15 minutes
- Cook Time: 20 minutes
- Total Time: 35 minutes
- Yield: 4 servings 1x
- Category: Snack
- Cuisine: Mexican
Ingredients
- 8 flour tortillas (8-inch)
- 2 cups shredded cheddar cheese
- 1 cup shredded mozzarella cheese
- 2 tablespoons olive oil or avocado oil
- ½ teaspoon salt
- ½ teaspoon garlic powder (optional)
- Optional add-ins: ½ cup cooked black beans, ½ cup shredded cooked chicken, sliced jalapeños, sautéed bell peppers and onions, chopped fresh cilantro
Instructions
- Preheat your oven to 400°F (200°C). Position the rack in the center of the oven. Line your baking sheet with parchment paper or a silicone mat.
- In a medium bowl, combine 2 cups of shredded cheddar and 1 cup of shredded mozzarella. Toss together. If using garlic powder or other seasonings, mix them into the cheese now.
- Lay four tortillas flat on your work surface. Sprinkle about ¾ cup of the cheese mixture evenly over each tortilla, leaving a ½-inch border around the edge. If adding any fillings, scatter them over the cheese now.
- Place a second tortilla on top of each filled one and press down gently.
- Using a pastry brush, lightly coat the top tortilla of each quesadilla with olive or avocado oil. Sprinkle a tiny pinch of salt and a dusting of garlic powder over the oiled surface.
- Carefully flip each quesadilla over using a spatula. Brush the other side with oil and season the same way.
- Bake for 10 minutes. The bottoms should be golden brown and crispy, and the cheese should be mostly melted.
- Remove the sheet from the oven and carefully flip each quesadilla using a spatula. Return to the oven and bake for another 8-10 minutes, until the second side is golden brown and crispy.
- Transfer the baked quesadillas to a cutting board and let them rest for 2-3 minutes.
- Use a sharp knife or pizza cutter to slice each quesadilla into 6 wedges. Serve immediately.
Notes
Don’t overfill the quesadillas. Use room-temperature tortillas. Oil both sides evenly. Watch the edges for browning. Let them rest before cutting to prevent cheese from oozing out.
Nutrition
- Serving Size: 3 wedges
- Calories: 385
- Sugar: 2
- Sodium: 620
- Fat: 22
- Saturated Fat: 11
- Carbohydrates: 28
- Fiber: 2
- Protein: 18
Keywords: baked quesadilla, cheese quesadilla, easy snack, family dinner, oven-baked, crispy tortilla


