I had this idea that freezer-friendly breakfasts meant sacrificing texture. You know, sad, soggy reheated things that taste more like obligation than a meal. It took one chaotic Tuesday morning with a hungry toddler, a cold cup of coffee, and a half-empty carton of pancake batter for that assumption to fall apart completely.
I was already late for everything. The baby was crying. And there I was, staring at a muffin tin and thinking, well, that’s one way to make this work. I poured the batter in, baked it, and what came out were these perfectly puffy, golden little rounds. They were cute. They were portable. And honestly? They were better than the pancakes I’d been flipping on the stove for years.
These mini pancake muffins are the kind of recipe that solves a problem you didn’t realize you had. They’re not just easy—they’re the difference between a chaotic morning and one where you actually sit down for five minutes. I make a double batch on Sunday, freeze them, and suddenly weekday breakfasts aren’t a fight anymore.
This isn’t some complicated meal prep thing. It’s pancake batter in a muffin tin. That’s it. But the way it changes your morning rhythm? That’s the part that stuck.
Why You’ll Love These Mini Pancake Muffins
Let me tell you why these little guys have become a staple in my kitchen. I’ve tested this recipe about a dozen times—different flours, different mix-ins, different bake times—and this version is the one that finally worked every single time.
- Quick & Easy: From mixing to table in under 20 minutes. No flipping, no standing at the stove.
- Simple Ingredients: You probably have everything already. Flour, milk, eggs, baking powder. That’s it.
- Perfect for Busy Mornings: Grab a few from the freezer, microwave for 30 seconds, and you’re out the door.
- Crowd-Pleaser: My kids devour these. So do the adults at brunch. They’re tiny and fun and somehow everyone loves them.
- Unbelievably Freezer-Friendly: They actually taste fresh after freezing. No sogginess. No weird texture. Just warm, fluffy pancake goodness.
What makes these different from every other pancake recipe? It’s the texture. Baking them in a muffin tin creates a slightly crisp exterior with a soft, tender inside. You don’t get that from a skillet. And because they’re individual portions, you can mix things up—blueberry in one, chocolate chip in another, plain for the picky eater. It’s the kind of breakfast that makes you feel like you’ve got your life together, even when you absolutely don’t.
What Ingredients You Will Need
This recipe uses basic pantry staples to create something genuinely good. No weird specialty items, no expensive flours. Just honest ingredients that work together.
- All-purpose flour (1 ½ cups / 190g) – The base. I’ve used white whole wheat flour here too, and it works fine. Just add an extra tablespoon of milk.
- Granulated sugar (2 tablespoons / 25g) – Just enough sweetness. You can skip it or swap for honey if you prefer.
- Baking powder (2 teaspoons) – Make sure it’s fresh. Old baking powder is the number one reason pancakes fall flat.
- Baking soda (½ teaspoon) – Helps with browning and lift.
- Salt (¼ teaspoon) – Balances the sweetness. Don’t skip it.
- Buttermilk (1 cup / 240ml) – This is the secret to fluffy muffins. The acidity reacts with the baking soda for that light texture. No buttermilk? Add 1 tablespoon of lemon juice or vinegar to regular milk and let it sit for 5 minutes.
- Large egg (1, room temperature) – Binds everything together.
- Unsalted butter (3 tablespoons, melted and cooled) – Adds richness. You can use coconut oil or vegetable oil here too.
- Vanilla extract (1 teaspoon) – Optional, but it rounds out the flavor nicely.
- Mix-ins of your choice (about ½ cup total) – Mini chocolate chips, blueberries, diced strawberries, or even cooked crumbled bacon. The possibilities are endless.
I’ve tried this recipe with almond milk and a flax egg for a dairy-free version, and it worked surprisingly well. The texture was slightly denser, but still delicious. If you’re using a non-dairy milk, just add an extra teaspoon of baking powder to help with lift.
Equipment Needed
You don’t need much for this recipe, which is part of the appeal.
- 12-cup mini muffin tin – This is non-negotiable. A standard muffin tin will give you regular-sized muffins, which take longer to bake and aren’t quite as grab-and-go friendly.
- Mixing bowls – One large, one medium. Nothing fancy.
- Whisk – For combining dry ingredients and smoothing out the batter.
- Rubber spatula – For folding in mix-ins without overmixing.
- Cookie scoop or small spoon – For evenly portioning the batter into the tin.
- Cooling rack – Helps the muffins cool evenly and prevents soggy bottoms.
- Freezer-safe zip-top bag or container – For storing your batch.
If you don’t have a mini muffin tin, you can use a standard one. Just increase the bake time to about 12-15 minutes and expect fewer muffins. I’ve done it. It works. But the mini version is really where the magic happens—they’re perfectly pop-able and freeze so much faster.
Preparation Method
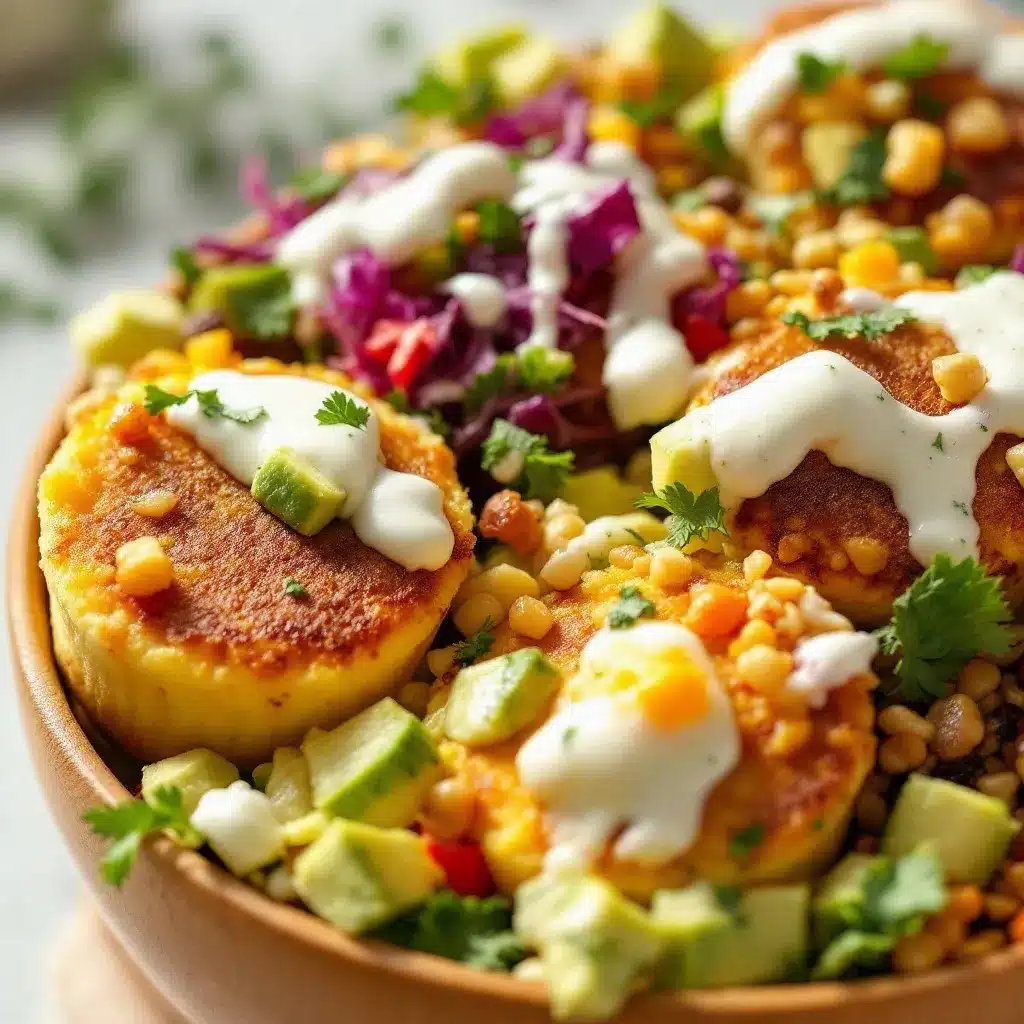
Alright, let’s get to it. This is straightforward, but I’ll walk you through every step so you nail it the first time.
- Preheat your oven to 375°F (190°C). Spray your mini muffin tin generously with non-stick cooking spray. I like using one with flour in it for extra insurance. You can also use paper mini muffin liners, but I find the muffins stick to them less when they’re baked directly in the tin.
- In a medium bowl, whisk together the dry ingredients: flour, sugar, baking powder, baking soda, and salt. Make sure there are no lumps. This takes about 30 seconds.
- In a large bowl, whisk together the wet ingredients: buttermilk, egg, melted butter, and vanilla extract. Whisk until the egg is fully incorporated and the mixture looks smooth.
- Pour the dry ingredients into the wet ingredients. Use a rubber spatula to fold everything together. Here’s the important part: stop mixing as soon as you no longer see dry flour. A few lumps are totally fine. Overmixing makes the muffins tough, and nobody wants a tough pancake muffin.
- Gently fold in your mix-ins. If you’re using blueberries, toss them in a tiny bit of flour first—this prevents them from sinking to the bottom. For chocolate chips, just fold them straight in.
- Fill each mini muffin cup about ¾ full. A cookie scoop makes this so much easier and keeps the portions consistent. You should get about 24 mini muffins from this batter.
- Bake for 8-10 minutes, or until the tops are golden brown and a toothpick inserted into the center comes out clean. My oven runs hot, so I check at 8 minutes. You’ll know they’re done when the kitchen smells like a diner and the tops spring back when you lightly press them.
- Let them cool in the tin for 2 minutes, then transfer to a wire rack to cool completely. If you try to remove them too early, they might stick. Give them those two minutes—it makes a difference.
One thing I learned the hard way: don’t skip the cooling rack. Leaving them in the hot tin creates steam that makes the bottoms soggy. And soggy bottoms? That’s the opposite of what we’re going for.
Cooking Tips & Techniques
I’ve made this recipe more times than I can count, and I’ve definitely made my share of mistakes. Here’s what I’ve learned so you don’t have to repeat them.
Don’t overmix the batter. I cannot stress this enough. Pancake batter should be lumpy. When you overmix, you develop the gluten in the flour, and that leads to dense, rubbery muffins. Mix until just combined, then stop. Your spatula should still see a few streaks of flour.
Room temperature ingredients matter. Cold eggs and cold buttermilk will seize the melted butter, creating a greasy batter. Take them out of the fridge 15 minutes before you start. If you forget (I do, constantly), place the egg in a bowl of warm water for 5 minutes and microwave the buttermilk for 10 seconds.
Fill the cups consistently. If some cups are fuller than others, they’ll bake unevenly. Use a cookie scoop for perfectly even portions every time.
Let them cool completely before freezing. I know it’s tempting to rush this step, but warm muffins in a freezer bag create condensation, which turns into ice crystals, which leads to sad, soggy reheated muffins. Patience pays off here.
For the crispiest reheat, use an air fryer. Pop frozen muffins in at 350°F for 3-4 minutes. They come out with that slightly crisp exterior and soft center, just like fresh. The microwave works too (30 seconds for a few), but the texture isn’t quite as good.
Variations & Adaptations
This recipe is basically a blank canvas. Here are some of my favorite versions.
- Blueberry Lemon: Fold in ½ cup fresh or frozen blueberries and 1 teaspoon of lemon zest. The lemon brightens everything up. If using frozen blueberries, don’t thaw them first—just toss them in frozen.
- Chocolate Chip: The classic. Use mini chocolate chips so they distribute evenly. Dark chocolate chips add a nice depth of flavor.
- Banana Nut: Mash one ripe banana and reduce the buttermilk to ¾ cup. Fold in ¼ cup chopped walnuts or pecans. These are incredibly moist and almost dessert-like.
- Savory Cheddar & Chive: Omit the sugar and vanilla. Add ½ cup shredded cheddar cheese and 2 tablespoons chopped fresh chives. These are amazing with scrambled eggs for a breakfast-for-dinner situation.
- Gluten-Free: Use a 1:1 gluten-free flour blend. I’ve used King Arthur’s and Bob’s Red Mill with great results. Add an extra tablespoon of buttermilk because gluten-free flours tend to absorb more liquid.
- Vegan: Substitute the egg with a flax egg (1 tablespoon ground flaxseed + 3 tablespoons water), use plant-based milk with a splash of vinegar for the buttermilk, and swap the butter for coconut oil.
I once made a batch with diced strawberries and white chocolate chips on a whim, and it was honestly one of the best things I’ve ever made. Don’t be afraid to experiment—that’s half the fun.
Serving & Storage Suggestions
These mini pancake muffins are incredibly versatile when it comes to serving. I love them warm, straight from the oven, with a little pat of butter and a drizzle of maple syrup. But they’re just as good at room temperature, which makes them perfect for lunchboxes or on-the-go snacking.
For a fun breakfast board, arrange a batch on a platter with small bowls of syrup, honey, fresh fruit, and yogurt for dipping. It’s a hit with kids and adults alike, and it feels way more special than it actually is. If you’re serving them for a brunch gathering, they pair beautifully with a fresh Greek yogurt bowl with pomegranate for a balanced spread.
Storage: Keep leftover muffins in an airtight container at room temperature for up to 2 days. For longer storage, freeze them. Arrange the cooled muffins in a single layer on a baking sheet and freeze for 1 hour. This flash-freeze step prevents them from sticking together. Then transfer them to a freezer-safe zip-top bag. They’ll keep for up to 3 months.
Reheating: Microwave 3-4 frozen muffins for 30-45 seconds. For a crisper texture, reheat in a toaster oven or air fryer at 350°F for 3-4 minutes. If you’re reheating a larger batch, spread them on a baking sheet and warm in a 300°F oven for 5-7 minutes.
One thing I love about these is that the flavors actually meld together after a day in the fridge. The muffins become a little more moist, a little more cohesive. They’re great fresh, but they’re honestly even better the next day.
Nutritional Information & Benefits
Here’s the approximate nutritional breakdown for one mini pancake muffin (based on 24 muffins, using the basic recipe without mix-ins):
| Nutrient | Amount |
|---|---|
| Calories | 68 |
| Total Fat | 3g |
| Saturated Fat | 1.5g |
| Cholesterol | 15mg |
| Sodium | 108mg |
| Total Carbohydrates | 9g |
| Dietary Fiber | 0.3g |
| Sugars | 2.5g |
| Protein | 2g |
These aren’t health food, but they’re a solid, balanced breakfast option. The buttermilk adds a little calcium and protein, and the egg provides some satiety. If you want to boost the nutrition, swap half the all-purpose flour for whole wheat flour or add a tablespoon of ground flaxseed to the dry ingredients.
For a lower-sugar version, reduce the sugar to 1 tablespoon or skip it entirely if you’re using sweet mix-ins like chocolate chips or blueberries. You can also use a sugar substitute like monk fruit sweetener, though the texture might be slightly different.
I personally love that these muffins give me a way to feed my family a warm breakfast without the stress of standing at the stove. That’s a win in my book.
Conclusion
These easy freezer-friendly mini pancake breakfast muffins have genuinely changed how I handle weekday mornings. They’re simple, forgiving, and endlessly adaptable. Whether you’re feeding a crowd at brunch or just trying to get out the door with something warm in your hand, this recipe delivers.
I love that I can make a batch on a Sunday afternoon and have breakfast sorted for the entire week. No flipping, no mess, no stress. Just warm, fluffy, perfectly portioned pancakes that taste like you actually put in effort—even when you didn’t.
So go ahead and give these a try. Customize them with your favorite mix-ins, freeze a big batch, and see how much easier your mornings become. And if you come up with a killer variation, I’d love to hear about it. Drop a comment below or tag me in your photos—I’m always looking for new ideas to try.
Here’s to more calm mornings and fewer cold cups of coffee. You’ve got this.
Frequently Asked Questions
Can I use a regular muffin tin instead of a mini one?
Yes, you absolutely can. A standard 12-cup muffin tin will work fine. Just fill each cup about ¾ full and bake for 12-15 minutes instead of 8-10. You’ll get about 8-10 regular-sized muffins instead of 24 mini ones.
How long do these last in the freezer?
Properly stored in a freezer-safe bag or container, these muffins will stay fresh for up to 3 months. I recommend flash-freezing them on a baking sheet for an hour before bagging them—this prevents them from sticking together in a clump.
Can I make the batter ahead of time?
I don’t recommend it. Pancake batter loses its lift as the baking powder reacts over time. If you need to prep ahead, bake the muffins first, then freeze them. They reheat beautifully and taste just as fresh.
What’s the best way to reheat frozen muffins?
For the quickest option, microwave 3-4 frozen muffins for 30-45 seconds. For a crispier exterior, use an air fryer at 350°F for 3-4 minutes or a toaster oven. If you’re reheating a larger batch, spread them on a baking sheet and warm in a 300°F oven for 5-7 minutes.
Can I make these dairy-free or vegan?
Yes, with a few simple swaps. Use plant-based milk mixed with 1 tablespoon of lemon juice for the buttermilk, replace the egg with a flax egg (1 tablespoon ground flaxseed + 3 tablespoons water), and use melted coconut oil or vegan butter instead of regular butter. The texture will be slightly denser but still delicious.
Pin This Recipe!
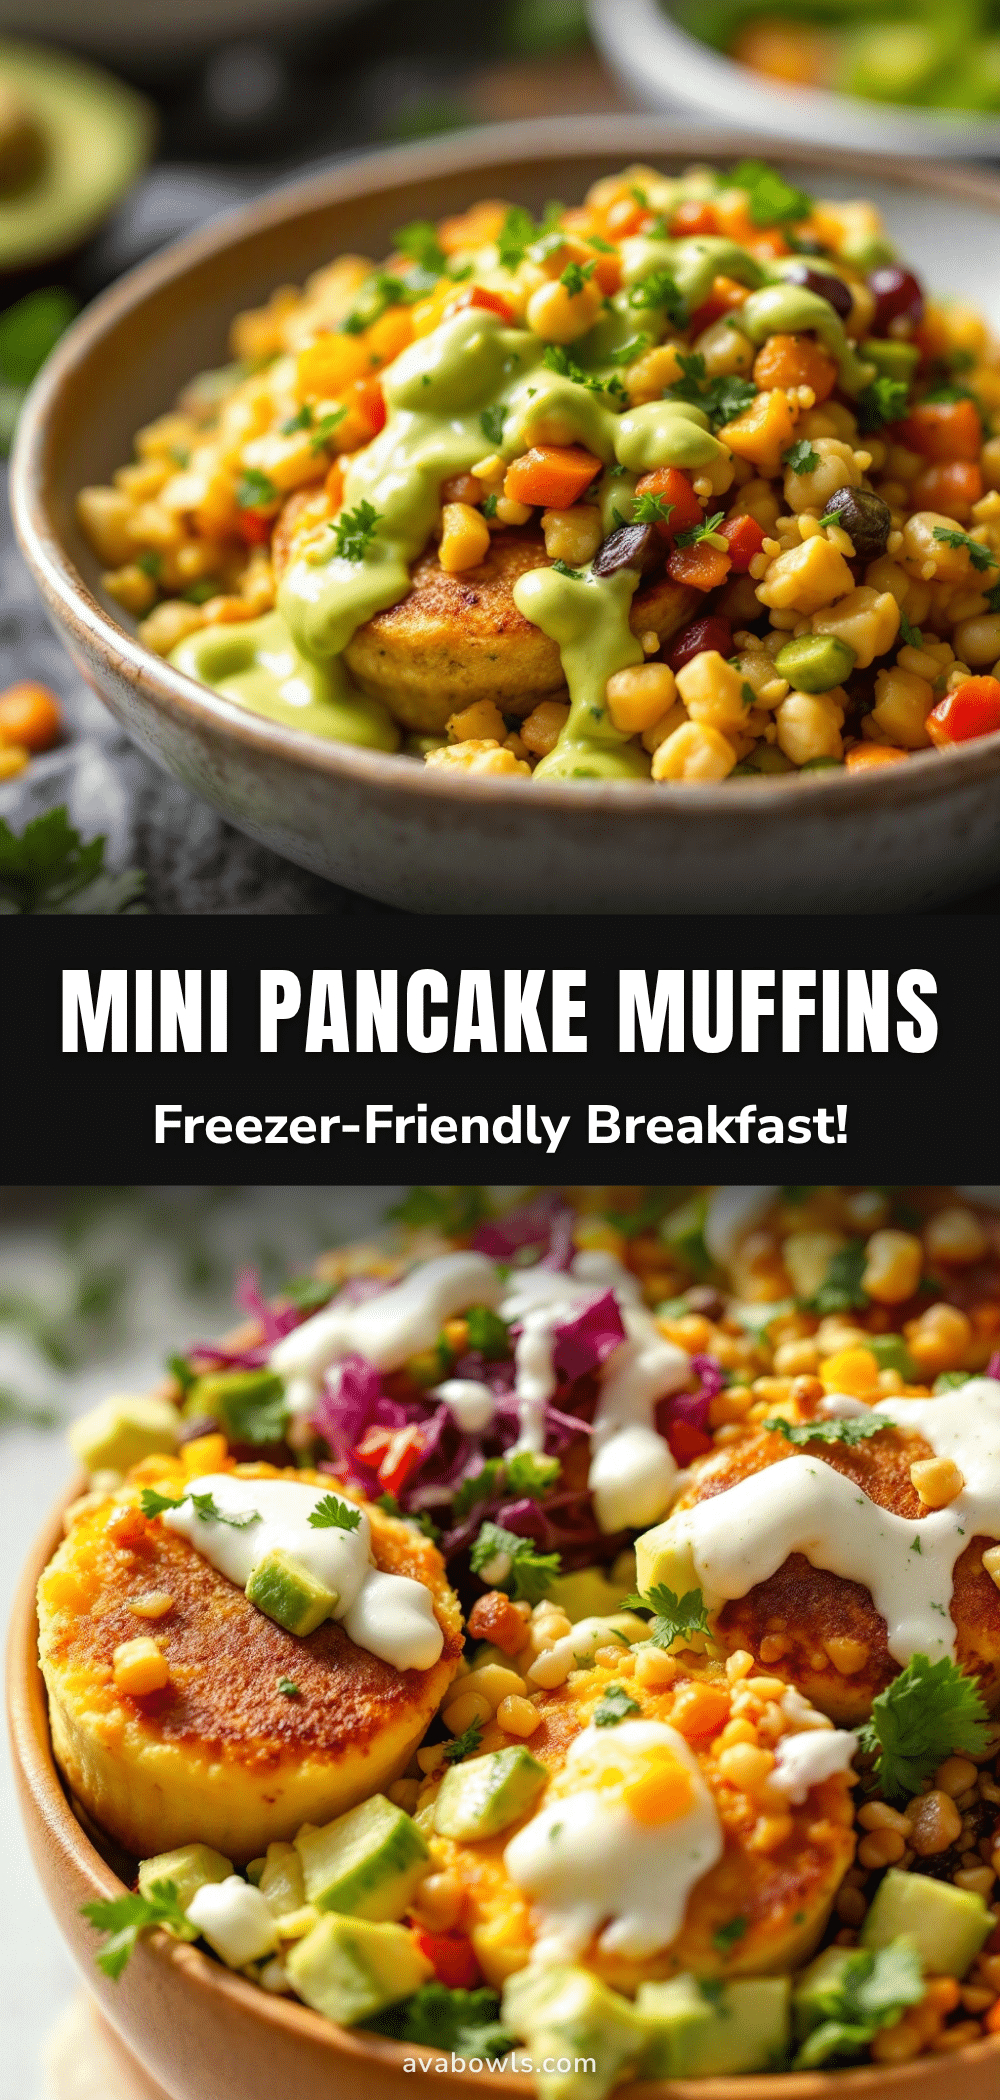
Easy Freezer-Friendly Mini Pancake Muffins
These mini pancake muffins are a game-changer for busy mornings. Made with simple ingredients, they’re fluffy, portable, and freeze beautifully for a quick, warm breakfast any day of the week.
- Prep Time: 10 minutes
- Cook Time: 10 minutes
- Total Time: 20 minutes
- Yield: 24 mini muffins 1x
- Category: Breakfast
- Cuisine: American
Ingredients
- 1 ½ cups (190g) all-purpose flour
- 2 tablespoons (25g) granulated sugar
- 2 teaspoons baking powder
- ½ teaspoon baking soda
- ¼ teaspoon salt
- 1 cup (240ml) buttermilk
- 1 large egg, room temperature
- 3 tablespoons unsalted butter, melted and cooled
- 1 teaspoon vanilla extract (optional)
- About ½ cup mix-ins of your choice (mini chocolate chips, blueberries, etc.)
Instructions
- Preheat your oven to 375°F (190°C). Spray a 12-cup mini muffin tin generously with non-stick cooking spray.
- In a medium bowl, whisk together the dry ingredients: flour, sugar, baking powder, baking soda, and salt.
- In a large bowl, whisk together the wet ingredients: buttermilk, egg, melted butter, and vanilla extract until smooth.
- Pour the dry ingredients into the wet ingredients. Use a rubber spatula to fold together until just combined (a few lumps are fine). Do not overmix.
- Gently fold in your chosen mix-ins. If using blueberries, toss them in a little flour first to prevent sinking.
- Fill each mini muffin cup about ¾ full. A cookie scoop helps keep portions consistent. You should get about 24 mini muffins.
- Bake for 8-10 minutes, or until the tops are golden brown and a toothpick inserted into the center comes out clean.
- Let the muffins cool in the tin for 2 minutes, then transfer to a wire rack to cool completely.
Notes
Do not overmix the batter; lumps are okay. Room temperature ingredients help create a better texture. Let muffins cool completely before freezing to prevent condensation. For crispiest reheating, use an air fryer at 350°F for 3-4 minutes.
Nutrition
- Serving Size: 1 mini muffin
- Calories: 68
- Sugar: 2.5
- Sodium: 108
- Fat: 3
- Saturated Fat: 1.5
- Carbohydrates: 9
- Fiber: 0.3
- Protein: 2
Keywords: mini pancake muffins, freezer-friendly breakfast, easy pancake recipe, kid-friendly breakfast, make-ahead breakfast


