Standing in front of the open fridge at 11:47 AM, staring at a half-empty bag of spinach and some turkey slices that were about to hit their expiration date. The kids had already asked twice what was for lunch, and honestly, I had nothing. No leftovers. No sandwich bread. No plan.
That’s when I spotted the flour tortillas hiding behind the pickle jar. And right there, between the morning chaos and the afternoon hunger meltdown, these Easy Turkey and Spinach Pinwheel Lunch Wraps were born. I rolled them up tight, sliced them into little circles, and called it lunch. The kids thought I was a magician. I just smiled and kept my mouth shut about the expired turkey.
What started as a desperate pantry raid turned into my most-requested lunch recipe. These pinwheels are the kind of thing you make once, then find yourself making again three days later because someone asks for them. They’re fast, they’re forgiving, and they pack perfectly for school lunches, picnics, or that 3 PM snack attack you know is coming.
Trust me on this one. You don’t need fancy ingredients or a culinary degree. You just need a tortilla, some spread, and a few things from your fridge. Let’s make lunch actually fun again.
Why You’ll Love These Easy Turkey and Spinach Pinwheel Lunch Wraps
I’ve tested this recipe about a dozen times—different spreads, different fillings, different rolling techniques. Some were floppy disasters. Others fell apart before they made it to the plate. But this version? It holds together beautifully, tastes incredible, and takes less than 15 minutes from start to finish.
- Quick & Easy: You can have these ready in under 15 minutes. Perfect for busy mornings, lunch prep, or when you need something fast that doesn’t taste like it was rushed.
- Simple Ingredients: No weird grocery store hunts. You probably have most of these things in your fridge right now. Cream cheese, turkey, spinach, tortillas—that’s basically it.
- Perfect for Lunchboxes: These pinwheels hold up beautifully in lunch containers. They don’t get soggy, they don’t fall apart, and kids actually eat them without complaining.
- Crowd-Pleaser: I’ve brought these to playdates, potlucks, and even a book club meeting. Adults go crazy for them too. There’s something about the little spiral shape that makes everyone happy.
- Endlessly Customizable: Don’t like turkey? Use ham. No cream cheese? Try hummus. This recipe is more of a formula than a rigid set of rules, and that’s what makes it so useful.
What really sets these apart is the cream cheese layer. It’s not just there for flavor—it acts as a sealant that holds everything together and prevents the tortilla from getting soggy. That little trick came from a failed attempt where I used mayo instead, and the whole thing turned into a sad, wet mess. Lesson learned, recipe improved.
These pinwheels have saved my sanity on countless lunch rushes. They’re the kind of recipe you memorize after making them twice, and that’s exactly what a busy kitchen needs.
What Ingredients You Will Need
This recipe uses simple, wholesome ingredients that work together to create something surprisingly delicious. Nothing fancy here—just smart combinations that deliver big flavor without the fuss.
For the Cream Cheese Spread:
- 8 ounces cream cheese, softened (full-fat works best for structure, but reduced-fat works fine too)
- 1 tablespoon ranch seasoning mix (I prefer Hidden Valley for consistent flavor)
- 1 tablespoon fresh chives, finely chopped (optional, but adds a nice pop of color)
- ¼ teaspoon garlic powder
- ¼ teaspoon onion powder
- Salt and black pepper to taste
For the Filling:
- 4 large flour tortillas (burrito size, about 10 inches—don’t use taco size or you’ll struggle to roll them)
- 8 ounces thinly sliced turkey breast (deli style, not the thick-cut stuff)
- 2 cups fresh spinach leaves (washed and dried thoroughly—wet spinach makes soggy pinwheels)
- ½ cup shredded mozzarella cheese (or provolone, or cheddar—whatever you have)
- ¼ cup sun-dried tomatoes, drained and chopped (optional but highly recommended for a flavor boost)
Ingredient Tips from Personal Experience:
I’ve made these with every brand of cream cheese you can imagine, and Philadelphia gives the smoothest spread. But store brands work fine too—just make sure it’s fully softened or you’ll tear your tortillas trying to spread it. Leave it on the counter for 30 minutes before starting.
For the turkey, ask the deli counter to slice it thin. Pre-packaged turkey works in a pinch, but it’s usually thicker and harder to layer evenly. Thin slices roll better and create those beautiful pinwheel spirals we’re after.
Fresh spinach is non-negotiable here. Frozen spinach releases too much water and turns everything into a sad, green mess. Pat the fresh spinach dry with paper towels if it looks wet after washing. Trust me on this one—I learned the hard way.
Substitution Options:
- Use dairy-free cream cheese for a lactose-friendly version
- Swap turkey for ham, roast beef, or even grilled chicken strips
- Replace spinach with arugula or mixed greens for a peppery kick
- Use gluten-free tortillas if needed—just handle them gently as they’re more fragile
- Skip the cheese entirely for a lighter option
Equipment Needed
You don’t need much for this recipe, which is part of the beauty. Here’s what you’ll want to have on hand:
- Large cutting board: Give yourself room to work. A small board makes the rolling process awkward.
- Sharp knife: A serrated knife works best for clean slices without squishing the pinwheels. A dull knife will crush your beautiful spirals.
- Spatula or butter knife: For spreading the cream cheese mixture evenly across the tortillas.
- Plastic wrap: Wrapping the rolled tortillas helps them hold their shape while they chill. Parchment paper works too.
- Baking sheet or large plate: To hold the wrapped rolls in the fridge.
- Toothpicks: Optional, but helpful for securing the rolls if you’re transporting them.
I bought a fancy electric knife for slicing pinwheels once—total waste of money. A good chef’s knife or serrated bread knife does the job perfectly. Save your money for better ingredients.
If you don’t have plastic wrap, you can use reusable beeswax wraps or even just place the rolls seam-side down on a plate. They’ll hold their shape reasonably well, though not as tightly.
Preparation Method
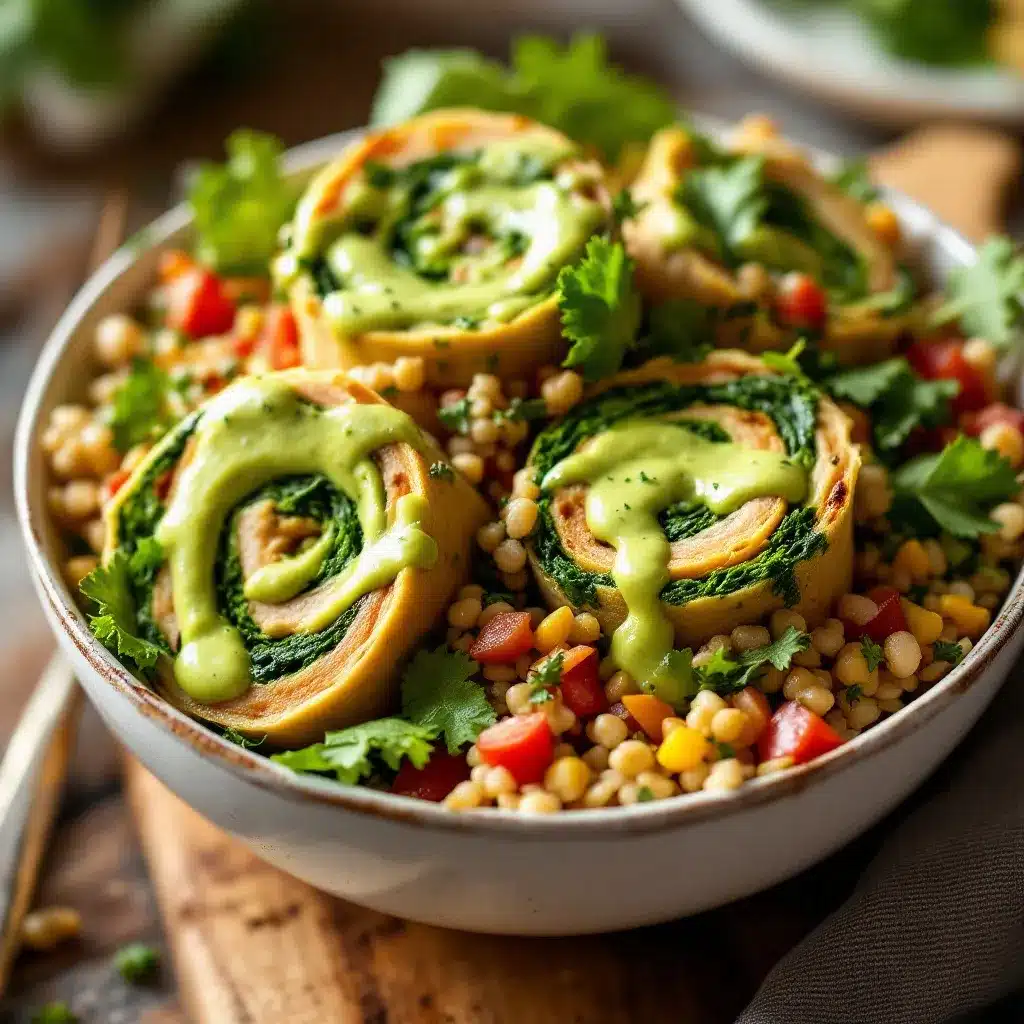
Let’s get rolling. This process is simple, but a few key steps make the difference between perfect pinwheels and floppy disasters.
Step 1: Make the Cream Cheese Spread
In a small bowl, combine the softened cream cheese, ranch seasoning, garlic powder, onion powder, and fresh chives if using. Mix until smooth and well combined. Taste it—add a pinch of salt and pepper if needed. The spread should be creamy and flavorful, not bland. Set aside.
Time estimate: 3 minutes
Step 2: Prepare Your Workspace
Lay one tortilla flat on your cutting board. If your tortillas are cold from the fridge, let them sit at room temperature for 10 minutes. Cold tortillas crack when you roll them. I learned this after ruining three tortillas in a row like a fool.
Time estimate: 1 minute
Step 3: Spread the Cream Cheese
Using your spatula, spread about 2 tablespoons of the cream cheese mixture evenly across the entire tortilla. Go all the way to the edges—the cream cheese acts as glue that holds everything together. Leave no bare spots. If you skip the edges, your pinwheels will unravel.
Time estimate: 1 minute per tortilla
Step 4: Layer the Fillings
Place 2 ounces of turkey slices evenly over the cream cheese layer. Don’t pile it all in the center—distribute it across the whole tortilla. Top with a generous handful of spinach leaves, pressing them down gently so they stick to the cream cheese. Sprinkle about 2 tablespoons of shredded cheese and a few chopped sun-dried tomatoes if using.
Here’s the trick: don’t overfill. It’s tempting to pack in as much as possible, but too much filling makes rolling impossible and creates fat, uneven pinwheels. Less is more here.
Time estimate: 2 minutes per tortilla
Step 5: Roll It Tight
Starting from the edge closest to you, begin rolling the tortilla away from you, keeping it as tight as possible without tearing. Use your fingers to tuck in the filling as you go. Roll all the way to the end, then place the roll seam-side down. The seam should stick naturally because of the cream cheese.
Sensory cue: You should feel gentle resistance as you roll, but no tearing. If you hear cracking, you’re rolling too tight or your tortilla is too cold.
Time estimate: 30 seconds per tortilla
Step 6: Wrap and Chill
Wrap each rolled tortilla tightly in plastic wrap, twisting the ends like a candy wrapper. Place the wrapped rolls on a baking sheet or plate and refrigerate for at least 30 minutes. This chilling step is crucial—it firms up the cream cheese and allows the flavors to meld together. Skipping this step leads to messy, unstable pinwheels.
I’ve made the mistake of slicing immediately. Don’t be like me. Wait the 30 minutes.
Time estimate: 30 minutes minimum chilling time
Step 7: Slice and Serve
Remove the chilled rolls from the fridge. Unwrap them and place them on your cutting board. Using a sharp serrated knife, slice each roll into 1-inch pinwheels. Use a gentle sawing motion—don’t press straight down or you’ll squish them. You should get about 8-10 pinwheels per tortilla roll.
Arrange them on a platter, spiral-side up, and watch them disappear.
Time estimate: 2 minutes per roll
Cooking Tips & Techniques
After making these pinwheels about thirty times (yes, I counted), I’ve picked up a few tricks that make a real difference.
The Cold Tortilla Problem: Tortillas straight from the fridge crack and tear. Leave them on the counter for 10-15 minutes before starting. If you’re in a rush, microwave them for 10 seconds between damp paper towels. They’ll become pliable and easy to work with.
Even Spreading Matters: The cream cheese layer isn’t just for flavor—it’s structural. If you leave gaps, the turkey and spinach will slip out during slicing. Take the extra 20 seconds to spread it edge to edge. Your future self will thank you.
Don’t Skip the Chill: I know, I know. You’re hungry. But those 30 minutes in the fridge transform loose, messy rolls into clean, sliceable pinwheels. The cream cheese firms up, the flavors blend, and everything holds together beautifully. If you’re really pressed for time, 15 minutes is the absolute minimum.
The Serrated Knife Secret: A straight-edged chef’s knife tends to squish the pinwheels, especially if the blade isn’t razor-sharp. A serrated knife cuts through the tortilla layers without crushing them. Use a gentle back-and-forth motion, not a hard press.
My Biggest Failure: I once tried to make these with low-fat cream cheese and fresh tomatoes. The tomatoes released too much liquid, the low-fat cream cheese couldn’t hold up, and I ended up with a tray of soggy, falling-apart pinwheels. Now I stick with full-fat cream cheese and pat any wet ingredients dry before adding them. Learn from my mistakes, friends.
Variations & Adaptations
This recipe is a starting point, not a final destination. Here are some variations I’ve tried and loved:
The Italian Twist: Swap turkey for salami or pepperoni, use provolone instead of mozzarella, and add roasted red peppers. Spread with pesto instead of ranch cream cheese for an Italian-inspired version that disappears at parties.
The Veggie Lover’s Version: Skip the turkey entirely and load up on roasted vegetables—bell peppers, zucchini, mushrooms. Spread with hummus instead of cream cheese for a completely plant-based option. These hold up surprisingly well and taste even better the next day.
The Spicy Southwest: Add a layer of refried beans under the cream cheese, use pepper jack cheese, and throw in some pickled jalapeños. Swap turkey for shredded chicken if you have leftovers. This version pairs perfectly with a side of salsa or our creamy slow cooker queso blanco dip for dipping.
The Breakfast Pinwheel: Use cream cheese mixed with everything bagel seasoning, layer with scrambled eggs, turkey bacon, and arugula. These make incredible breakfast meal prep—just wrap and refrigerate for up to three days.
Allergen-Friendly Options:
- Dairy-free: Use vegan cream cheese and skip the shredded cheese
- Gluten-free: Use corn tortillas or gluten-free flour tortillas (handle gently)
- Low-carb: Use large lettuce leaves or low-carb tortillas
- Nut-free: This recipe is naturally nut-free, but check your ranch seasoning
Serving & Storage Suggestions
These pinwheels are versatile little things. Here’s how to serve and store them like a pro.
Serving Temperature: Serve them cold or at room temperature. They’re best straight from the fridge or after sitting out for 10-15 minutes. Don’t microwave them—the tortilla gets rubbery and the cream cheese turns into a mess.
Presentation Ideas: Arrange the pinwheels on a platter spiral-side up. Sprinkle with fresh herbs or a pinch of paprika for color. Serve with a small bowl of ranch dressing, honey mustard, or our fresh Greek yogurt veggie dip with herbs for dipping. They also pair beautifully with a side of crispy air fryer chickpea snacks for crunch.
Storage Instructions: Store leftover pinwheels in an airtight container in the refrigerator for up to 3 days. Place a paper towel at the bottom of the container to absorb any excess moisture. Layer the pinwheels in a single row if possible—stacking them can squish the bottom layer.
Freezer Tips: You can freeze the uncut rolls for up to 2 months. Wrap tightly in plastic wrap, then foil, and place in a freezer bag. Thaw overnight in the refrigerator before slicing. Don’t freeze already-sliced pinwheels—they turn into a mushy disaster.
Lunchbox Prep: These are my go-to for packed lunches. They don’t get soggy, they don’t need reheating, and kids actually eat them. Pack them with some cherry tomatoes, cucumber slices, and a small container of dip for a complete lunch that feels special.
Flavor Development: Here’s a little secret—these pinwheels actually taste better the next day. The flavors meld together overnight, and the cream cheese sets up perfectly. If you’re making them for a party, make them the day before. Your guests will think you spent hours in the kitchen.
Nutritional Information & Benefits
These pinwheels are surprisingly balanced for something that tastes so indulgent. Here’s what you’re getting per serving (about 4 pinwheels):
| Nutrient | Amount Per Serving |
|---|---|
| Calories | 285 |
| Protein | 18g |
| Carbohydrates | 22g |
| Fat | 14g |
| Fiber | 3g |
| Sodium | 680mg |
| Calcium | 120mg |
| Iron | 2mg |
Health Highlights: The turkey provides lean protein that keeps you full and satisfied. Spinach is packed with iron, vitamin K, and antioxidants. The cream cheese adds calcium, and you can easily lighten it up with reduced-fat options. These pinwheels are naturally low in sugar and can be made gluten-free or dairy-free with simple swaps.
Dietary Considerations: This recipe contains dairy and gluten. For a dairy-free version, use vegan cream cheese and skip the shredded cheese. For gluten-free, choose certified gluten-free tortillas. Always check your ranch seasoning for hidden gluten or dairy if you have sensitivities.
I personally love that these pinwheels feel like a treat but actually provide real nutrition. They’re not a “health food” pretending to be indulgent—they’re genuinely satisfying and made with real ingredients. That’s the kind of cooking I can stand behind.
Conclusion
These Easy Turkey and Spinach Pinwheel Lunch Wraps have saved me more times than I can count. They’ve rescued frantic weekday lunches, impressed unexpected guests, and turned boring lunchboxes into something kids actually look forward to opening. All from a handful of ingredients I usually have on hand.
What I love most about this recipe is how forgiving it is. You can swap ingredients, adjust the seasonings, or double the batch without any stress. It’s the kind of recipe that builds confidence in the kitchen—proof that you don’t need complicated techniques to make something delicious.
I’d love to hear how these turn out for you. Did you add your own twist? Did the kids actually eat them? Drop a comment below and let me know. And if you’re looking for more lunch inspiration, check out our fresh nourish bowl recipe with black bean corn mix for another quick and satisfying meal idea.
Happy rolling, friends. Your lunch game is about to level up.
Frequently Asked Questions
Can I make these pinwheels ahead of time?
Absolutely. In fact, they taste better the next day. Make the rolls up to 24 hours in advance, keep them wrapped in the fridge, and slice just before serving. Perfect for party prep or busy mornings.
How do I keep the pinwheels from getting soggy?
Dry your spinach thoroughly before using it. Wet spinach releases moisture that turns everything soggy. Also, pat any wet ingredients like tomatoes or roasted peppers dry with paper towels before adding them to the roll.
Can I use a different spread instead of cream cheese?
Yes! Hummus, pesto, flavored cream cheese, or even a thick layer of avocado work beautifully. Just make sure whatever you use is spreadable and thick enough to act as a sealant. Thin spreads won’t hold the roll together.
How do I slice pinwheels without squishing them?
Use a serrated knife and a gentle sawing motion. Don’t press straight down—that squishes the roll. Chill the rolls thoroughly before slicing for the cleanest cuts. A sharp knife makes all the difference.
Can I freeze these pinwheels?
Freeze the uncut rolls for up to 2 months. Wrap tightly in plastic wrap and foil, then thaw overnight in the fridge before slicing. Don’t freeze already-sliced pinwheels—they’ll turn mushy when thawed.
Pin This Recipe!
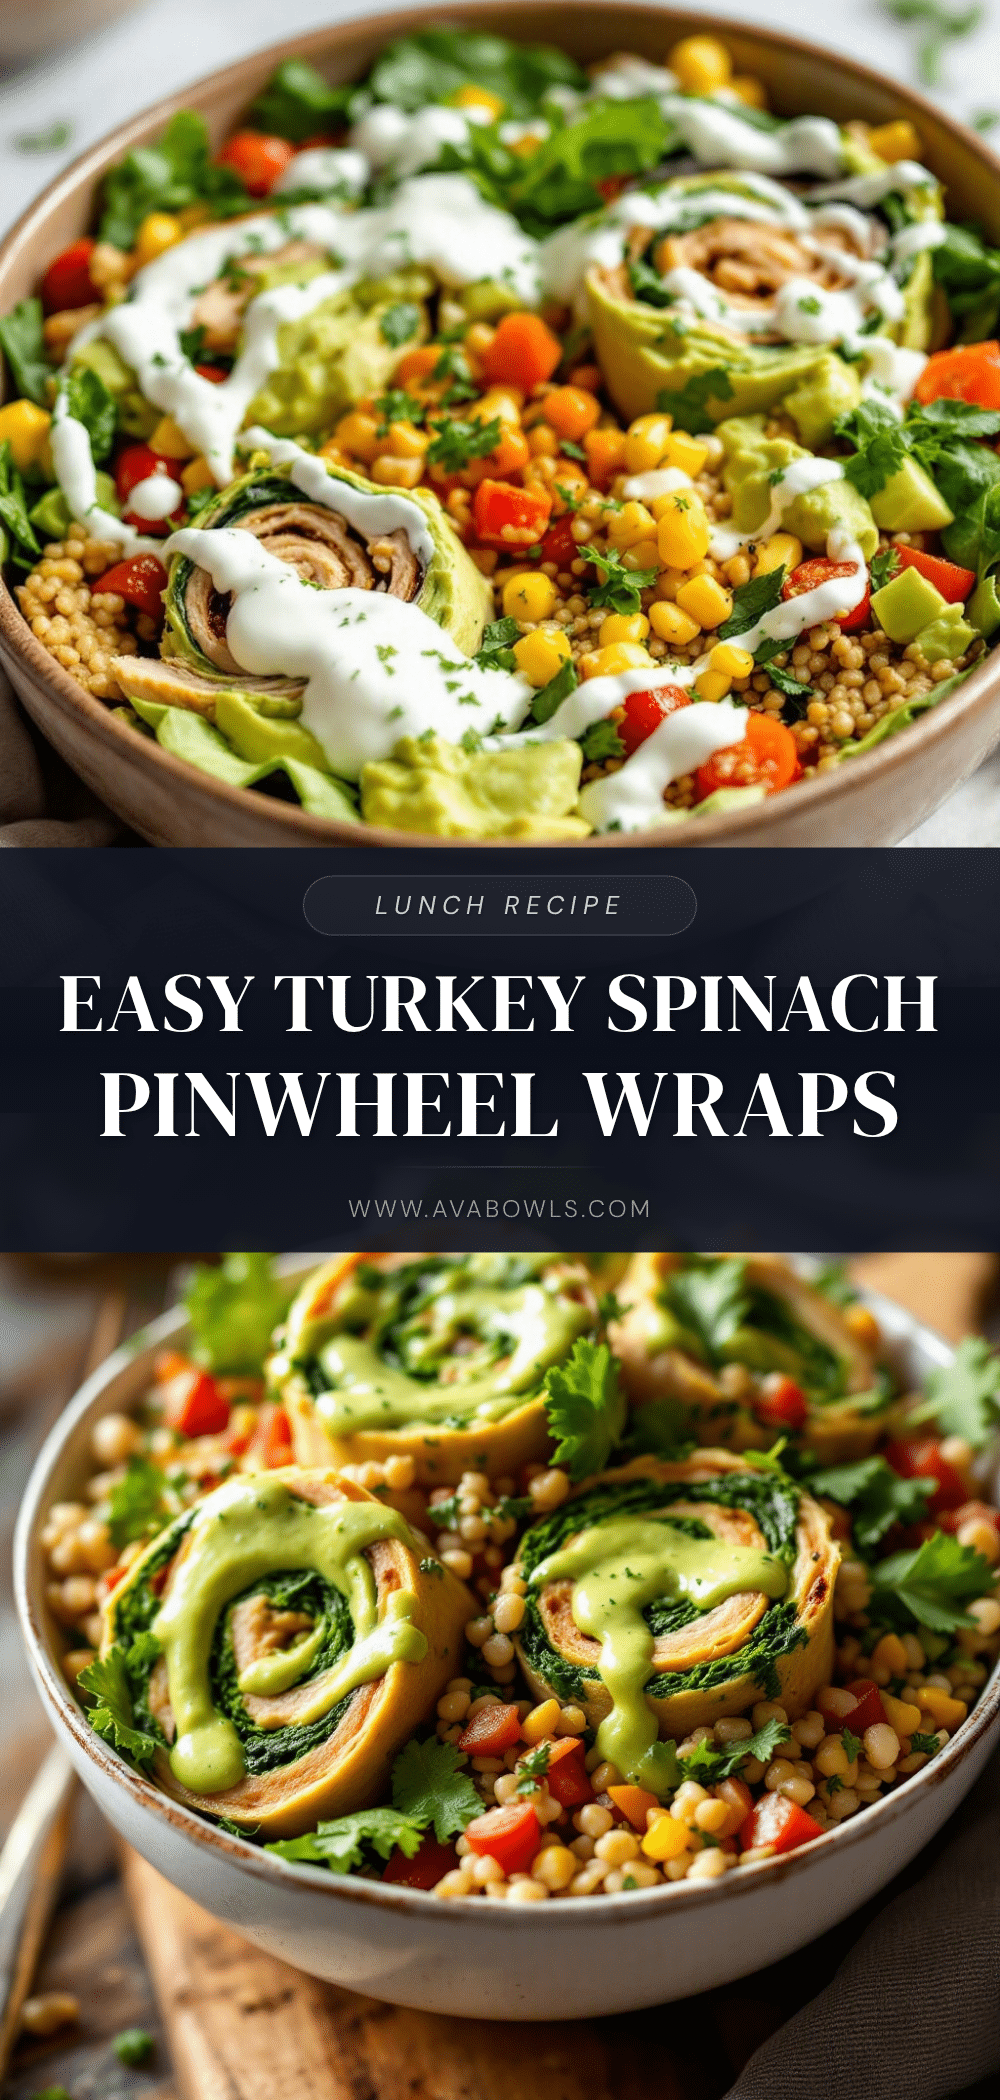
Easy Turkey and Spinach Pinwheels: Best Lunch Idea

These Easy Turkey and Spinach Pinwheel Lunch Wraps are quick, forgiving, and perfect for school lunches, picnics, or a 3 PM snack. Made with simple ingredients like cream cheese, turkey, spinach, and tortillas, they come together in under 15 minutes and hold up beautifully without getting soggy.
- Prep Time: 15 minutes
- Cook Time: 0 minutes
- Total Time: 45 minutes (includes 30 minutes chilling time)
- Yield: 4 servings (about 32-40 pinwheels) 1x
- Category: Lunch
- Cuisine: American
Ingredients
- 8 ounces cream cheese, softened (full-fat works best for structure, but reduced-fat works fine too)
- 1 tablespoon ranch seasoning mix (I prefer Hidden Valley for consistent flavor)
- 1 tablespoon fresh chives, finely chopped (optional, but adds a nice pop of color)
- ¼ teaspoon garlic powder
- ¼ teaspoon onion powder
- Salt and black pepper to taste
- 4 large flour tortillas (burrito size, about 10 inches—don’t use taco size or you’ll struggle to roll them)
- 8 ounces thinly sliced turkey breast (deli style, not the thick-cut stuff)
- 2 cups fresh spinach leaves (washed and dried thoroughly—wet spinach makes soggy pinwheels)
- ½ cup shredded mozzarella cheese (or provolone, or cheddar—whatever you have)
- ¼ cup sun-dried tomatoes, drained and chopped (optional but highly recommended for a flavor boost)
Instructions
- Make the Cream Cheese Spread: In a small bowl, combine the softened cream cheese, ranch seasoning, garlic powder, onion powder, and fresh chives if using. Mix until smooth and well combined. Taste it—add a pinch of salt and pepper if needed. Set aside.
- Prepare Your Workspace: Lay one tortilla flat on your cutting board. If your tortillas are cold from the fridge, let them sit at room temperature for 10 minutes. Cold tortillas crack when you roll them.
- Spread the Cream Cheese: Using your spatula, spread about 2 tablespoons of the cream cheese mixture evenly across the entire tortilla. Go all the way to the edges—the cream cheese acts as glue that holds everything together. Leave no bare spots.
- Layer the Fillings: Place 2 ounces of turkey slices evenly over the cream cheese layer. Don’t pile it all in the center—distribute it across the whole tortilla. Top with a generous handful of spinach leaves, pressing them down gently so they stick to the cream cheese. Sprinkle about 2 tablespoons of shredded cheese and a few chopped sun-dried tomatoes if using. Don’t overfill.
- Roll It Tight: Starting from the edge closest to you, begin rolling the tortilla away from you, keeping it as tight as possible without tearing. Use your fingers to tuck in the filling as you go. Roll all the way to the end, then place the roll seam-side down.
- Wrap and Chill: Wrap each rolled tortilla tightly in plastic wrap, twisting the ends like a candy wrapper. Place the wrapped rolls on a baking sheet or plate and refrigerate for at least 30 minutes. This chilling step is crucial—it firms up the cream cheese and allows the flavors to meld together.
- Slice and Serve: Remove the chilled rolls from the fridge. Unwrap them and place them on your cutting board. Using a sharp serrated knife, slice each roll into 1-inch pinwheels. Use a gentle sawing motion—don’t press straight down or you’ll squish them. You should get about 8-10 pinwheels per tortilla roll. Arrange them on a platter, spiral-side up.
Notes
Dry spinach thoroughly to prevent sogginess. Full-fat cream cheese works best for structure. Chill rolls for at least 30 minutes before slicing for clean cuts. These taste even better the next day as flavors meld. Freeze uncut rolls for up to 2 months.
Nutrition
- Serving Size: 4 pinwheels
- Calories: 285
- Sugar: 3
- Sodium: 680
- Fat: 14
- Saturated Fat: 7
- Carbohydrates: 22
- Fiber: 3
- Protein: 18
Keywords: turkey pinwheels, spinach pinwheels, lunch wraps, easy lunch recipe, kid-friendly lunch, party appetizer, no-cook recipe, make-ahead lunch


